I built my first pallet fence last summer, and I dreaded one thing: digging post holes. My yard has rocky soil, and my back still remembers that fight.
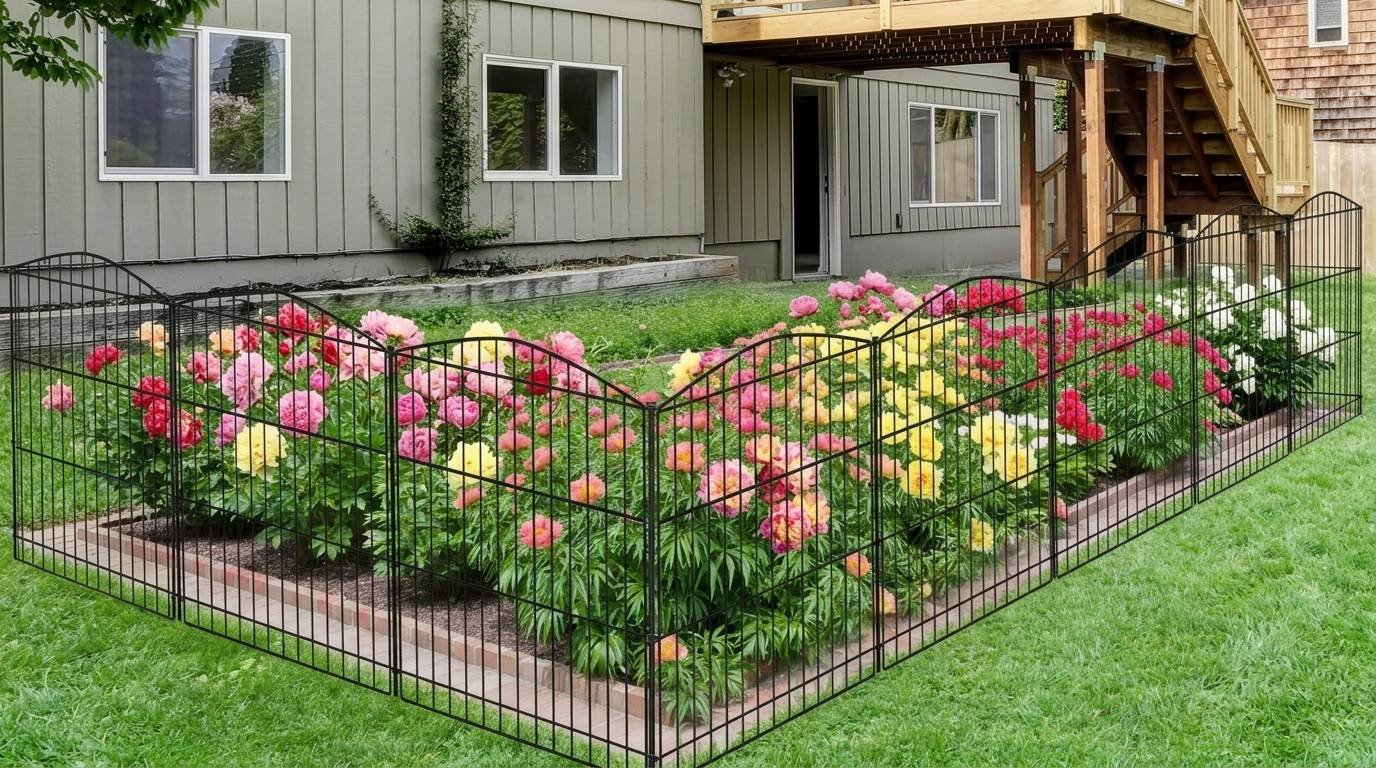
So I looked for another way, and I found it. A no-dig pallet fence skips the digging part completely. If you'd rather go the traditional route, here's how to build a garden fence with posts.
I tested a few methods on my own property before I picked my favorite. Some worked better on flat ground. Others held up fine on a slope.
In this guide, I will show you the exact steps I used, plus a few backup options if your yard has rocks, roots, or uneven spots like mine did.
Why Build a No-Dig Pallet Fence
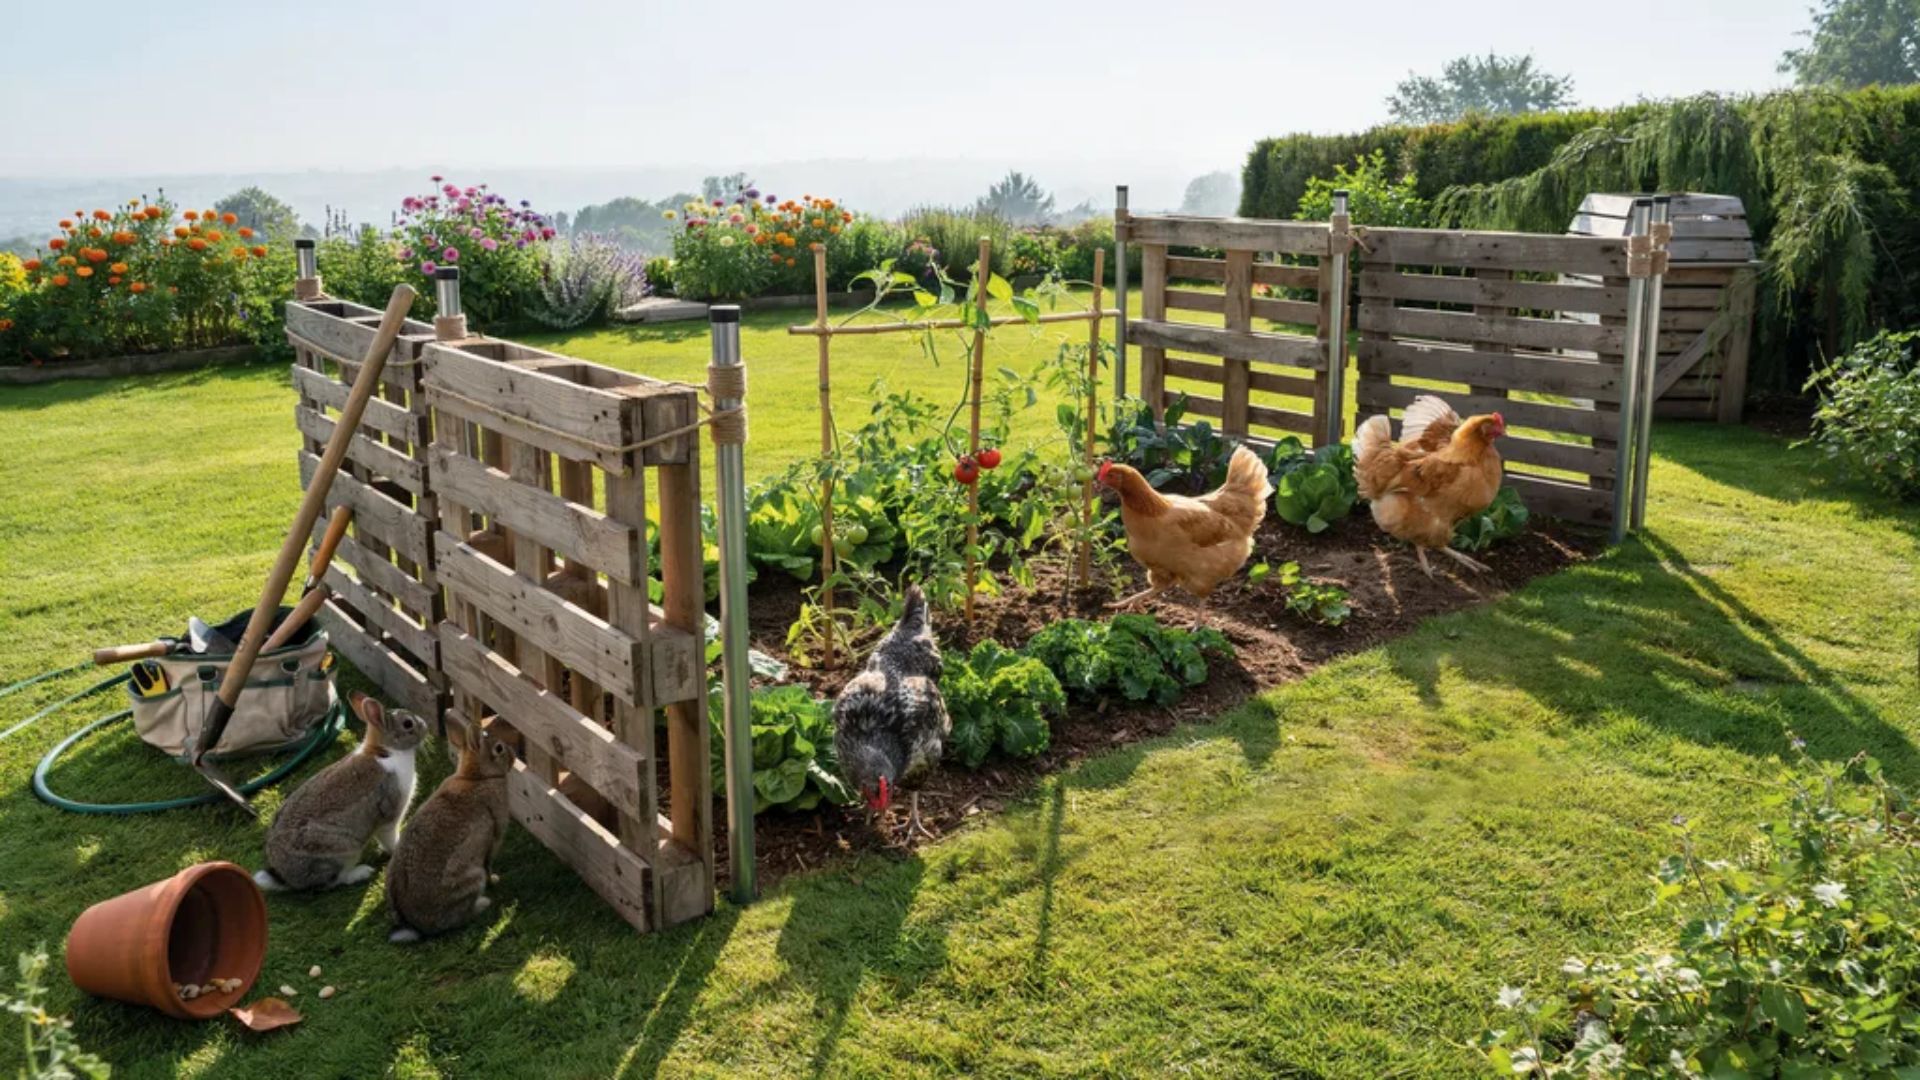
A post-free pallet fence saves you time and effort. You skip digging, mixing concrete, and waiting days for it to set. You also skip the cost of extra tools like a post hole digger or auger.
If you move often, this fence works even better. You can take it apart and set it up again at a new spot in an hour or two. This kind of fence works great for garden beds. Pair it with the best material for raised garden beds for a well-protected garden.
It keeps rabbits and small pets out without much fuss. It also works well for livestock like goats or chickens, especially in small pens.
Need a quick barrier for a party or a work zone? This fence handles temporary fencing jobs with ease too.
What You'll Need
You don't need much for this project. Most of these items sit in a garage or hardware store shelf already. Here's a quick list to gather before you start.
| Material | Purpose |
| Pallets | Fence sections |
| Twine or Torx screws | Join pallets |
| Impact driver (optional) | Faster installation |
| T-posts (optional) | Gate support |
| Cattle panel | Gate hinge |
| Chain or latch | Gate closure |
Once you have these on hand, you're set to start building. No trip to a rental store needed, and no special gear required.
How to Build a No-Dig Pallet Fence
Building this fence takes less time than you think. You just need a plan and a few hours. Follow these four steps and you'll have a solid fence standing without one single hole dug.
Step 1: Find Safe, Free Pallets
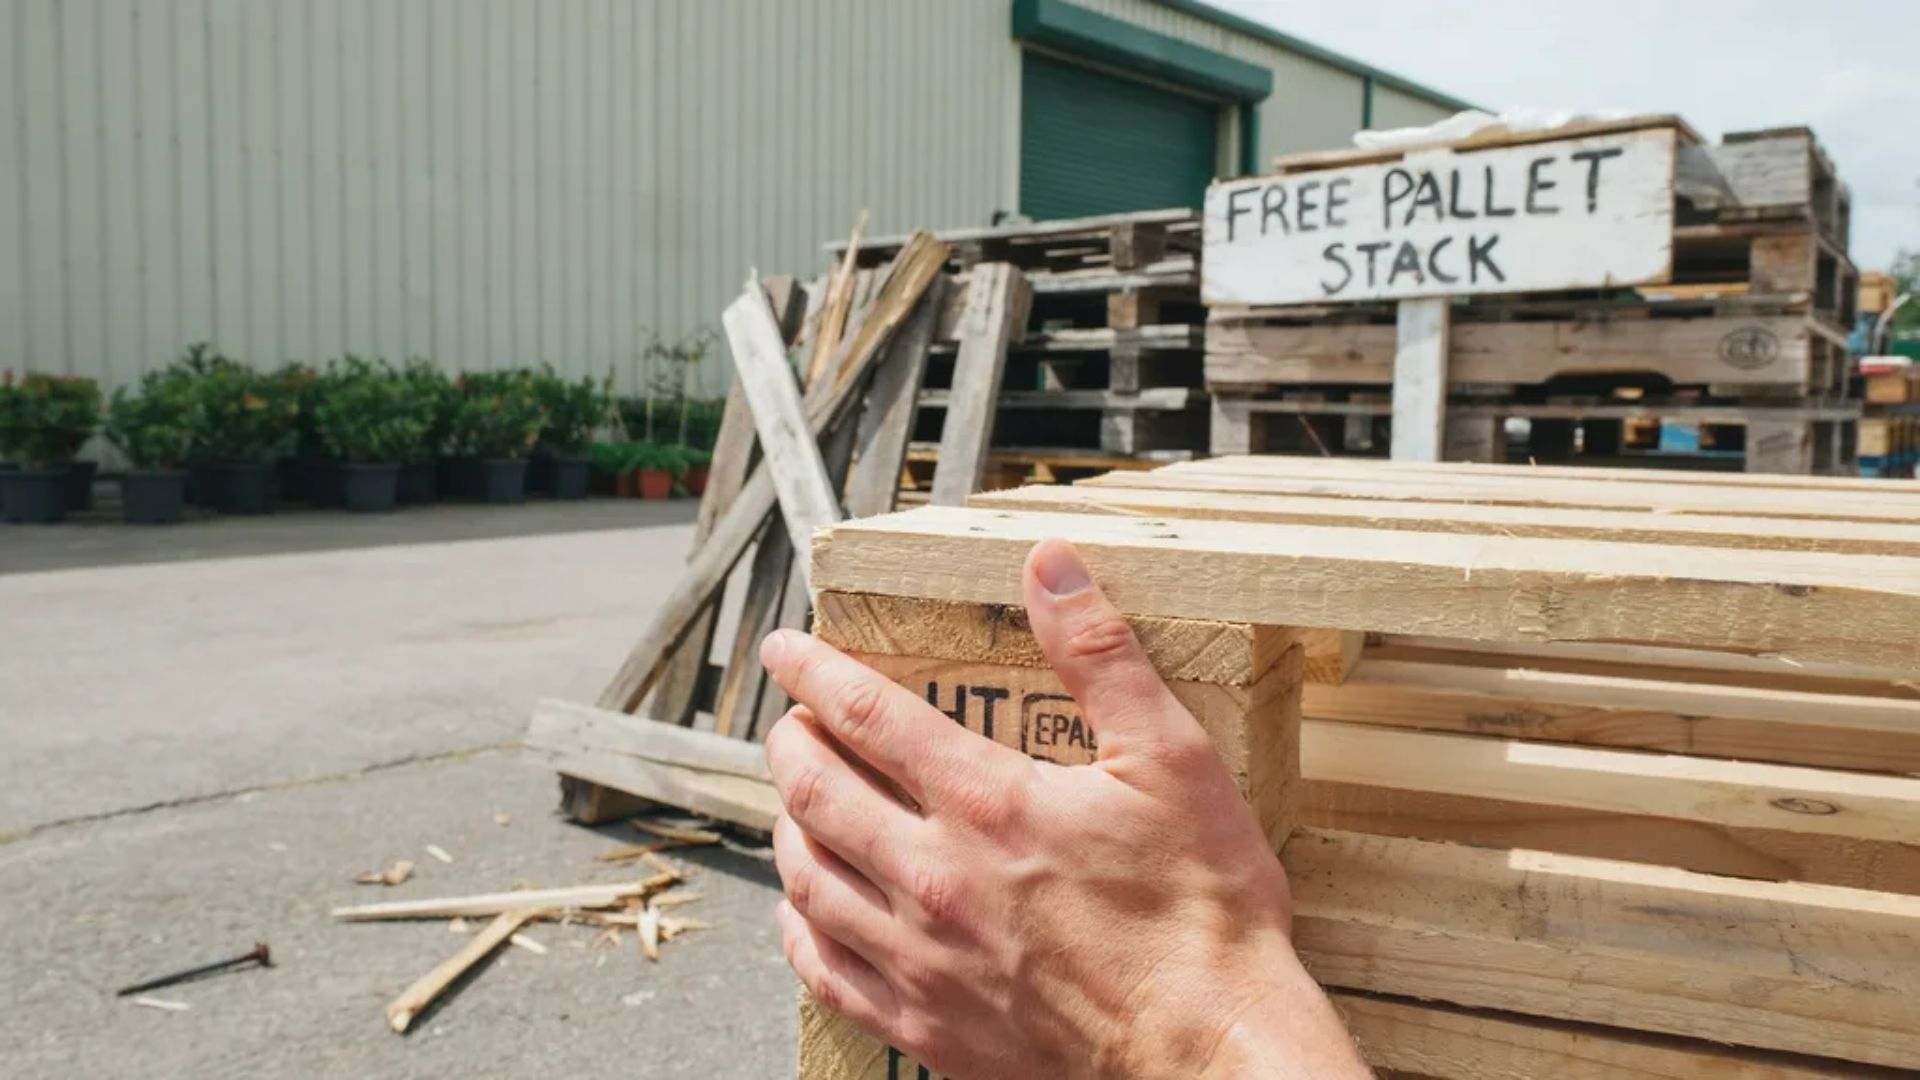
Start by finding pallets marked "HT" for heat treated. Skip any marked "MB," since those used chemicals during treatment.
Check local stores, garden centers, or hardware shops. Many give pallets away for free once they're done with them.
Look for pallets with solid boards and no cracks. Avoid ones with mold, stains, or a bad smell. Strong, clean pallets make a fence that lasts longer and looks better too.
Step 2: Plan the Fence Layout
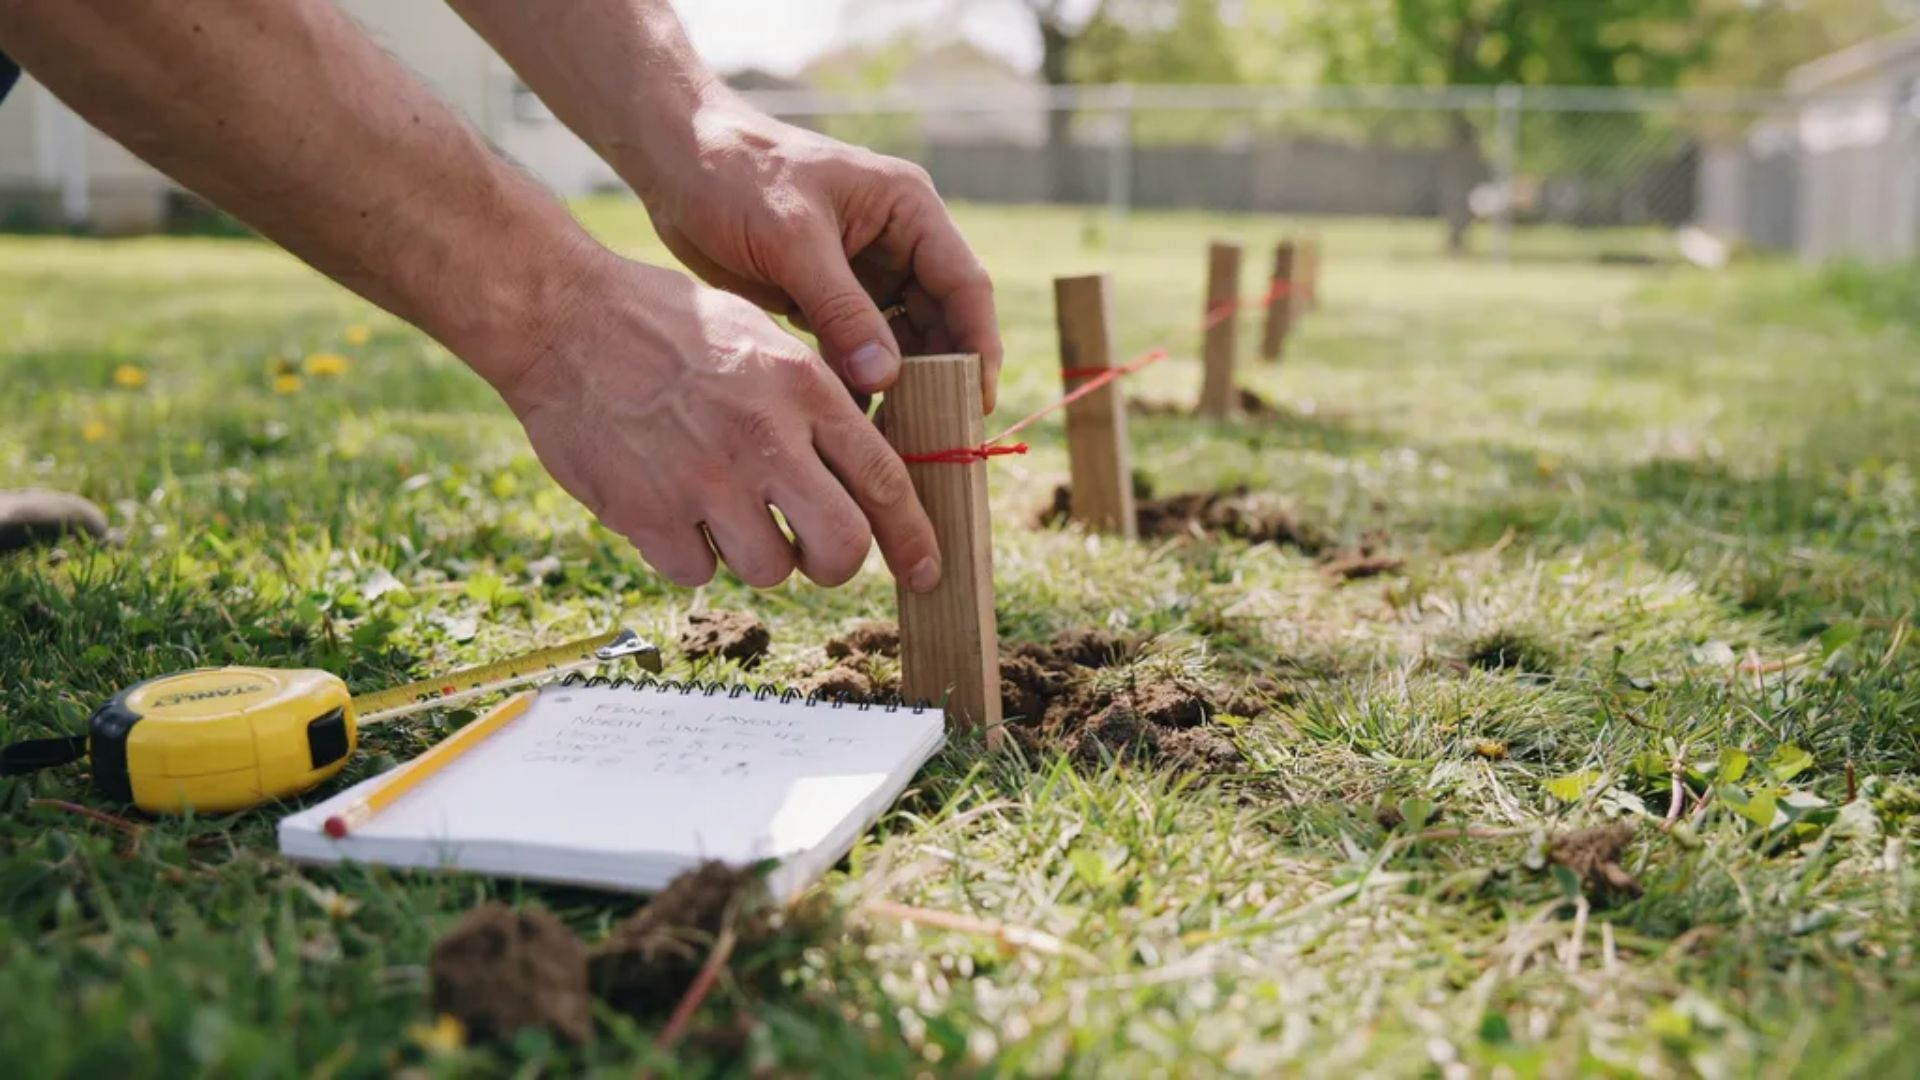
Walk your yard and mark where the fence will go. Use stakes and string to outline the path. Measure the total length so you know how many pallets you need.
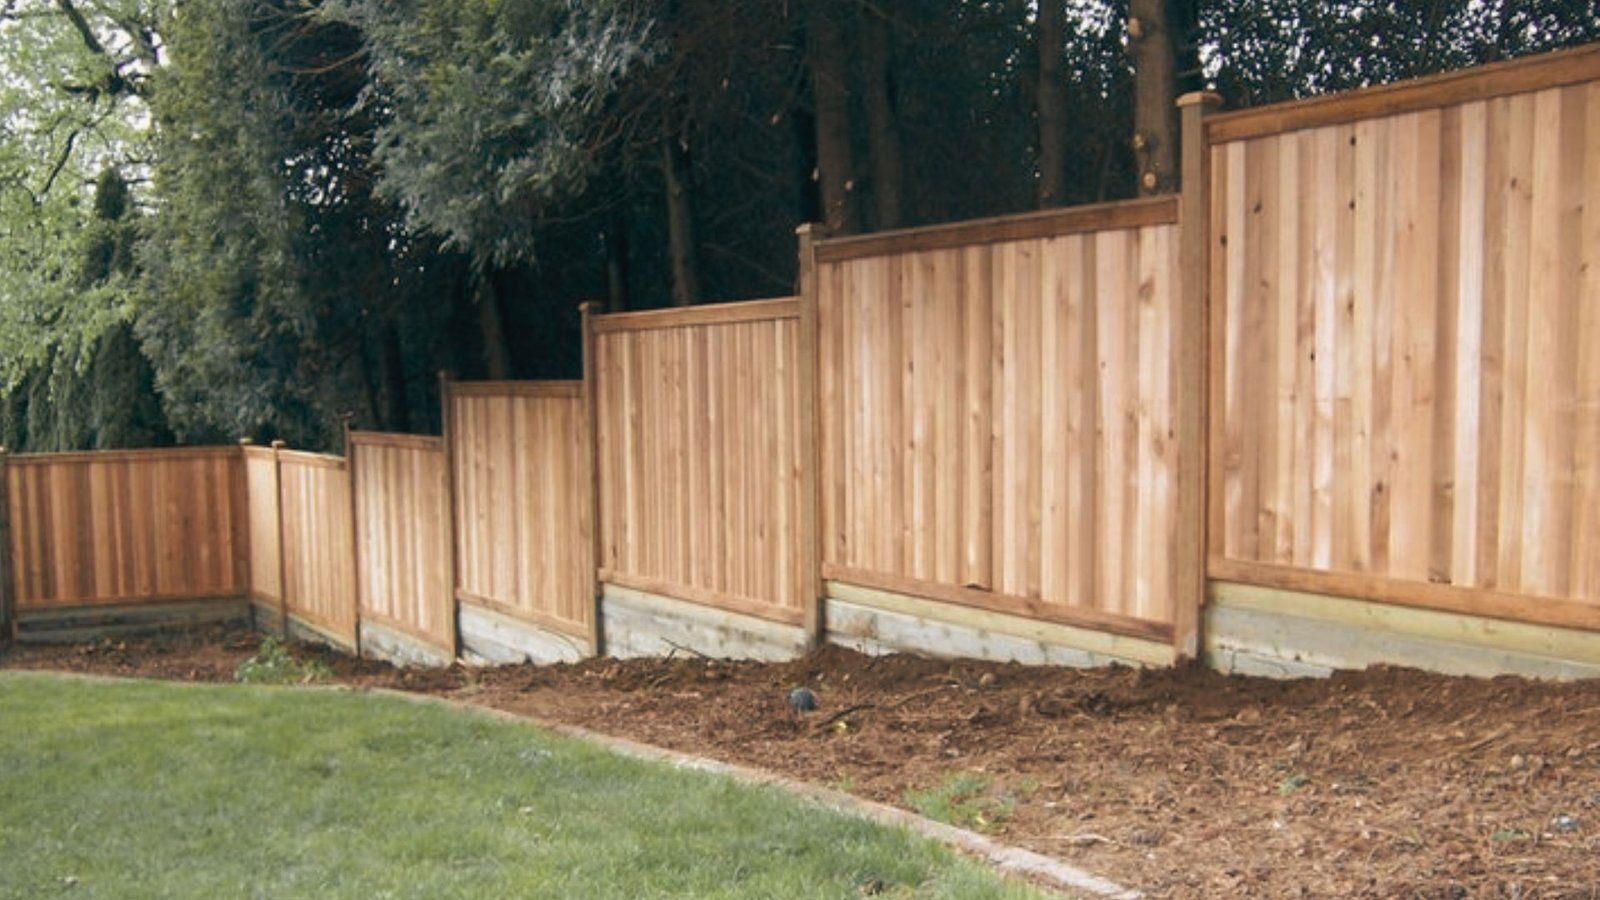
Check for slopes, rocks, or soft spots along the way. If your yard slopes, a step-down fence on a slope keeps the line even.
Step 3: Stand the Pallets Upright
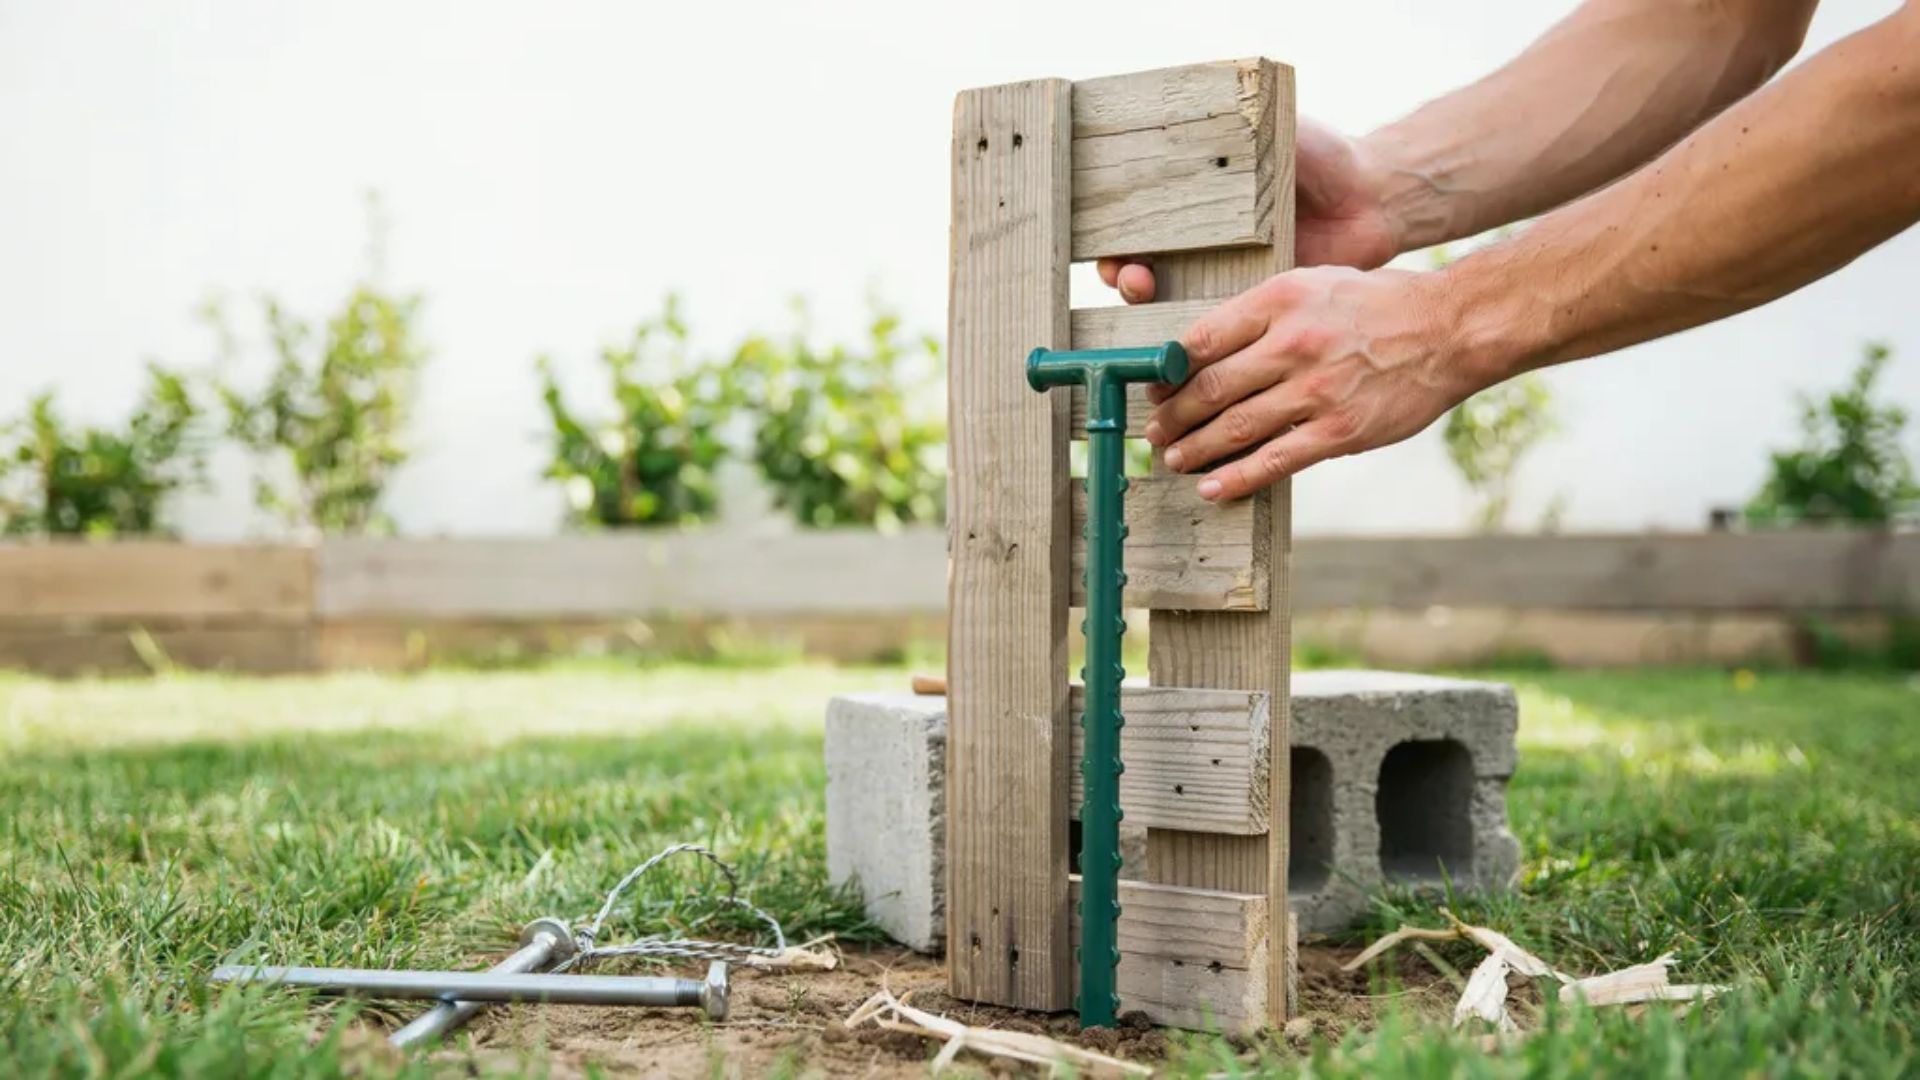
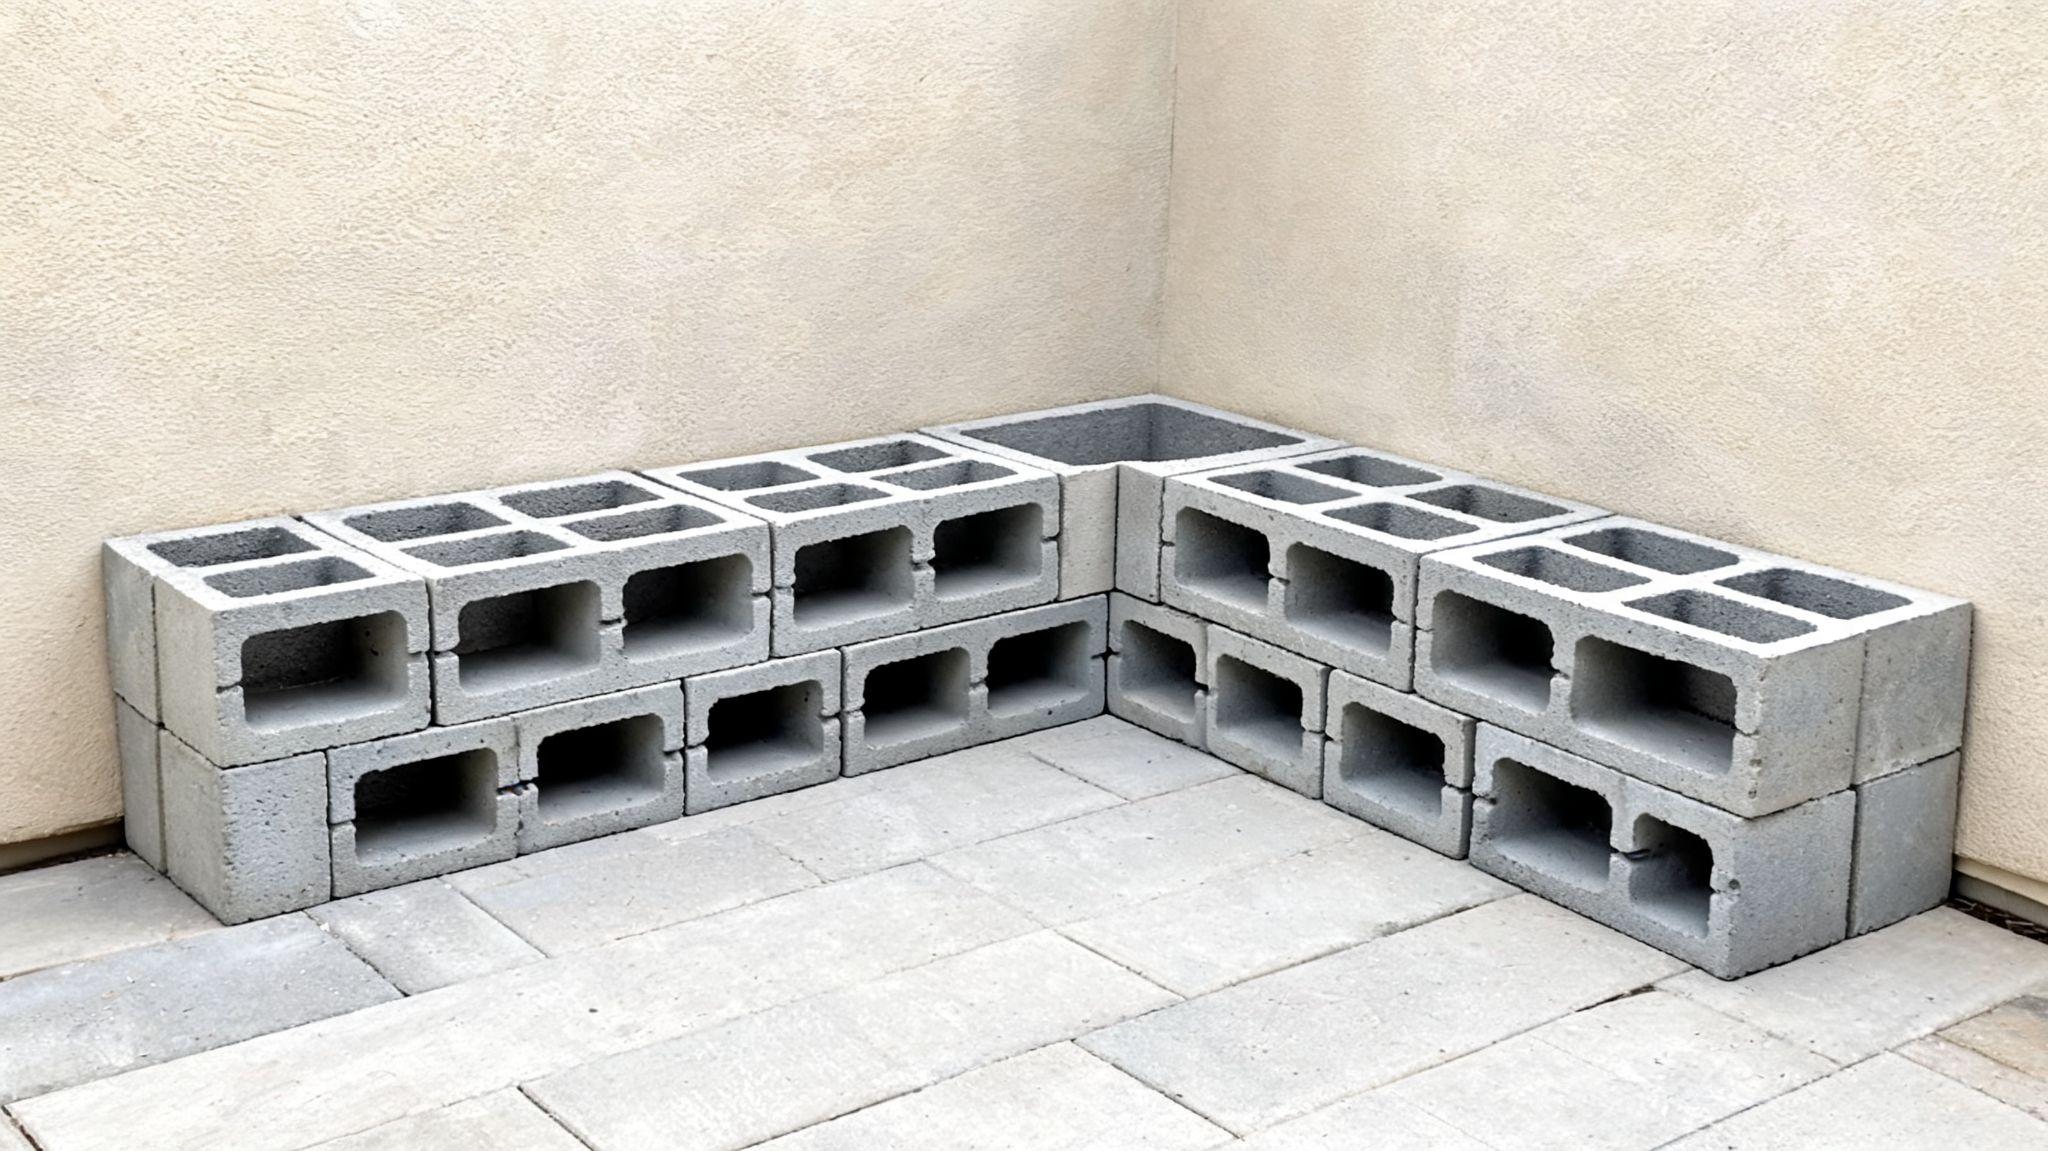
Set each pallet on its edge along your marked line. Use T-posts, cinder blocks, or ground anchors to hold each one steady. Push T-posts through the pallet's slats for extra support.
Check that each pallet sits level and straight. Adjust as needed before moving forward. A steady base here keeps your fence from leaning or shifting once it's fully built and joined together.
Step 4: Join the Pallets Together
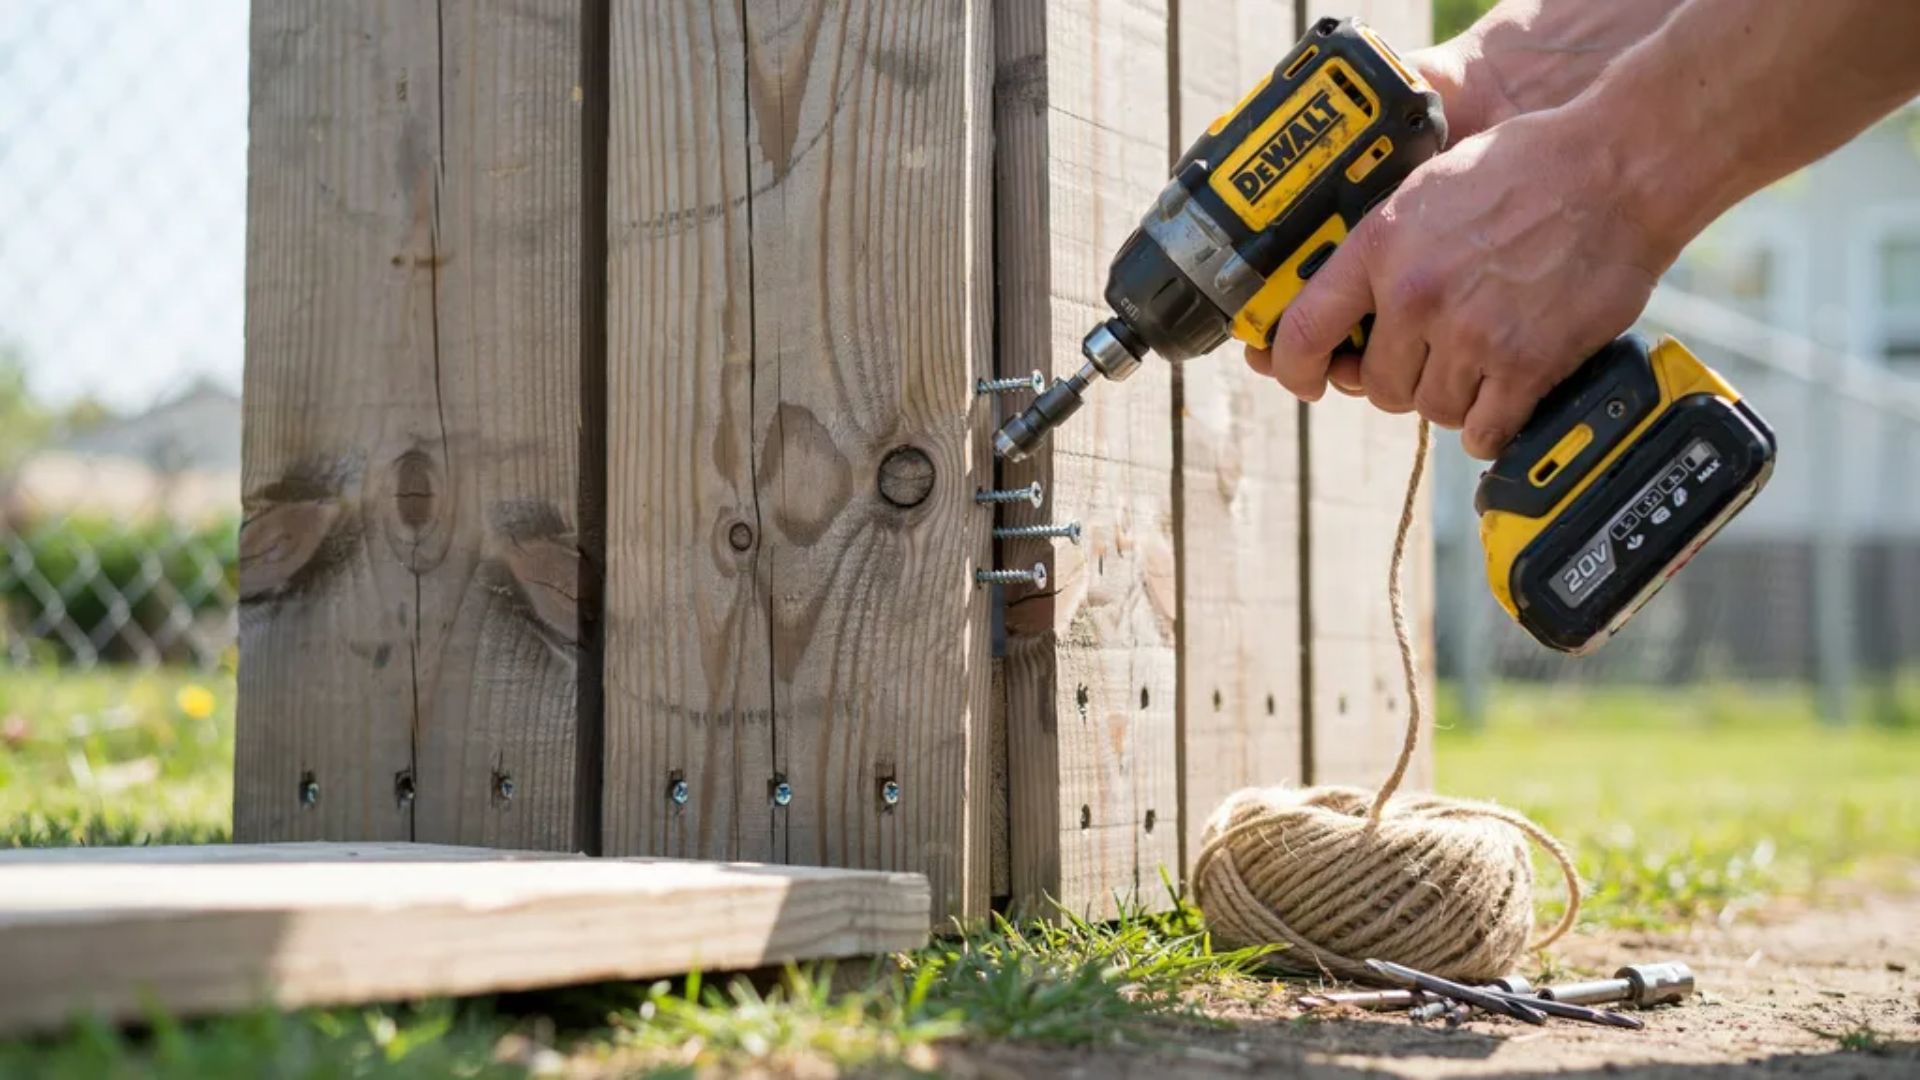
Line up two pallets side by side, edge to edge. Use Torx screws or thick twine to lock them together. Screws hold tighter, but twine works fine for lighter fences.
Drive screws through both frames near the top, middle, and bottom. Repeat this along the entire fence line. Strong joints keep the fence from wobbling in wind or when animals lean against it.
How to Build a Gate Without Posts
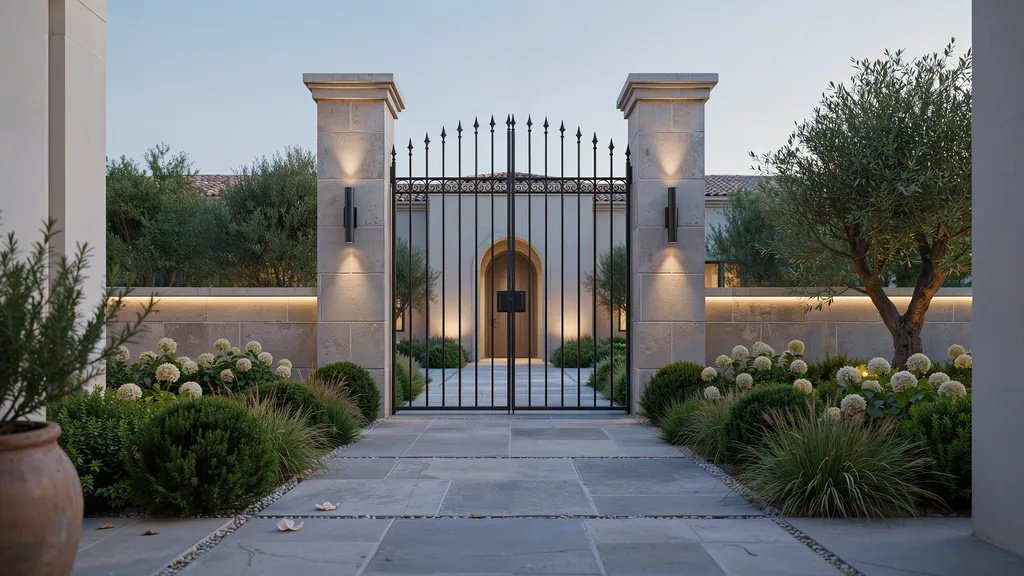
A gate ties your whole fence together. For more design inspiration, browse these courtyard gate ideas.
1. Simple Pallet Gate
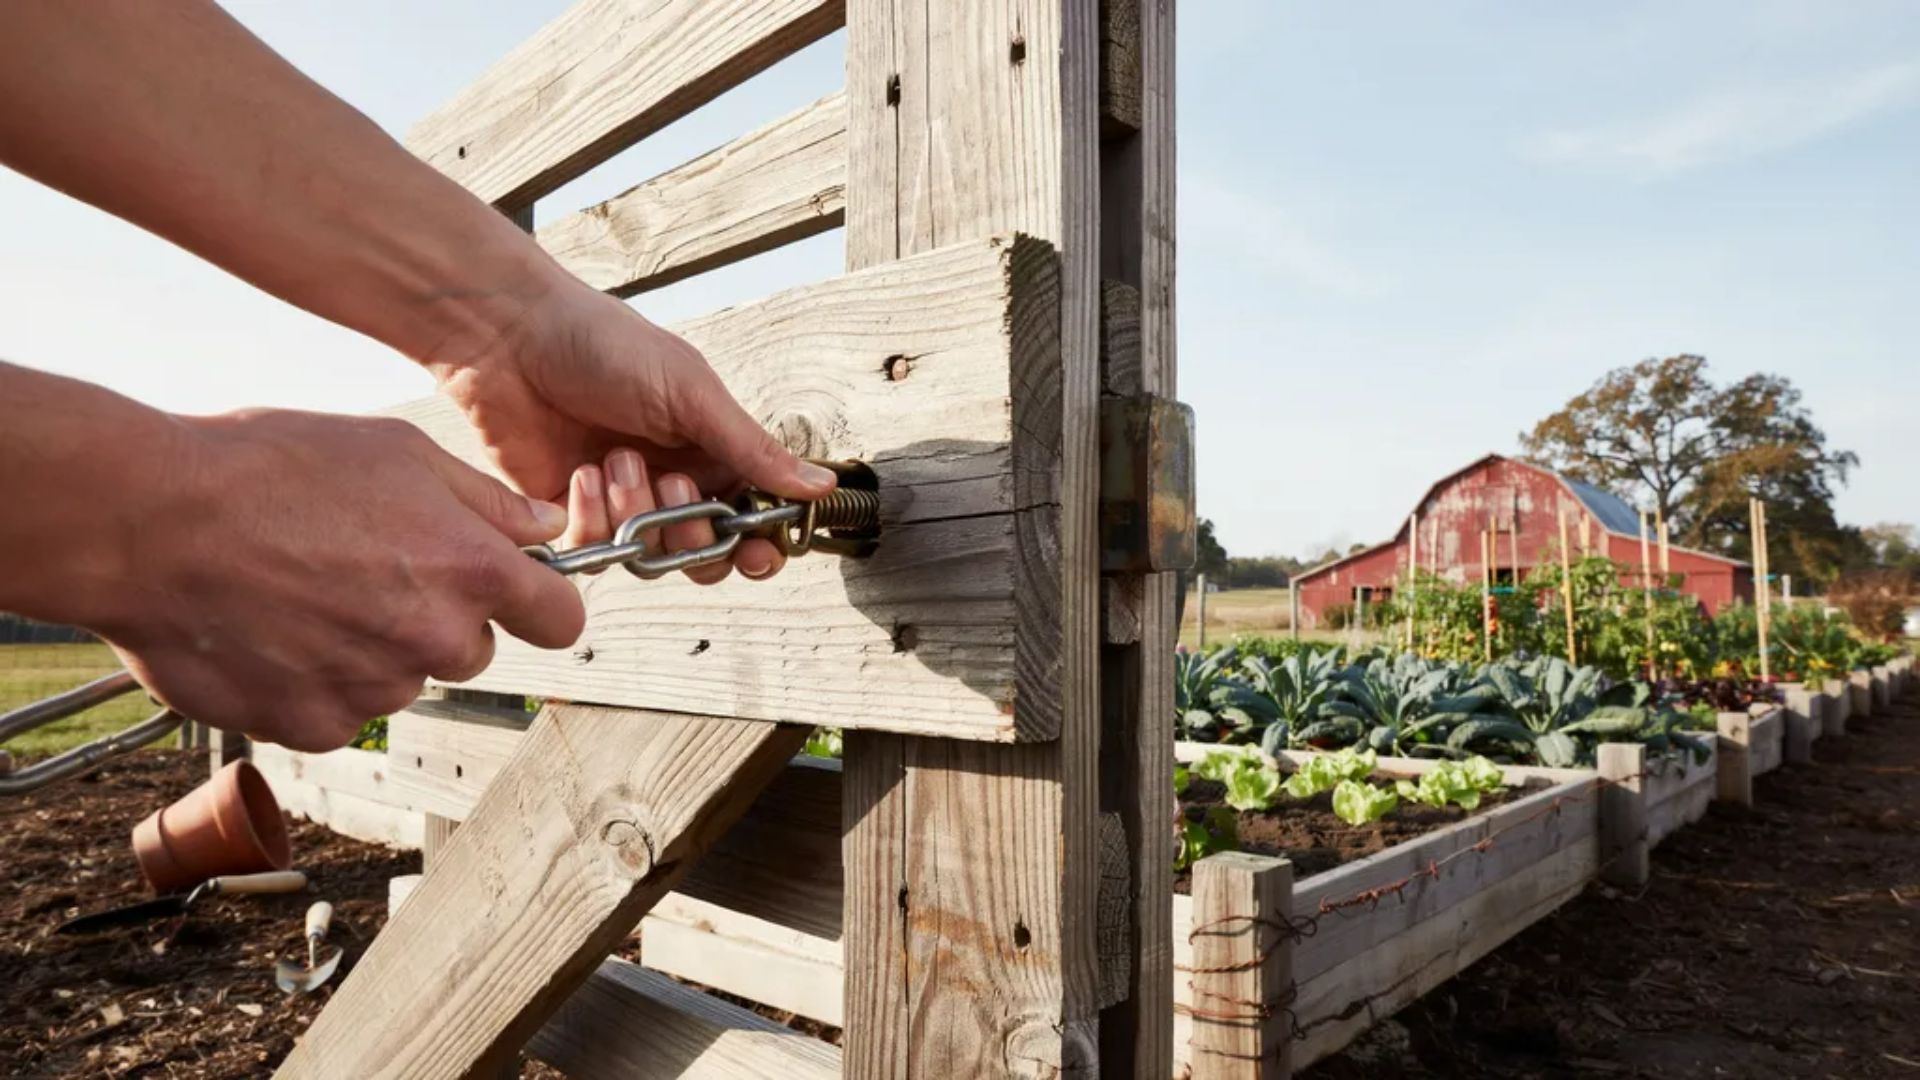
Pick one pallet the same size as your fence sections for the gate. Attach it to the fence line using a chain or a strong latch on one side.
This lets it swing open and closed like a door. Keep the other side loose so it can move freely. This method costs nothing extra if you already have spare pallets on hand.
2. Stabilize the Gate With T-Posts (Optional)
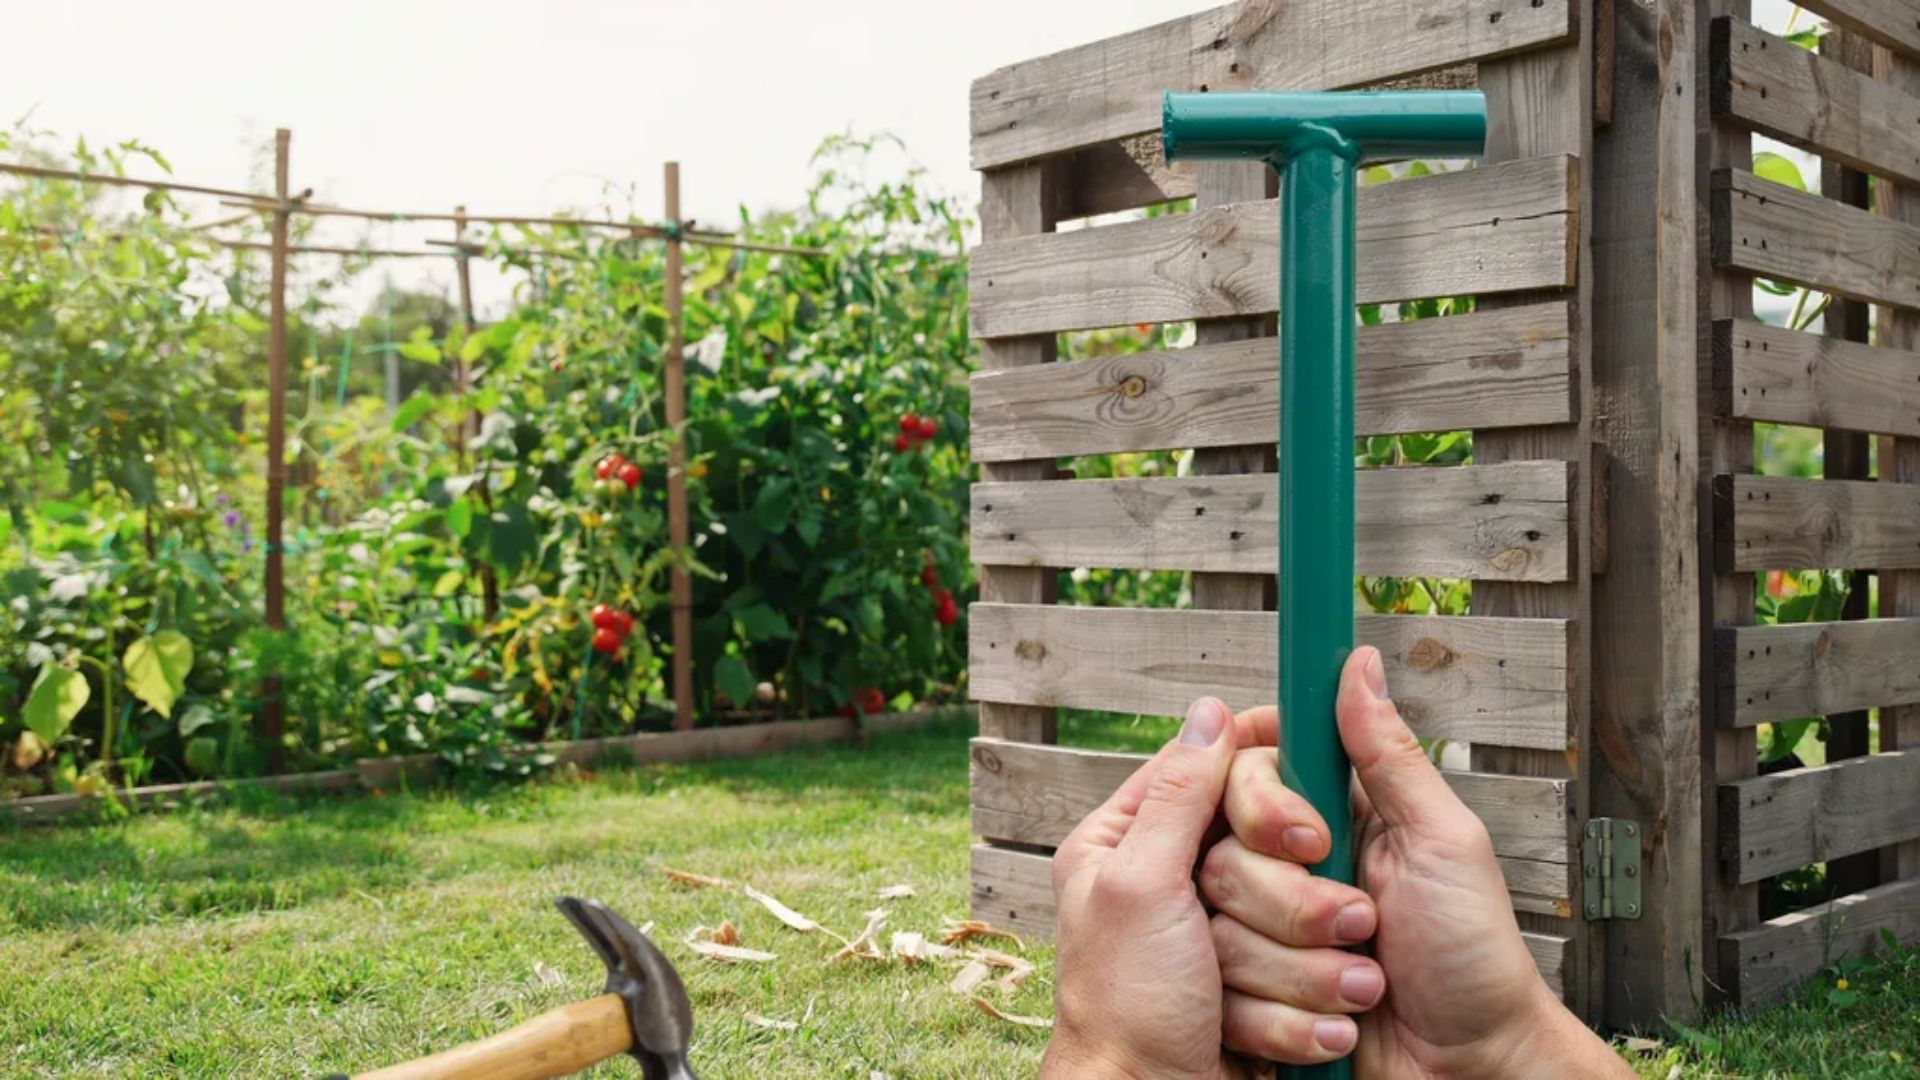
If your gate feels wobbly, add a T-post next to the hinge side. Drive it through the pallet slats and into the ground a few inches. This gives the gate a steady point to swing from.
You won't need concrete or deep holes here. Just enough grip to stop the gate from sagging or pulling loose over time with daily use.
3. Use Cattle Panel as a Hinge
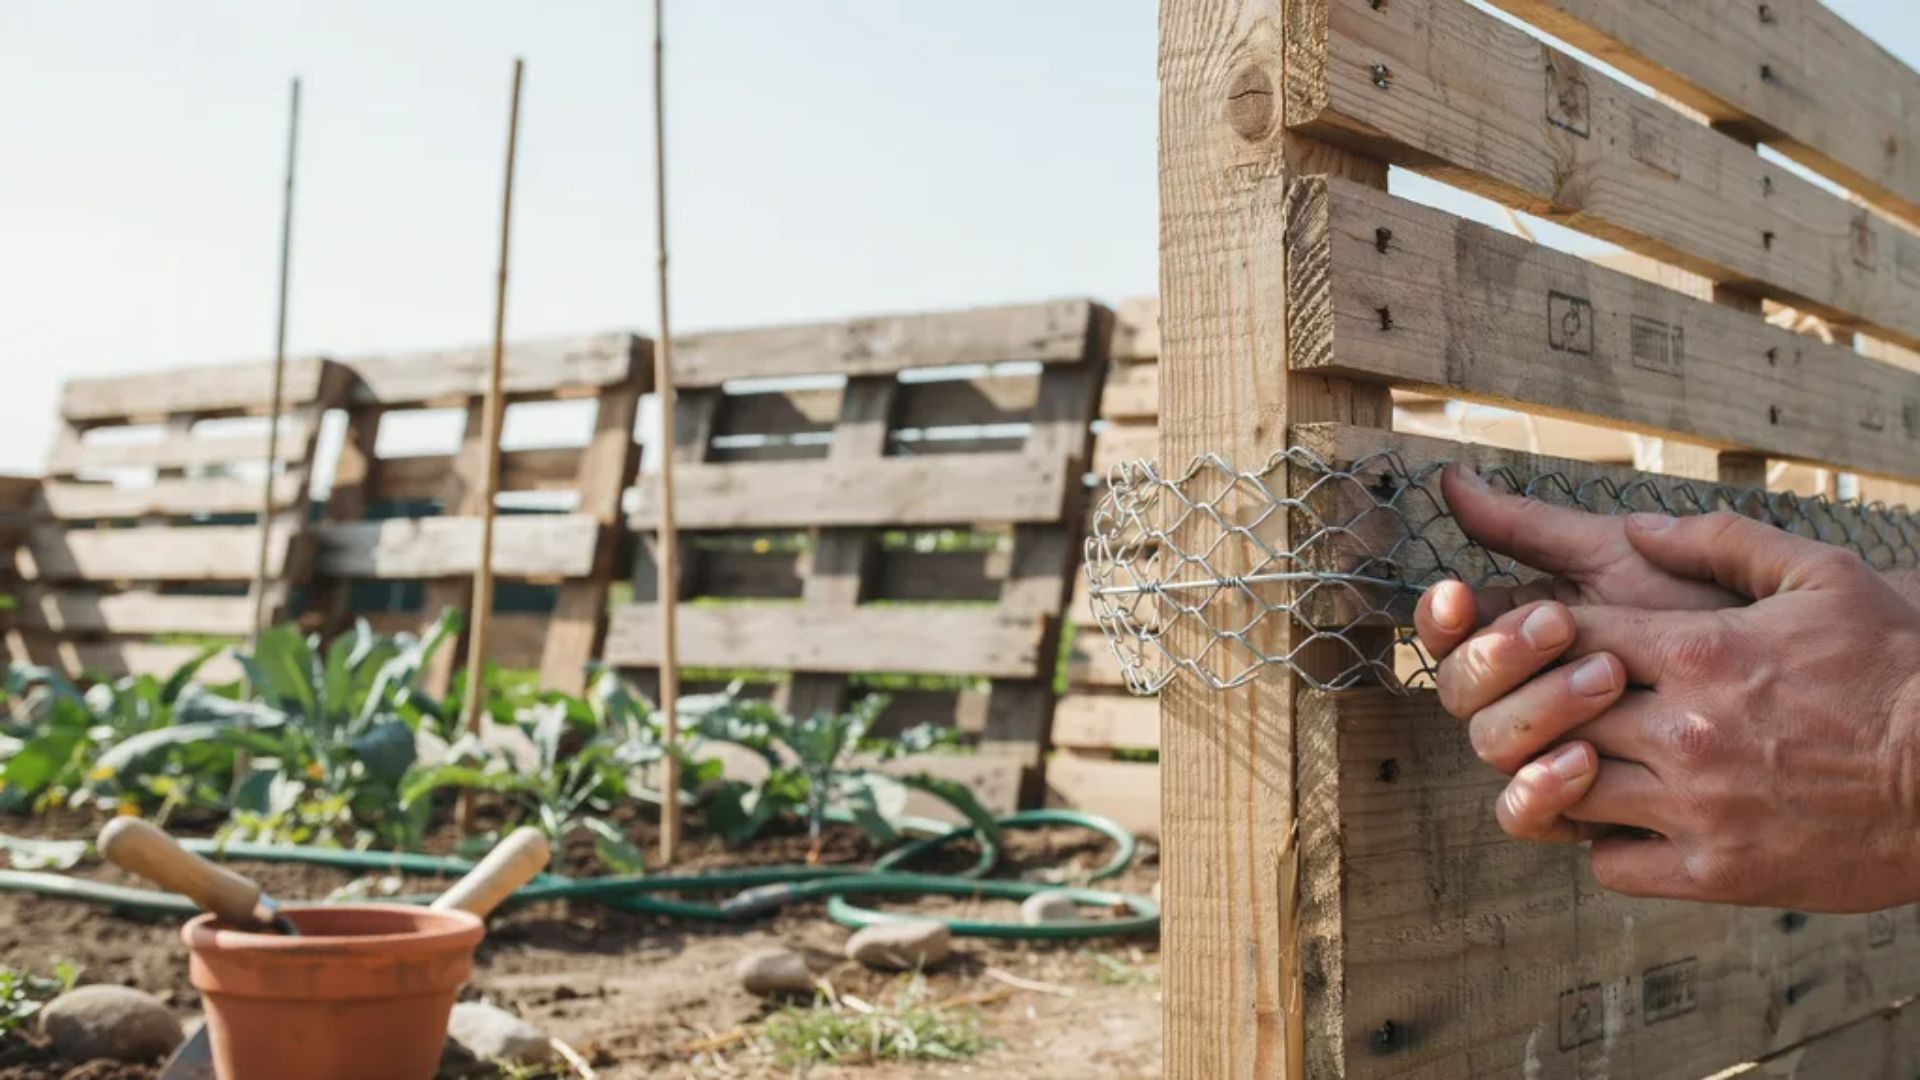
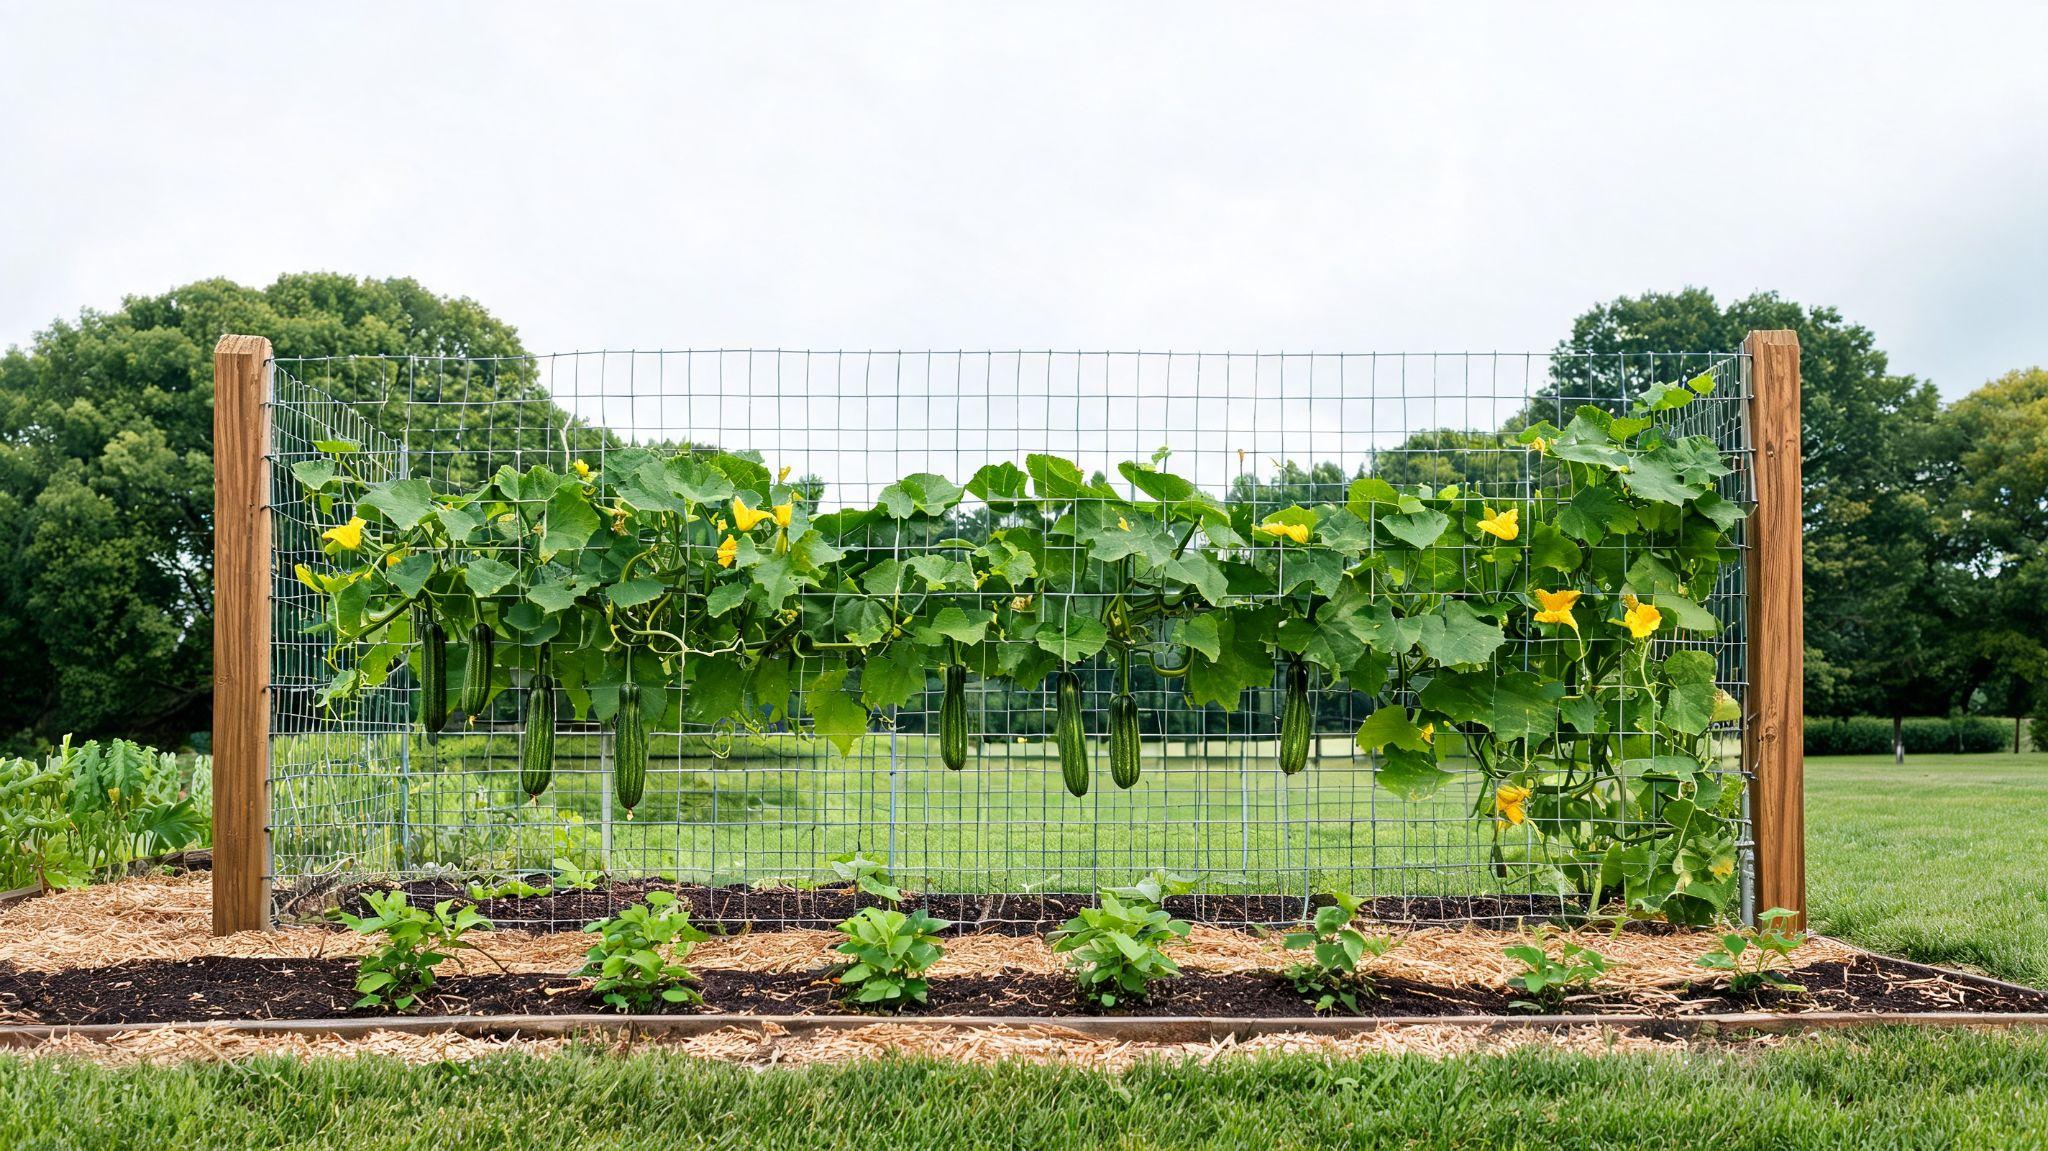
This trick works great for gates that get opened and closed often each day. Cattle panel is also handy for other garden builds, so check the cattle panel arch dimensions if you want to try an arch.
It holds up well outdoors and resists rust. This trick works great for gates that get opened and closed often each day.
Tips for a Stronger No Dig Pallet Fence
- Small details make a big difference here. A triple knot in your twine holds tighter and won't slip loose in wind.
- Always keep pallets at their full height. Cutting them down weakens the frame and looks uneven. Ask store staff before you grab any pallets stacked outside.
- Some are reserved for return shipments. Stick with HT stamped pallets only. They're treated with heat, not chemicals, so they're safer for gardens and animals.
- Keep your gate light too. A heavy gate pulls on its hinge point and sags faster. These small choices add years to your fence's life without extra cost or effort.
Other Uses for Leftover Pallets
Got extra pallets after building your fence? Don't toss them out. They still have plenty of life left in them.
- Tree guards: Wrap pallets around young trees to protect bark from deer and lawn tools.
- Livestock feeder: Stack and secure pallets to build a raised feeder that keeps hay off wet ground.
- Hay storage: Lay pallets flat under stacked hay bales to keep moisture from soaking in.
- Mud walkway: Line pallets across muddy paths to create a dry, stable walking surface.
- Temporary pens: Stand pallets upright and link them together for a quick pen for animals or tools.
Conclusion
A no dig pallet fence is easy to build and even easier on your back. No holes. No concrete. Just pallets, some twine or screws, and a few hours of your time.
I've used this method for gardens, small pens, and quick barriers, and it holds up every time. Grab some free pallets, pick your spot, and get started this weekend.
Have you built your own pallet fence? I'd love to hear how it turned out. Drop your tips, photos, or questions in the comments below.
Frequently Asked Questions
Are no-dig fences any good?
Yes, no-dig fences are a good option for light-duty projects because they're quick to install, affordable, and don't require digging or concrete.
How to build a pallet fence without posts?
You can join pallets together using heavy-duty brackets, stakes, or no-dig fence anchors to create a stable fence without setting traditional posts in concrete.
Is a no-dig fence cheaper?
Yes, a no-dig fence is usually cheaper because it saves on labor, concrete, tools, and installation time.
Are pallet fences expensive?
No, pallet fences are one of the most budget-friendly fencing options, especially if you can source free or low-cost pallets.