If you're wondering how to build a garden fence, you may not know where to begin. Choosing the right materials, setting fence posts correctly, and making sure everything stays straight can feel confusing for a first-time DIY project.
The good news is that building a sturdy garden fence is easier when you follow the right steps. This guide will walk you through planning the layout, gathering tools and materials, setting posts, attaching fencing, and installing a gate.
You'll also find tips to help you avoid common mistakes and build a fence that lasts. The advice here is based on practical DIY methods that many homeowners use to successfully build garden fences.
How Does a DIY Garden Fence Work?
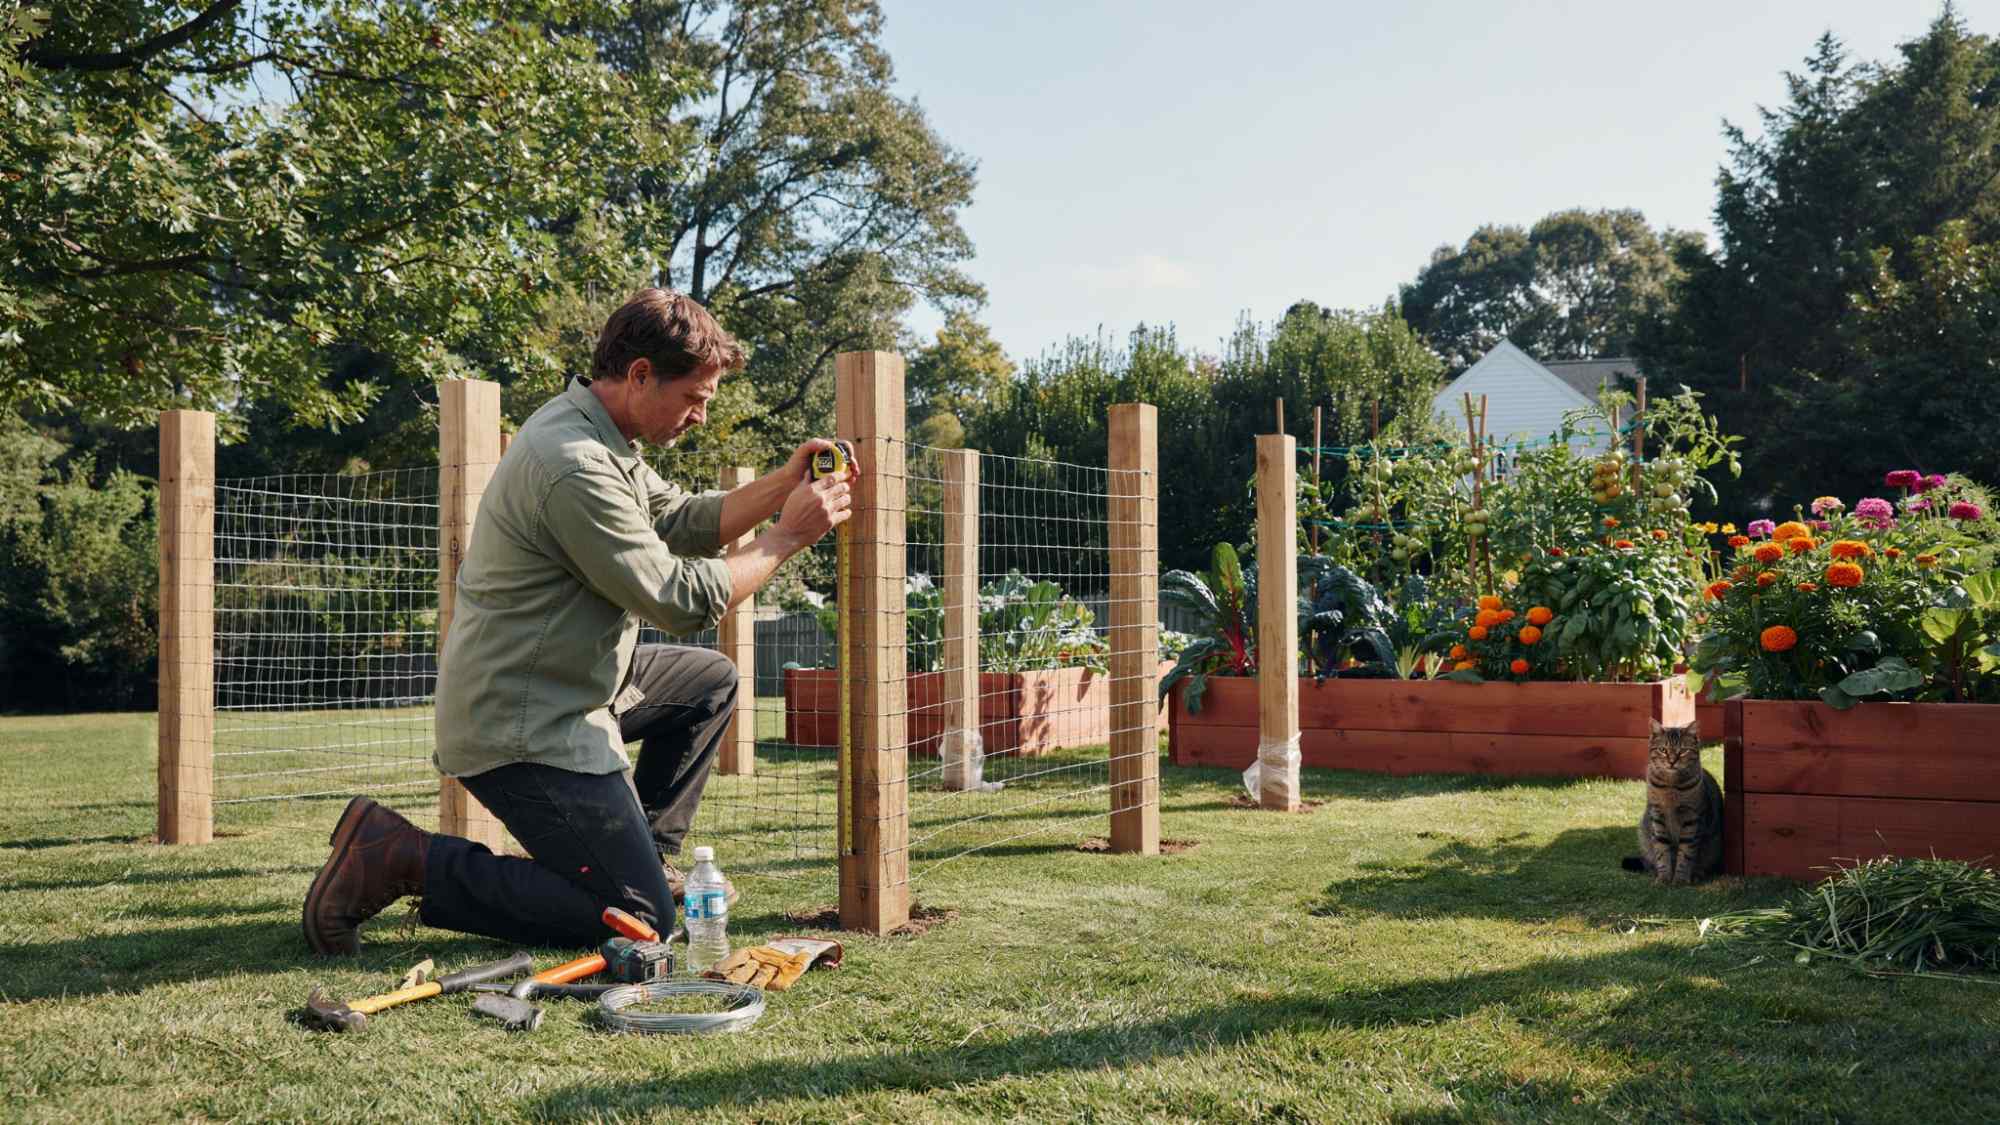
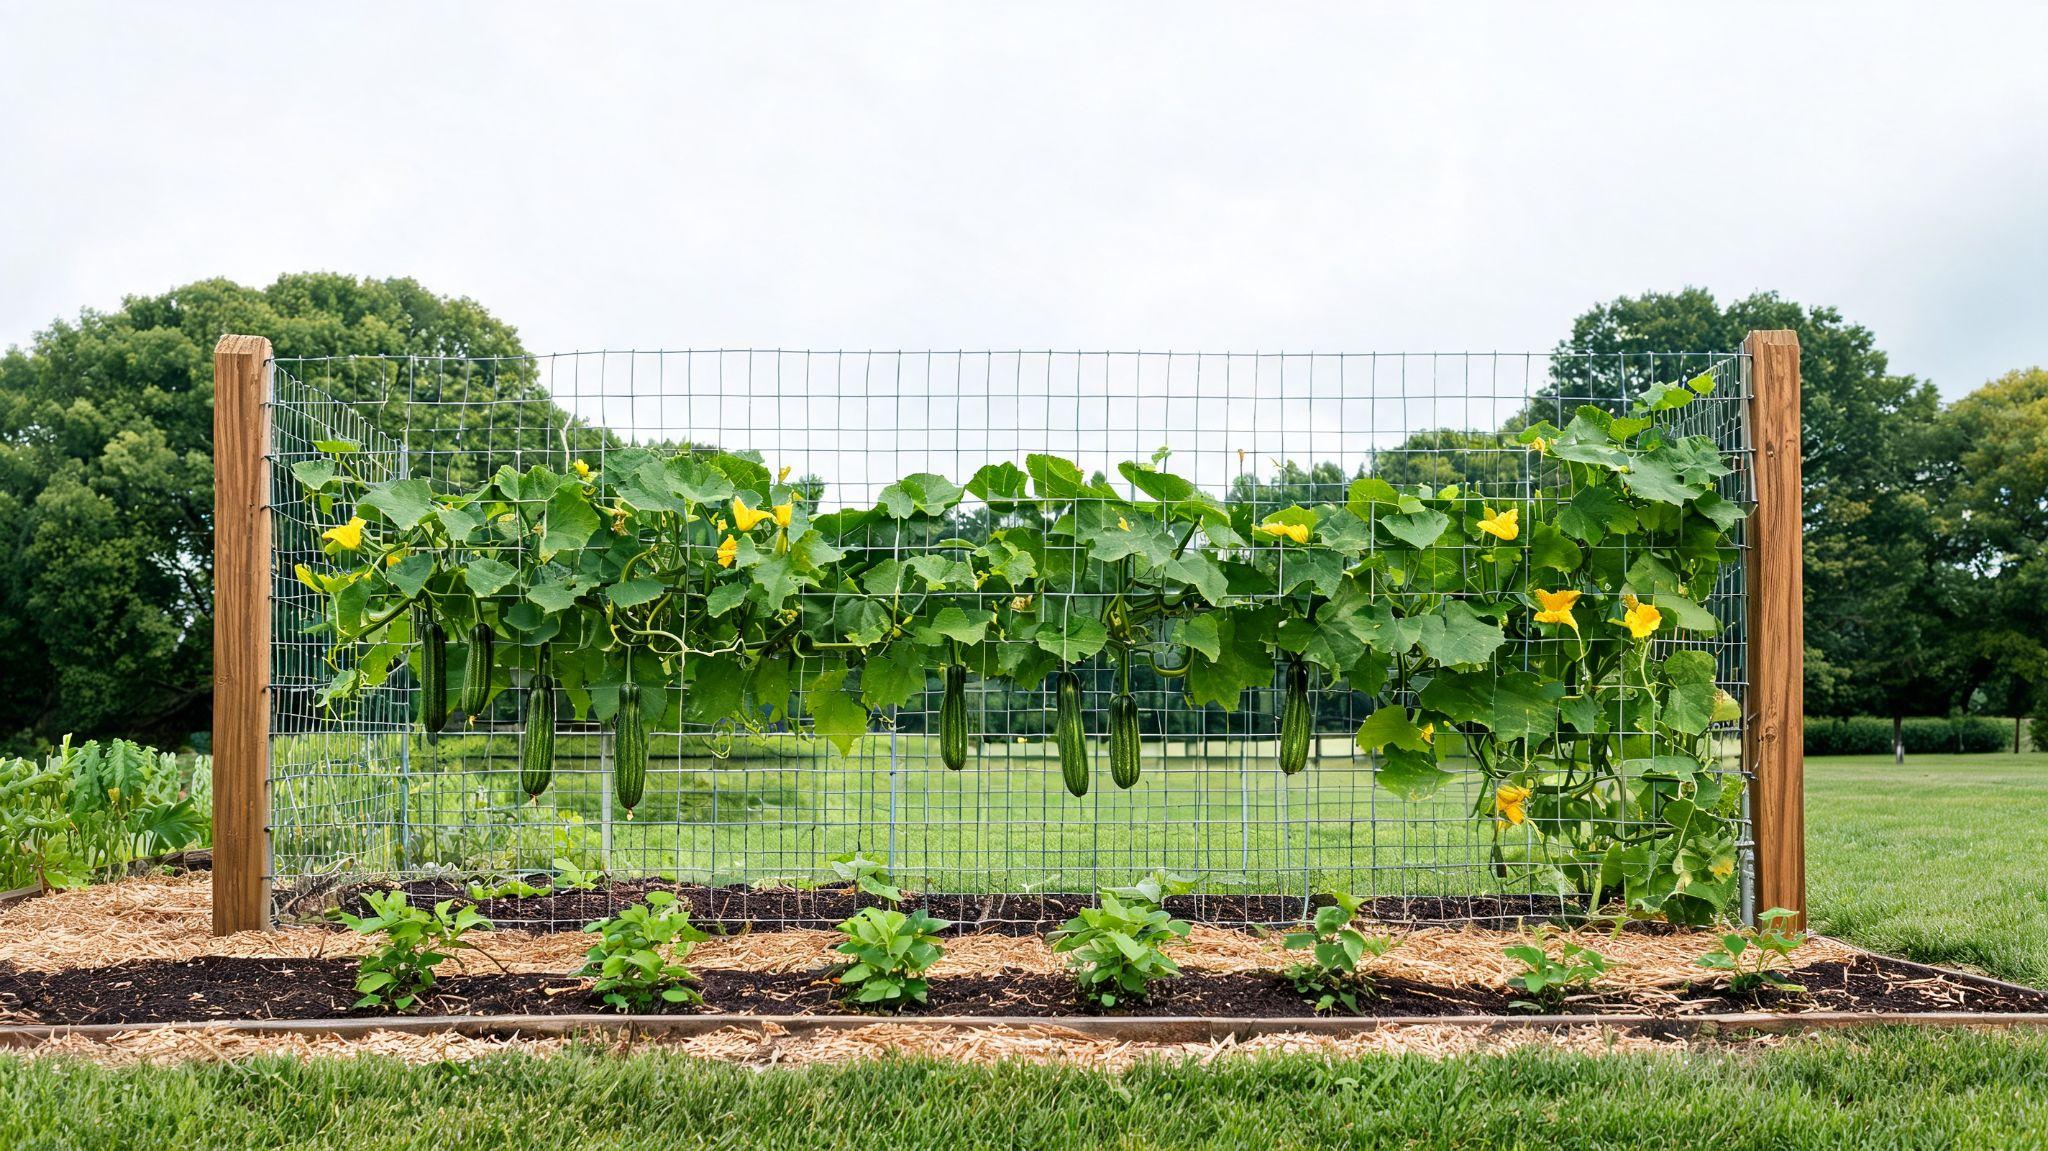
A basic DIY garden fence uses treated wood posts set in the ground, horizontal rails between them, and welded wire stretched tight across the frame.
The posts and their depth give the fence its strength, and the wire does the job of keeping animals out.
Most homeowners can build one in a weekend with basic tools. The steps below cover layout, posts, rails, wire, and a gate, along with the choices that decide whether the fence actually holds up.
Plan Your Garden Fence Before You Start
A little planning before you start building can save time, money, and extra work later. Taking a few simple steps now will help you build a fence that is straight, sturdy, and meets your needs.
- Decide the purpose of your fence: Think about why you need the fence. It may be to keep out deer, rabbits, or pets, protect vegetables, add privacy, define your garden space, or support climbing plants.
- Measure and mark the fence layout: Carefully measure the garden area and mark the corners with stakes. Run a string between the stakes to outline the fence line. Use the 3-4-5 method to square the corners and decide where the gate will be placed for easy access.
- Check local building rules: Before digging, check if your area has rules about fence height, property lines, or permits. If you belong to a homeowners association, review its guidelines as well. Also, have underground utility lines marked to avoid damaging pipes or cables during installation.
Once your layout is planned and your measurements are accurate, you can gather your tools and materials with confidence and move on to building the fence.
How Tall Should a Garden Fence Be?
Choose your fence height before you buy anything, because it decides your post length and how much wire you need. The right height depends on what you're keeping out.
- Rabbits: A fence about 2 to 3 feet tall works, but only if the bottom edge is dealt with. Bury the wire 6 inches deep or bend it outward along the ground.
- Dogs and other small pets: 3 to 4 feet is usually enough.
- Groundhogs and diggers: Use a 3- to 4-foot fence with wire buried about a foot deep or bent outward.
- Deer: Deer jump well, so a standard 4-foot fence won't stop them. Plan for a fence around 8 feet tall.
Post length follows from height. A 4-foot fence needs 6-foot posts, with about 2 feet underground. The taller the fence, the longer the posts need to be. Before you dig, call your local utility locator to have underground lines marked.
Tools and Materials You'll Need
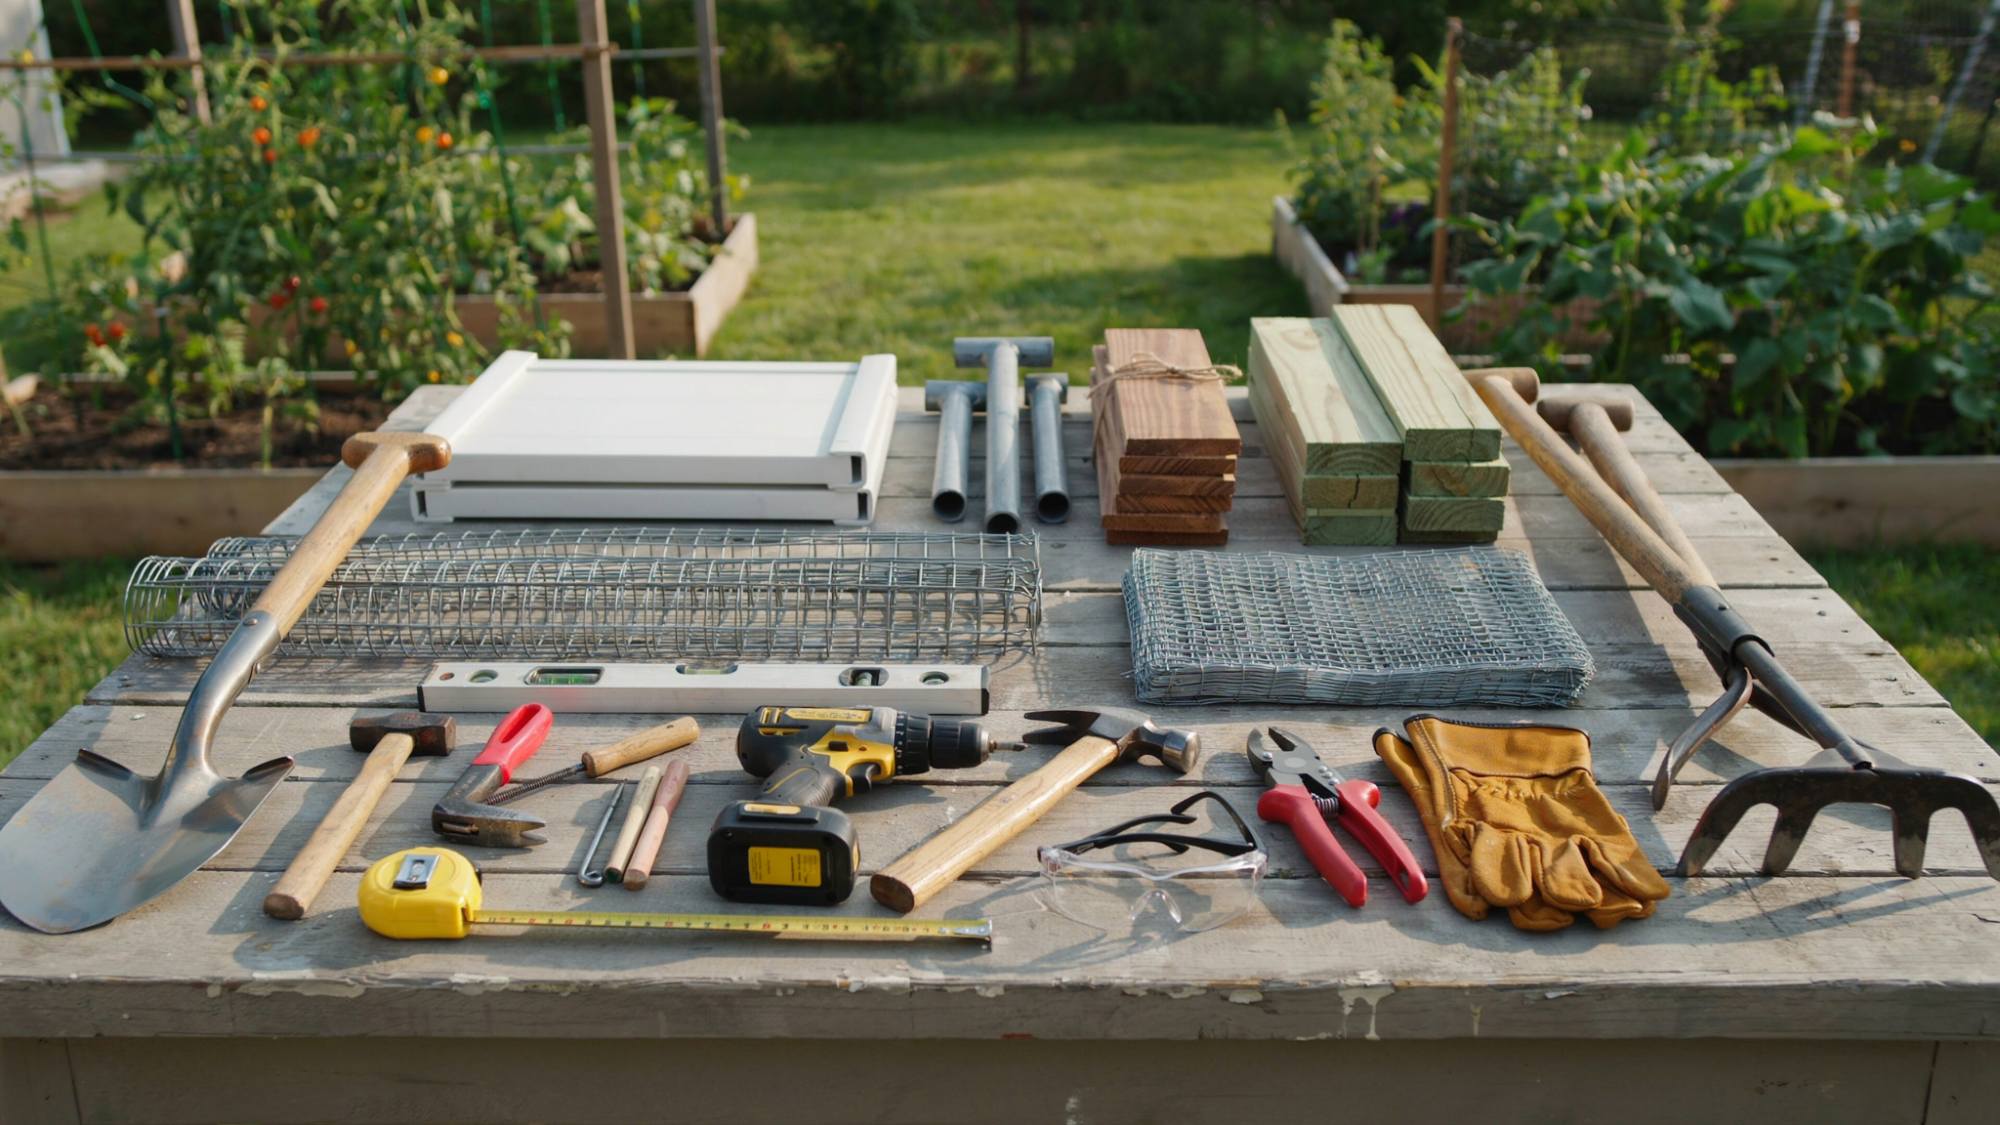
Materials
- Pressure-treated 4×4 posts (6 feet long for a 4-foot fence)
- Concrete mix, one bag per post
- Pressure-treated 2×4 or 1×4 rails
- Galvanized exterior screws or metal brackets
- Welded wire fencing (hardware cloth for small pests)
- Heavy-duty staples
- Gravel for the base of each hole
- Gate hinges and a latch
Tools
- Post-hole digger or auger
- Level
- Stakes and string
- Tape measure
- Staple gun or hammer
- Tin snips or wire cutters
- Drill or screwdriver
Pressure-treated wood resists rot better than untreated lumber, which matters because the posts sit in wet soil.
Choose the Best Fence Design for Your Garden
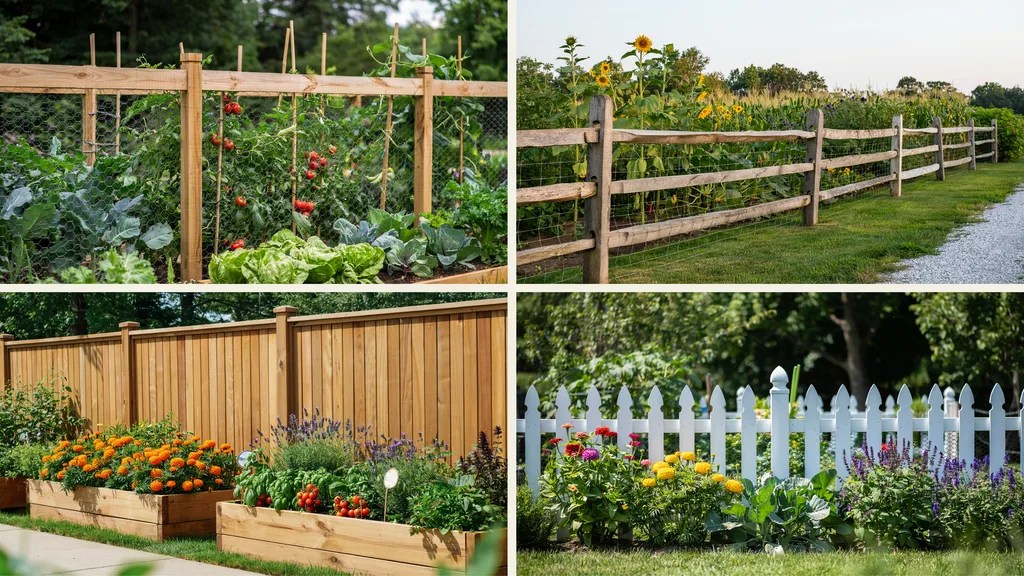
The best garden fence design depends on your budget, the look you want, and the type of protection your garden needs. Here are some popular options to help you choose the right one.
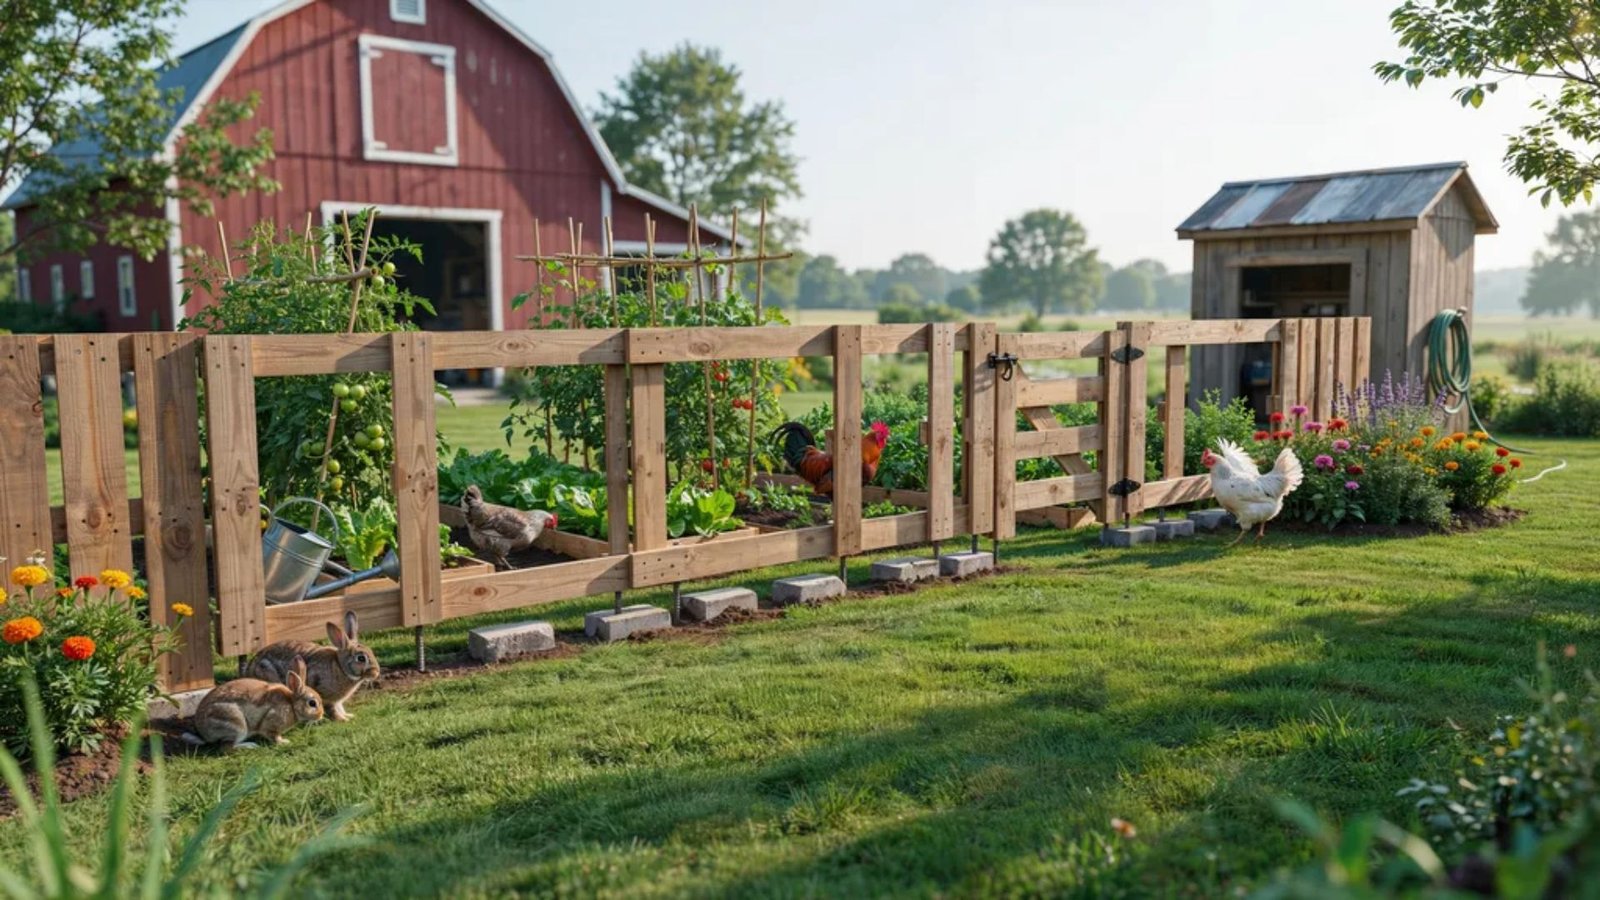
- Wooden Frame with Welded Wire Fence: A popular choice for vegetable gardens because it combines a sturdy wooden frame with durable wire mesh. It keeps out most animals while maintaining an open, attractive appearance.
- Split Rail Fence with Wire Mesh: Offers a traditional, rustic look while the attached wire mesh prevents rabbits, dogs, and other small animals from entering. It works well for larger gardens and country-style landscapes.
- Cedar Garden Fence: Cedar is naturally resistant to rot and insects, making it a long-lasting option. It provides a clean, finished appearance and is ideal if you want both protection and visual appeal.
- Metal T-Post and Wire Fence: This is one of the most affordable and quickest fence designs to install. Metal T-posts support welded wire or woven wire fencing, making it a practical choice for large gardens and budget-friendly projects.
- Decorative Picket Garden Fence: A picket fence adds charm and clearly defines your garden space. While it offers limited protection against wildlife on its own, it can be combined with wire mesh for added security.
Choosing a fence design that matches your garden's needs will help protect your plants while complementing your outdoor space.
Consider your budget, maintenance preferences, and the animals you want to keep out before making your final decision.
Step-by-Step Instructions to Build Your Garden Fence
Once you have planned the layout and gathered your tools, you can begin building the fence.
Follow these steps to create a sturdy, straight, and long-lasting garden fence that protects your plants and adds structure to your outdoor space.
Step 1: Mark the Fence Line
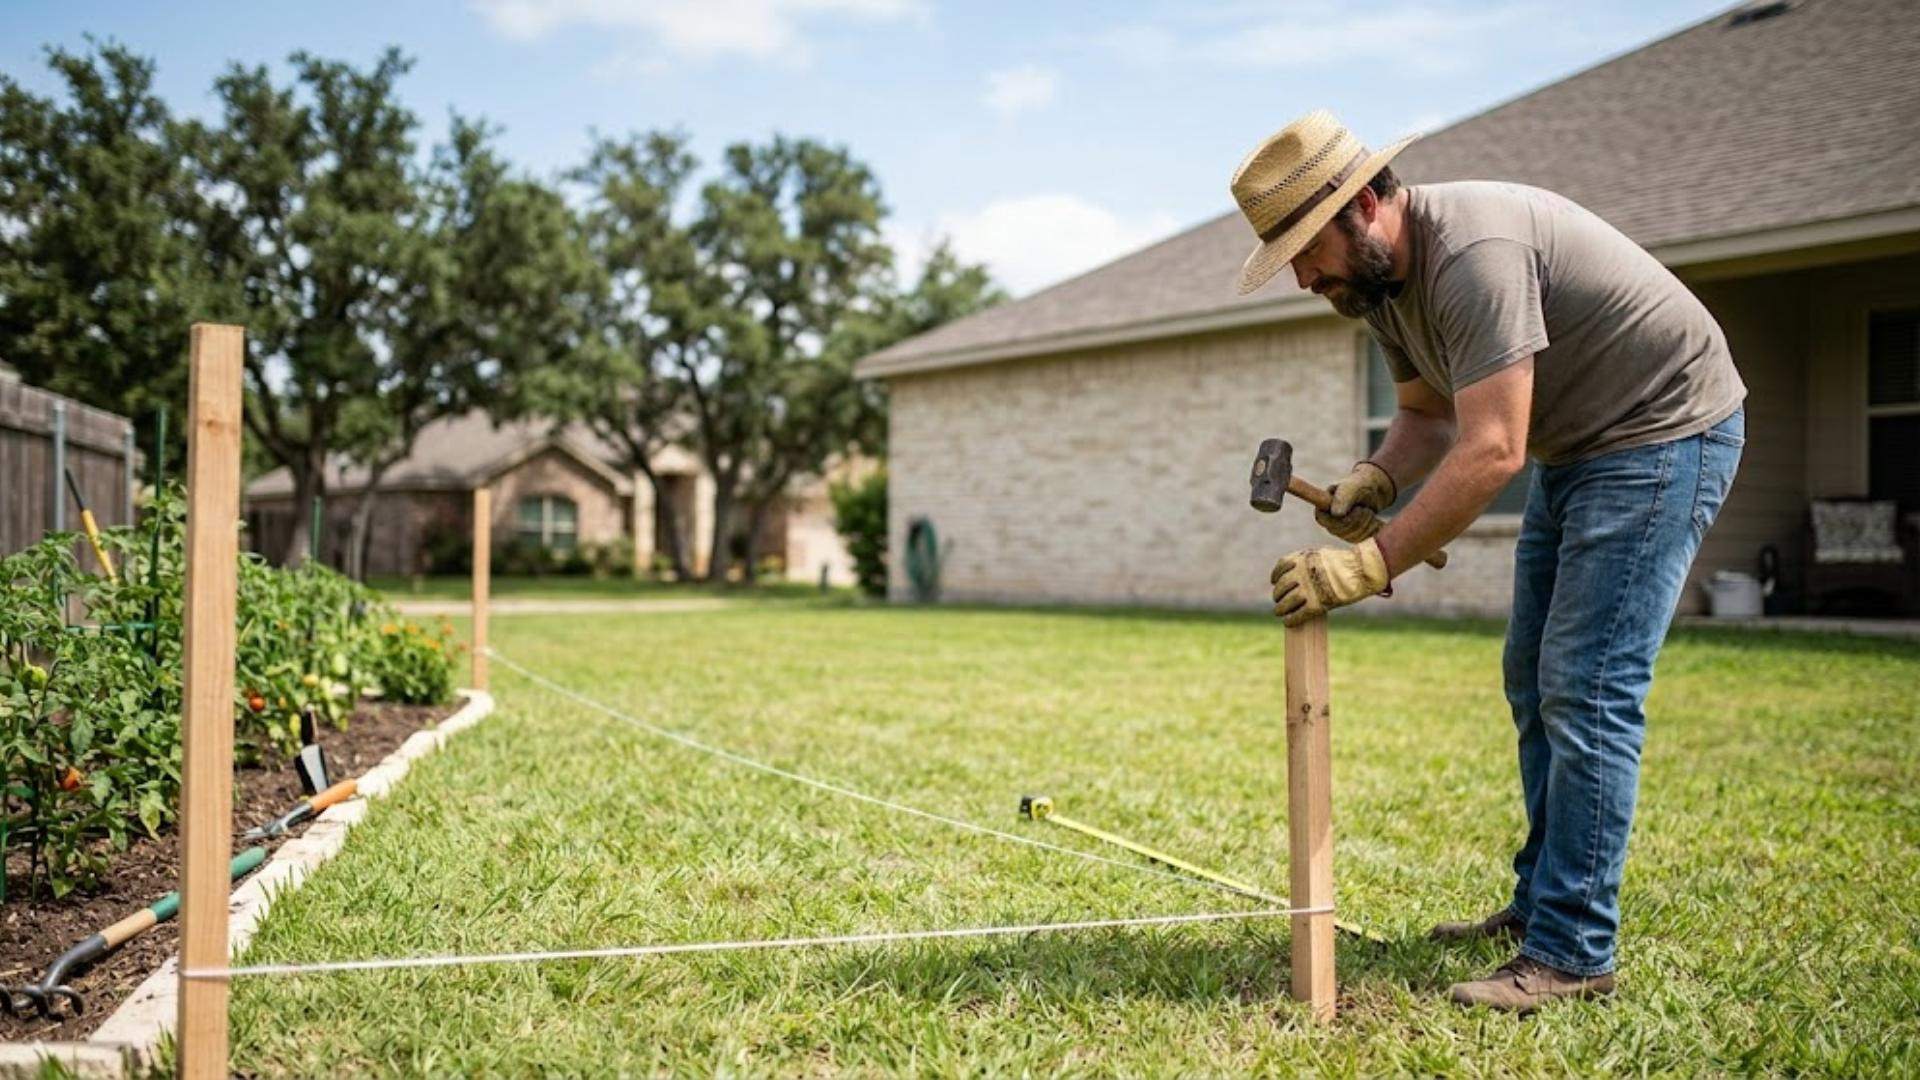
Start by measuring the perimeter of your garden and placing stakes at each corner. Run a tight string between the stakes to mark the fence line and keep everything straight.
Use the 3-4-5 method to create square corners, then mark the locations of each fence post. Leave enough space for a gate where you can easily enter and move gardening equipment.
Step 2: Dig Post Holes
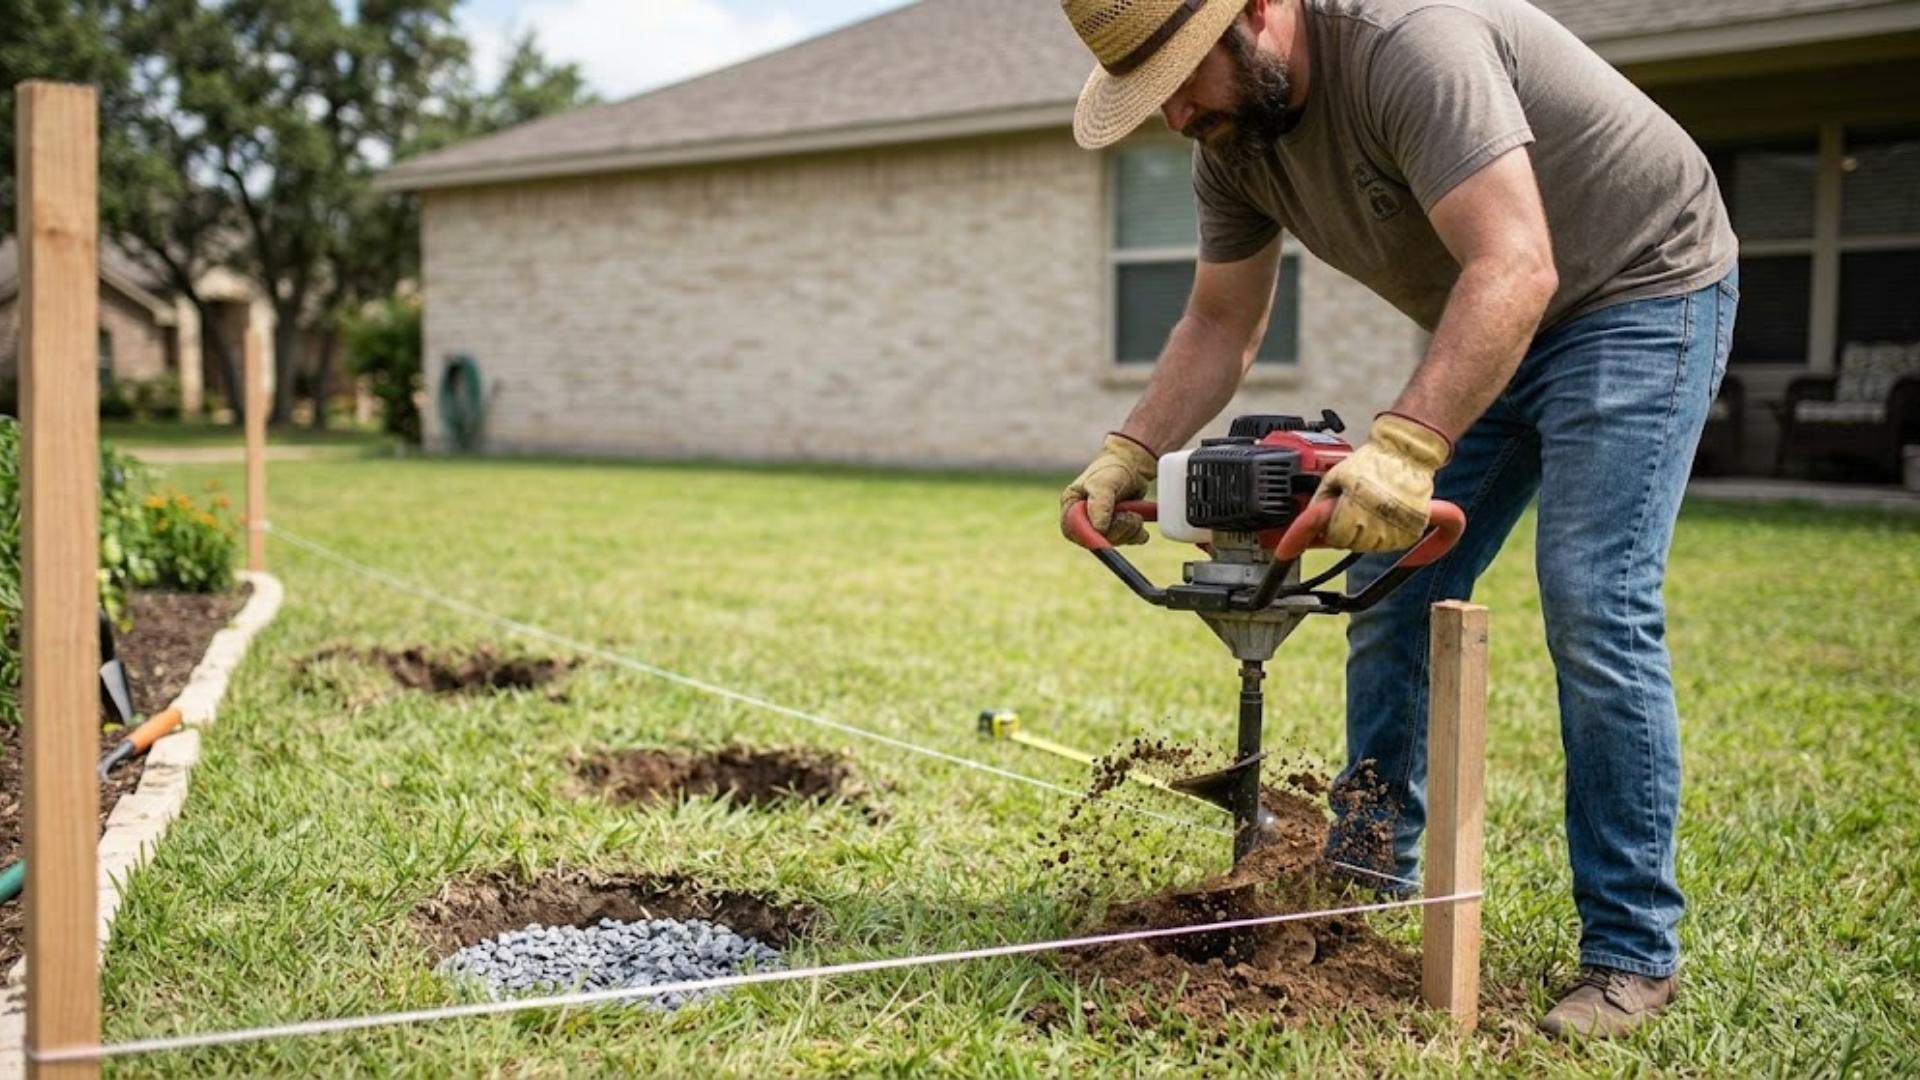
Use a post hole digger or auger to dig holes at each marked location. Most fence posts should be buried about one-third of their total length, with deeper holes in areas that experience freezing temperatures.
Add a few inches of gravel to the bottom of each hole to improve drainage and help reduce moisture around the posts.
Step 3: Set the Fence Posts
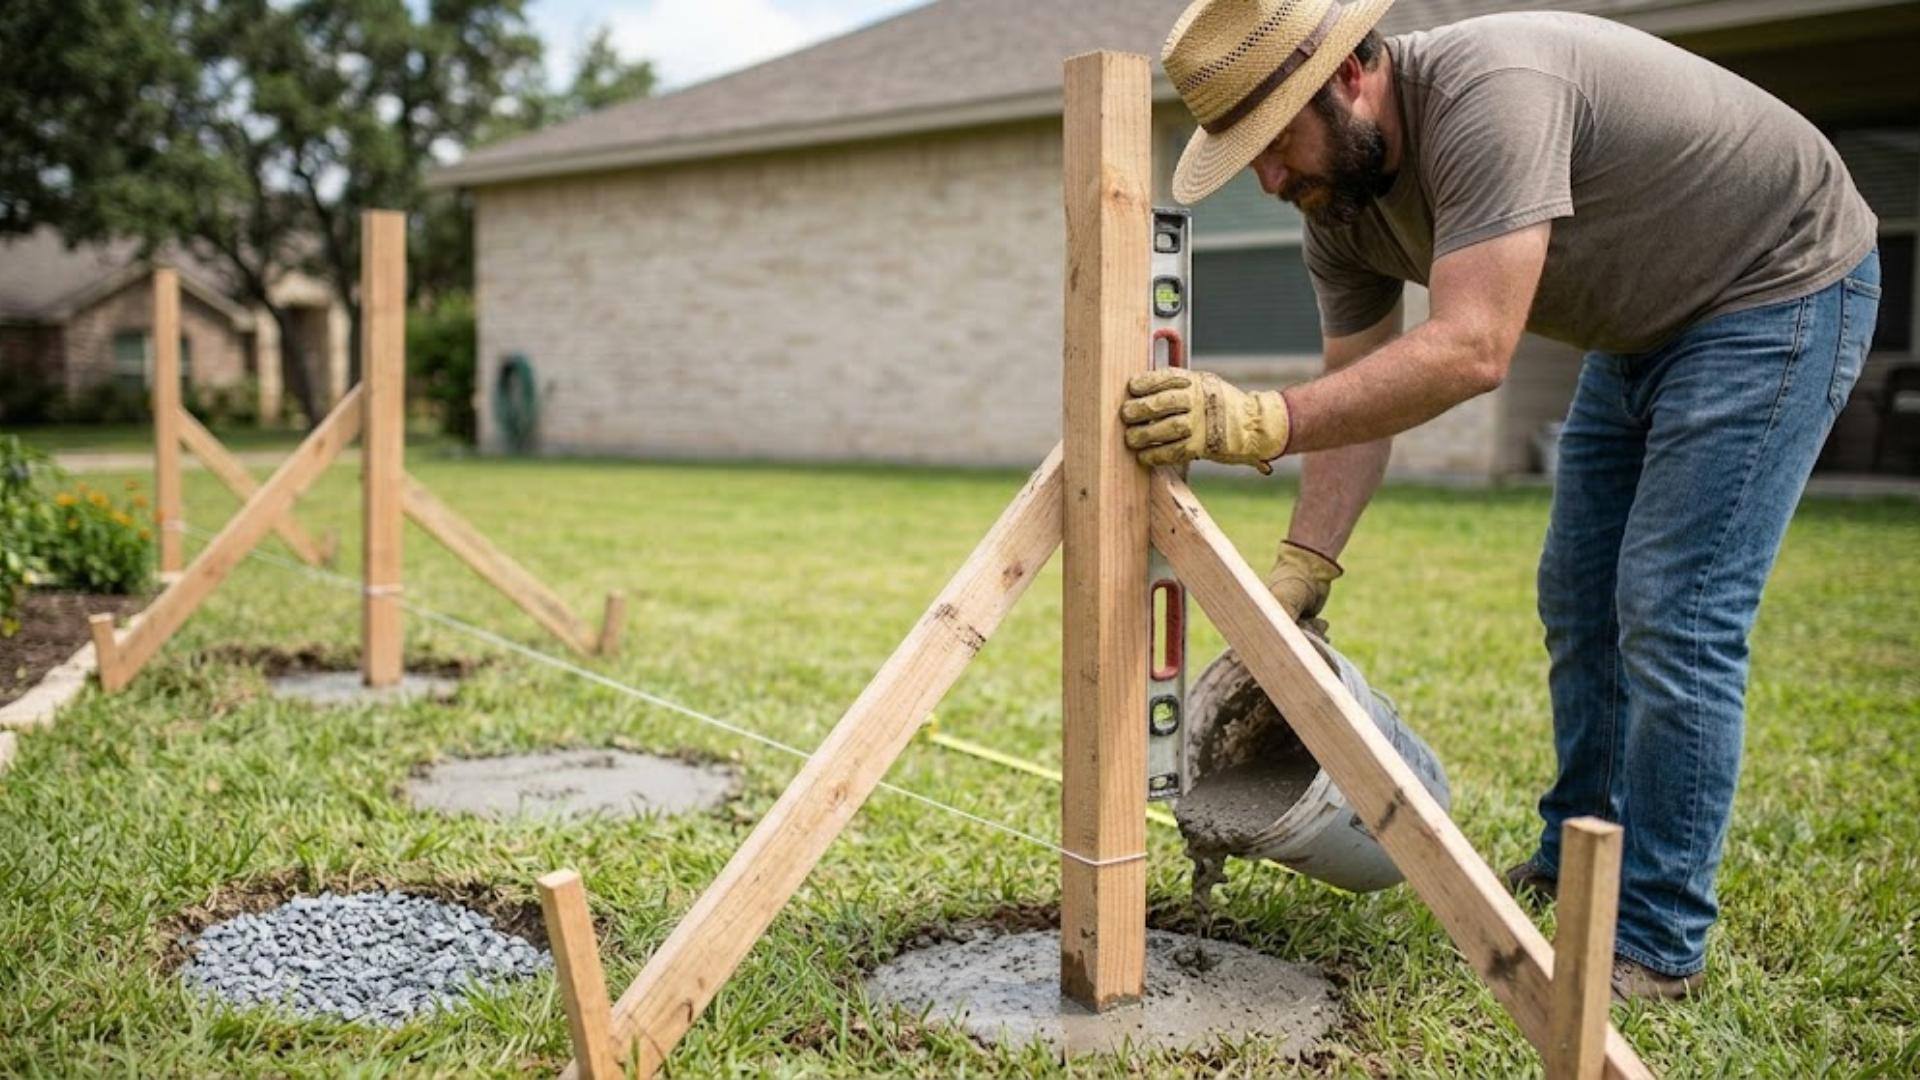
Place the corner posts into the holes first and check that each one is perfectly level.
Brace the posts with scrap wood to keep them upright while filling the holes with concrete or compacted soil, depending on your fence design.
Once the corner posts are secure, install the remaining posts using the string line to keep them evenly aligned.
Step 4: Install Horizontal Rails
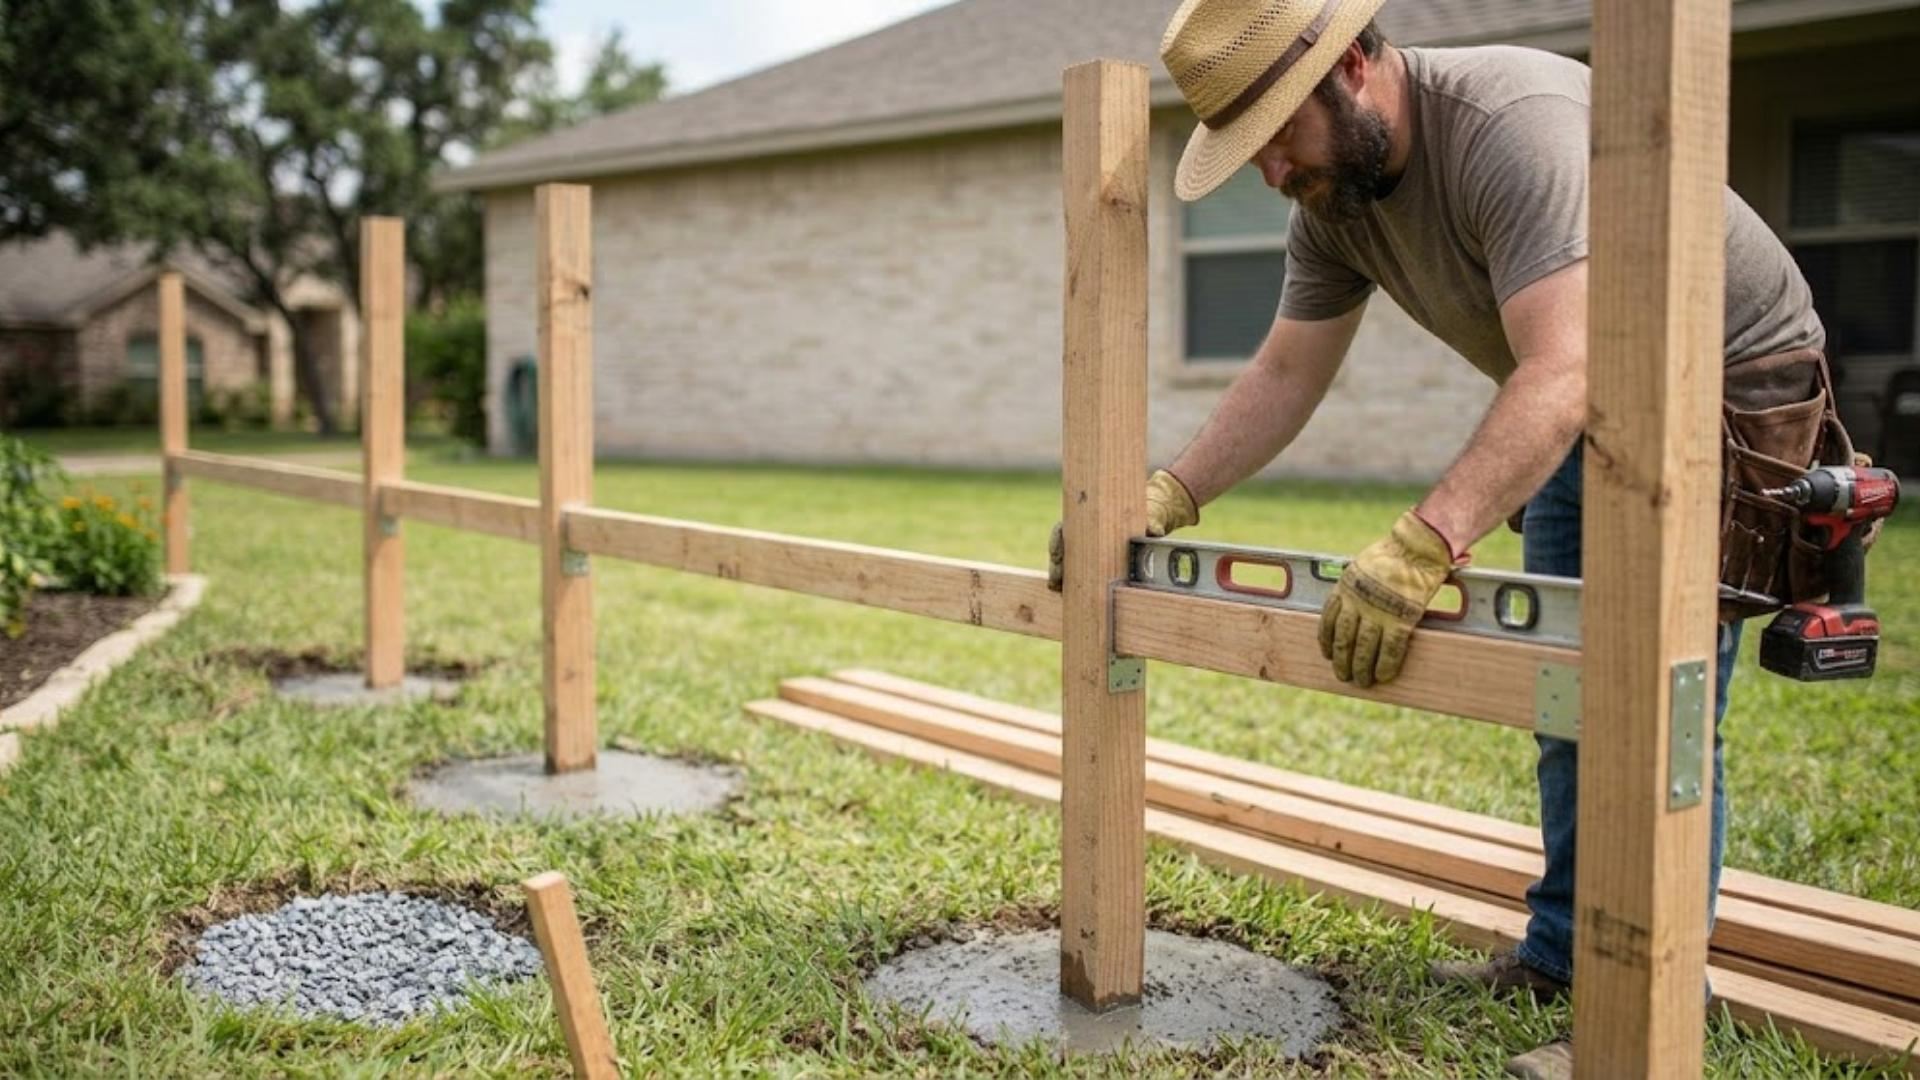
After the posts have fully set, attach horizontal rails between them using exterior-grade screws or metal brackets. Most wooden fences use two or three rails, depending on the fence height.
Check each rail with a level before securing it permanently to create a straight and sturdy frame for attaching the fencing material.
Step 5: Attach the Fence Material
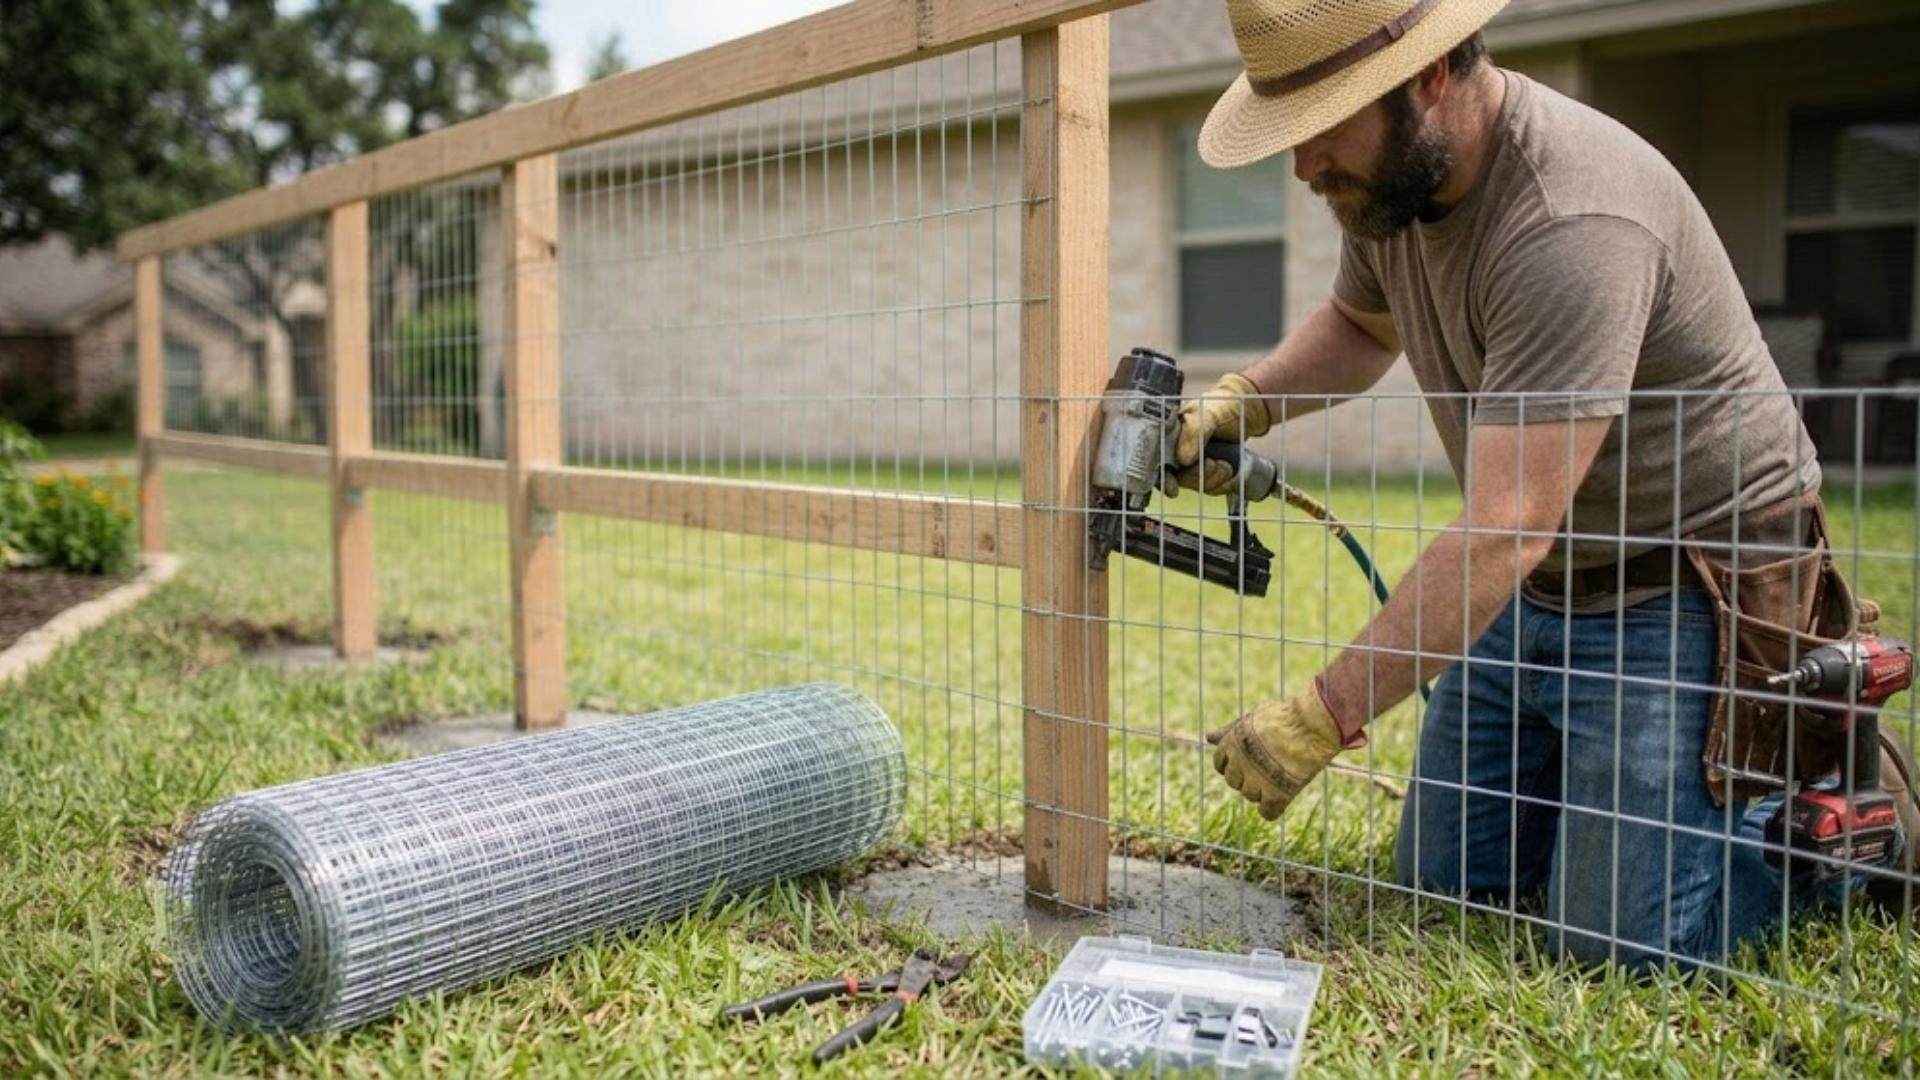
Unroll the welded wire mesh, hardware cloth, or fencing panels and position them against the frame. Pull the fencing tight before attaching it with galvanized staples, screws, or clips to prevent sagging over time.
Trim any excess material with wire cutters and make sure the bottom edge sits close to the ground to help keep animals out.
Step 6: Build and Install the Garden Gate
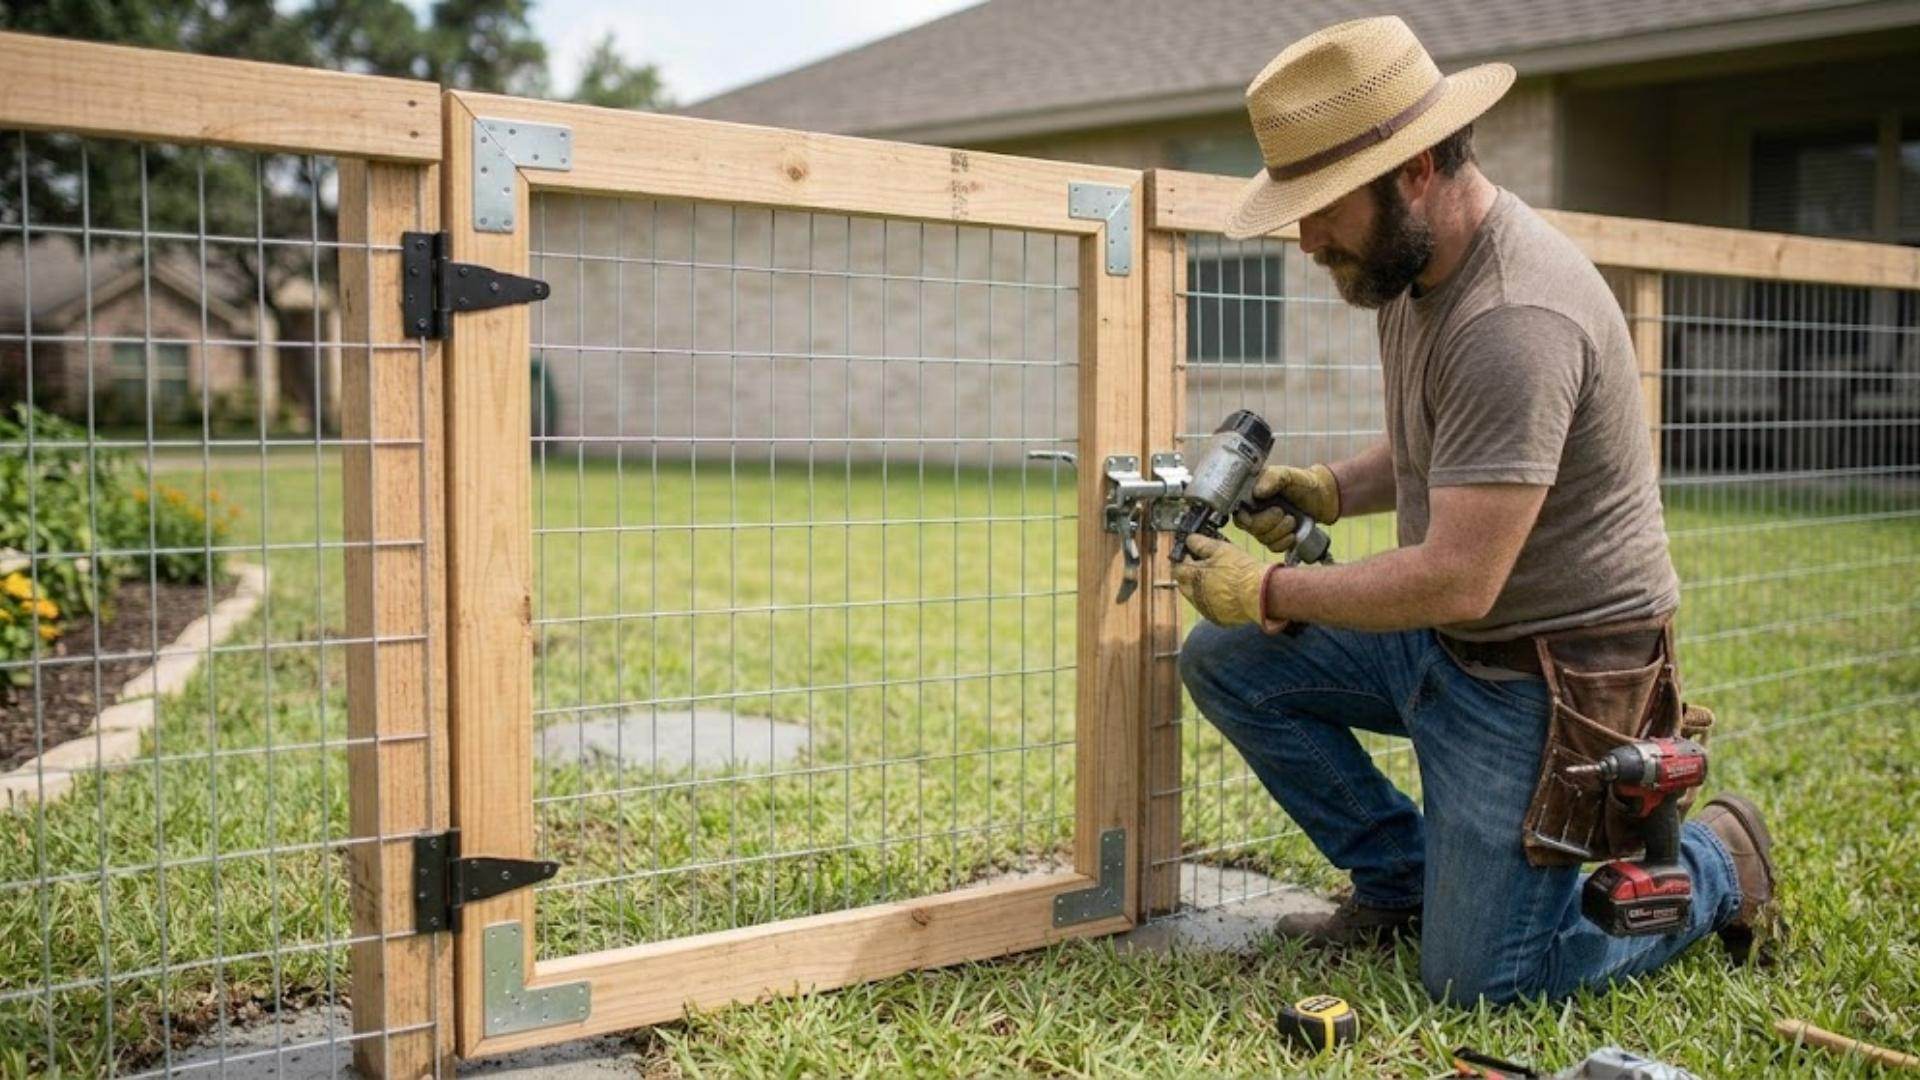
Measure the gate opening carefully and build a simple rectangular frame using pressure-treated lumber or cedar. Reinforce the frame with corner brackets or a diagonal brace to prevent sagging.
Attach the same fencing material used on the rest of the fence, then install heavy-duty hinges and a secure latch for smooth opening and reliable closure.
Step 7: Check Stability and Make Final Adjustments
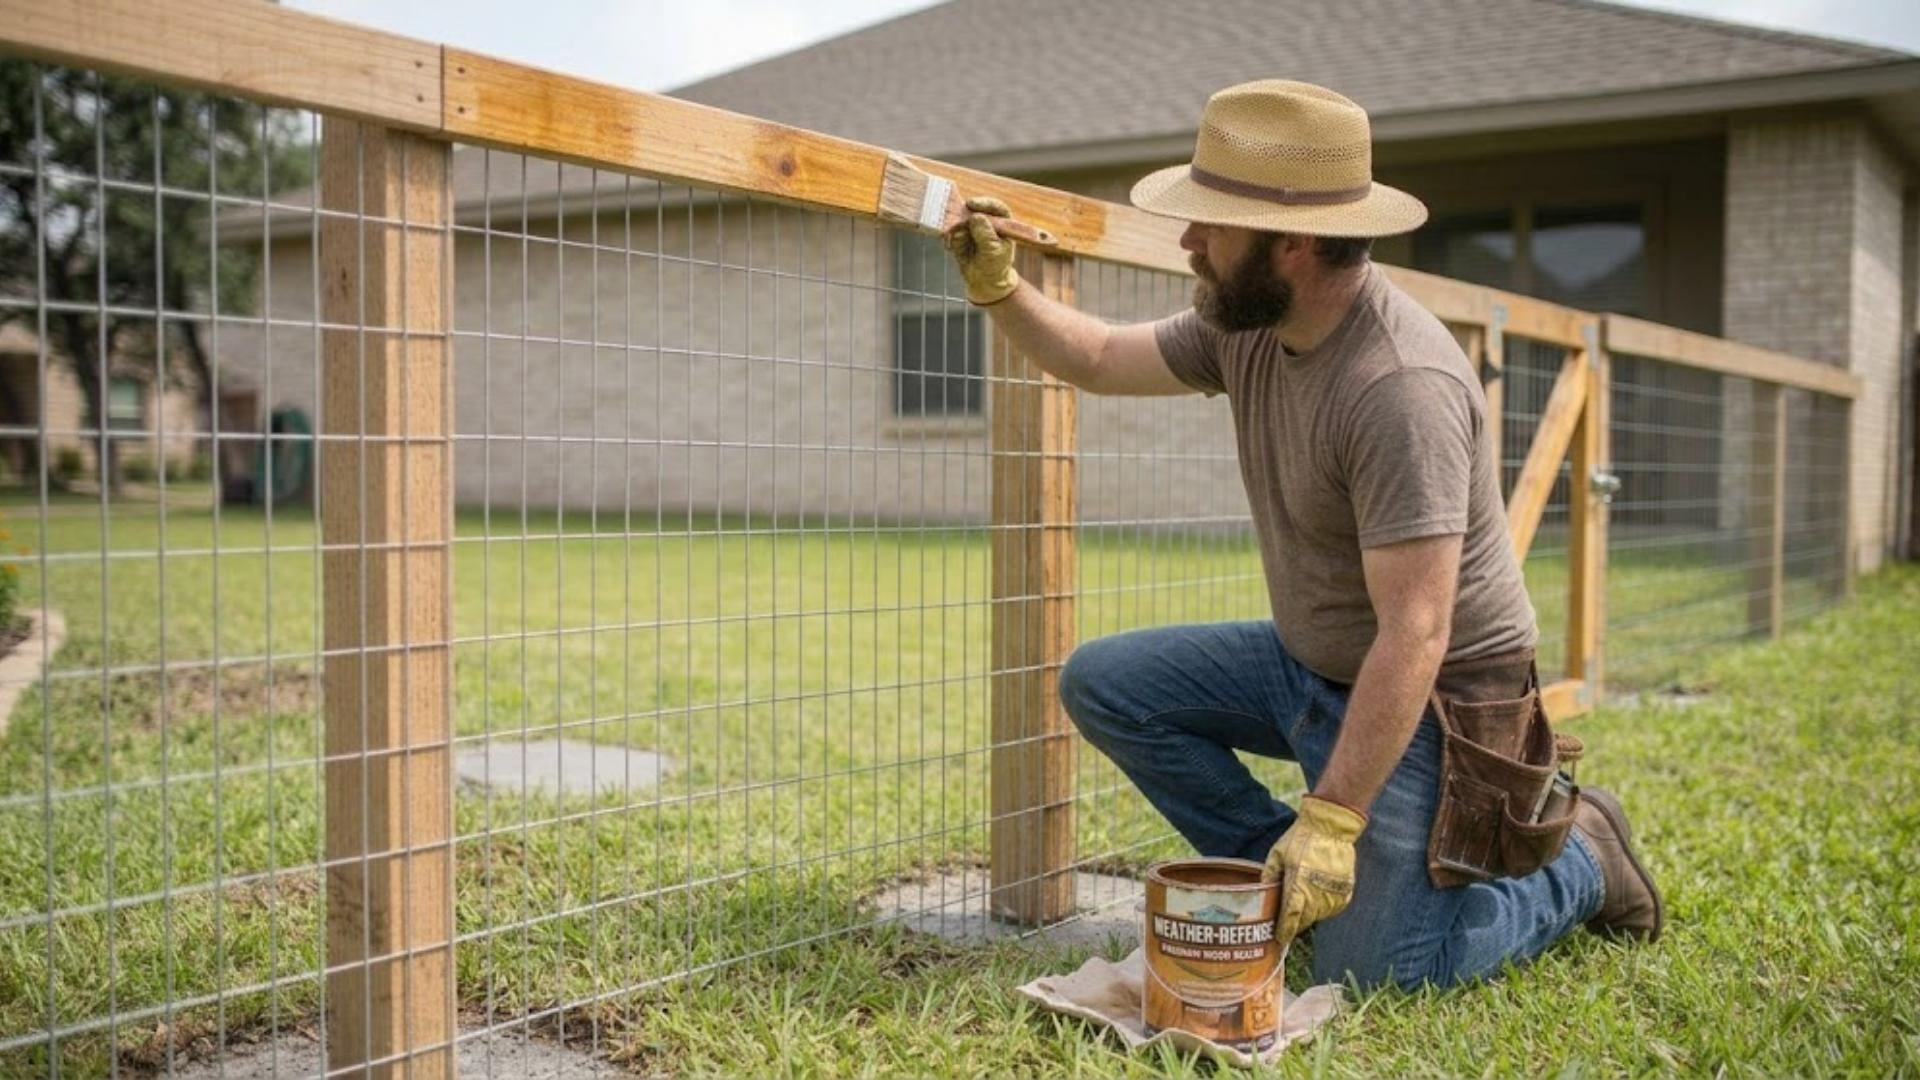
Walk around the completed fence and inspect each post, rail, and fastener to ensure everything is secure. Tighten any loose screws, trim uneven wire, and check that the gate opens and closes without rubbing against the posts.
If desired, apply a weather-resistant stain or sealant to wooden parts to improve durability and extend the life of your garden fence.
Common Mistakes to Avoid When Building a Garden Fence
Even small mistakes can affect the strength, appearance, and lifespan of your garden fence. Avoiding these common problems will help you build a fence that stays secure and performs well for years.
- Skipping layout measurements: Failing to measure and mark the fence line properly can lead to uneven sections, poor alignment, and incorrect post placement.
- Installing shallow posts: Posts that are not buried deep enough can shift, lean, or become unstable, especially during strong winds or heavy rain.
- Ignoring the frost line: In colder climates, placing posts above the frost line can cause the ground to push them upward, making the fence uneven over time.
- Uneven post spacing: Inconsistent spacing makes it harder to install rails and fencing material, while also reducing the fence's overall strength.
- Forgetting gate clearance: Leaving too little space around the gate can make it difficult to open and close properly after installation.
- Using untreated lumber: Regular wood is more likely to rot, warp, or suffer insect damage when exposed to outdoor conditions for long periods.
- Choosing the wrong wire mesh: Using mesh with large openings may not stop smaller animals, while lightweight mesh may not provide enough strength.
- Not checking posts with a level: Posts that are not perfectly vertical can cause the entire fence to lean and make later installation steps more difficult.
- Stretching wire too loosely: Loose fencing can sag over time, reducing its effectiveness and giving the finished fence an untidy appearance.
By avoiding these mistakes, you'll save time on repairs and end up with a stronger, straighter, and longer-lasting garden fence. Proper planning and careful installation make a noticeable difference in the final result.
Key Takeaway
Learning how to build a garden fence is easier when you break the project into simple steps.
Careful planning, the right materials, accurate measurements, and proper installation all help create a fence that protects your garden and stands up to everyday use.
Take your time with each stage, and don't rush the finishing touches. With a little patience and basic DIY skills, you can build a fence that fits your space and budget.
If you found this guide helpful, leave a comment, share it with others, or explore our other DIY gardening guides for more practical tips.
Frequently Asked Questions
What is the cheapest way to build a garden fence?
The cheapest way to build a garden fence is to use metal T-posts with welded wire or poultry netting instead of a full wood frame. Wire mesh costs far less than boards, and T-posts drive into the ground without concrete. The trade-off is a plainer look and less rigidity, so brace the corners well. If you'd rather avoid metal posts, a no-dig pallet fence is another low-cost option.
How far apart should posts be for a garden fence?
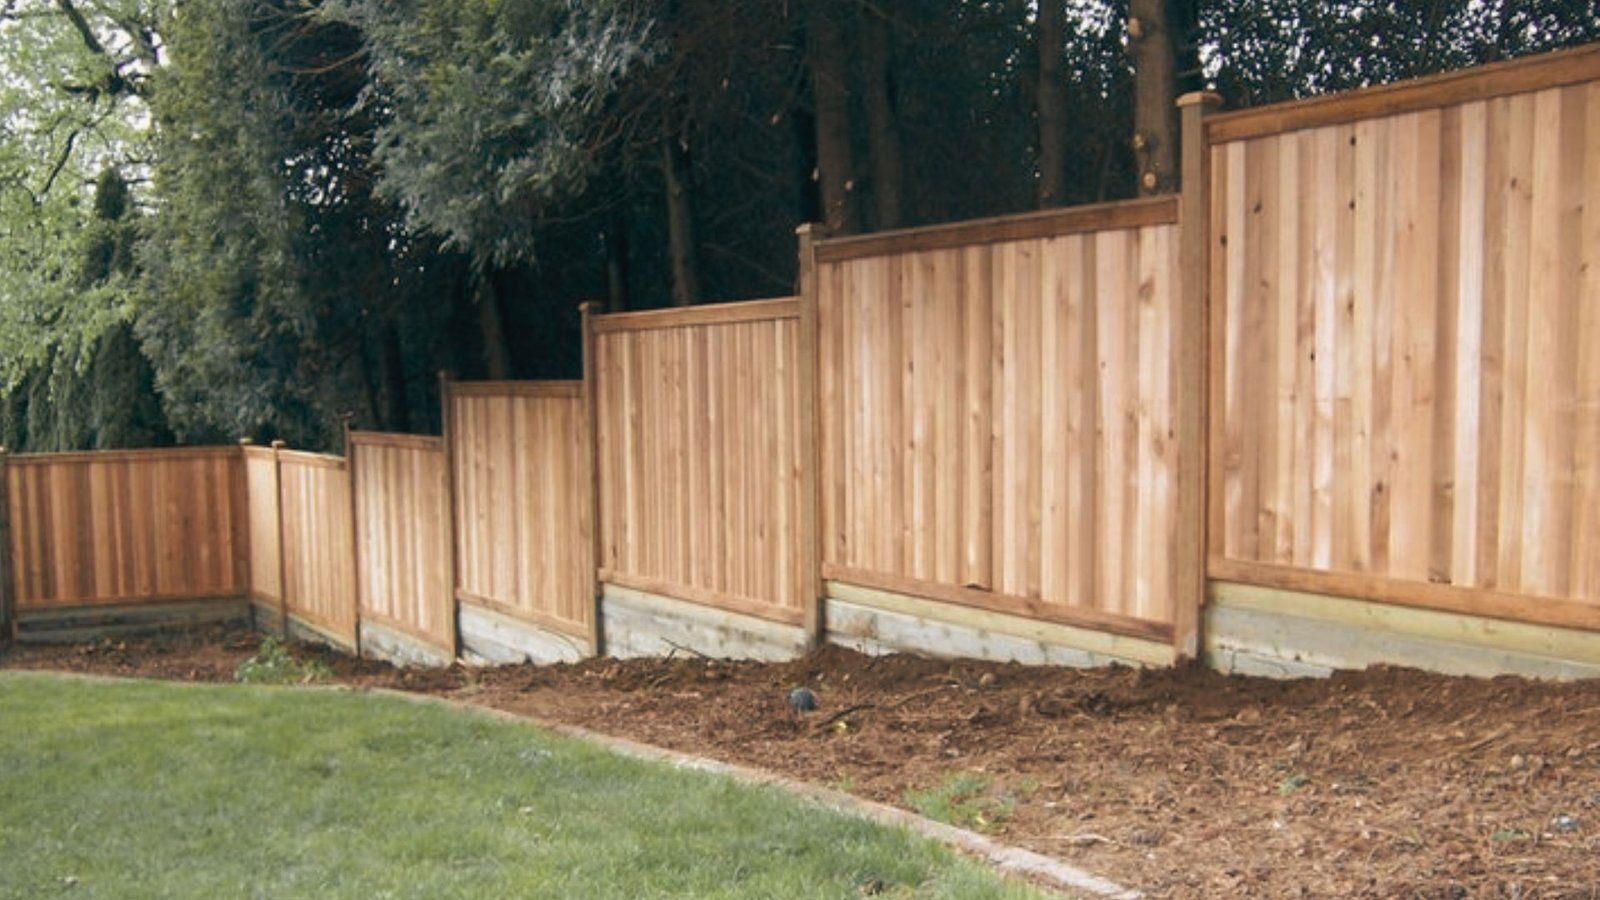
Space garden fence posts six to eight feet apart. Closer spacing gives a stronger fence, especially with taller fences or heavy wire. Gaps wider than eight feet let the rails and mesh sag between posts, and animals can then push through or under the weak spot. Set every post along your string line. If your yard isn't level, a step-down fence on a slope keeps spacing and height consistent.
How deep should garden fence posts be?
Bury each post at least one-third of its length and below your local frost line. A four-foot fence on six-foot posts usually needs about two feet underground. Shallow posts lean under wire tension, and in cold climates frozen soil can push them upward and out of plumb over time.
How do I build a garden fence to keep animals out?
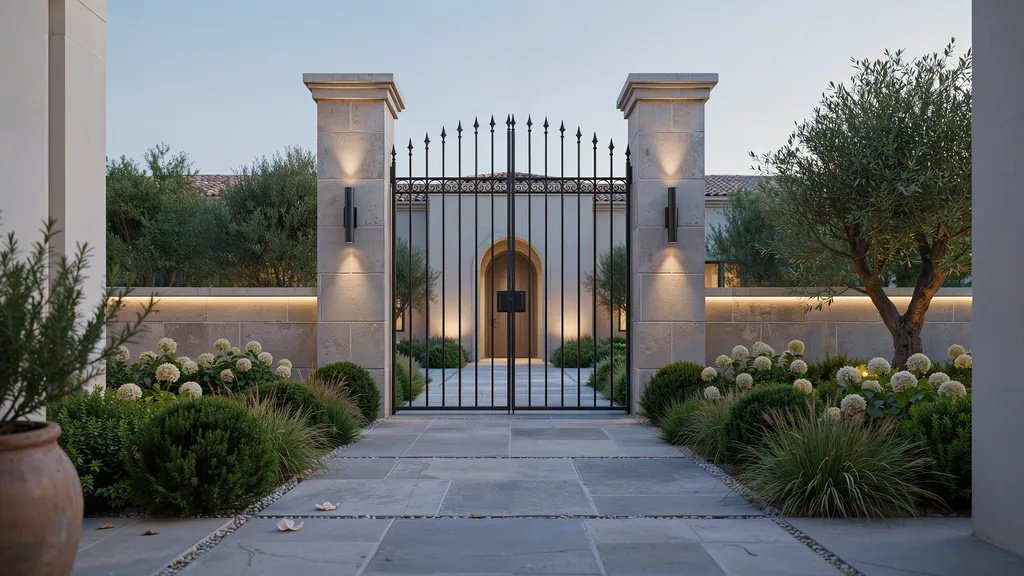
Match the fence to the animal. Rabbits need a fence about two to three feet tall with wire buried a few inches or bent outward along the ground, while deer need a much taller fence, often around eight feet. Check the bottom edge and gate gaps, since animals usually get in there. If you're planning a new entrance, these courtyard gate ideas can help you keep gaps tight.