Getting the right cattle panel arch dimensions before you build saves you time, money, and a lot of frustration. Many people start this project without knowing the exact measurements they need, and end up with an arch that sags, leans, or just does not look right.
This article covers everything you need to know about cattle panel arch dimensions, including standard sizes, how width affects height, and how to calculate measurements on your own.
I have built cattle panel arches for garden tunnels and raised bed setups, and the one thing that always makes the difference is getting the dimensions locked in before you ever touch a T-post. Getting it right from the start makes the whole build smoother.
What Are Standard Cattle Panel Arch Dimensions?
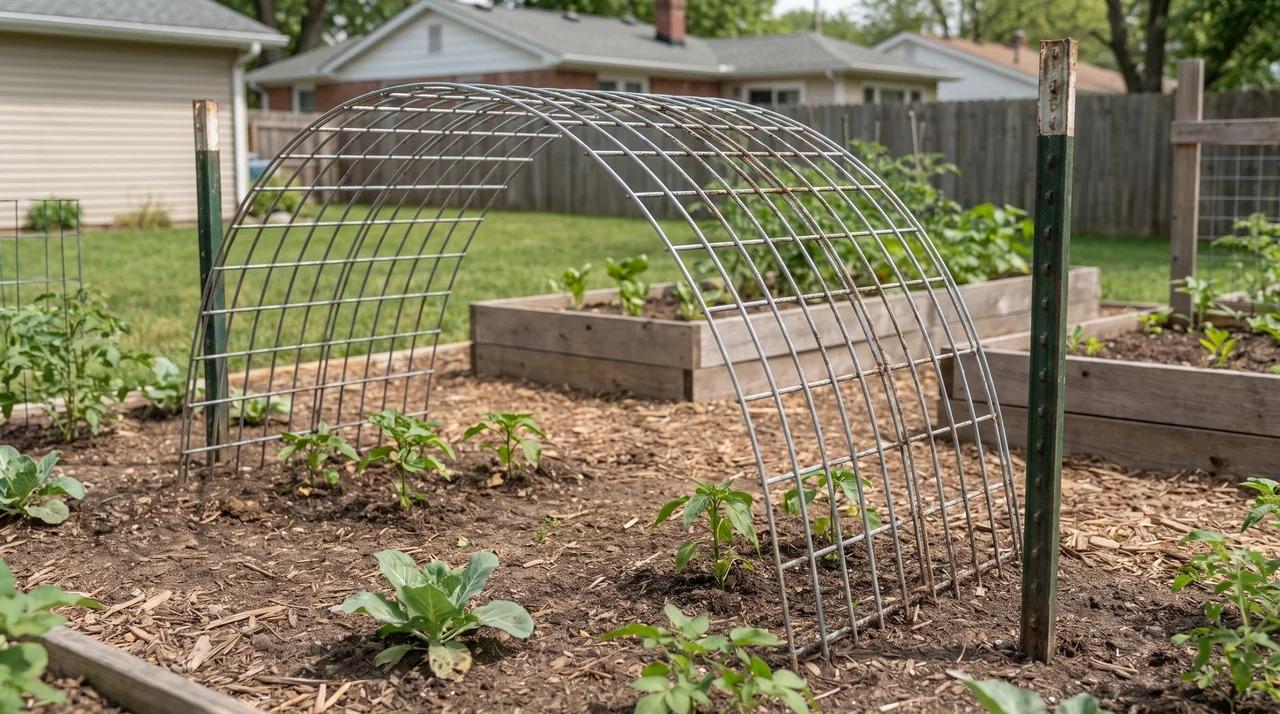
Before you buy materials or drive a single T-post, knowing the standard cattle panel arch dimensions gives you a solid starting point.
A standard cattle panel, also called a feedlot panel or livestock panel, measures 16 feet long and 50 inches wide. Made from welded 4-gauge galvanized wire, it holds an arch shape well under the weight of vines and produce.
When bent into an arch, it creates a tunnel roughly 4 to 6 feet wide at the base and 4 to 6 feet tall at the peak. These numbers shift based on post spacing and anchor depth.
The wider the base, the lower the peak. The narrower the base, the taller the arch. That one rule drives every dimension decision in this build.
The 16-foot panel is the most common size. You can find it at most farm supply stores, including Tractor Supply Company.
Cattle Panel Arch Dimensions Chart
This chart gives you a quick reference for common cattle panel arch setups using a standard 16-foot panel.
| Base Width (feet) | Approximate Peak Height (feet) | Panel Length Used | Arch Type |
| 4 | 6.2 | 16 ft | Narrow / Tall |
| 5 | 5.8 | 16 ft | Balanced |
| 6 | 5.1 | 16 ft | Wide / Medium |
| 7 | 4.3 | 16 ft | Wide / Low |
| 8 | 3.4 | 16 ft | Very Wide / Flat |
| 10 | 1.9 | 16 ft | Too flat for most uses |
These numbers are based on a 16-foot panel bent into a true arc.
Use this chart as a planning guide, not an exact blueprint. Always measure your specific site before cutting or setting posts.
How Width Affects Cattle Panel Arch Height
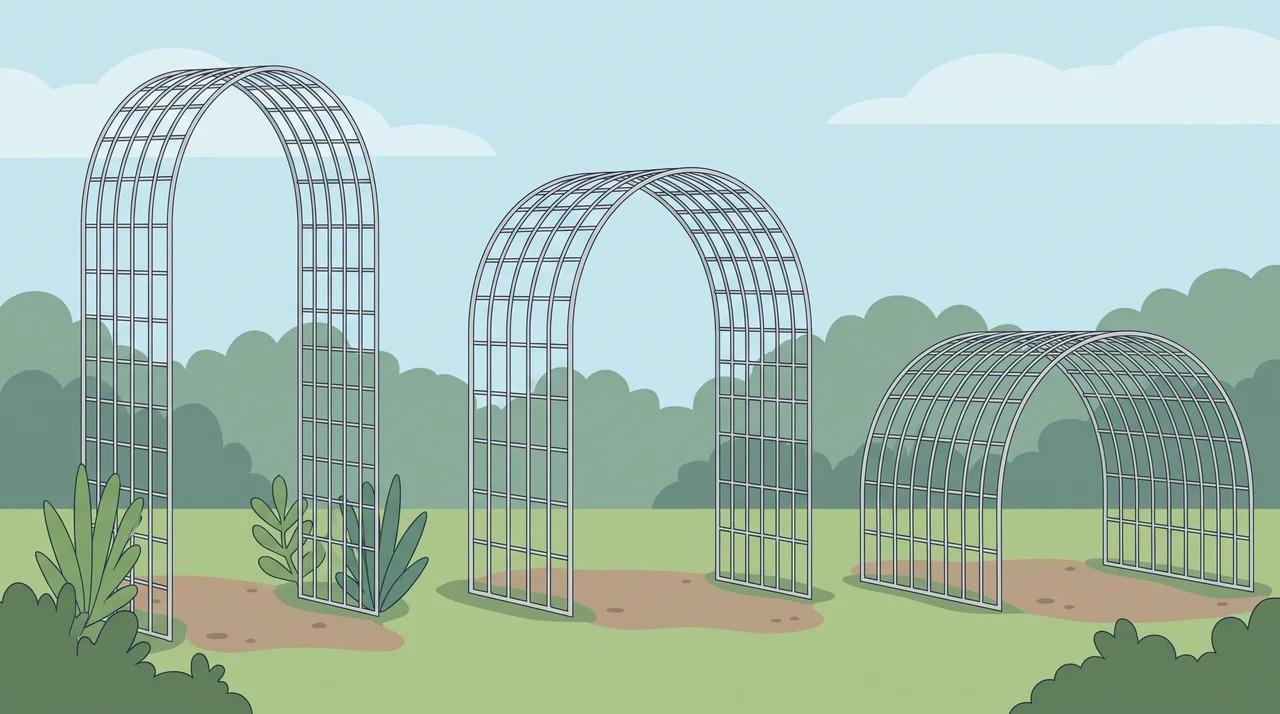
Width and height work against each other in any cattle panel arch. Spread the base wider and the peak drops. Narrow it and the peak rises.
The panel length stays fixed at 16 feet, so the arc has to go somewhere. More spread at the bottom means less rise in the middle.
A 4-foot base gives you the tallest arch, around 6 to 6.5 feet, but it is too narrow for a wheelbarrow. A 5-foot base is the most popular, hitting about 5.5 to 6 feet and comfortable for most adults to walk through.
A 6-foot base drops the peak to roughly 5 feet, which still works well over side-by-side raised beds.
At 7 feet, the peak falls to around 4 to 4.5 feet and starts feeling low. Beyond 8 feet, the panel sits too flat to hold a true arch shape.
Choosing the Right Cattle Panel Arch Dimensions
The right dimensions depend on what the arch needs to do.
Ask yourself a few practical questions first. Will people walk through it? What plants will grow on it?
For walkway arches, a 5-foot base width with a 5.5 to 6-foot peak works best. It gives comfortable clearance without feeling tight.
For plant tunnels over raised beds, match the arch width to your bed width. A 4-foot bed pairs well with a 4 to 5-foot arch. Leave a little extra room on each side.
For decorative arches, a taller and narrower shape holds climbing plants better.
Also think about your local weather. In heavy snow or high wind areas, a taller and narrower arch holds up better. If freeze-thaw cycles are common where you live, check your T-posts every spring.
Cattle Panel Arch Shape Explained
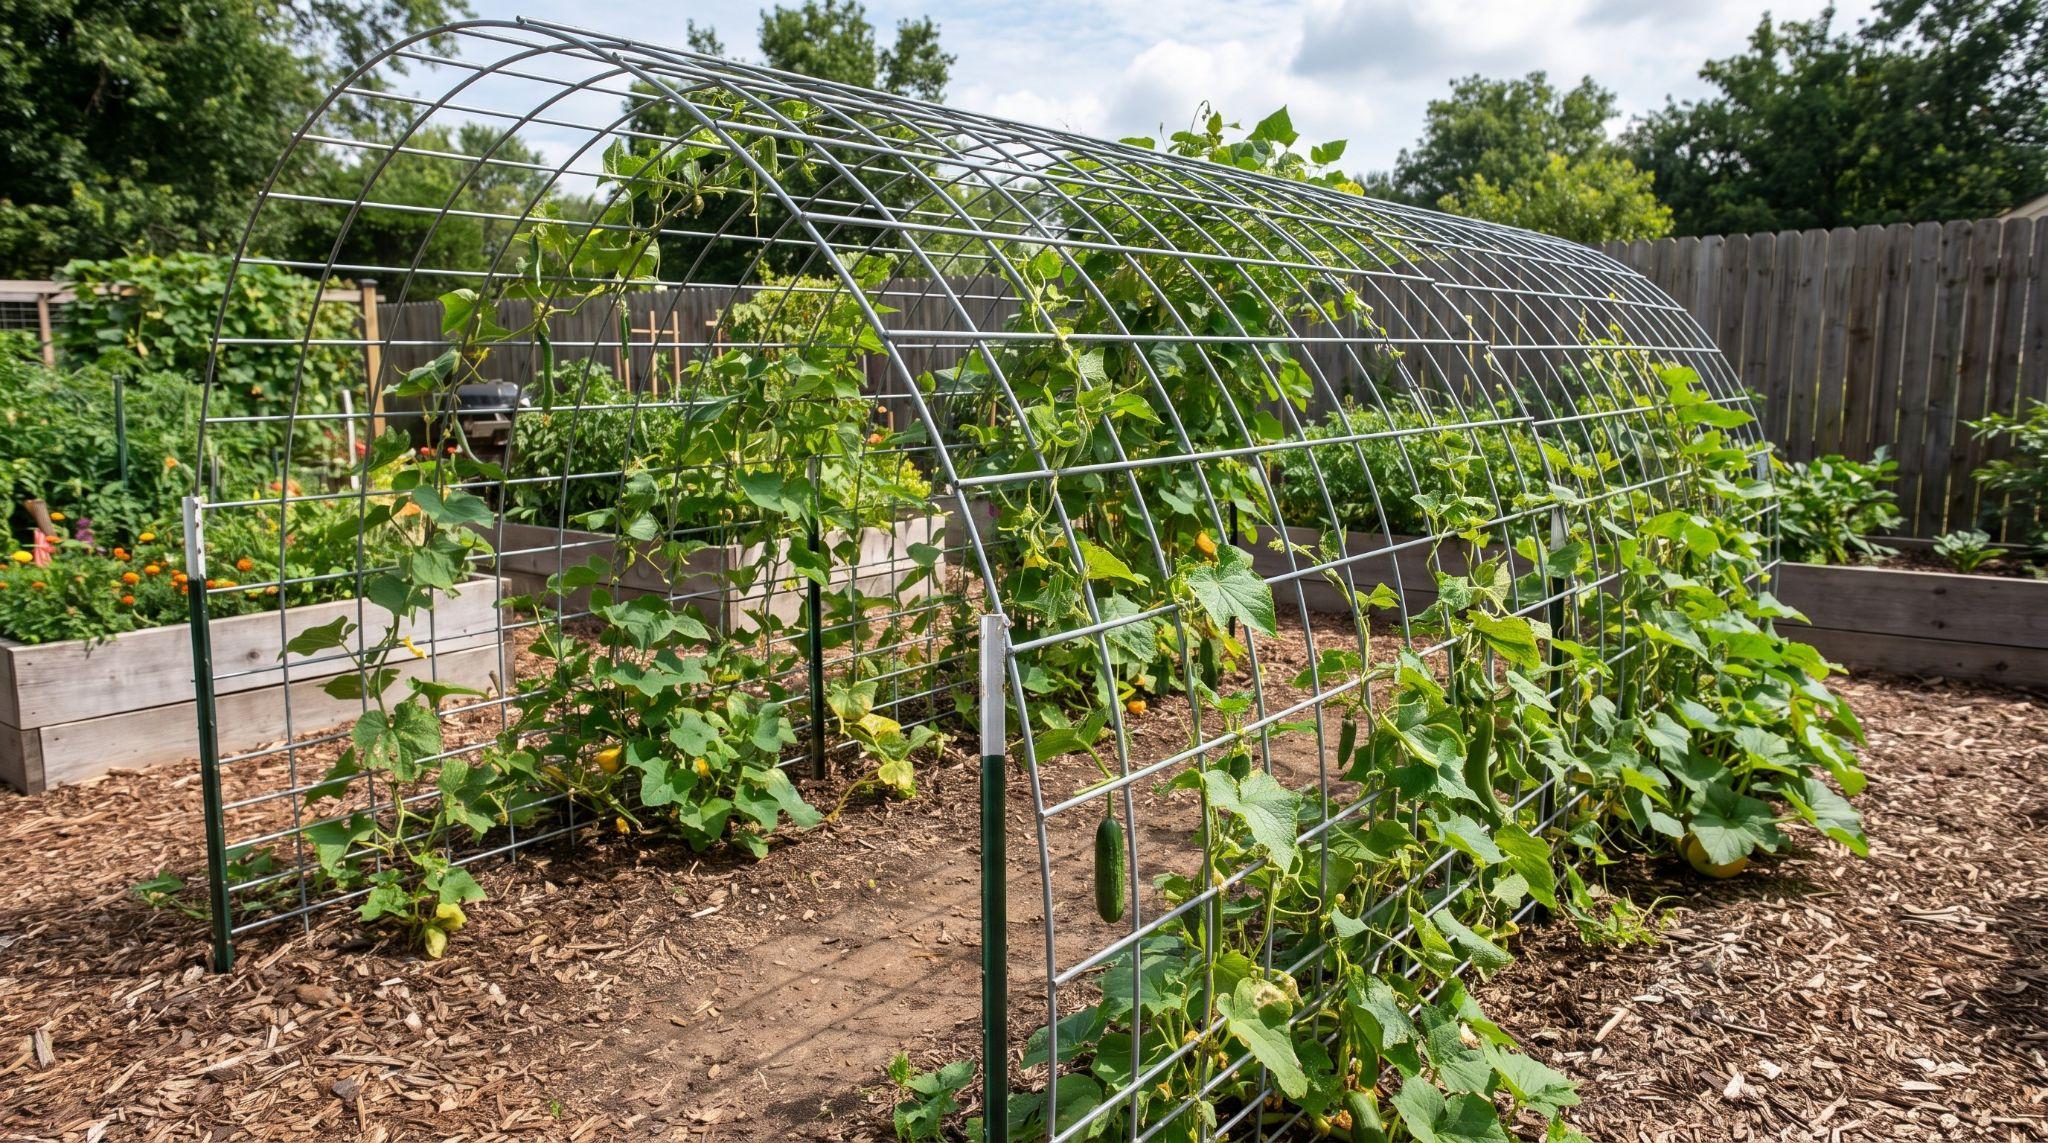
A cattle panel arch naturally forms a catenary curve. This is the shape a flexible material takes when both ends are supported and the middle bends freely.
When you push the ends of a 16-foot panel into the ground, it curves on its own. You are not forcing a shape. The panel does it naturally when pressure is applied evenly at both ends.
This curve is what makes the arch strong. It spreads weight across the whole panel instead of focusing stress at one point.
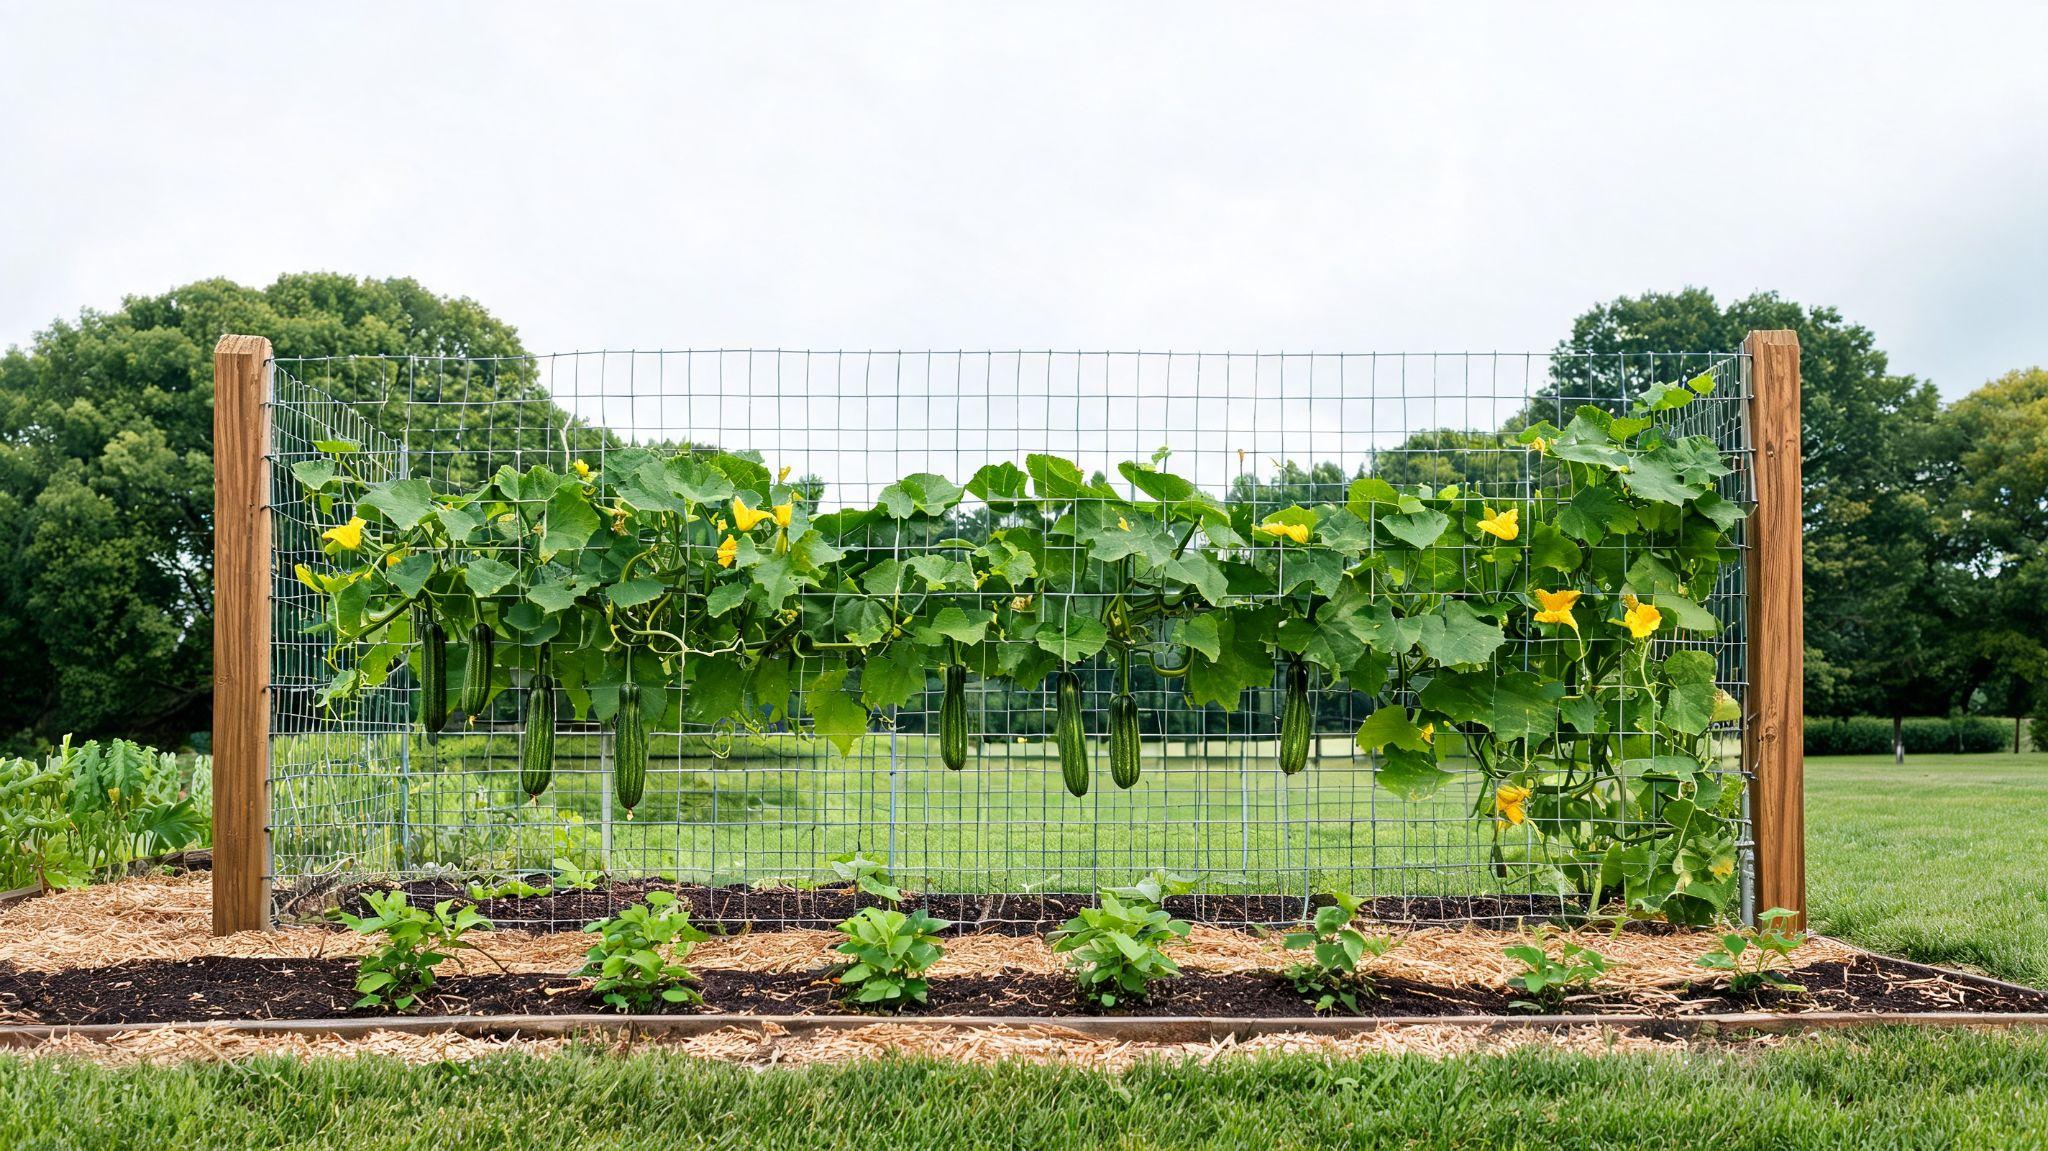
Vining plants follow the curve naturally, climbing from the base up and over the top. This makes it a solid structure for cucumbers, beans, peas, and squash.
The curve is not a perfect semicircle. It is slightly flatter at the top, and that is completely normal.
How to Calculate Cattle Panel Arch Dimensions
You do not need advanced math to work out your arch dimensions. A basic formula and a tape measure will get you there.
The key relationship is simple: the panel length equals the arc length of the arch. For a 16-foot panel, the total arc from one base point to the other is 16 feet.
To estimate peak height based on your desired base width, think of the arch as half an ellipse. The base width is your horizontal span.
The 16-foot panel is the arc that covers it. When you spread the base to 5 feet, a portion of panel length fills the lower section near each post, and the rest curves upward to form the peak.
A simpler method that works for most home builders: use a string the same length as your panel. Stake both ends at your planned base width.
Let the string bow upward in the middle, then measure the height at the center. That gives you a close approximation of your actual peak height.
For more precise results, the arc length formula (L = r x theta, with theta in radians) can be used, but the string method is accurate enough for most garden builds.
Always add 6 to 12 inches to your post depth when planning final base width.
Expert Tips for Accurate Measurements and Long-Term Stability
Getting the measurements right the first time prevents headaches later. Here are five practical tips to help you build a cattle panel arch that stays strong season after season.
- Measure your base width at ground level after setting posts, not before. Posts can shift slightly during installation, so always confirm the spacing once they are in the ground.
- Set T-posts at least 18 to 24 inches deep using a T-post driver. This ensures the anchor blade on the post is fully buried, which is what locks the post in place. A shallow post will lean outward as the panel pushes against it.
- Use metal fence wire clips instead of zip ties for permanent attachment. Clips grip the panel wire more tightly and hold up better over multiple growing seasons. If you do use zip ties, choose UV-resistant ones rated for outdoor use.
- Check the arch height with a measuring tape from the center of the base span to the peak before locking in the panel. Adjust post spacing if the height is off.
- Add a center support stake or crossbar for arches longer than 10 feet or in areas with heavy snow load. This prevents the middle section from sagging under weight.
T-Post Spacing and Placement
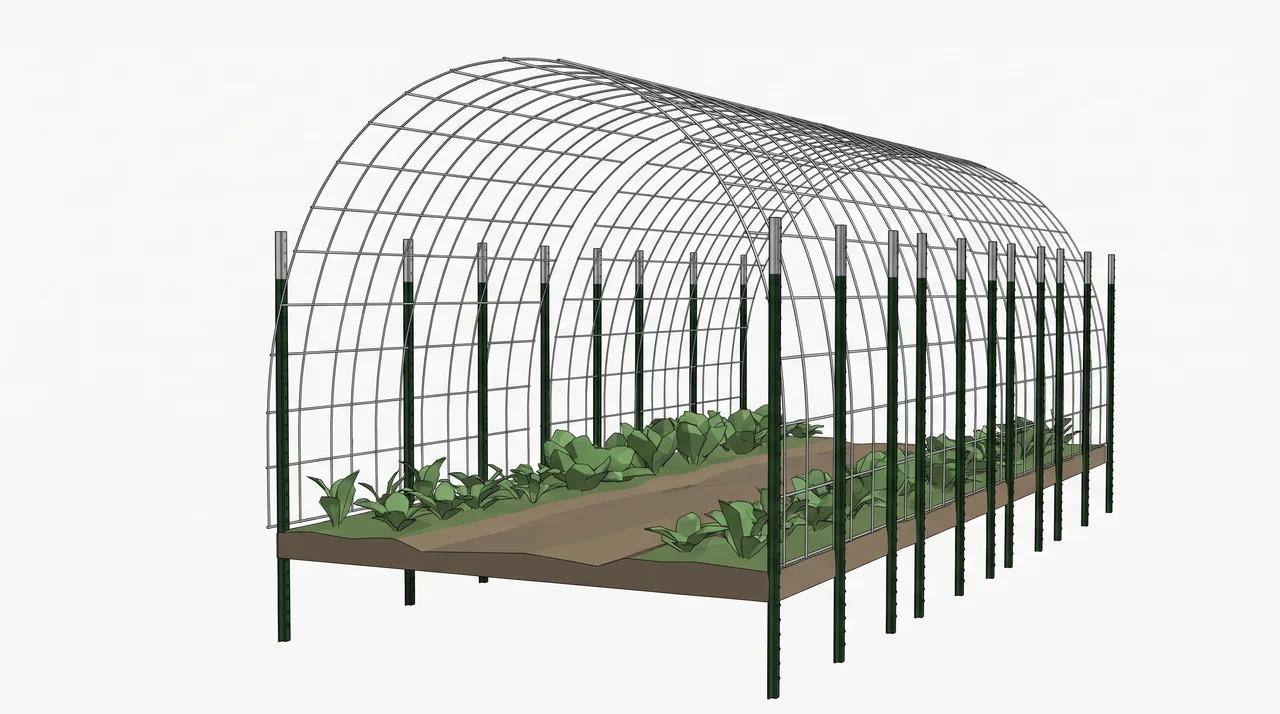
T-post placement directly controls the shape and strength of your cattle panel arch.
Posts should be set directly opposite each other on both sides of the arch. If the left post is 12 inches from the edge of your path, the right post should match exactly. Uneven placement creates an off-center arch that looks crooked and puts uneven stress on the panel.
For a 4-foot arch, set posts 4 feet apart. For a 5-foot arch, set posts 5 feet apart. For a 6-foot arch, set posts 6 feet apart.
Post depth matters just as much as spacing. For a standard garden arch, 18 inches is the minimum. In loose or sandy soil, go to 24 inches. In firm clay soil, 18 inches usually holds well.
Placing T-posts on the outside of the panel lets the natural spring tension of the panel press against the posts. This takes pressure off the clips or zip ties and helps the structure hold its shape longer.
For longer tunnel structures with multiple panels, space intermediate posts every 8 to 10 feet. This keeps the tunnel consistent and prevents sagging between connection points.
If you are building on a slope, adjust post depth on the downhill side so both posts end up at the same height above ground.
Cattle Panel Arch Dimension Comparison
This table compares the most common arch setups side by side so you can quickly see how the key dimensions stack up.
| Configuration | Base Width | Peak Height | Panel Length | Best Use |
| Narrow walkway arch | 4 ft | ~6.2 ft | 16 ft | Decorative entry, trellis |
| Standard garden arch | 5 ft | ~5.8 ft | 16 ft | Walkthrough, climbing crops |
| Wide garden tunnel | 6 ft | ~5.1 ft | 16 ft | Dual raised beds, low tunnel |
| Low wide span | 7 ft | ~4.3 ft | 16 ft | Wide bed cover, low clearance |
| Double-panel tall arch | 5 ft | ~8–9 ft | 2 x 16 ft | Grand entry, large structures |
| Double-panel wide arch | 8 ft | ~7–8 ft | 2 x 16 ft | Greenhouse-style tunnels |
Use this table as a planning reference. Actual dimensions can vary by a few inches depending on post depth, soil type, and panel brand.
Common Dimension Mistakes to Avoid
Even experienced builders make errors when planning cattle panel arch dimensions. Here are five of the most common mistakes and how to avoid them.
- Skipping the height check before anchoring the panel. Many builders set posts, attach the panel, and only then realize the peak is too low or too high. Always do a dry run with the panel resting on the posts before permanent attachment.
- Setting posts too close together for the panel length. If posts are only 3 feet apart for a 16-foot panel, the arch becomes very tall and steep, which increases stress on the panel joints. Match post spacing to your intended use.
- Ignoring post depth in soft soil. In loose or sandy ground, a shallow post will lean outward over time as the panel pushes against it. Go deeper than you think you need to.
- Using the wrong panel size for the arch width. A 12-foot panel bent to a 6-foot base will sit almost flat. Match panel length to your base width using the charts in this article.
- Not accounting for buried post length in overall height planning. If your post is 6 feet tall but 2 feet goes into the ground, only 4 feet is above ground. This affects where the panel attaches and how high the finished arch sits.
Final Verdict
Getting your cattle panel arch dimensions right from the start makes every part of the build easier and the finished structure more reliable.
The numbers in this guide give you a clear foundation to work from, whether you are planning a simple garden walkway or a longer growing tunnel with multiple panels.
Once you've selected the correct dimensions and secured the posts properly, the remaining build is straightforward. Small details like post orientation, clip type, and arch direction can make a bigger difference than most people expect.
If this guide helped you plan your build, share it with a fellow gardener or drop a comment below with your arch dimensions.
Frequently Asked Questions
Can I use a cattle panel shorter than 16 feet for an arch?
Yes. Shorter panels like 12-foot ones work for smaller arches but give you less height and width flexibility.
How long does a cattle panel arch last outdoors?
A galvanized cattle panel arch can last 10 to 20 years with proper post anchoring and minimal maintenance.
Do cattle panel arches need any kind of cover or coating to prevent rust?
Galvanized panels resist rust well on their own. In wet climates, a rust-inhibiting spray on cut ends adds extra protection.