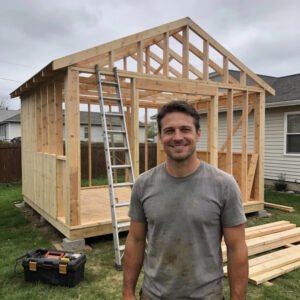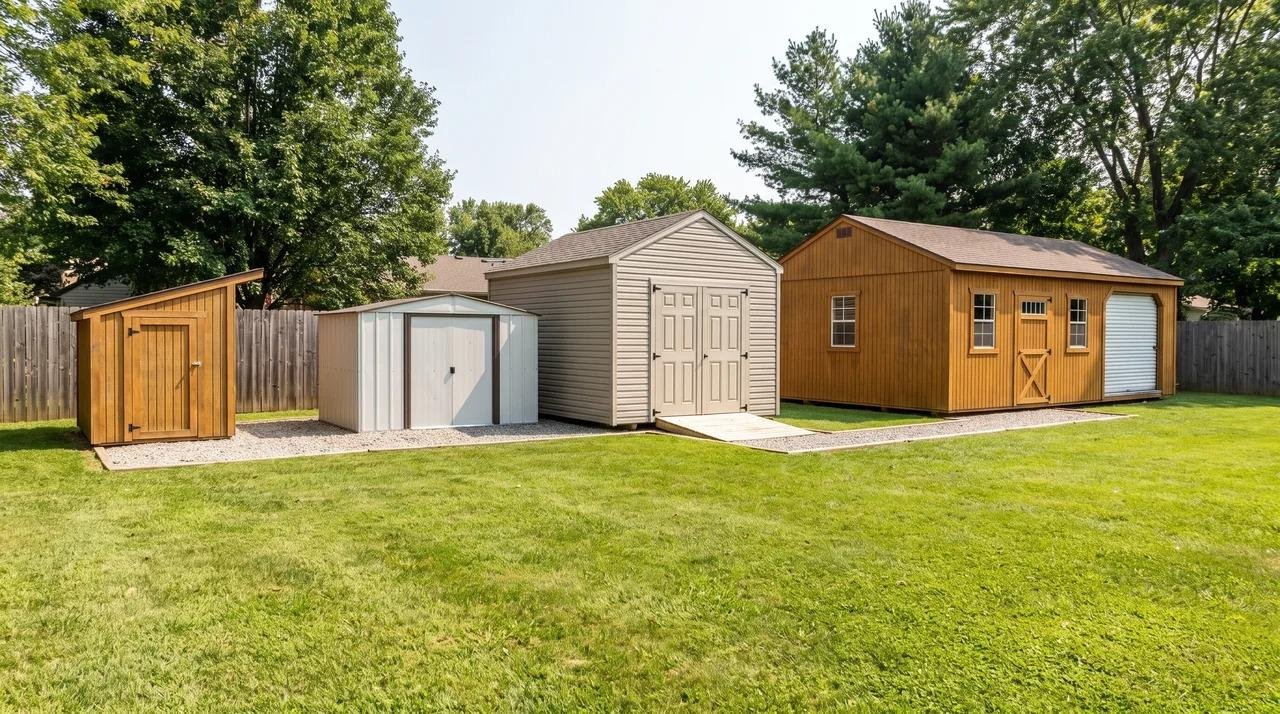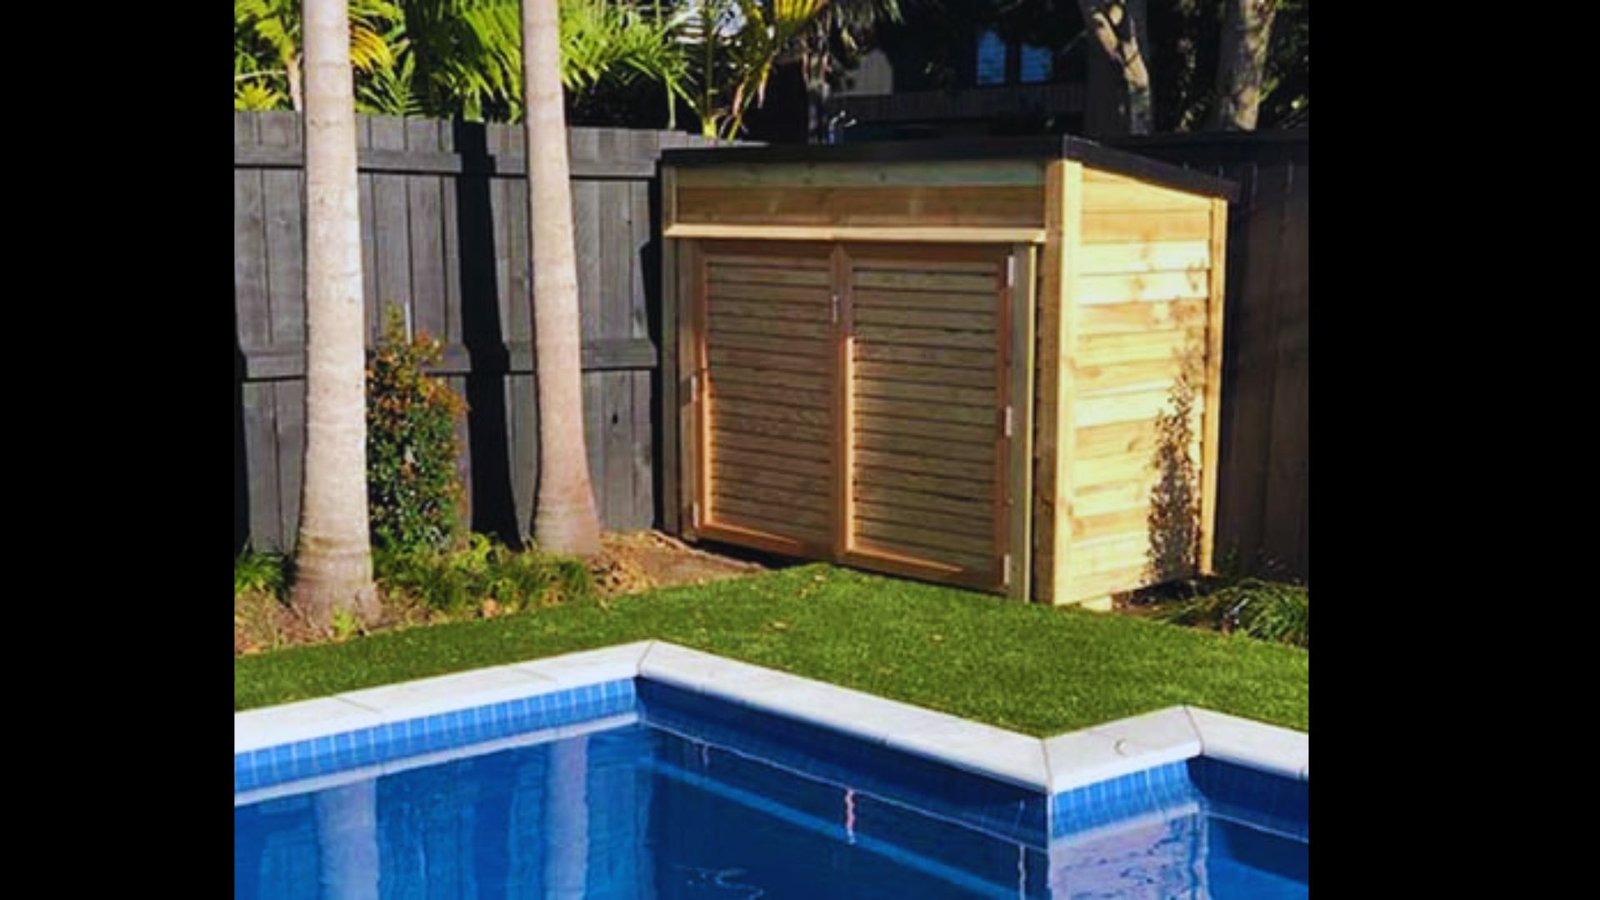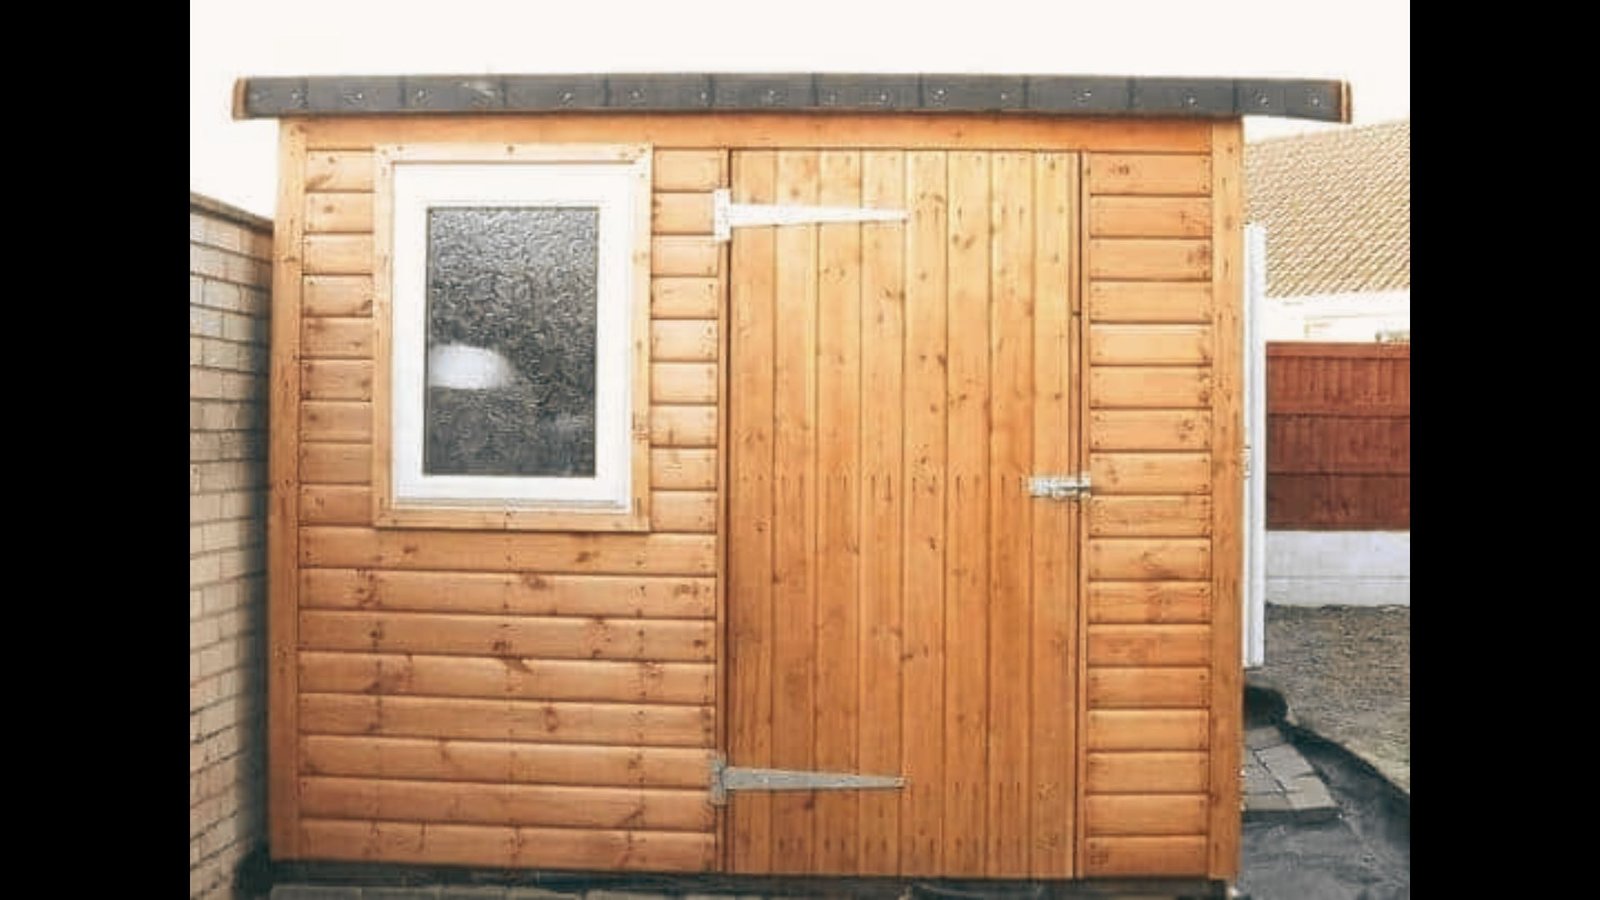
You've picked the perfect spot for your shed. It's the right size and the right distance from the house. It just isn't flat.
I've built on enough sloped yards to know that tilt decides everything. Get the base wrong, and the shed shows it within a year.
The door starts catching. A corner of the floor goes soft. You start wondering if you should have spent more time on the part you can't see.
The good news is you don't need to regrade your whole yard. A solid uneven ground shed base builds a level surface on top of the slope instead of fighting it.
Five methods handle this well. The trick is matching one to your actual slope, and that starts with a tape measure, not a guess.
Does a Shed Base Need to Be Perfectly Level?
Yes. The base needs to be level and square, but the ground under it doesn't. Soil can slope all it wants as long as the surface the shed sits on is flat.
A shed frame is built to rest evenly on every joist. When one corner sits high, that corner carries far more weight than it was built for.
Over time, the frame twists to follow the uneven support. Builders call this racking. You'll call it a door that won't latch.
I've watched it happen in the same order more times than I can count. First the door drags, then small gaps open at the corners.
Then rain finds the low side and sits there. The floor soaks it up, and rot starts where you can't see it.
Plastic and metal kit sheds show the damage faster than timber ones. They're less stiff, so they twist sooner. Some makers also won't cover damage on an unlevel base, so read your warranty before you build.
What Are the Best Shed Base Options for Uneven Ground?
Every option below either builds a level platform above the slope or cuts the slope into flat steps.
Raised bases skip most of the digging but need a timber frame and floor joists. Ground-level bases need more digging, plus something to hold back soil on the low side.
1. Timber Frame on Posts Set in Concrete Footings
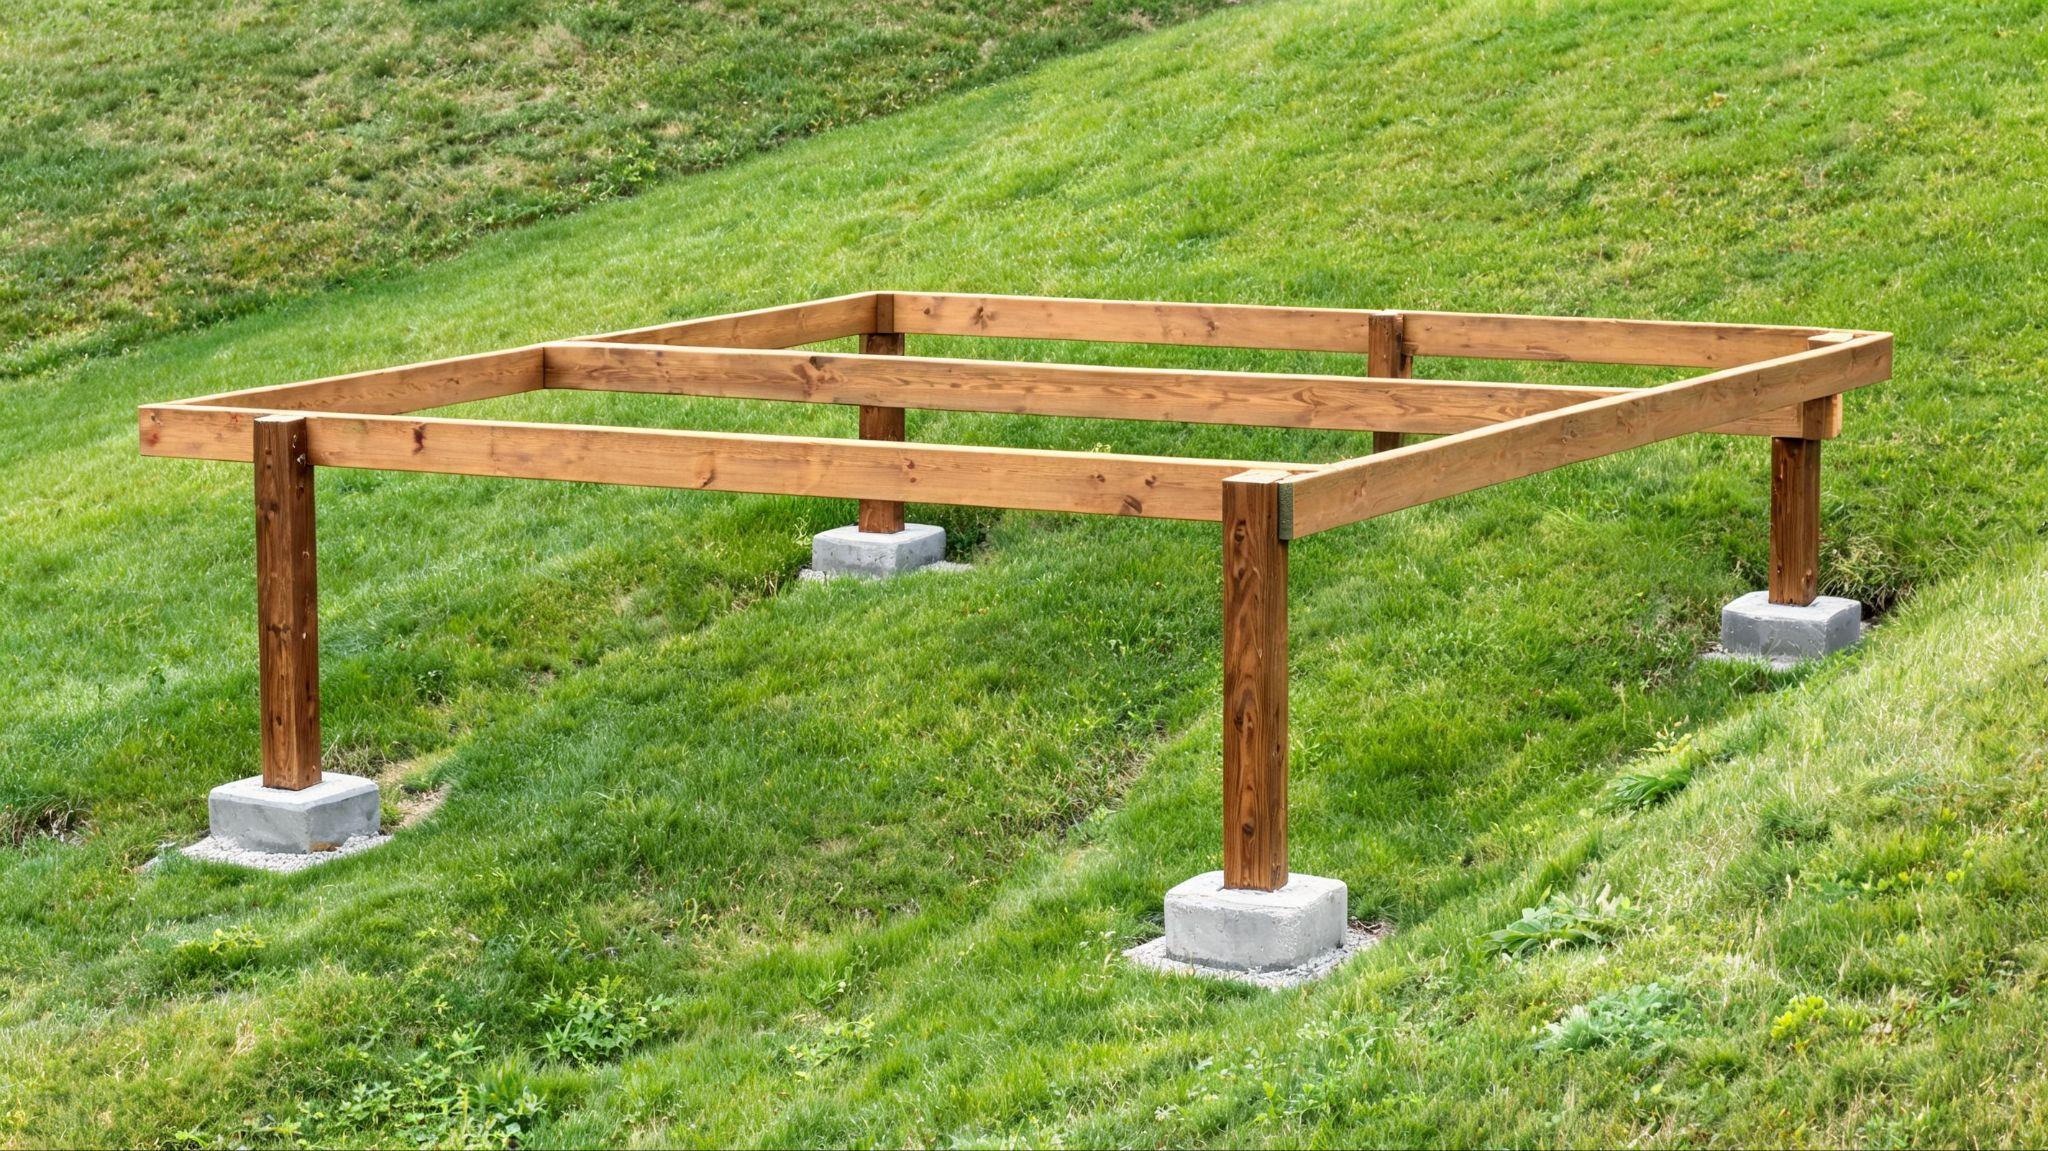
This is the one I trust most on a steep yard. You dig a hole at each corner and along the long sides, then set treated posts in concrete.
Once the concrete cures, run a string line from the high side. Cut every post to that line, so the tops sit level even though the posts differ in length.
The frame and floor joists bolt on top. It's more work than blocks, but the posts reach below the soft topsoil, so they don't settle.
Use lumber rated for ground contact. Standard treated wood rots at the soil line faster than most people expect.
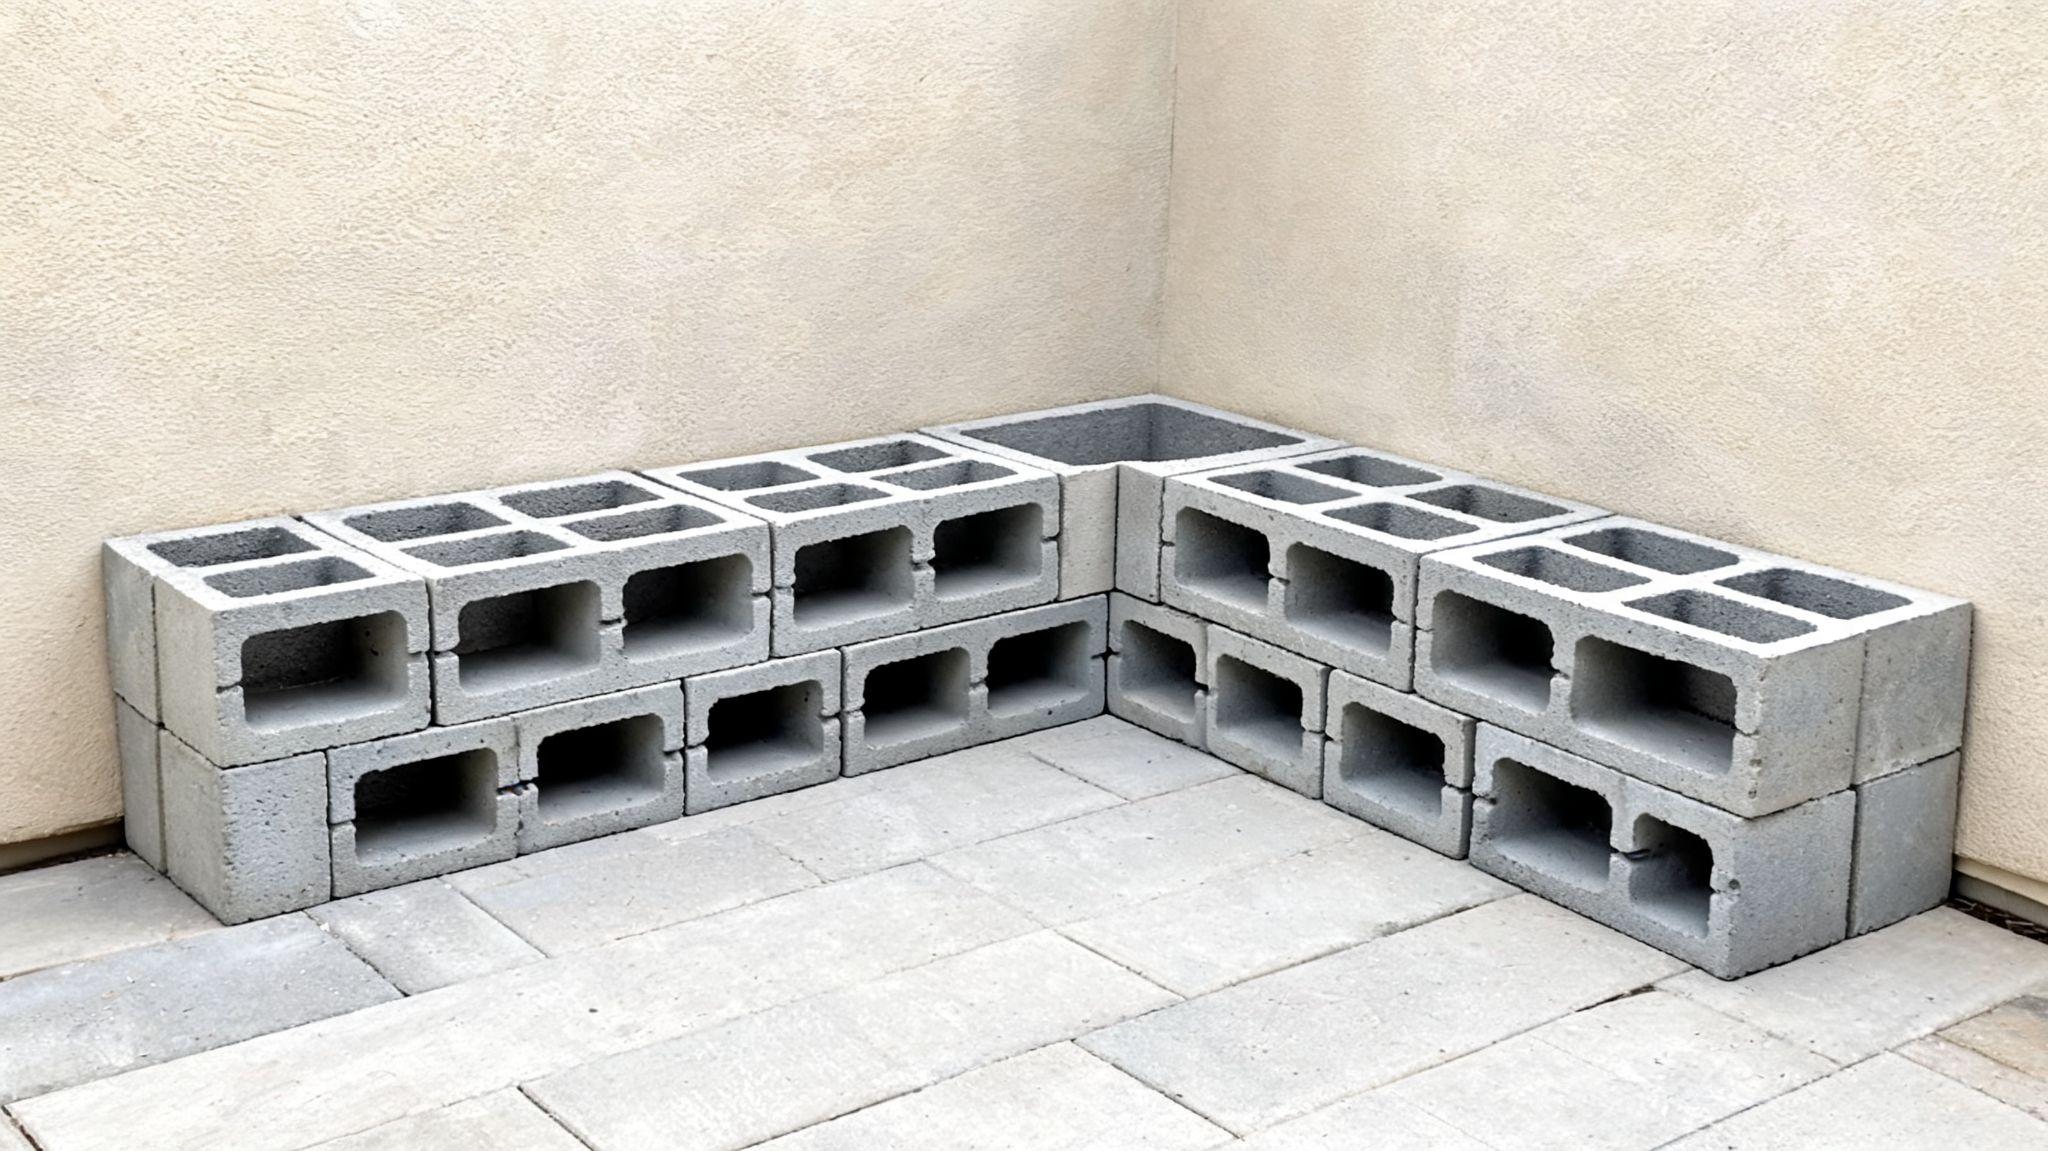
2. Concrete Blocks or Pier Blocks on Gravel
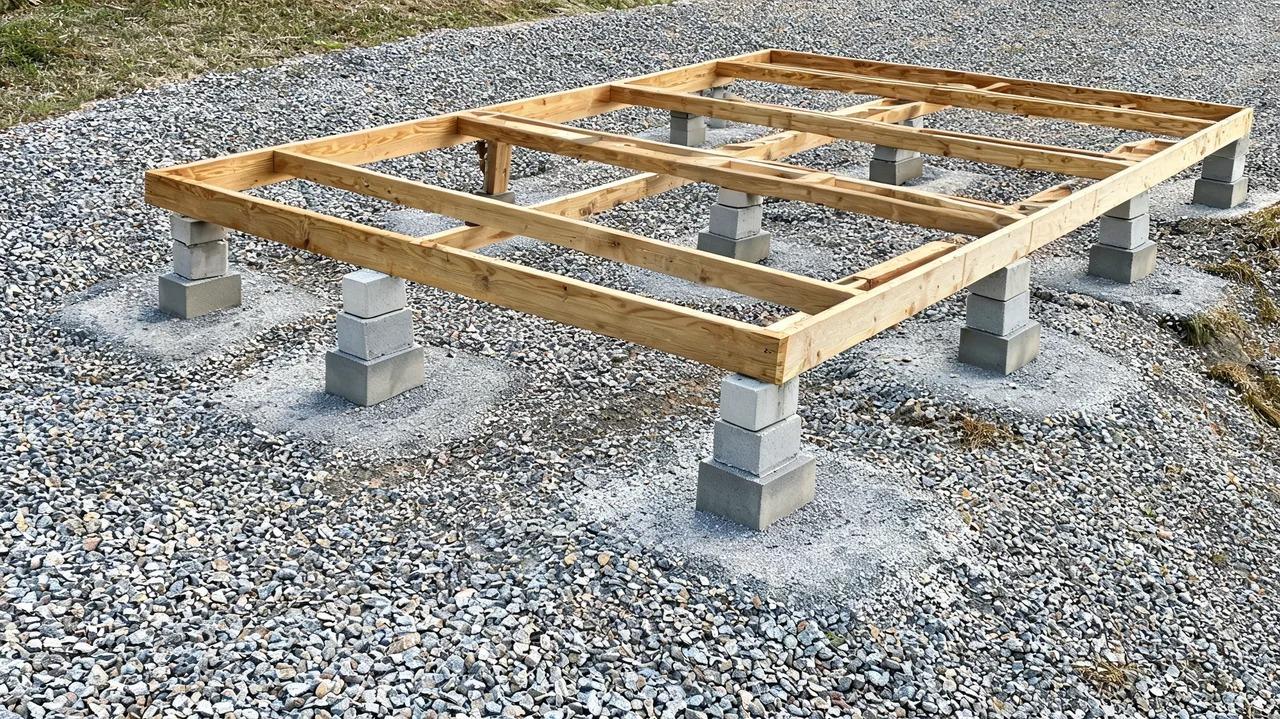
This is how most people level a shed with concrete blocks, and it works well on moderate slopes. What matters most is what goes under each block.
Dig a small square at each support point. Pack it with crushed gravel and tamp it hard before the block goes down.
On the low side, stack a second block or use a taller pier block. Fine-tune with composite shims or adjustable pedestals, not scrap wood that crushes and rots.
The mistake I see most is blocks set straight on grass or bare dirt. After one heavy rain, they sink at different rates and the shed tilts again.
For smaller sheds, a skid base is a simple variation. Two treated 4×4 or 4×6 runners sit on the blocks, and the floor frame rests on those.
3. Ground Screws with Adjustable Brackets
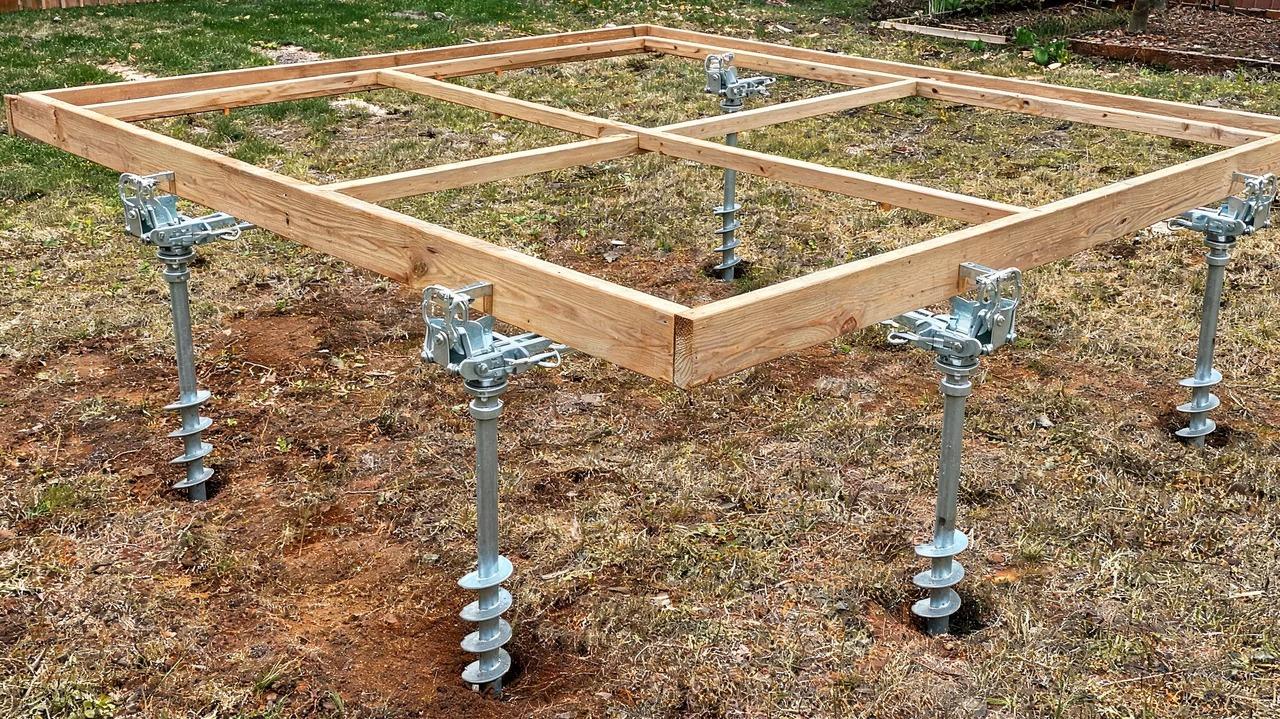
Fie Name-ground-screws-shed-base
Ground screws are steel anchors you twist into the soil, like a giant corkscrew. They're the fastest way to level ground for a shed without digging.
Each screw goes in until it bites into firm soil. Adjustable brackets on top then let you set every support to the same height.
They also anchor the shed, which helps in windy spots. The catch is rocky ground. Hit a big stone or thick root, and the screw stops short and needs moving.
4. Stepped Gravel Pad Held by Landscape Timbers
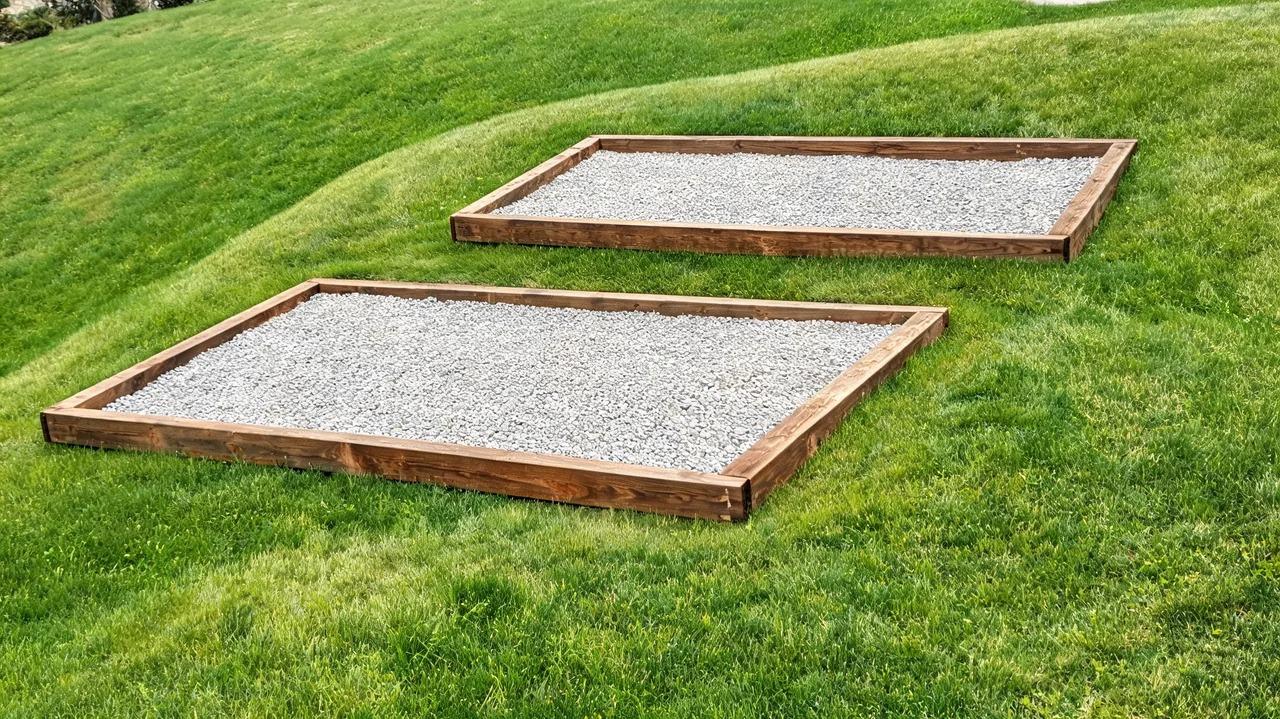
On a gentle slope, you can cut the high side into flat steps instead of building up. Treated landscape timbers frame the pad and hold the stone in.
Fill it with crushed stone, compacting every few inches as you go. Avoid rounded pea gravel, since it rolls under weight and never locks together.
A gravel shed base on uneven ground drains well and costs little. But the low-side timbers hold back a lot of weight, so pin them with rebar if that side stands more than a few inches tall.
5. Concrete Slab with Shuttering
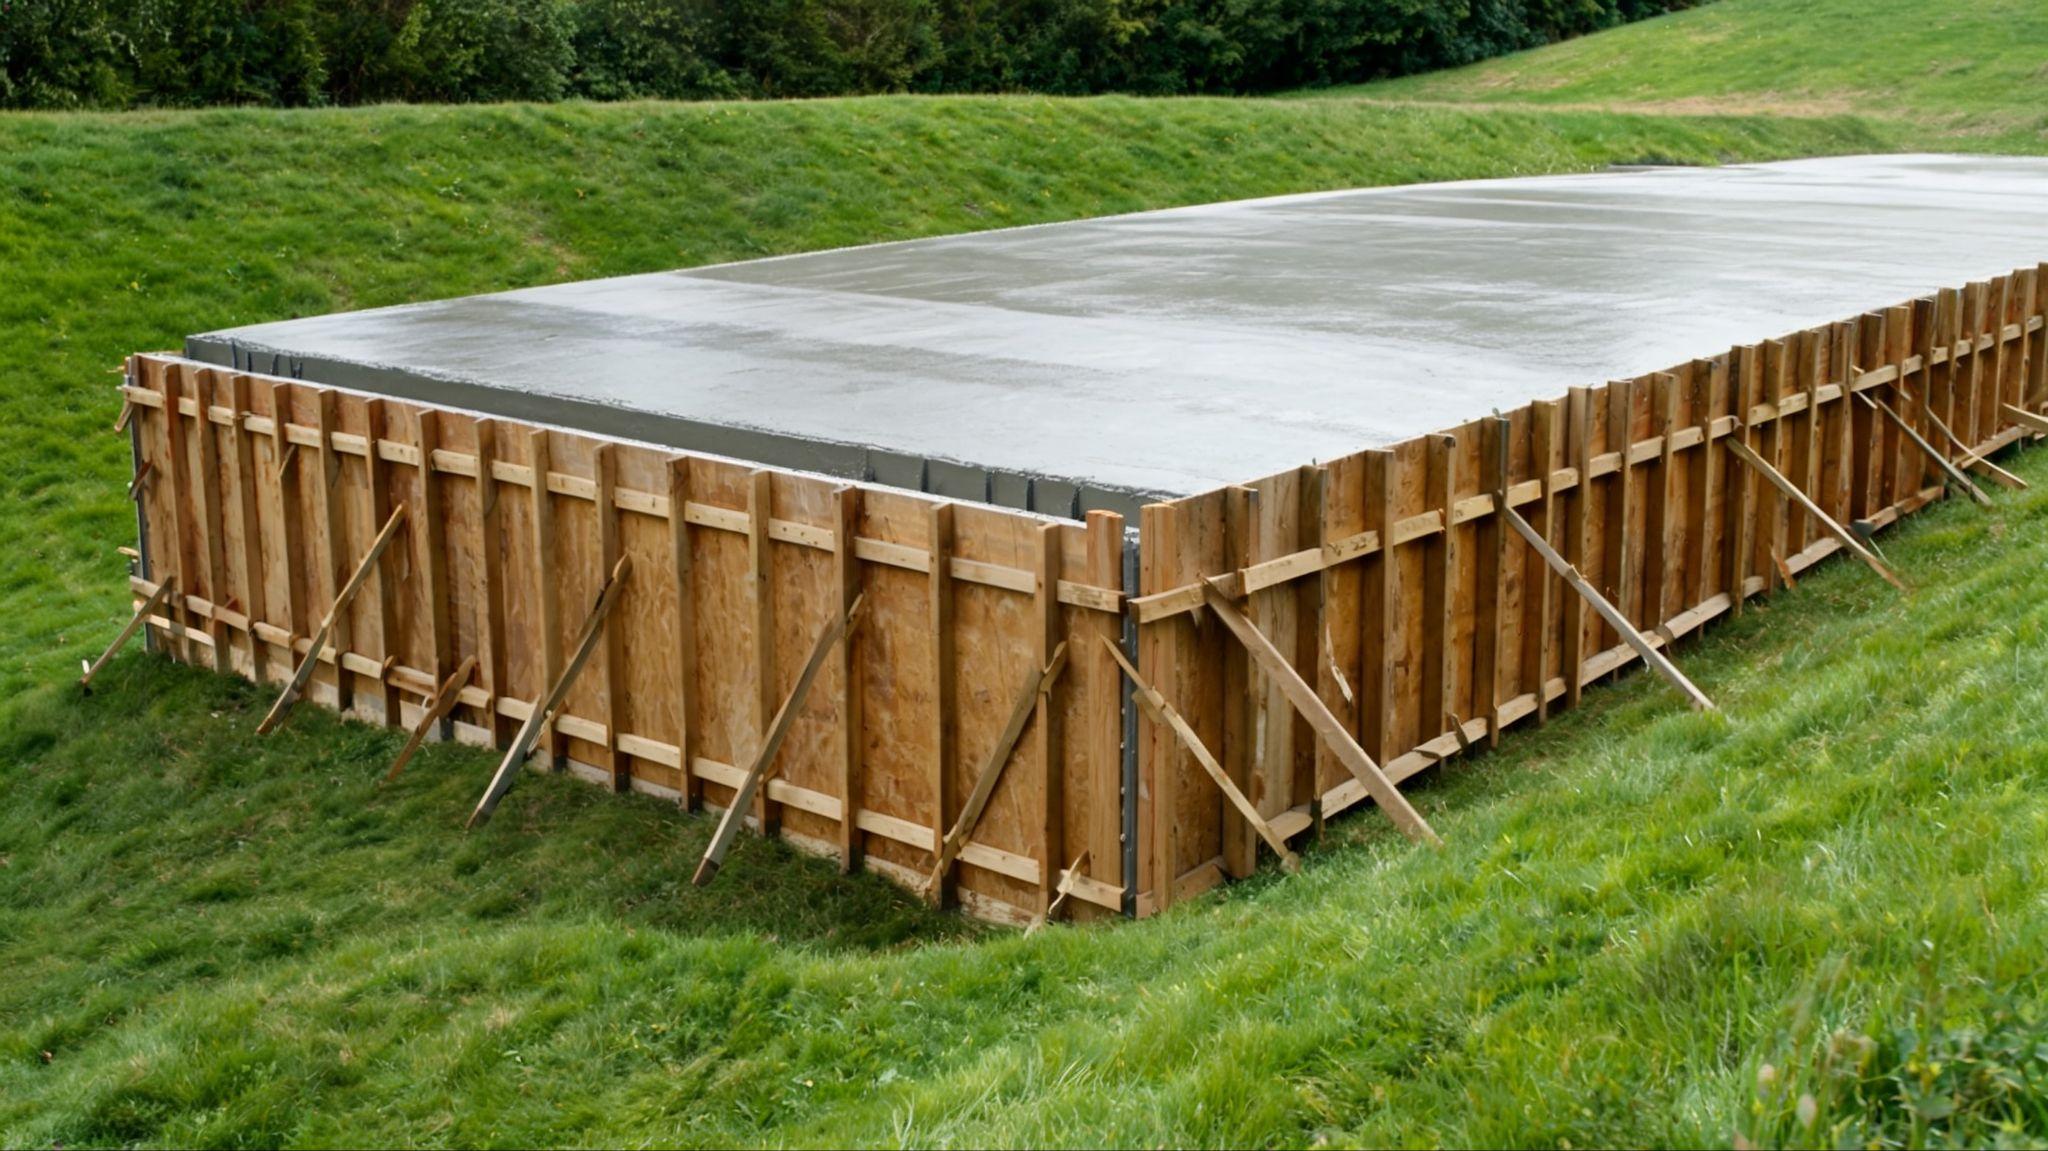
A slab is rock solid once it's done. On a slope, getting there is the hard part.
The downhill side needs tall wooden shuttering, also called formwork, to hold wet concrete at the right height. That means more concrete, more bracing, and a real risk of the form bowing mid-pour.
For a big workshop, such as a woodworking shed, it can be worth it. For a small garden shed on a slope, it's usually more cost and effort than the job needs.
How Do These Shed Bases Compare on Cost, Effort, and Lifespan?
If you want the cheapest way to level ground for a shed, concrete blocks on gravel usually win. Ground screws go in fastest, and posts in concrete tend to last longest.
Here's how the five stack up side by side. Prices vary too much by region to list, so these are relative.
| Method | Cost | Digging | DIY Difficulty | Holds Level |
| Posts in concrete | Medium to high | Holes at each post | Medium to hard | Longest |
| Blocks on gravel | Low | Small pads only | Easy | May need re-leveling |
| Ground screws | Medium | None | Easy | Long |
| Stepped gravel pad | Low to medium | Moderate | Medium | Long if well compacted |
| Concrete slab | High | Heavy | Hard | Longest |
Cheap up front doesn't always stay cheap. Blocks can creep as the soil shifts, so plan to check them every spring.
Posts and screws cost more on day one. In my experience, they're the ones you set and forget.
Soil changes the math too. On soft clay or wet ground, blocks and gravel pads need deeper digging and much more stone.
That extra material can close the price gap fast. Sometimes posts end up costing about the same.
How Much Slope Can Each Shed Base Handle?
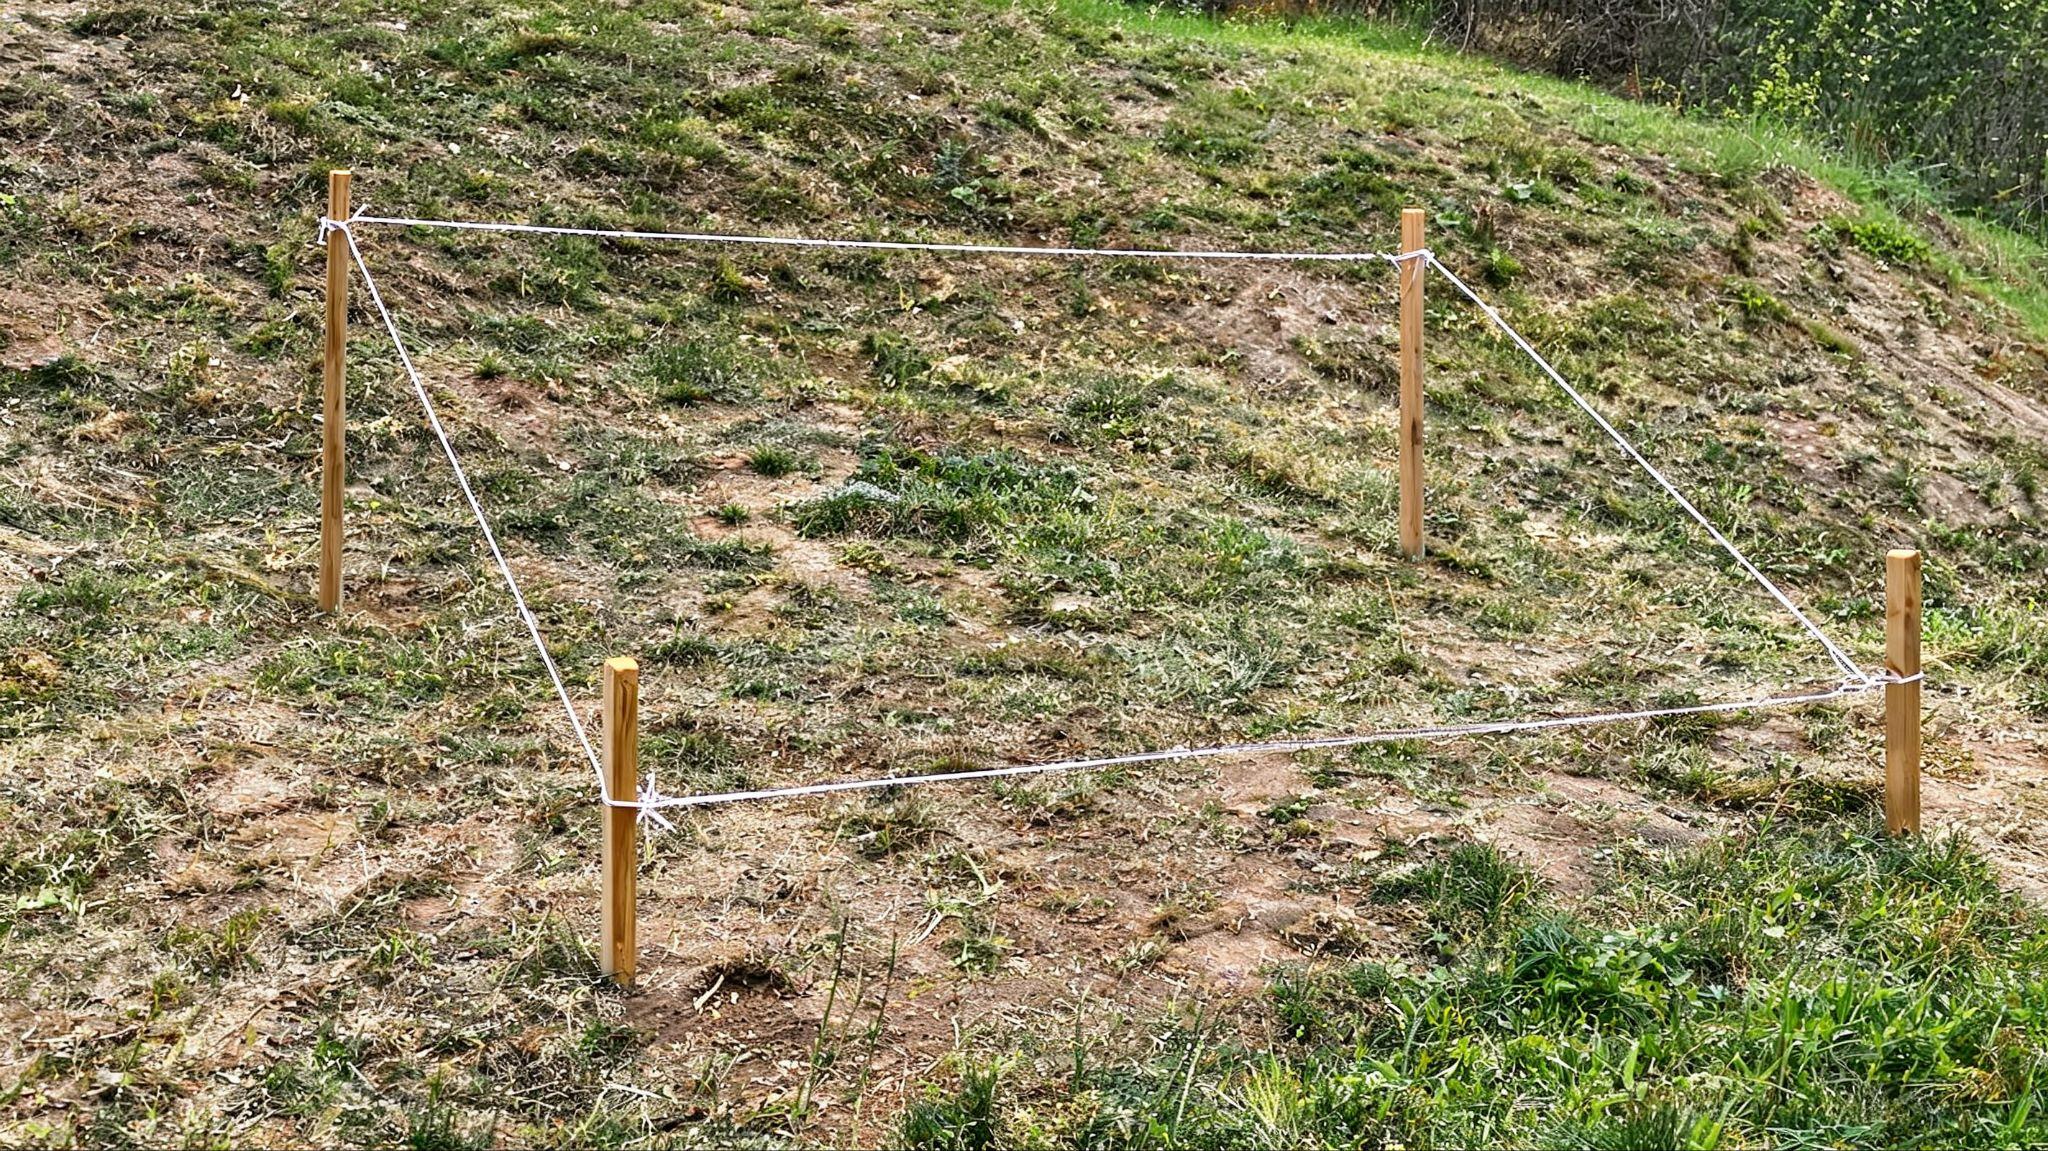
"Gentle" and "steep" don't mean much until you know one number. That number is how far your ground drops from the highest corner of the shed to the lowest.
How to Measure the Drop Across Your Shed Footprint
You only need four stakes, some string, a line level, and a tape measure. It takes about 15 minutes and beats any eyeball guess, and preparing the site properly gives you a head start on everything else.
- Hammer a stake at each corner of where the shed will sit.
- Tie string to the highest corner's stake, a few inches off the ground.
- Run the string to another corner, hang the line level in the middle, and adjust until the bubble centers.
- Measure from the string down to the ground at that stake, then repeat for the other corners.
Take the height at your highest corner away from your biggest measurement. That difference is your drop, and it decides almost everything that follows.
Matching the Drop to a Base Method
Here's how I'd match the drop to a method for a typical garden shed. Treat these as rough ranges, not hard rules.
- Under about 6 inches: a stepped gravel pad or blocks on gravel both work well.
- About 6 to 18 inches: stacked blocks or short posts. Keep block stacks low and wide.
- Over about 18 inches: posts on concrete footings or ground screws. Tall block stacks get wobbly at this height.
A large or heavy shed can push you up one level. The bigger the drop, the more your base needs to reach into firm ground instead of resting on it.
When Soil, Frost, or Runoff Changes the Answer
Your drop is the starting point. Three things can push you toward a sturdier base, even on a small slope.
- Soft soil lets blocks and pads sink. Dig deeper and add more gravel, or switch to posts that reach firmer ground.
- Frost heaves frozen soil upward and can lift one corner. Footings need to sit below your local frost line, so check your building code for that depth, and see whether you need a permit before you dig.
- Runoff is the one people forget. On a slope, rain runs straight under the shed, so dig a shallow gravel trench on the uphill side to send it around.
Which Shed Base Should You Choose for Your Yard?
For most small garden sheds on a slight slope, go with concrete blocks on compacted gravel. They're cheap, forgiving, and easy to adjust later.
Once the drop passes about 18 inches, or the shed is large and heavy, move to posts on concrete footings or ground screws. Pick screws if you hate digging. Pick posts if your ground is rocky.
Choose a stepped gravel pad or slab only on a gentle slope where you want the floor close to the ground. That matters if you'll roll a mower or bikes in and out.
Whatever you build, check it before the floor goes on. Measure both diagonals of the frame, and if they match, it's square.
Then run your level along every joist. Fixing it now takes minutes, but fixing it later means lifting the whole shed.
The Final Shelter
A shed rarely fails all at once. It fails slowly, one sticking door and one soft corner at a time.
That's why the best uneven ground shed base isn't the fanciest one. It's the one matched to your real drop, your soil, and your weather.
Fifteen minutes with stakes and string will tell you more than any product listing. Get that number first, and the right choice usually becomes obvious.
So grab four stakes and a line level this weekend. Measure your spot, then build a base your shed can sit on for years.
Frequently Asked Questions
Can you put a shed directly on uneven ground?
You can, but it rarely ends well. Bare soil holds moisture against the floor, and the low corners settle first. Within a season or two, the frame twists, doors start sticking, and rot sets in. Even a simple layer of compacted gravel under concrete blocks gives the shed a far better start.
How high off the ground should a raised shed base be?
Aim for at least a few inches of clear air under the lowest joist. That gap lets air move and keeps splash-back and damp soil off the timber. On a slope, the uphill side sets this minimum. Past about three feet on the downhill side, add bracing and plan for steps up to the door.
How do you level a shed that's already built?
Jack up the low side a little at a time, lifting under the frame, not the floor. Slide solid concrete blocks or treated shims under the skids until your level reads true. Check the doors as you go. If they swing and latch freely, the frame is back in square.
Do you need to anchor a shed on a raised base?
Yes, in most yards. A raised shed catches wind underneath as well as on its walls. That can lift it or slide it off its supports. Ground screws anchor themselves. For blocks or posts, use ground anchors, straps, or brackets tied into the frame. Check local rules, since some areas require it.