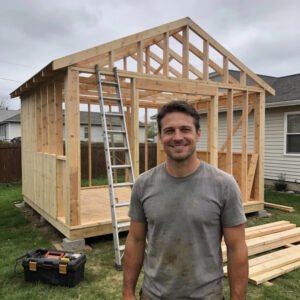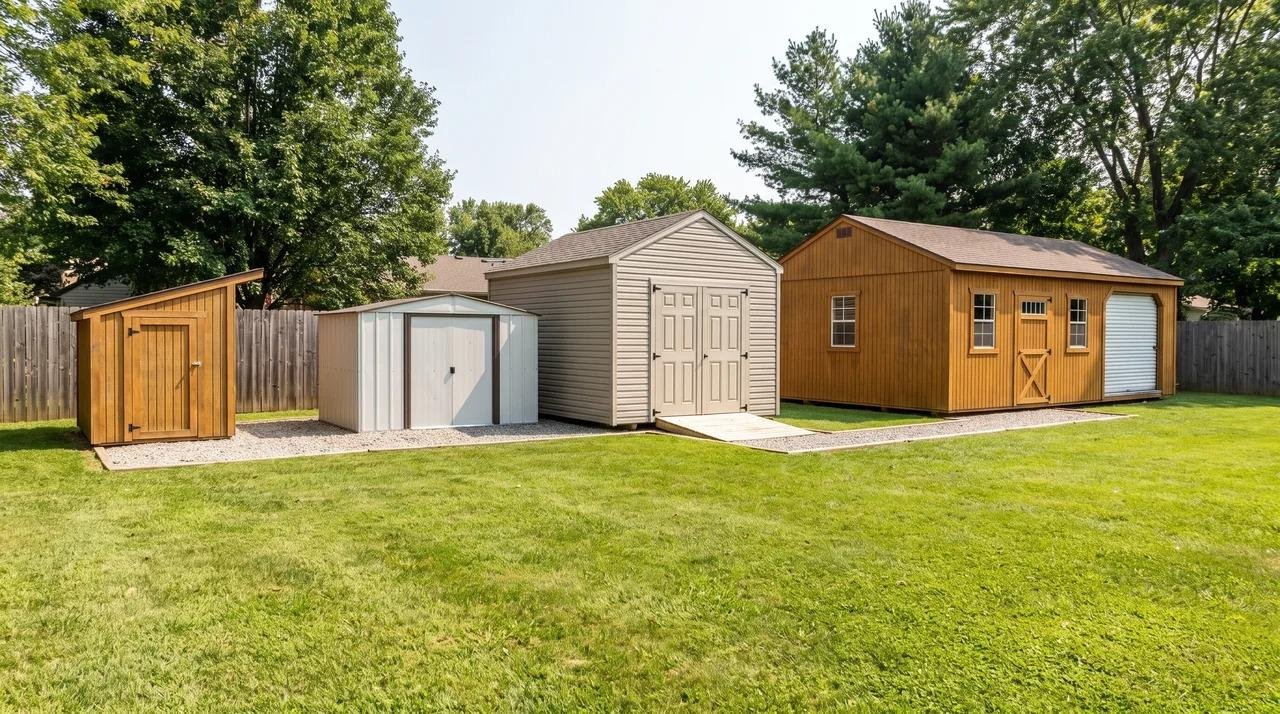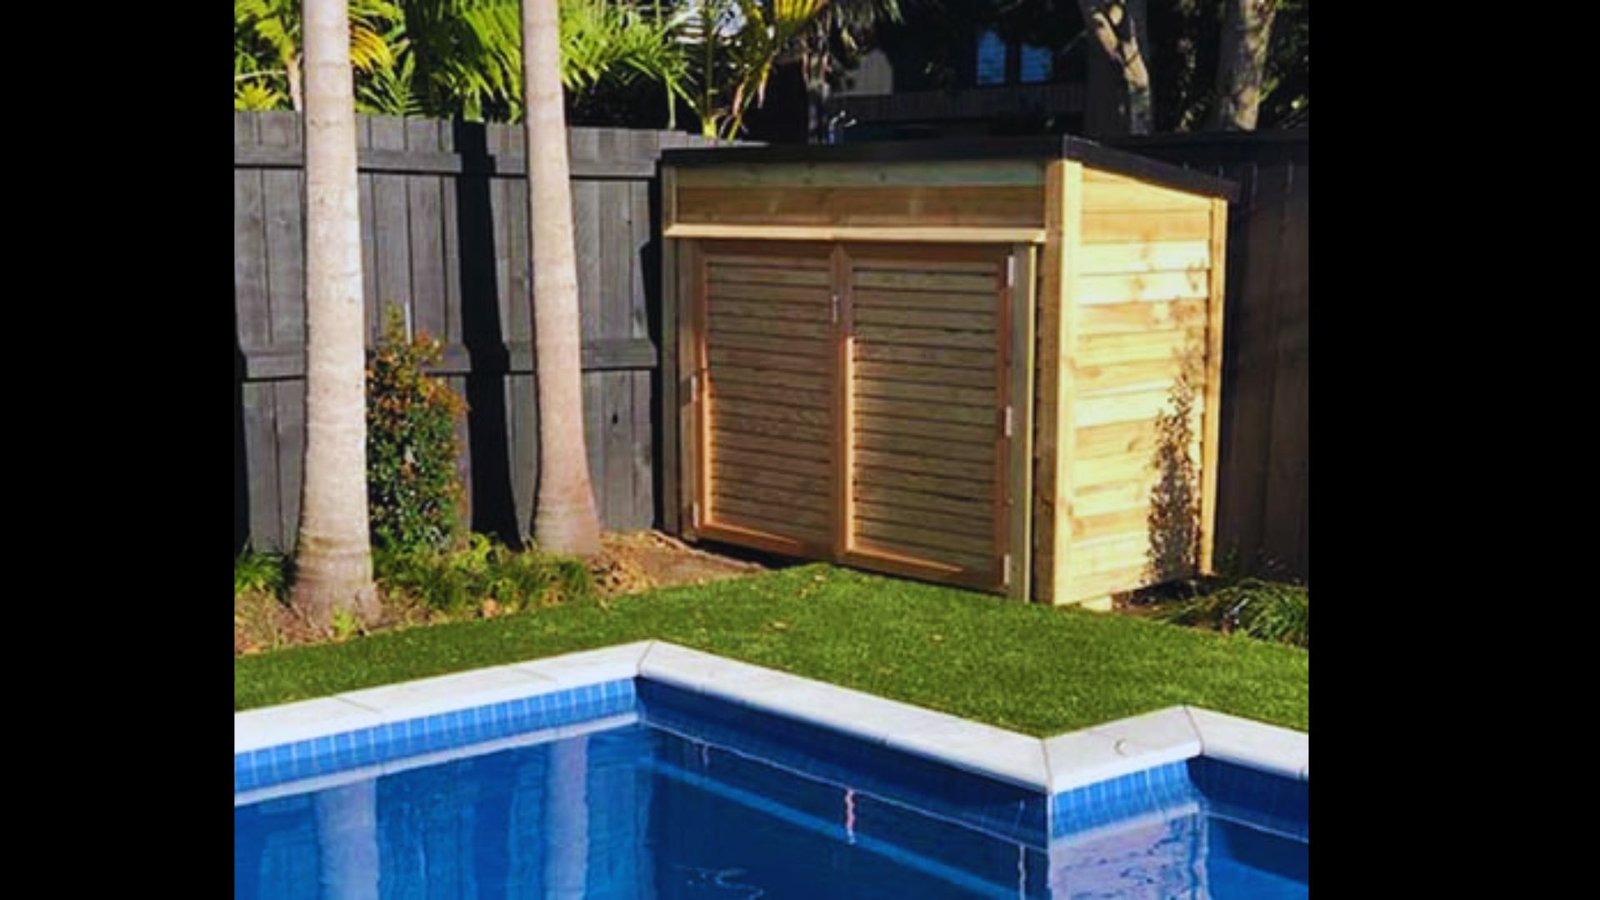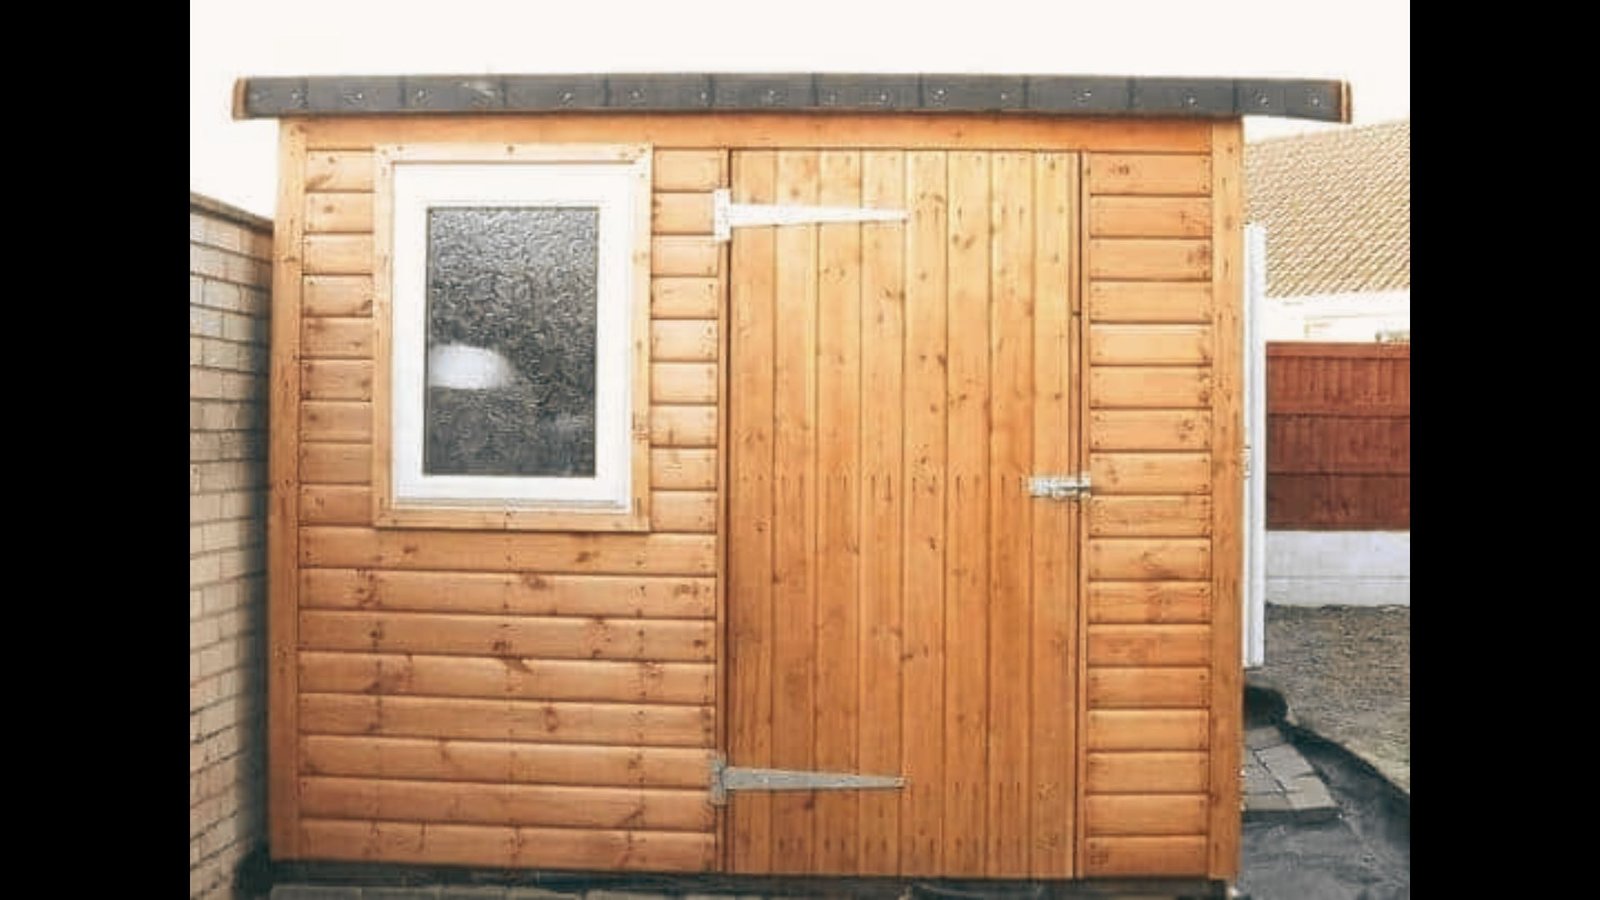
Most small backyard sheds do not need a building permit. But that is not the whole story, and a wrong guess can cost you.
The rule depends on where you live. Your city or county sets it, so one shed can be fine in one town and need approval in the next.
Some places require a permit for every shed. Even a small one.
Even when you skip the building permit, other rules still apply. A shed can look legal and still break a rule you never heard of.
That problem usually shows up later, often when you sell your home. This guide shows what decides your answer and how to get a clear yes or no for your own address.
Do You Need a Permit to Build a Shed?
A shed usually needs no building permit when three things are true. It is small, it has no wiring or plumbing, and it sits on a temporary base like skids or gravel.
But your city or county sets the rule. Some cities require a permit for every shed, even a small one. Tucson and Sioux Falls both work this way.
Four things decide your answer: size, foundation, utilities, and where the shed sits on your lot.
"Exempt" only means you skip the building permit. Zoning, setbacks and HOA approval can still apply, and a later section covers each one.
What Conditions Must All Be True to Skip a Shed Permit?
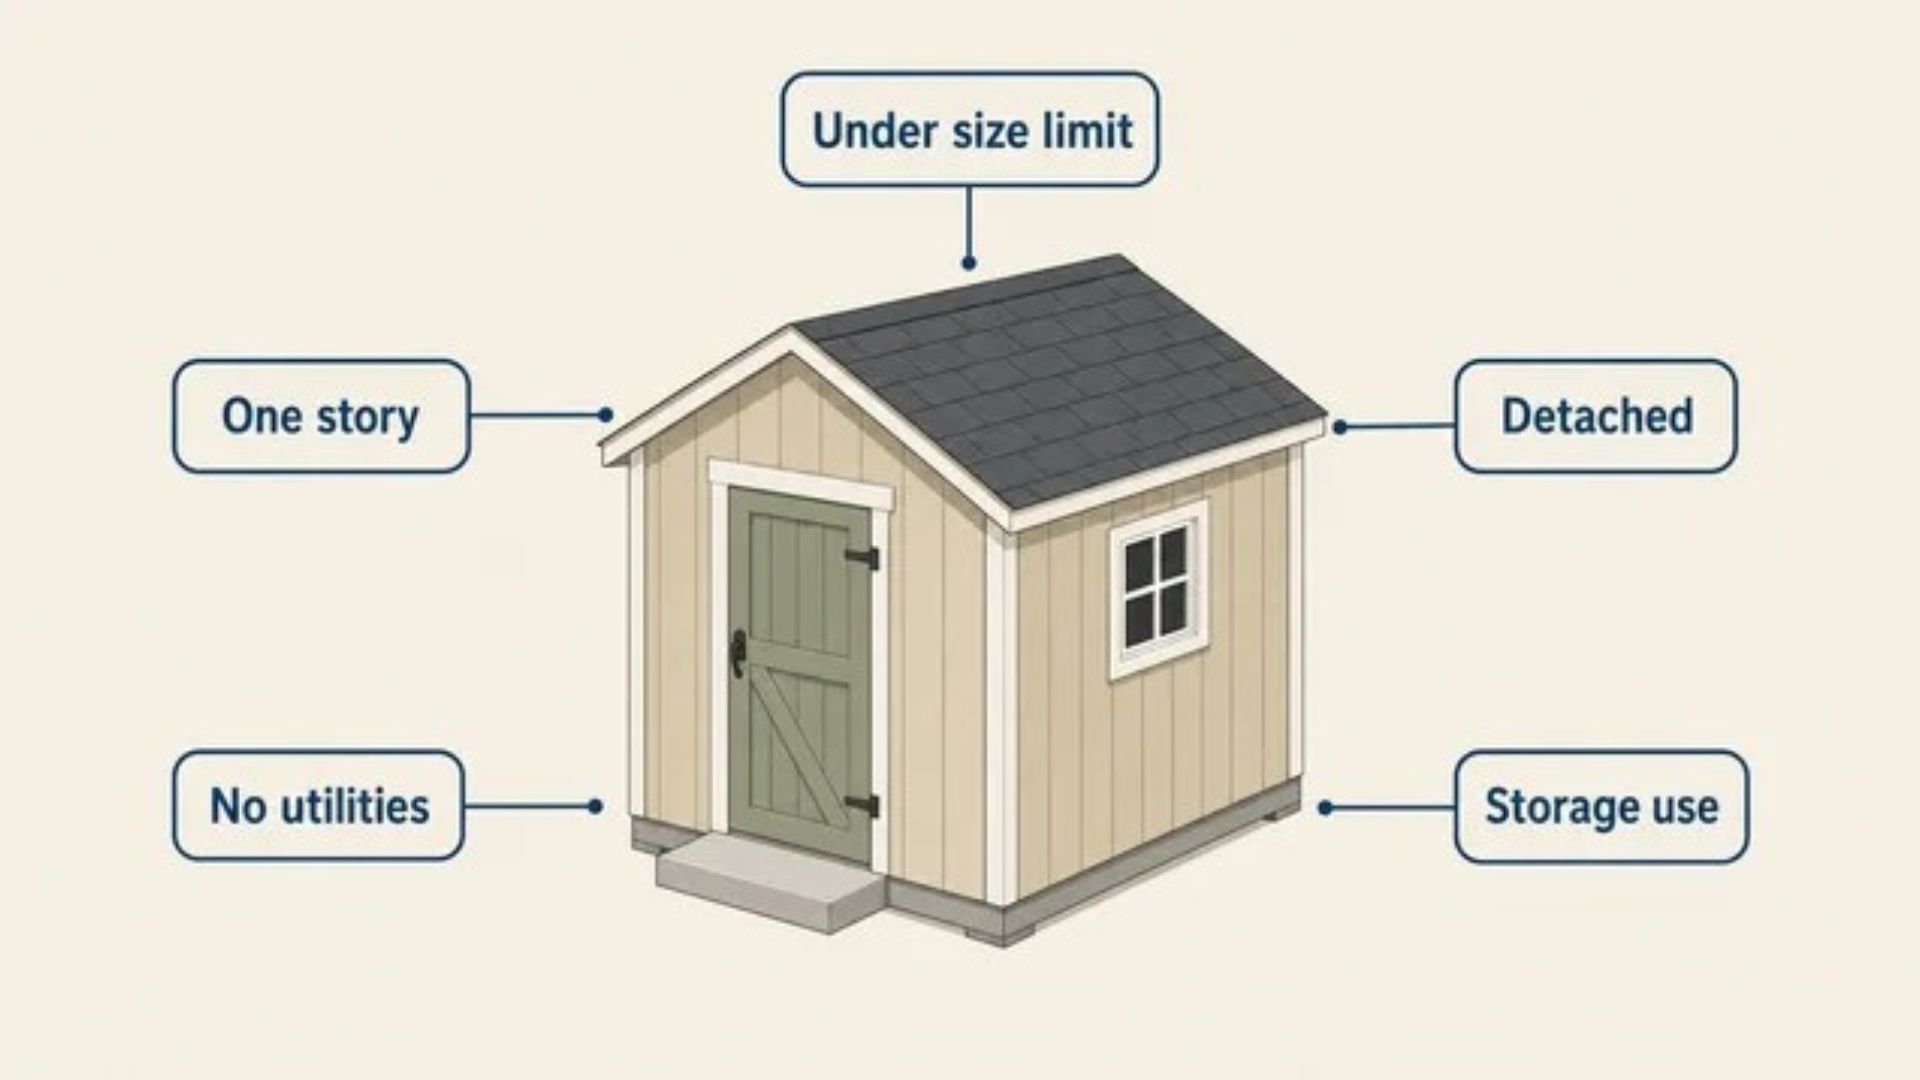
A shed is exempt from a building permit only when it passes every local test at once. It must be under the size limit, one story, detached, free of utilities, and used for storage.
Fail one test and you need a permit. Which permit depends on what failed.
A shed that is too big or too tall needs a building permit, and so does one on a slab. Add wiring and you need an electrical permit. Add water lines and you need a plumbing permit.
Many people treat these tests as separate options, as if a small size alone is enough. It is not. Think of it as a checklist where every box must be ticked.
The next three parts cover the tests that trip people up most.
Size: Why Is the Line 120 or 200 Square Feet?
You see both numbers because they come from different places. The International Residential Code, the model code most states build on, exempts one-story detached sheds up to 200 square feet.
Many cities use a lower line instead, most often 120 square feet. California's residential code sets its line at 120. Each local government chooses which code it adopts and whether to change it.
That is why one shed can be exempt in one town and need a permit a few miles away. Neighboring towns can make different choices.
A 10×12 shed is exactly 120 square feet, so it sits right on the line. Under a 120 limit, it passes. Under a lower limit, it does not. Under 200, it passes easily.
Height is a second size check. Some cities cap exempt sheds at around 15 feet. Indianapolis, for example, requires a permit for any shed taller than that.
Measure the floor area and the height before you pick a model. Do it before you buy, not after delivery.
Foundation: Do Skids and Gravel Really Exempt You?
Often, but not always. Many places treat a shed on skids, gravel or blocks as temporary, as Heartland Sheds notes. You can move it without tearing anything out, so the exemption is easier to claim.
A slab or footings make the shed a permanent part of the lot. Building departments usually want to review that.
Skids do not cancel the other rules. Size, height and setback limits still apply.
Some cities require a permit for every shed, whatever it sits on. In those places, the foundation changes nothing.
Foundation can also change how the county classifies the shed for property tax. That is a separate question from the permit.
Utilities and Use: What Triggers Separate Permits?
Wiring and plumbing are permitted apart from the shed. The Electrical Safety Foundation International lists wiring a new shed as work that needs a permit and inspection.
Take a small shed that goes up with no permit. The owner later runs power from the house. The shed is fine, but the wiring is not. PermitsGuide's California guide describes this exact trap: a legal shed with unpermitted wiring.
Inspectors check wiring because bad wiring starts fires. NFPA ties tens of thousands of home fires a year to electrical failures or equipment.
Use matters too. A shed for lawn tools counts as storage. A home office or studio counts as occupied space, and the codes get stricter. Heartland Sheds notes that a studio faces much stricter code requirements than basic storage.
If you plan to work inside, tell your building department before you start.
Does "No Permit Needed" Mean No Rules Apply?
No. Skipping the building permit does not skip zoning, setback or HOA rules. Those apply to every shed, whatever its size.
A building permit checks that the shed is built safely. A zoning review checks where it sits, how tall it is, and how much of your lot it covers.
Many cities skip the first check for small sheds and still require the second.
Zoning and Setbacks
A setback is the minimum distance a structure must keep from a property line. It comes from your zoning district, not from your city as a whole.
Two houses a mile apart can owe different distances.
Phoenix asks for 3 feet from the side or rear line in most residential districts. In Sioux Falls, a rear-yard shed more than 10 feet from the house can sit 2 feet from the line, overhang included.
Some cities also want space between the shed and other buildings on the lot. Phoenix wants 6 feet.
Three checks save you the most trouble before you place anything. Each one catches a mistake that is hard to fix once the shed is down.
- The property line, not the fence: Fences often sit off the line, as PermitsGuide notes.
- Easements: Utility easements often run along the back or side and can bar buildings outright. (Same PermitsGuide page backs this, so no second link.)
- Corner lots: The street side usually counts as a front yard, with much bigger setbacks. San Luis Obispo County asks 10 feet on a small lot's street side, against 3 on interior sides.
None of these show up on a shed's price tag. Check them on your own lot before you order.
This matters most for exempt sheds. A permitted shed gets inspected, and the inspector checks the setback.
An exempt shed gets no inspection. A bad spot can sit unnoticed until a neighbor complains or you sell.
HOA and Historic District Rules
An HOA is a separate approval. A city permit does not satisfy it, and the HOA can be stricter than the city.
HOA rules come from the covenants you agreed to when you bought. That is a private contract, not city law.
An HOA may cap shed size, set colors and materials, or limit placement to the rear yard. Ask before you order, because reviews can take weeks.
Historic districts work the same way. Those rules protect how the area looks, so even small buildings get a review.
In Tucson, any development in a historic preservation zone needs a permit and design review, even for a small shed.
What Happens If You Build Without a Required Permit?
Building without a required permit can lead to fines, a stop-work order or forced removal of the shed. The trouble usually shows up later, not while you build.
Nobody checks a backyard shed as it goes up. Someone notices when a neighbor complains, a buyer's inspector walks the yard, or an insurer reviews a claim.
Each trigger leads to a different kind of problem. Knowing which one is coming shows you the real cost.
- Neighbor complaint: the city can order you to stop work, charge extra fees, or make you move or remove the shed.
- Home sale: a buyer's inspector may flag the shed and slow the deal.
- Insurance claim: an insurer may question a claim tied to unpermitted work, especially wiring.
Fine amounts vary widely by location. Ask your local office instead of trusting a number you read online.
Most cities offer a retroactive permit, sometimes called an after-the-fact permit. It usually costs more than the original, and approval is not guaranteed.
If the shed fails inspection, you may still have to change it or remove it.
How Do You Confirm the Rule for Your Address?
Call your local building and zoning offices with your shed's size, height, foundation, utilities and location. No national rule can answer this for you, so a local call is the only sure route.
Start by finding the right office. Permits may come from your city, your county, or a county office for unincorporated land.
If you are unsure, check your city or county website. Or call the main line and ask who handles residential accessory structures.
Then ask two separate questions. The building department tells you the size that triggers a building permit.
The zoning office gives you your setbacks, height limit and lot coverage. Ask about any HOA or historic overlay too.
Have these details ready before you call. They let the person on the phone answer in one go, so you do not need to call back.
- How big and how tall the shed is
- What it will sit on
- Whether it gets power or water
- Where on the lot it goes
Write down the name of whoever you speak with and the date. It helps if anyone questions the answer later.
If a permit is needed, expect to submit a scaled site plan. It shows your lot lines and the distance from the shed to each one.
Fees and review times vary by office, so ask about both on the same call.
Found this guide helpful? Share it with a neighbor who is planning a shed. Then tell us in the comments what your local office said.
Frequently Asked Questions
These are the questions people ask most before they buy or build. Each answer is short, so you can check yours fast.
Do I need a permit for a 10×12 shed?
A 10×12 shed is exactly 120 square feet, so it sits on the most common exemption line. Under a 120 square foot limit, or the 200 square foot code baseline, it usually needs no building permit.
A lower local limit, or a rule that covers every shed, changes that. Setbacks and zoning apply either way.
Do I need a permit to put electricity in a shed?
Yes. Wiring a shed needs its own electrical permit and inspection, even when the shed is exempt. In many places, one outdoor spigot triggers a plumbing permit too.
The shed can be legal while its wiring is not. Permit the utilities separately.
Do I need a permit for a pre-built shed?
A pre-built shed follows the same rules as one built on site. Permits look at the finished size, height and location, not how it was made.
It arrives assembled, so a bad placement is costly to fix. Confirm the rules before delivery.
Do I need a permit for a shed on skids or blocks?
Often not, but it is not guaranteed. Many places treat sheds on skids, gravel or blocks as temporary and exempt them when they are small and unwired.
Size, height, setbacks and zoning still apply. Some cities require a permit for whatever the shed sits on, so check your local rule.
“`html
“`