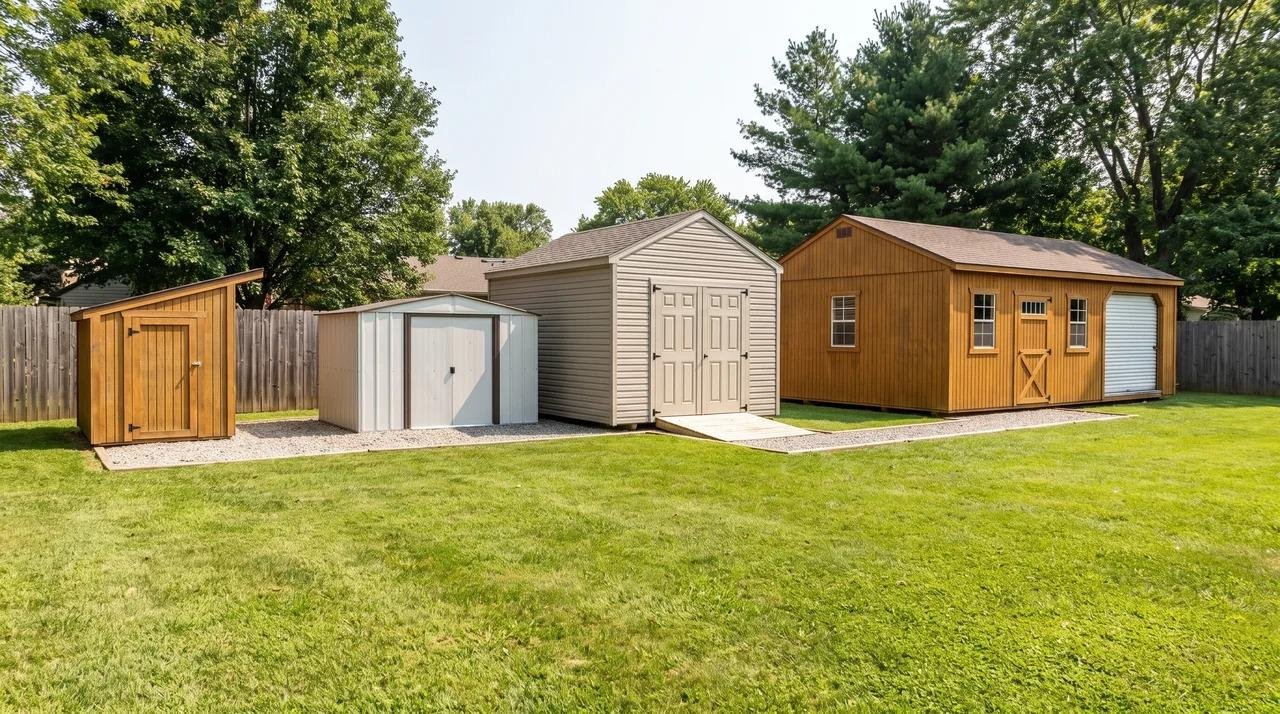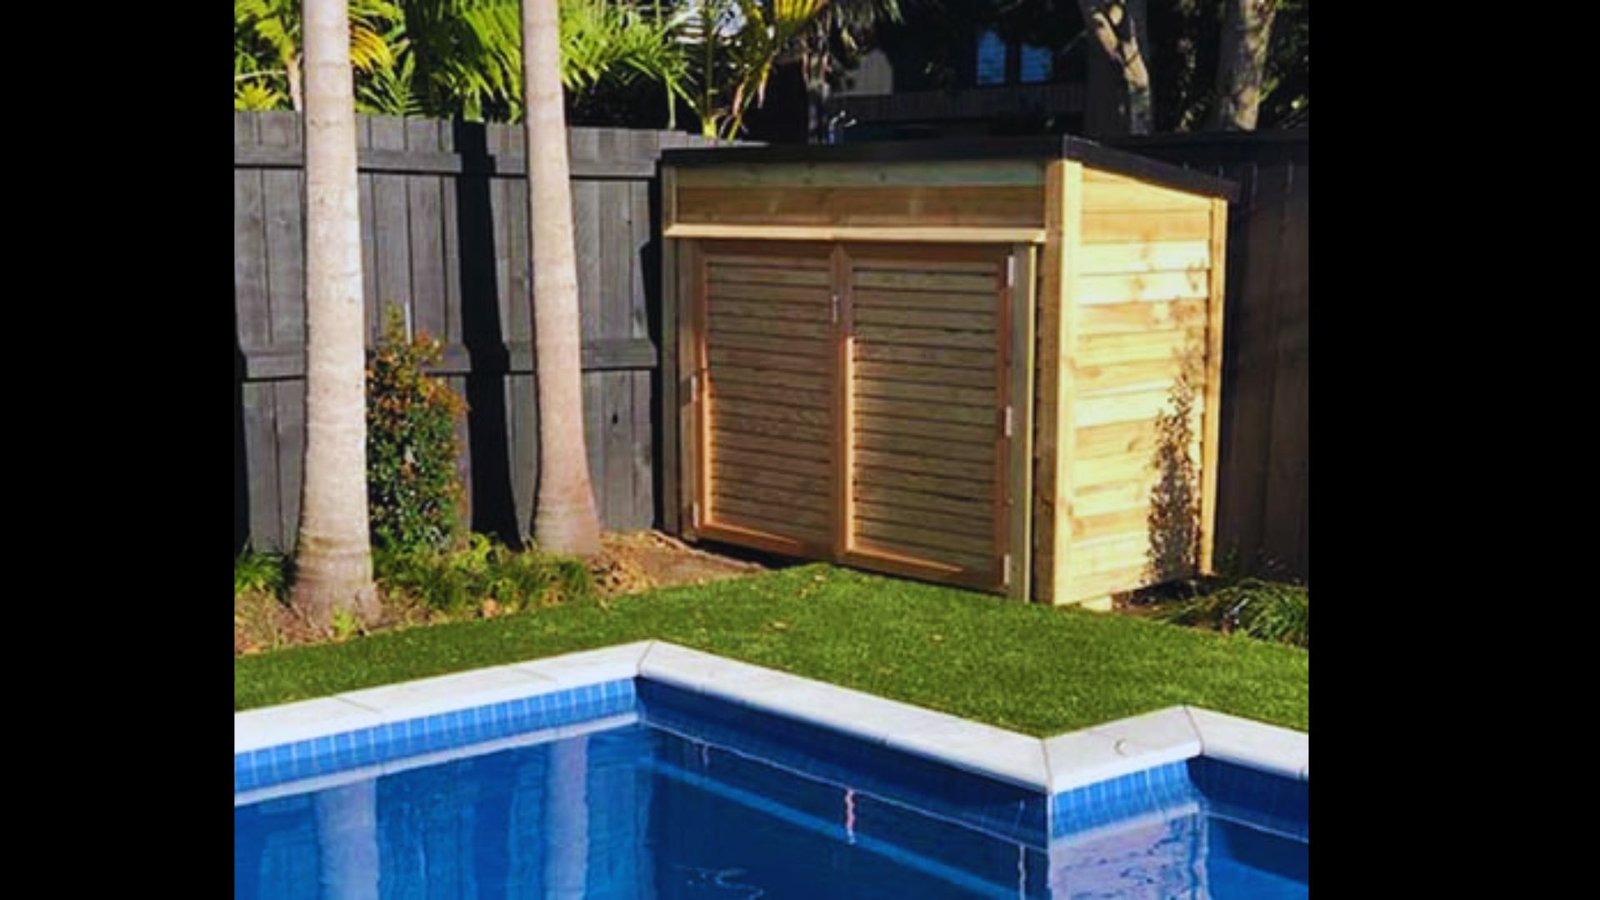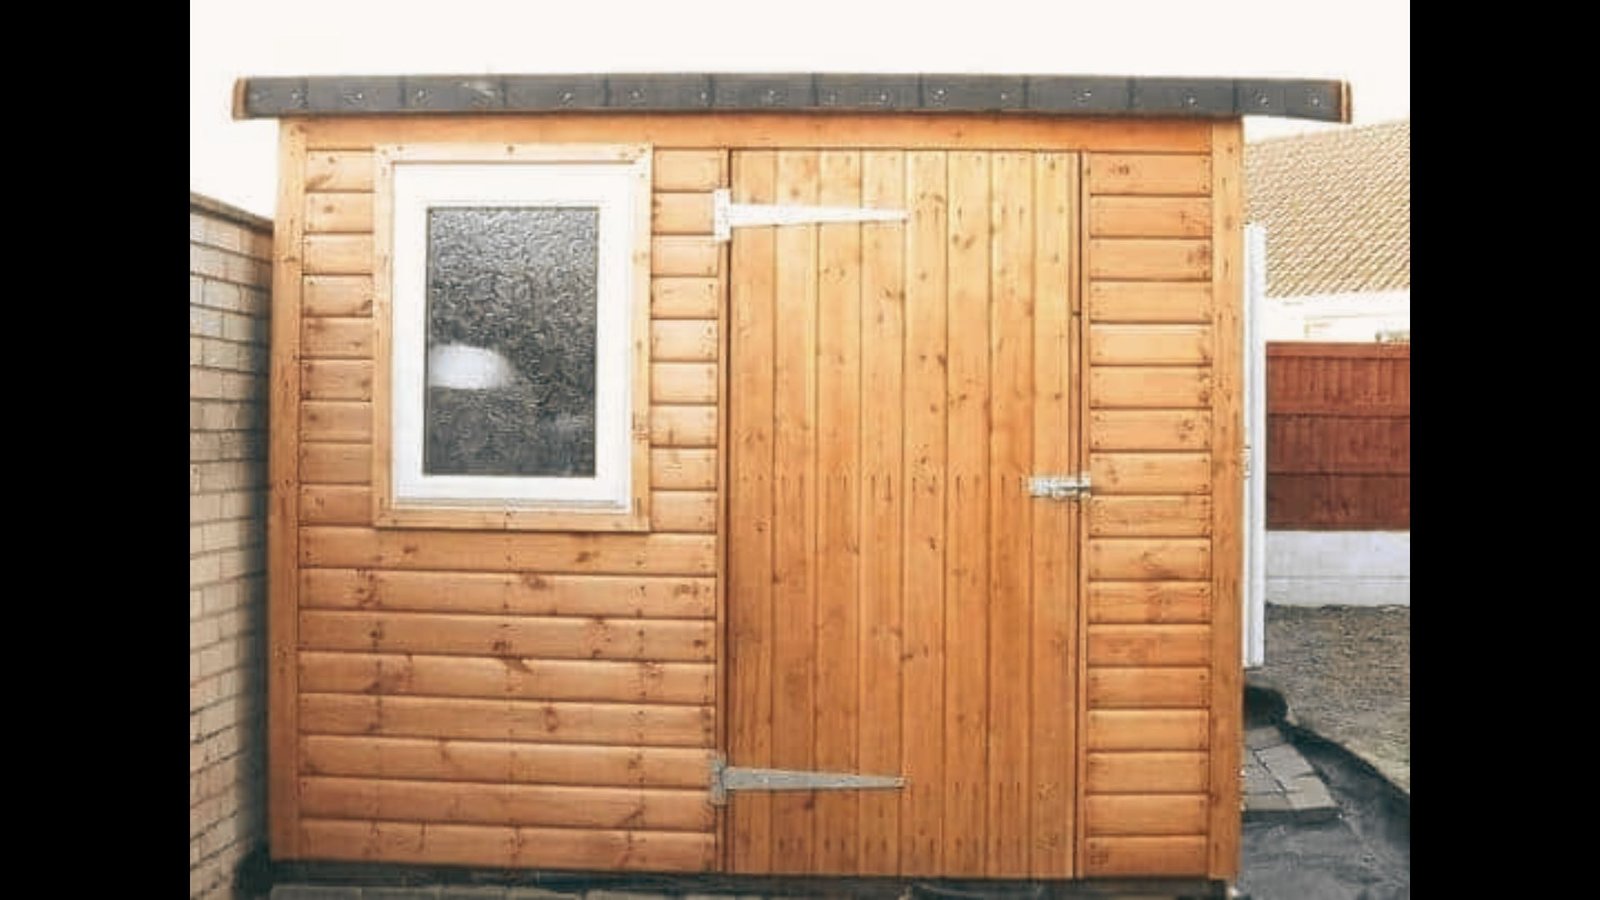
A crooked shed roof does not happen by accident. It happens when someone skips a step, guesses at the pitch, or rushes the birdsmouth cut. One small mistake up there, and you are looking at leaks, rot, or a roof that just does not sit right.
The good news? You can avoid every one of those headaches. Learning how to frame a shed roof comes down to a handful of steps done in the right order, from setting your pitch to nailing down the final sheet of plywood.
Stick with me here, and you will walk away knowing how to build a roof that holds up, sheds water, and looks like you knew what you were doing all along.
What Do You Need to Decide Before Framing a Shed Roof?
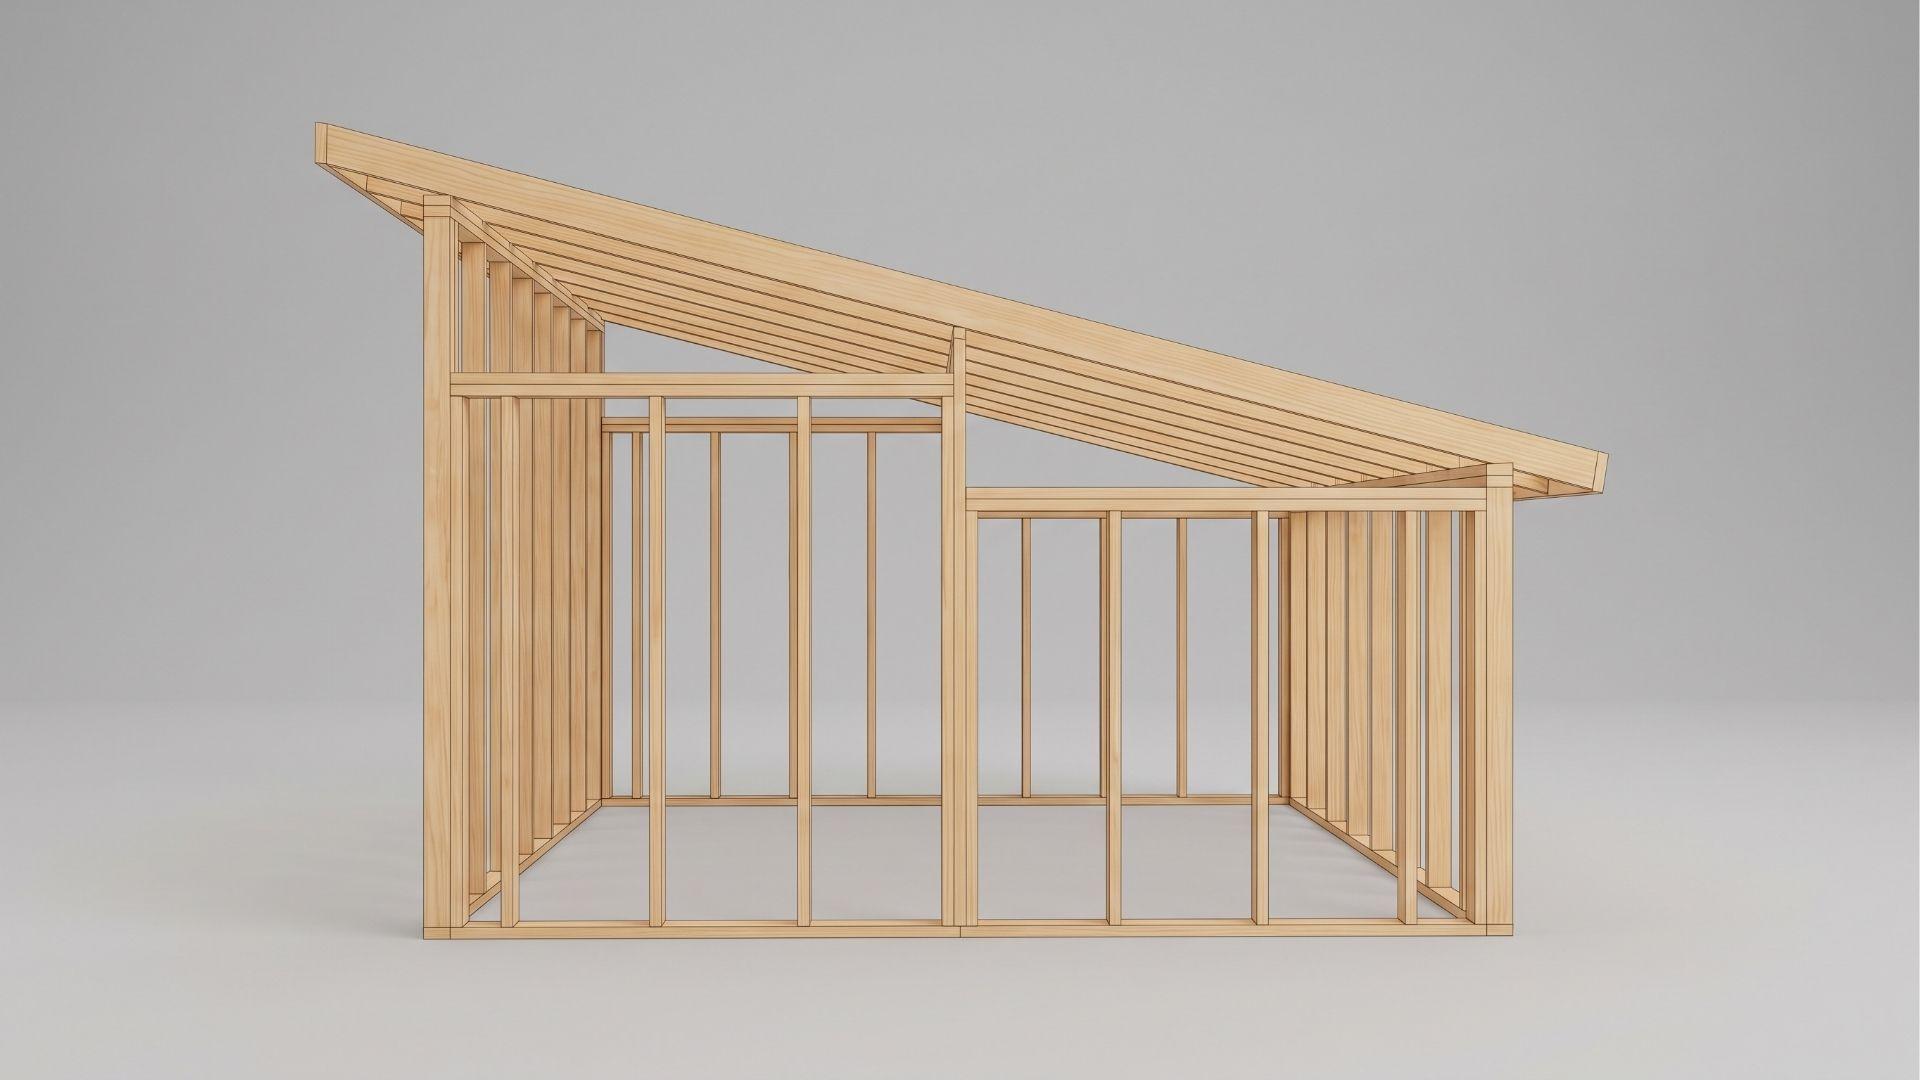
A shed roof’s pitch is set by the height difference between its two bearing walls. So you lock in the pitch first, then frame the walls to match.
Your roofing decides the lowest pitch you can use. Shingles and metal panels each list a minimum slope, and if you’re still weighing roof styles, comparing a shed roof vs gable roof is worth doing before you lock in your pitch.
Pitch is inches of rise per 12 inches of run. A 24-inch rise over 144 inches is 2:12.
Get both walls level, square, and even first. Any error there carries into the roof.
How to Frame a Shed Roof Step by Step
This guide follows a 10×10 lean-to shed with a 2/12 pitch. Your numbers may change with your shed size, but the process stays the same if you haven’t finalized your footprint yet, some shed dimension planning first will make the rafter math in this guide easier to adapt.
Tools and Materials You’ll Need
Get everything on site before you make the first cut. A mid-project store run slows you down and invites mistakes.
Tools
- Circular saw
- Jigsaw, hacksaw, or Japanese pull saw
- Carpenter square with a common rafter scale
- Framing square
- Framing nailer
- Drill/driver
- Tape measure, pencil, and chalk line
- Bar clamps
- Two sturdy ladders
These material amounts fit a 10×10 shed, so scale them to your own plan.
Materials
- 13 pieces of 2x6x16 lumber (11 main rafters plus 2 side overhang rafters)
- 2 pieces of 2×6 cut to 12 feet for fascia
- Extra 2×6 for blocking
- Hurricane ties and rafter ties
- 3-inch exterior screws
- Framing nails
- Plywood roof sheathing
- A scrap block for a temporary fascia support
Pick the straightest boards you can find for rafters. A crooked 16-footer will fight you the whole way.
Step 1: Plan the Overhangs, Spacing, and Rafter Length
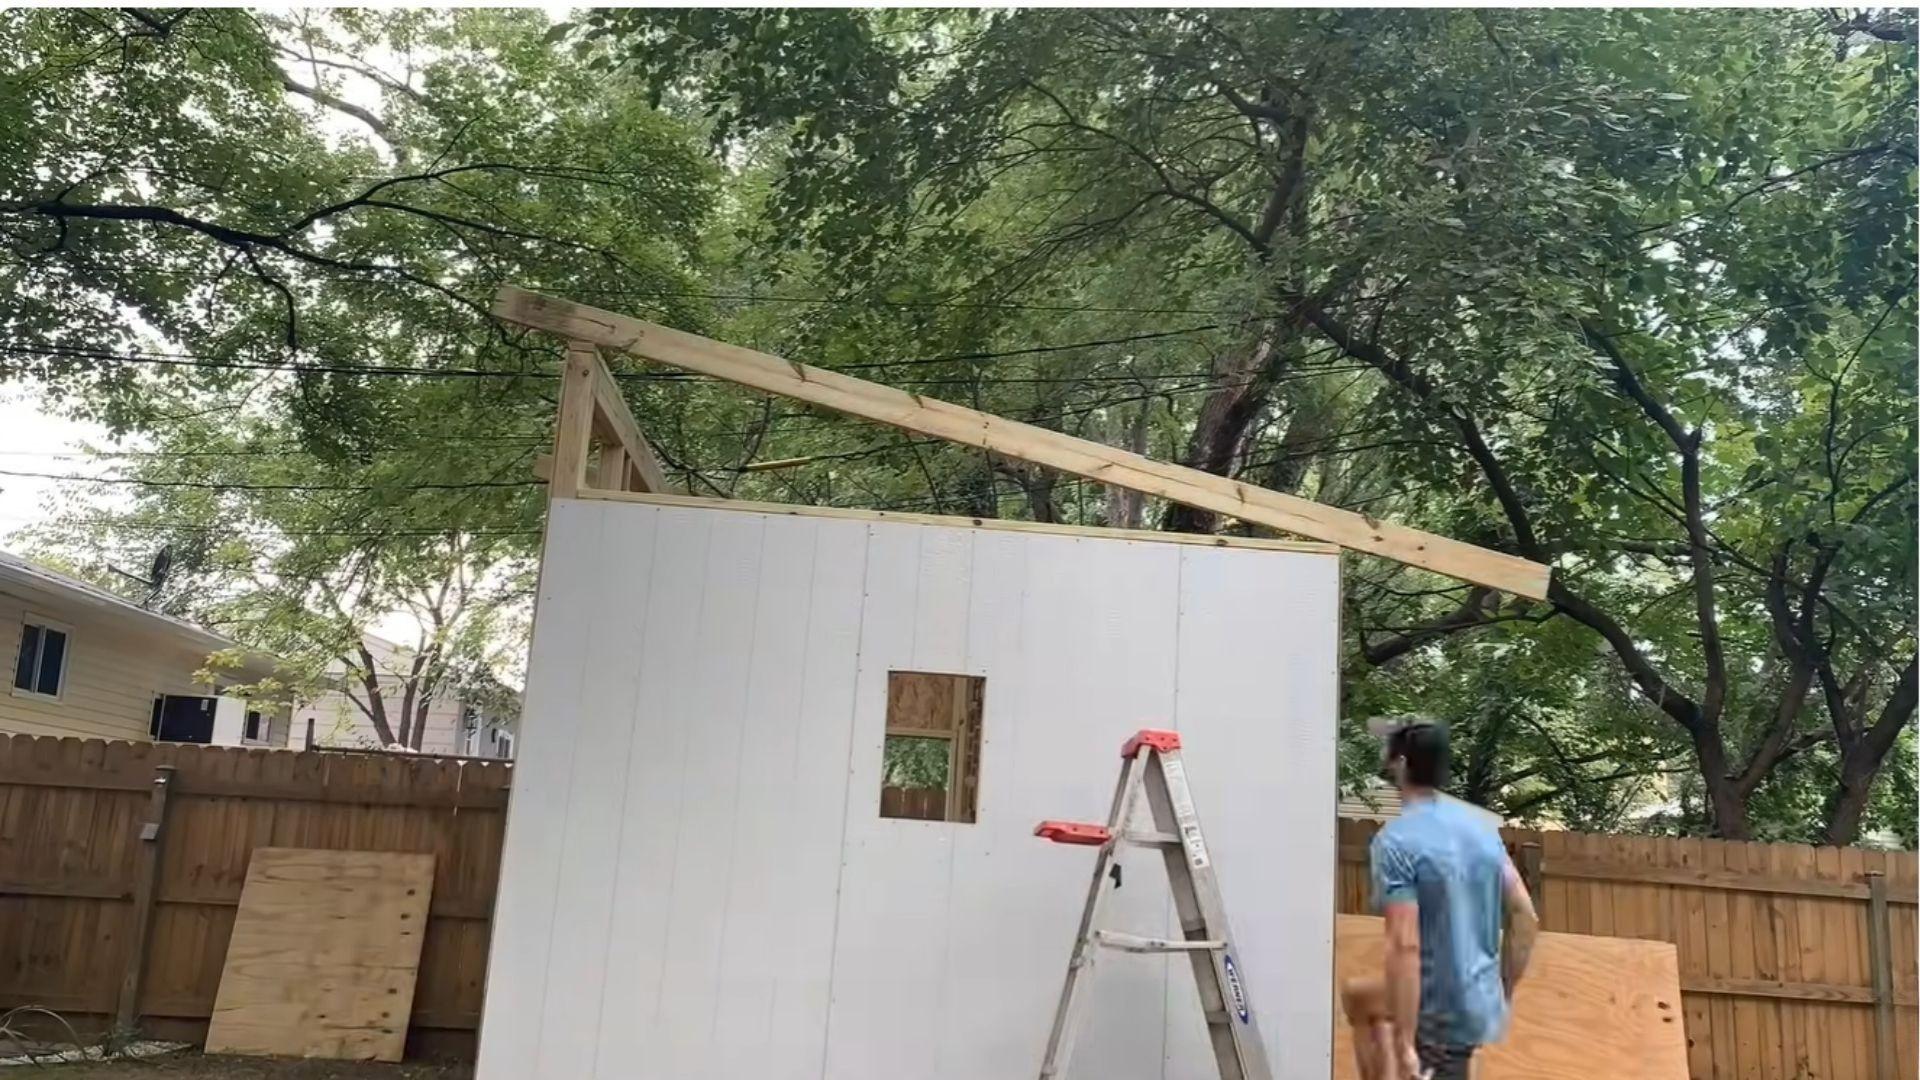
Decide how far the roof hangs past each wall. This build uses about 3 feet at the front and 1 foot at the back.
That setup calls for 14-foot rafters, so trim 2 feet off each 2x6x16. Space rafters 12 to 16 inches on center. This shed went tighter, at about 10½ inches.
The key rule is simple. Every plywood seam must land on the center of a rafter.
Step 2: Find the Pitch and Mark the Birdsmouth Cuts
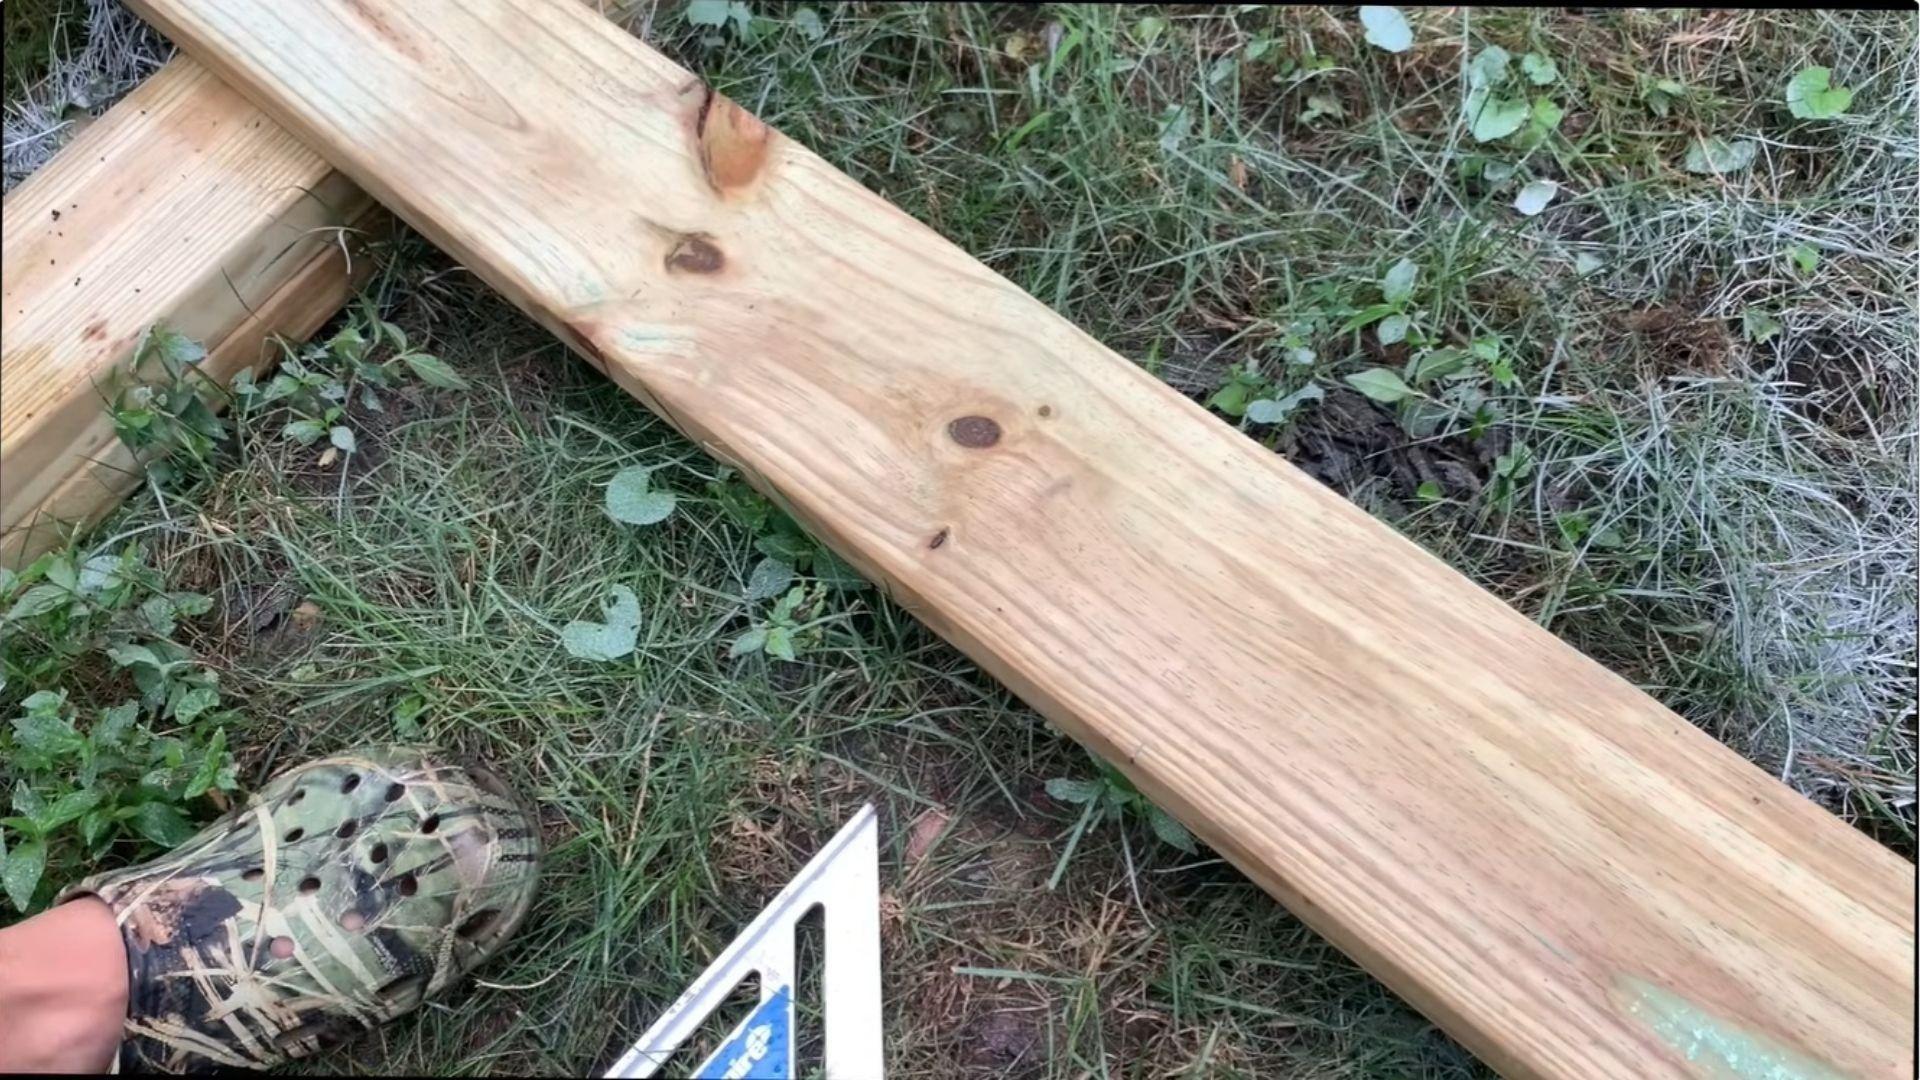
Pitch is the rise for every 12 inches of run. A roof that rises 24 inches over 144 inches has a 2/12 pitch.
A birdsmouth is a notch that lets the rafter sit flat on the top plate. Mark your back overhang, here 14⅝ inches, then a second line 3½ inches toward the front.
Rotate your carpenter square on its pivot to the 2 on the common rafter scale. That line is your heel cut. Slide a framing square down it to the 3½-inch mark for the seat cut. Repeat at the front wall.
Step 3: Cut the Notches and Make a Template Rafter
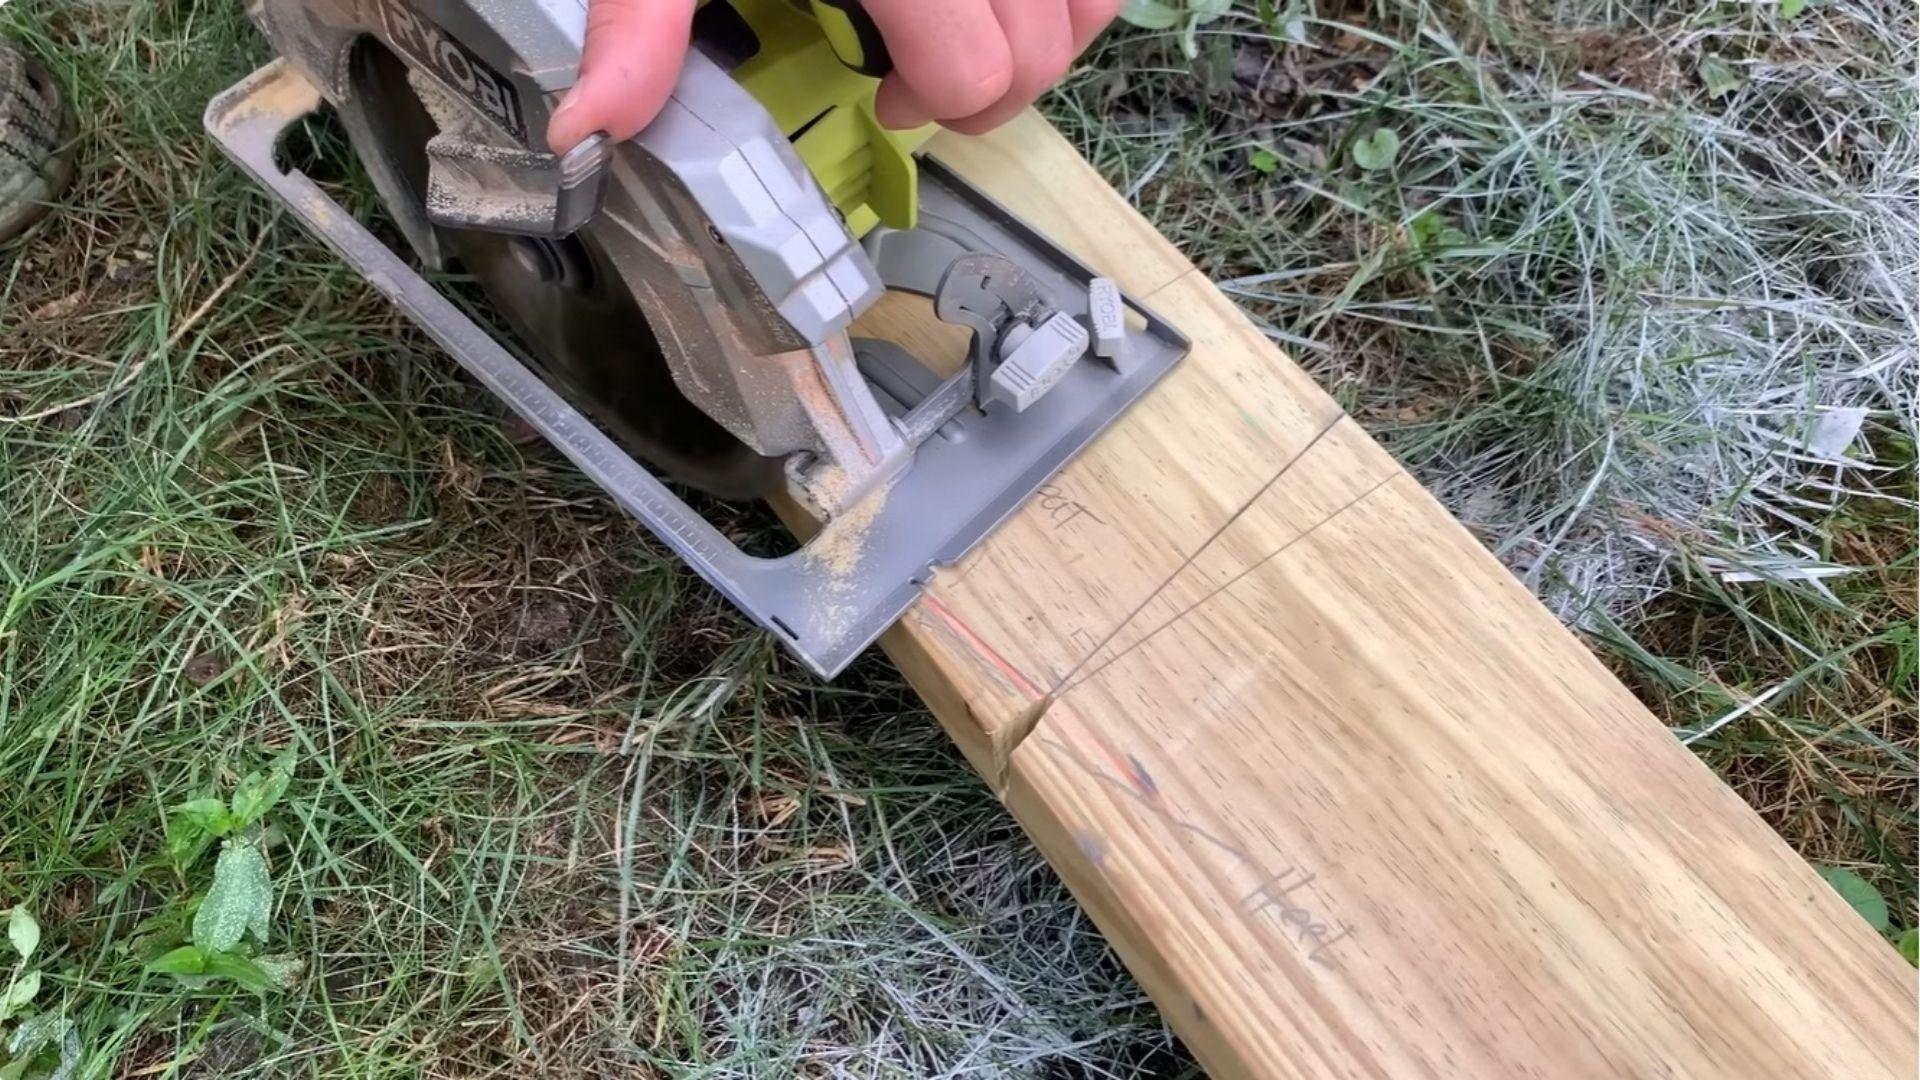
Start the heel cut with a circular saw. Finish the tight corner with a jigsaw, hacksaw, or pull saw.
Test-fit the rafter on the shed. Both notches should sit flat on the plates. If not, cut another until one fits well.
Use that single board as your template for every other rafter. Tracing copies of copies lets small errors pile up. Clamp, trace, cut, and test one on the shed every few boards.
Step 4: Set the Rafters and Add Hurricane Ties
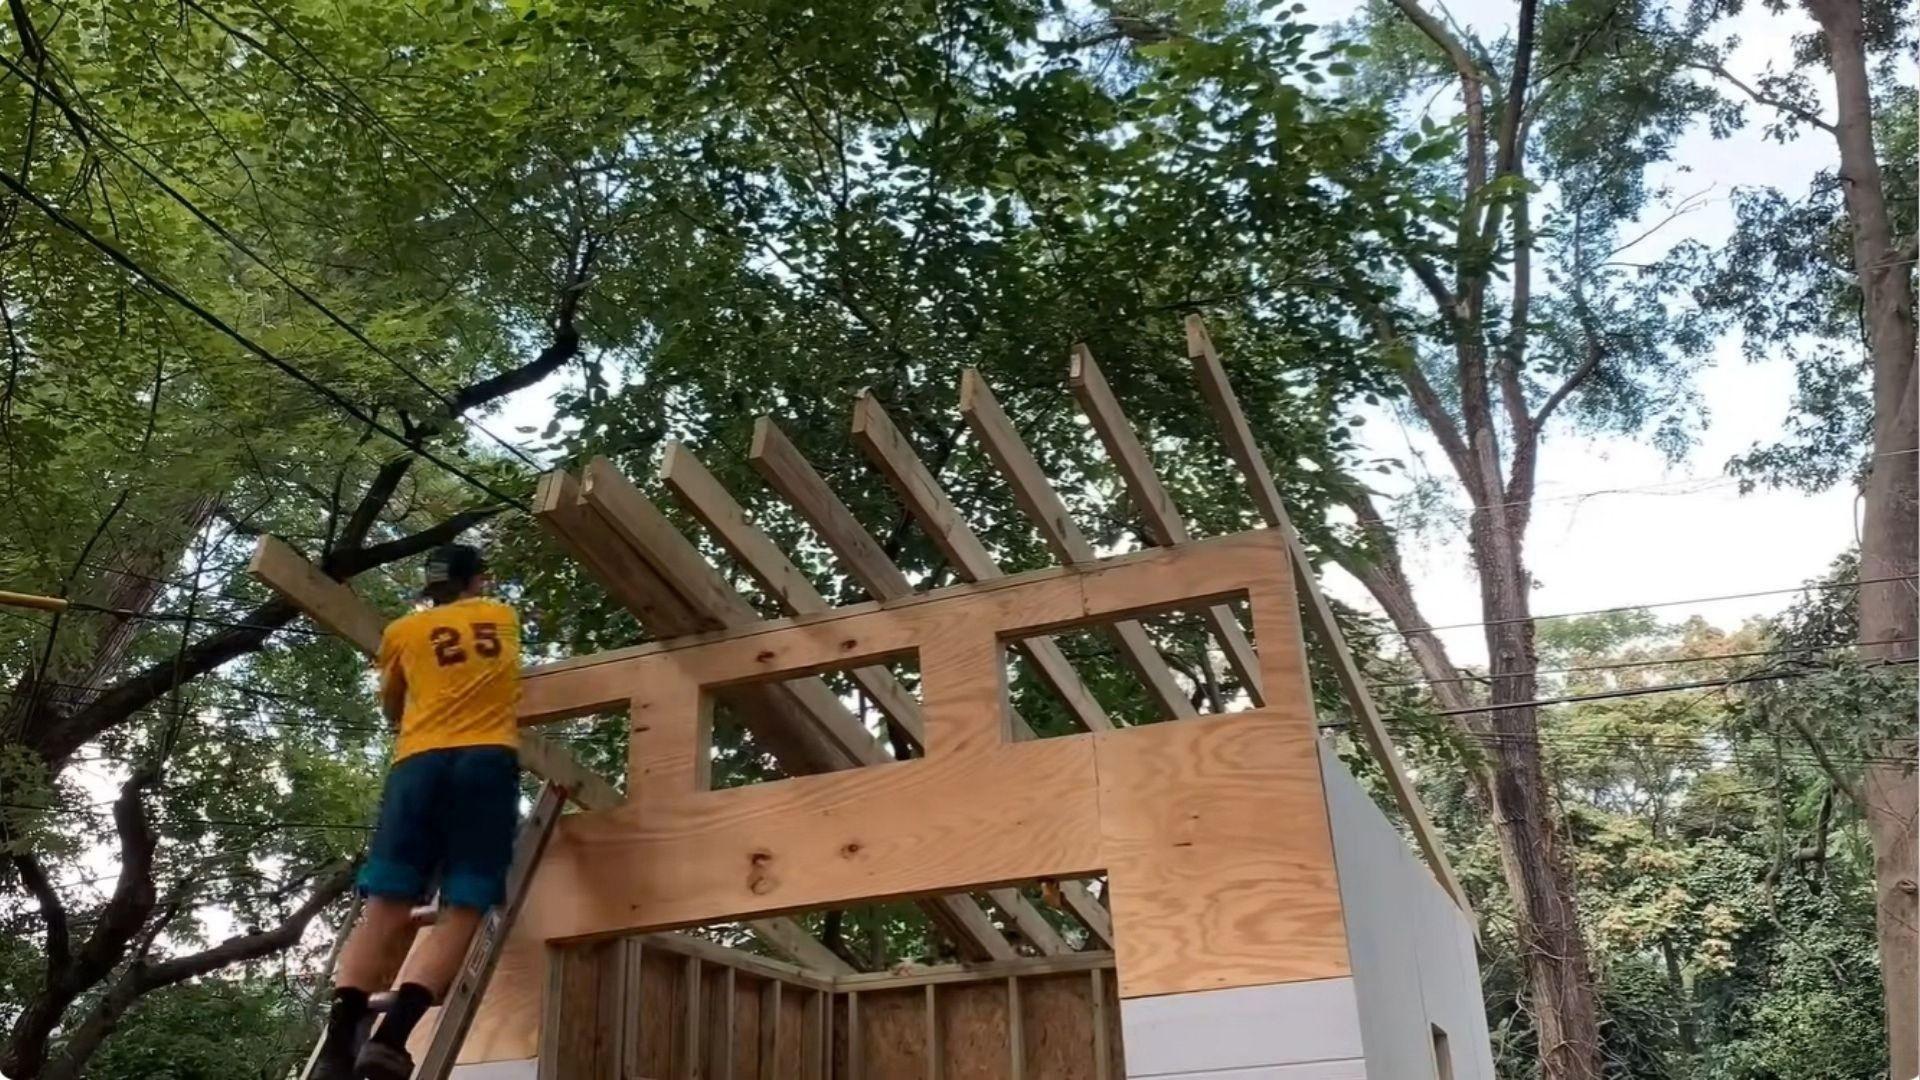
Mark the rafter layout on the front and back top plates. Both walls need identical spacing, or rafters will sit crooked.
Lift all rafters up with a helper, crown side up. Line each one on its marks and tack it with a framing nailer.
Then add metal ties against wind uplift. Use rafter ties on the two outer rafters and hurricane ties on the rest.
Step 5: Install the Blocking
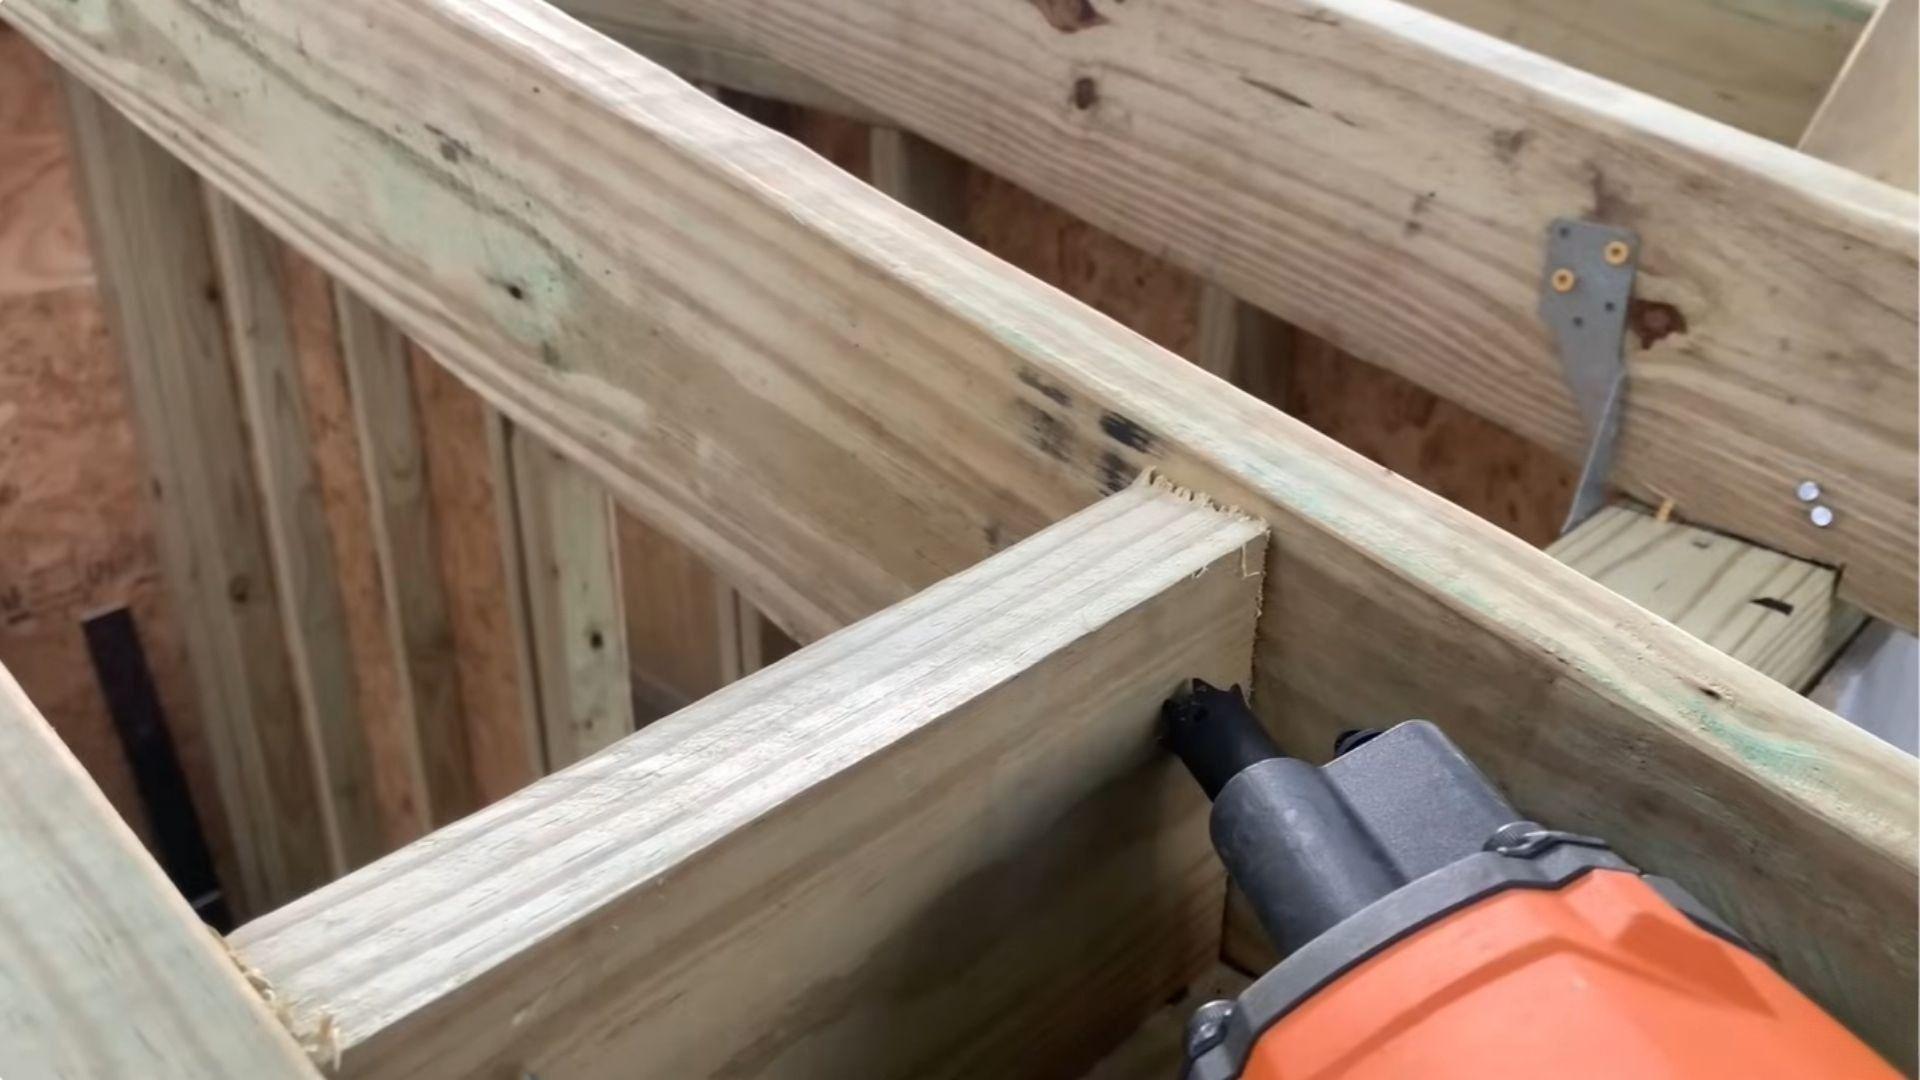
Blocking fills the gaps between rafters above each wall. It keeps birds out and gives the inside a cleaner look.
A full 2×6 will stick up because the birdsmouth lowered the rafters. Rip about ⅛ inch off each piece first.
Cut blocks to fit, here 10½ inches, but measure each bay. Set them flush with the plate’s outer edge and toenail them in.
Step 6: Attach the Fascia and Side Overhang Rafters
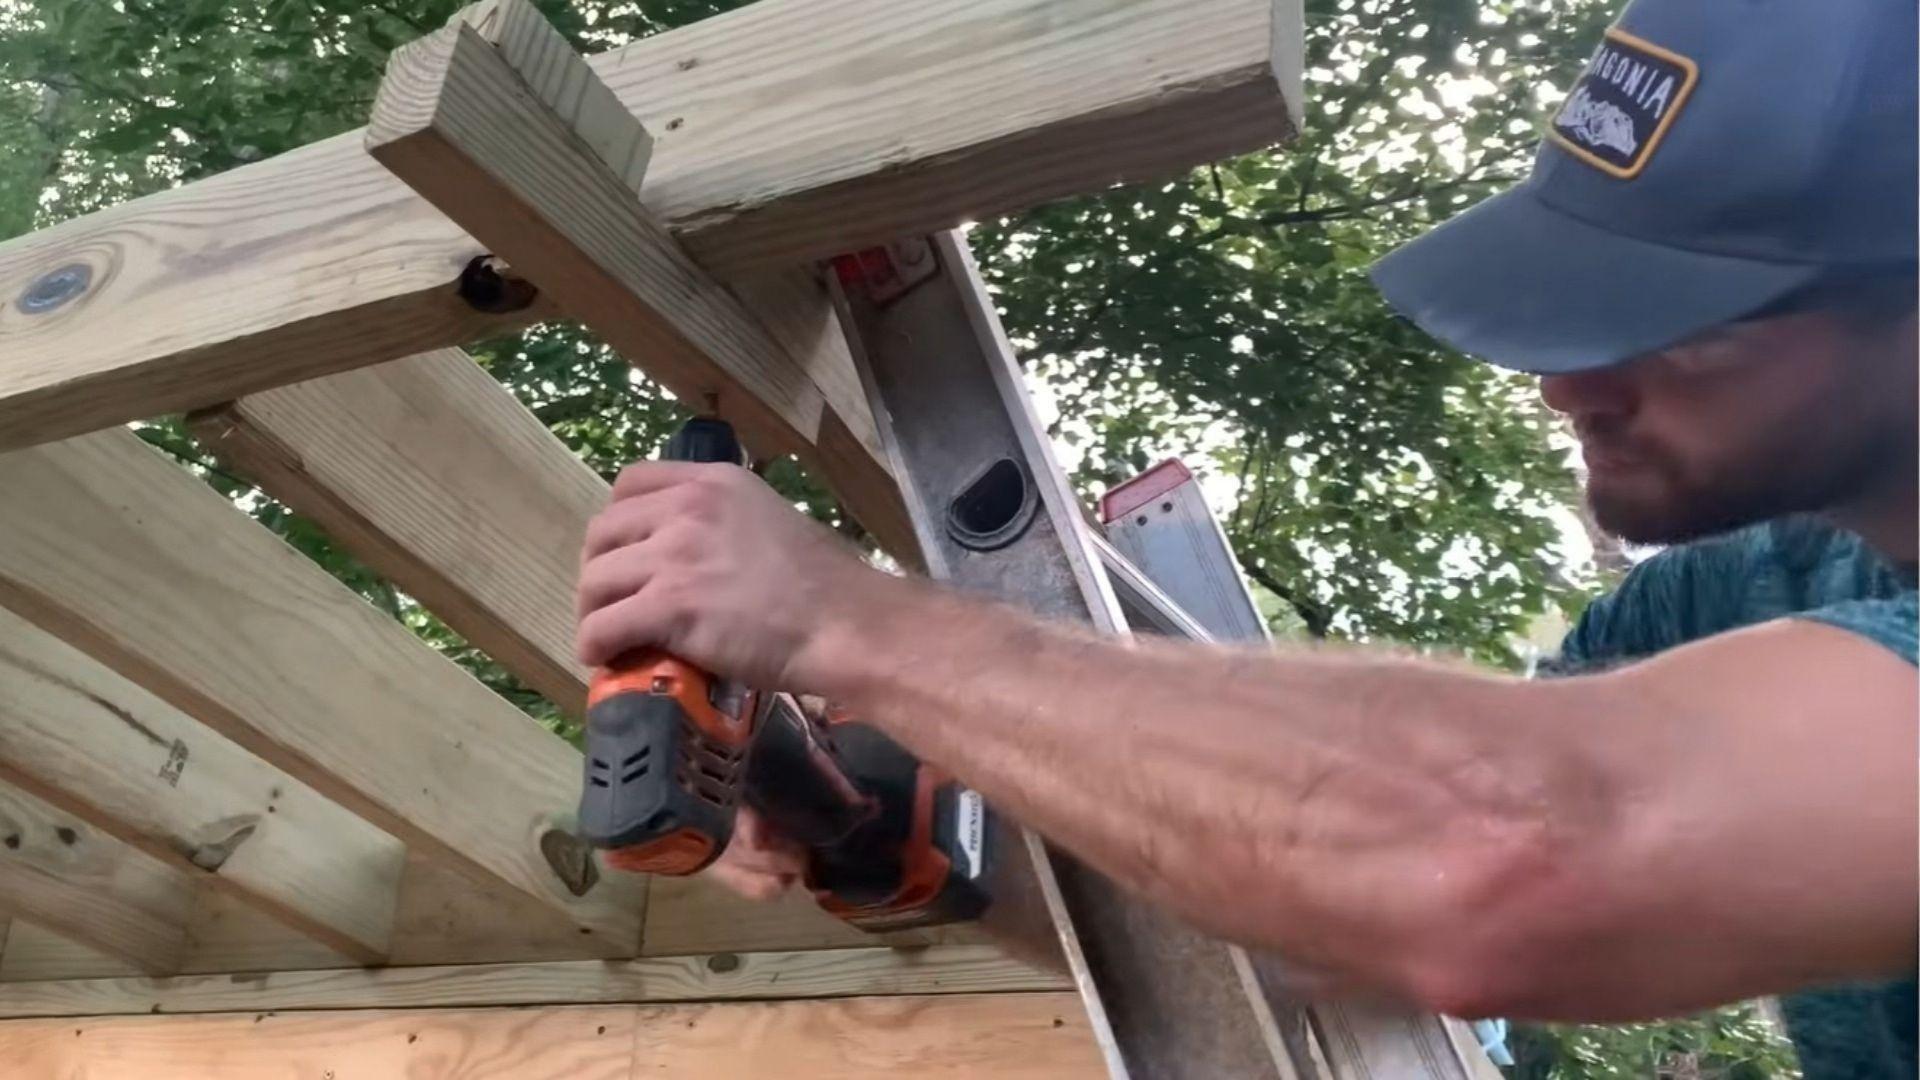
Cut two 12-foot 2×6 fascia boards. Mark 1 foot from each end to create a 1-foot side overhang.
Working alone? Screw a scrap block under the end rafter as a temporary shelf. Rest the fascia on it, crown up, clamp it flush, and drive two 3-inch screws per rafter.
Next, fit a 14-foot rafter on each side between the fascia boards. Screw through the fascia into each end. Add six blocks per side to tie it to the next rafter.
Step 7: Install and Nail the Plywood Decking
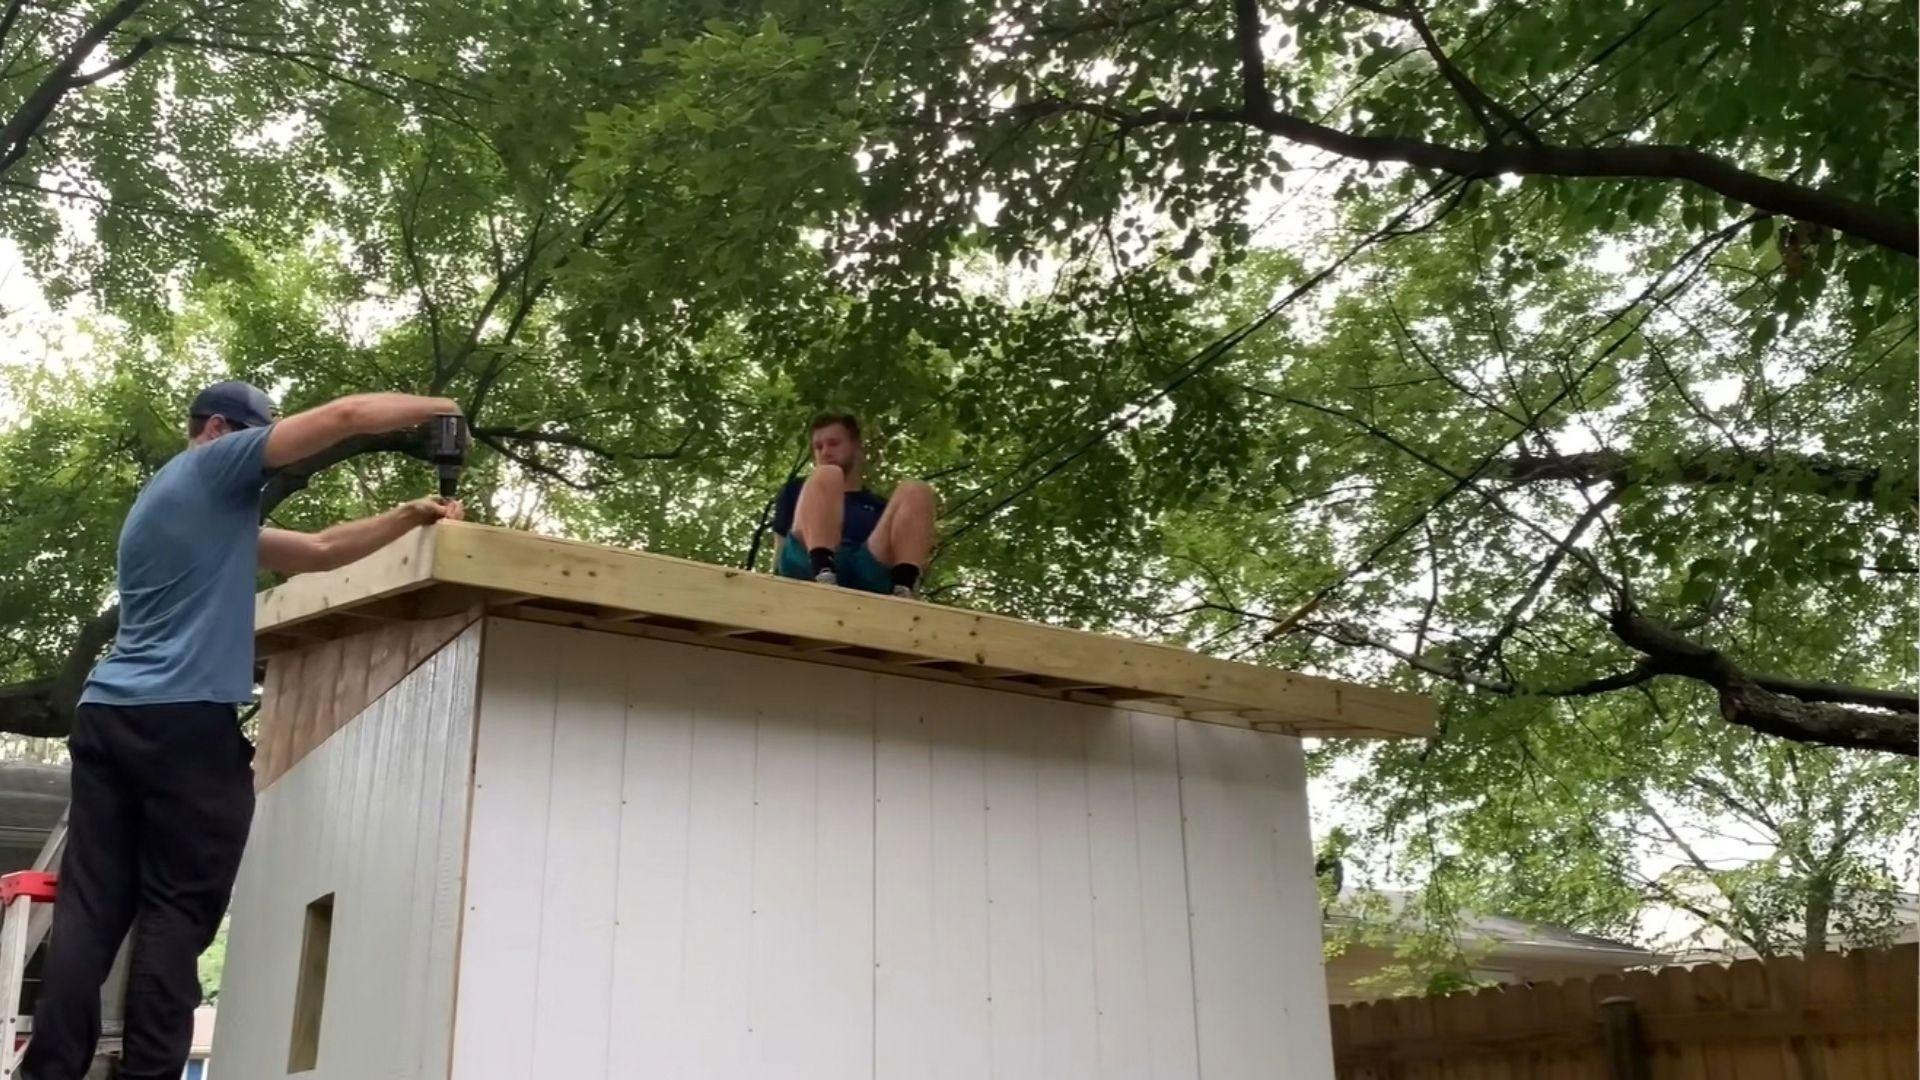
Toss a few sheets up first so you have a safe surface to stand on. Lay sheets with every edge centered on a rafter.
Measure final pieces in place before cutting. Here the bottom sheet came to about 8 feet by 2 feet 3 inches.
Once the rafters are covered, snap a chalk line over each one. Nail every 12 inches on center along those lines. Your deck is now ready for shingles.
For an in-depth walkthrough of the whole process, check out the complete shed roof framing video tutorial below:
Where Does Shed Roof Framing Usually Go Wrong?
The most common failure is poor bearing at the birdsmouth. You will spot it as a rafter that rocks or leaves a gap at the wall. If this happens, recut the rafter so both notches sit flat against the plate.
Cutting the notch too deep is another issue. It thins the rafter right where it carries the most load, so cut a new one with a shallower notch instead of forcing a weak rafter to work.
A pitch below your roofing’s minimum lets water sit and seep in, which is how leaks start on low slopes. Check your roofing specs against your actual slope before you sheath the roof.
Toenails alone will not hold a roof down in strong wind. Use hurricane ties at every wall to keep the roof locked down.
How Do You Check the Frame Before Roofing?
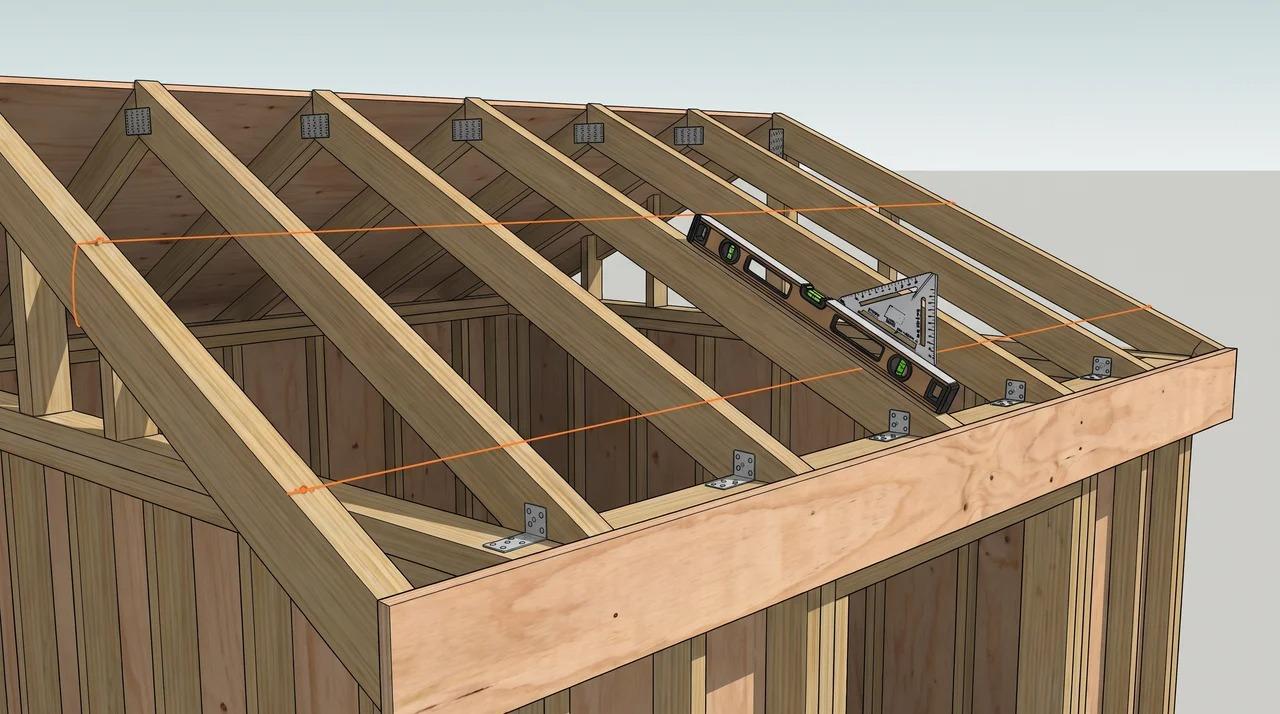
Check plane, pitch, bearing, and fastening before any underlayment goes down.
If a rafter sits high or low when you stretch a string line across the tops, it is not sitting flat on the plate. Pull it and check the birdsmouth before moving on.
If the drop over 12 inches does not match your planned pitch, the rafter was cut wrong or is not seated all the way. Recheck the seat cut and reset it.
If a rafter lacks full contact at the wall or is missing a tie, add a hurricane tie or rafter tie before you sheath over it. Fixing it now is much easier than after the plywood is down.
If you spot gaps between plywood edges or nails that missed a rafter, add blocking under the gap or move the nail to hit solid wood. Loose edges and missed nails weaken the whole deck over time.
Final Verdict
Shed roof framing really comes down to a few things: a solid pitch, clean birdsmouth cuts, and rafters that sit flat and even. Get those right, and everything else falls into place.
Now that you know the steps, grab your tools and put this plan to work on your own build. Take it slow, check your cuts twice, and do not skip the string line test before sheathing.
Have questions about your specific shed setup? Drop them in the comments below.
Frequently Asked Questions
Should I use 2×4 or 2×6 for shed roof?
For most sheds, 2×6 rafters are the safer choice. They span farther, carry more weight, and give you room for a proper birdsmouth cut without weakening the board. 2x4s work for very small sheds with tight rafter spacing, but 2×6 handles snow load and longer spans much better.
How do I frame a shed roof?
Start by getting your walls level, square, and at the right height difference to set your pitch. Then plan your overhangs and rafter length, mark and cut your birdsmouth notches, set the rafters with hurricane ties, add blocking between them, attach the fascia, and finish with plywood decking nailed every 12 inches.
How far can a 2×6 span for a shed roof?
A 2×6 rafter typically spans up to about 10 to 12 feet, depending on the wood grade, rafter spacing, and your local snow load. Tighter spacing, like 10 to 12 inches on center, lets you push closer to the higher end of that range.
Can I use 1/2 inch plywood for a shed roof?
Yes, 1/2 inch plywood works for most shed roofs as long as your rafters are spaced 16 inches on center or closer. Wider rafter spacing calls for thicker sheathing, so check your spacing before you buy plywood.