How to Frame a Shed Roof: Step-by-Step Guide

Table of Contents

Framing a shed roof looks tricky at first. Rafters, pitch, birdsmouth cuts, ridge boards — none of it makes sense until someone breaks it down step by step. That's exactly what this guide does.

You'll find everything you need here, from planning your roof pitch to cutting your first rafter and installing sheathing, plus common mistakes, different roof styles, and tips that make your frame stronger.

By the end, you'll have a clear plan and the confidence to start cutting. No guesswork, just steps that actually work.

What Is Shed Roof Framing?

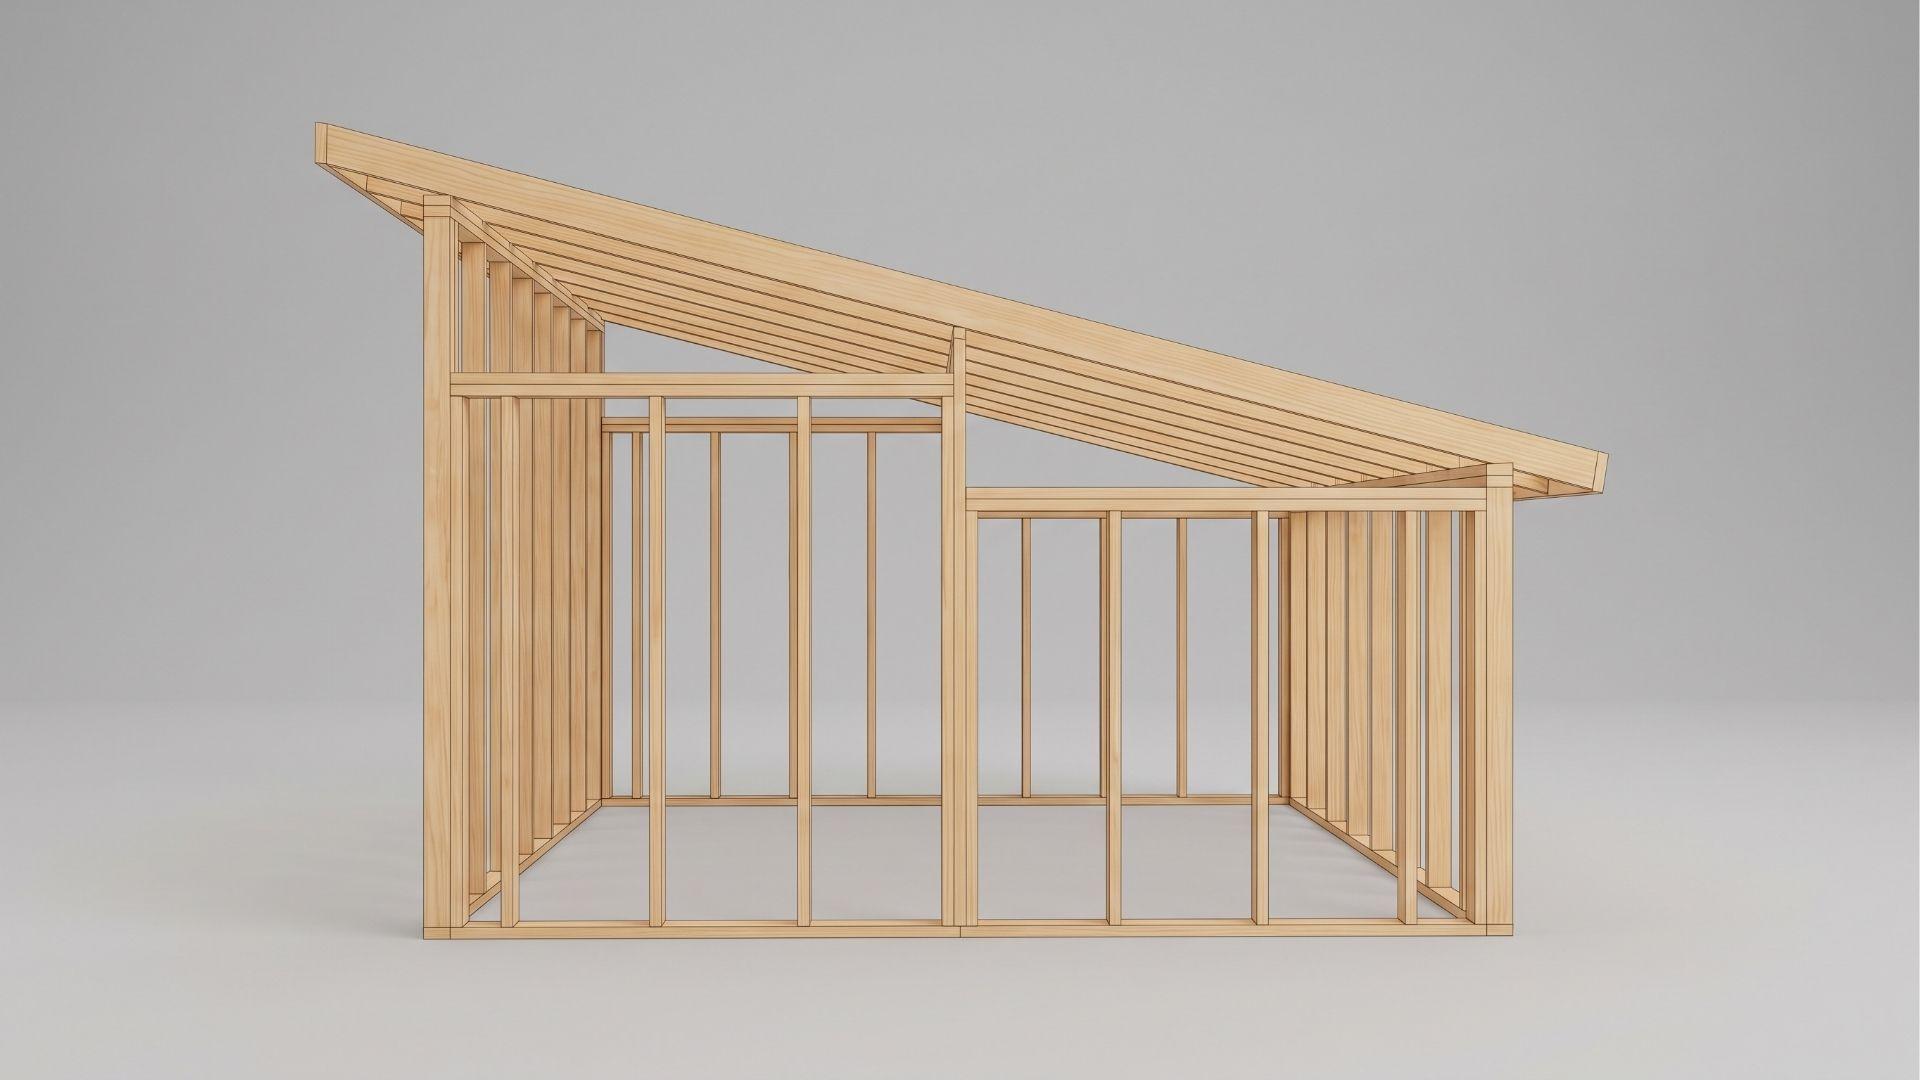
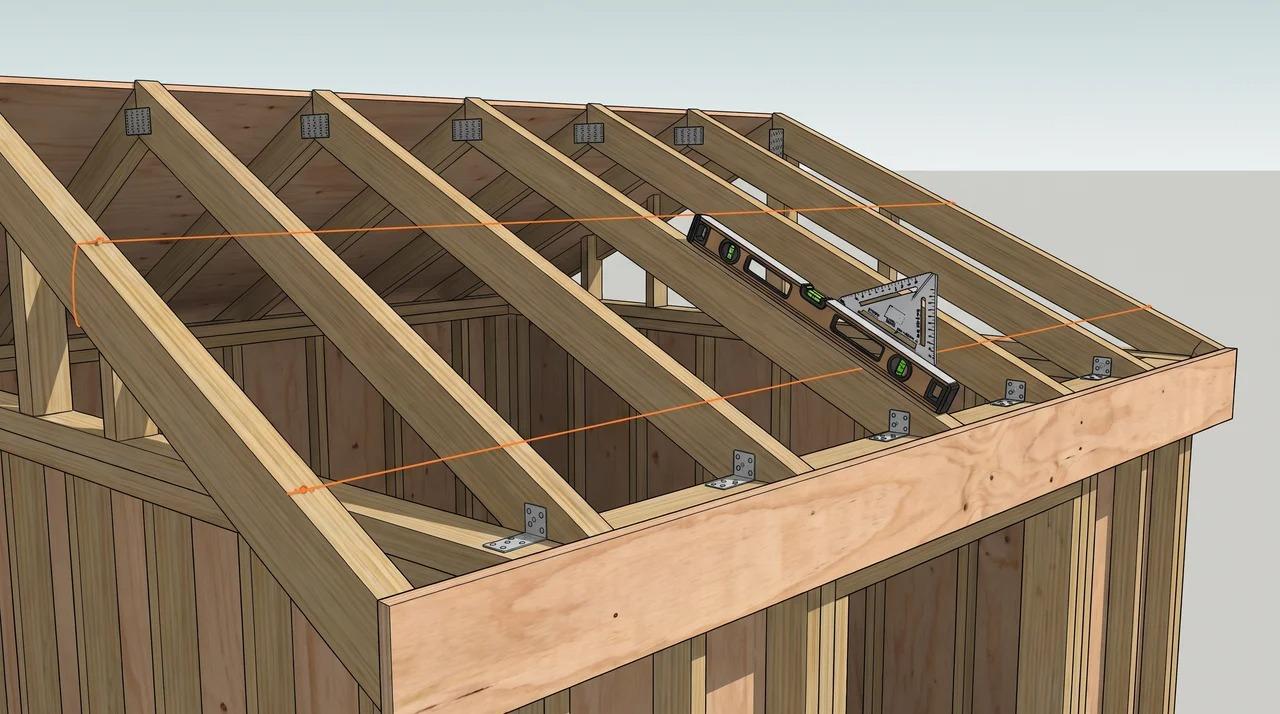
image showing the construction of a shed roof frame.

Shed roof framing is the skeleton that holds your roof together. It includes the rafters, wall plates, ridge board, and connectors that give your shed its shape and strength.

On a stick-framed roof, the ridge board runs along the peak and every rafter ties into it.

A good frame keeps rain and snow off your stuff. It also stops sagging over time. If you get the framing right, everything else on the roof falls into place easier.

Most sheds use simple framing methods. You don't need fancy tools or years of carpentry work. You just need to follow steps in order and check your work as you go.

Plan Your Shed Roof Framing Before You Build

Blueprint showing a shed roof framing plan.

Planning ahead saves you time, money, and frustration once you start cutting lumber and setting rafters.

Before you pick up a saw, sit down and plan your build. A little time spent here saves you hours of fixing mistakes later.

This is also the point to check whether you need a permit. Many areas require one for sheds over 100 to 200 square feet, so call your local building office before you buy a single board.

How to Read a Shed Roof Framing Plan

A framing plan shows you the size and spacing of your rafters. It also shows where your ridge board sits and how your walls line up.

Look for measurements first. These tell you rafter length, spacing, and pitch. Once you understand the numbers, the rest of the plan makes sense fast.

Don't skip the small notes on the plan. They often point out details like overhang length or connector type that matter a lot during the build.

Understanding a Shed Roof Framing Diagram

A diagram gives you a visual of how each piece fits together. It shows the angle of your cuts and where each rafter sits on the wall plate.

On a basic diagram, look for four things:

  • The ridge board or ledger running along the top
  • The rafters angling down from it
  • The birdsmouth notch where each rafter meets the wall plate
  • The tail sticking past the wall for your overhang

Study the diagram before you cut any wood. This helps you picture the finished shape in your head and catch mistakes before they cost you lumber. Compare the diagram to your actual wall measurements, too, sheds are not always perfectly square, so check your numbers twice.

Choose the Right Roof Pitch

Roof pitch is the slope of your roof. A steeper pitch sheds water and snow faster. A flatter pitch uses less lumber but needs stronger waterproofing.

For most sheds, a pitch between 3:12 and 6:12 works well. If you live somewhere with heavy snow, go steeper. If you live somewhere dry, a lower pitch is fine. Keep in mind that asphalt shingles usually need a slope of at least 2:12, so check your roofing material's minimum before you lock in a number.

Your pitch choice affects rafter length too, so pick this early in your planning..

Calculate Rafter Length and Roof Rise

Rafter length depends on your roof pitch and the width of your shed. You can use a rafter calculator or simple math with the Pythagorean theorem.

Roof rise is how much the roof climbs from one side to the peak. Multiply your run by your pitch to get this number.

Getting this measurement right stops you from cutting rafters too short or too long.

Select Rafter Size and Spacing

Rafter size depends on your shed's width and the load your roof needs to carry. Common sizes are 2×4 or 2×6 lumber.

Rafter span tables list how far each size and species can safely reach based on your spacing, so use one to confirm your choice before you buy lumber. Spacing usually runs 16 or 24 inches apart. Tighter spacing gives you more strength but costs more lumber.

Check your local codes before you decide. Some areas have rules on minimum rafter size for sheds, and this is worth confirming now rather than after your walls are already up.

Tools and Materials for Shed Roof Framing

Essential tools used for shed roof framing.

Getting your tools and materials ready before you start saves you trips to the store mid-build.

  • A circular saw, speed square, framing square, tape measure, and level for accurate cuts and layout
  • A chalk line for straight cut marks, plus a hammer or nail gun to speed up fastening
  • Pressure-treated lumber for damp or ground-level builds, and regular framing lumber for dry, elevated ones
  • Galvanized nails or screws along with hurricane ties and rafter connectors to keep every joint strong
  • Safety glasses, gloves, a hard hat if others work below you, and a steady ladder with a spotter when possible

How to Frame a Shed Roof: Step-by-Step Guide

A clear walkthrough of every step needed to frame a shed roof from layout to sheathing.

Here's the full process broken into steps you can follow in order.

Step 1: Lay Out the Roof Frame

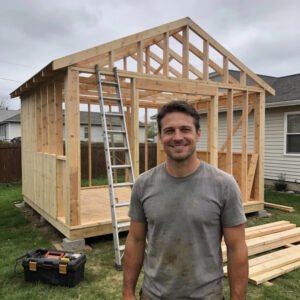
Marking roof framing layout on shed walls.

Start by marking your rafter locations on the top wall plates. Use your spacing measurement to keep each mark even.

Check that your walls are square before you mark anything. A frame built on uneven walls causes problems later.

Mark both the front and back wall plates so your rafters line up straight from one side to the other.

Step 2: Make a Pattern Rafter

Creating a pattern rafter for consistent roof framing.

Cut one rafter first and use it as your pattern for the rest. This keeps every rafter the same length and angle.

Test fit this rafter on your shed before cutting the rest. If it sits right, you know your measurements work.

A pattern rafter saves you time and cuts down on wasted lumber from mistakes.

Step 3: Mark the Plumb Cut and Birdsmouth

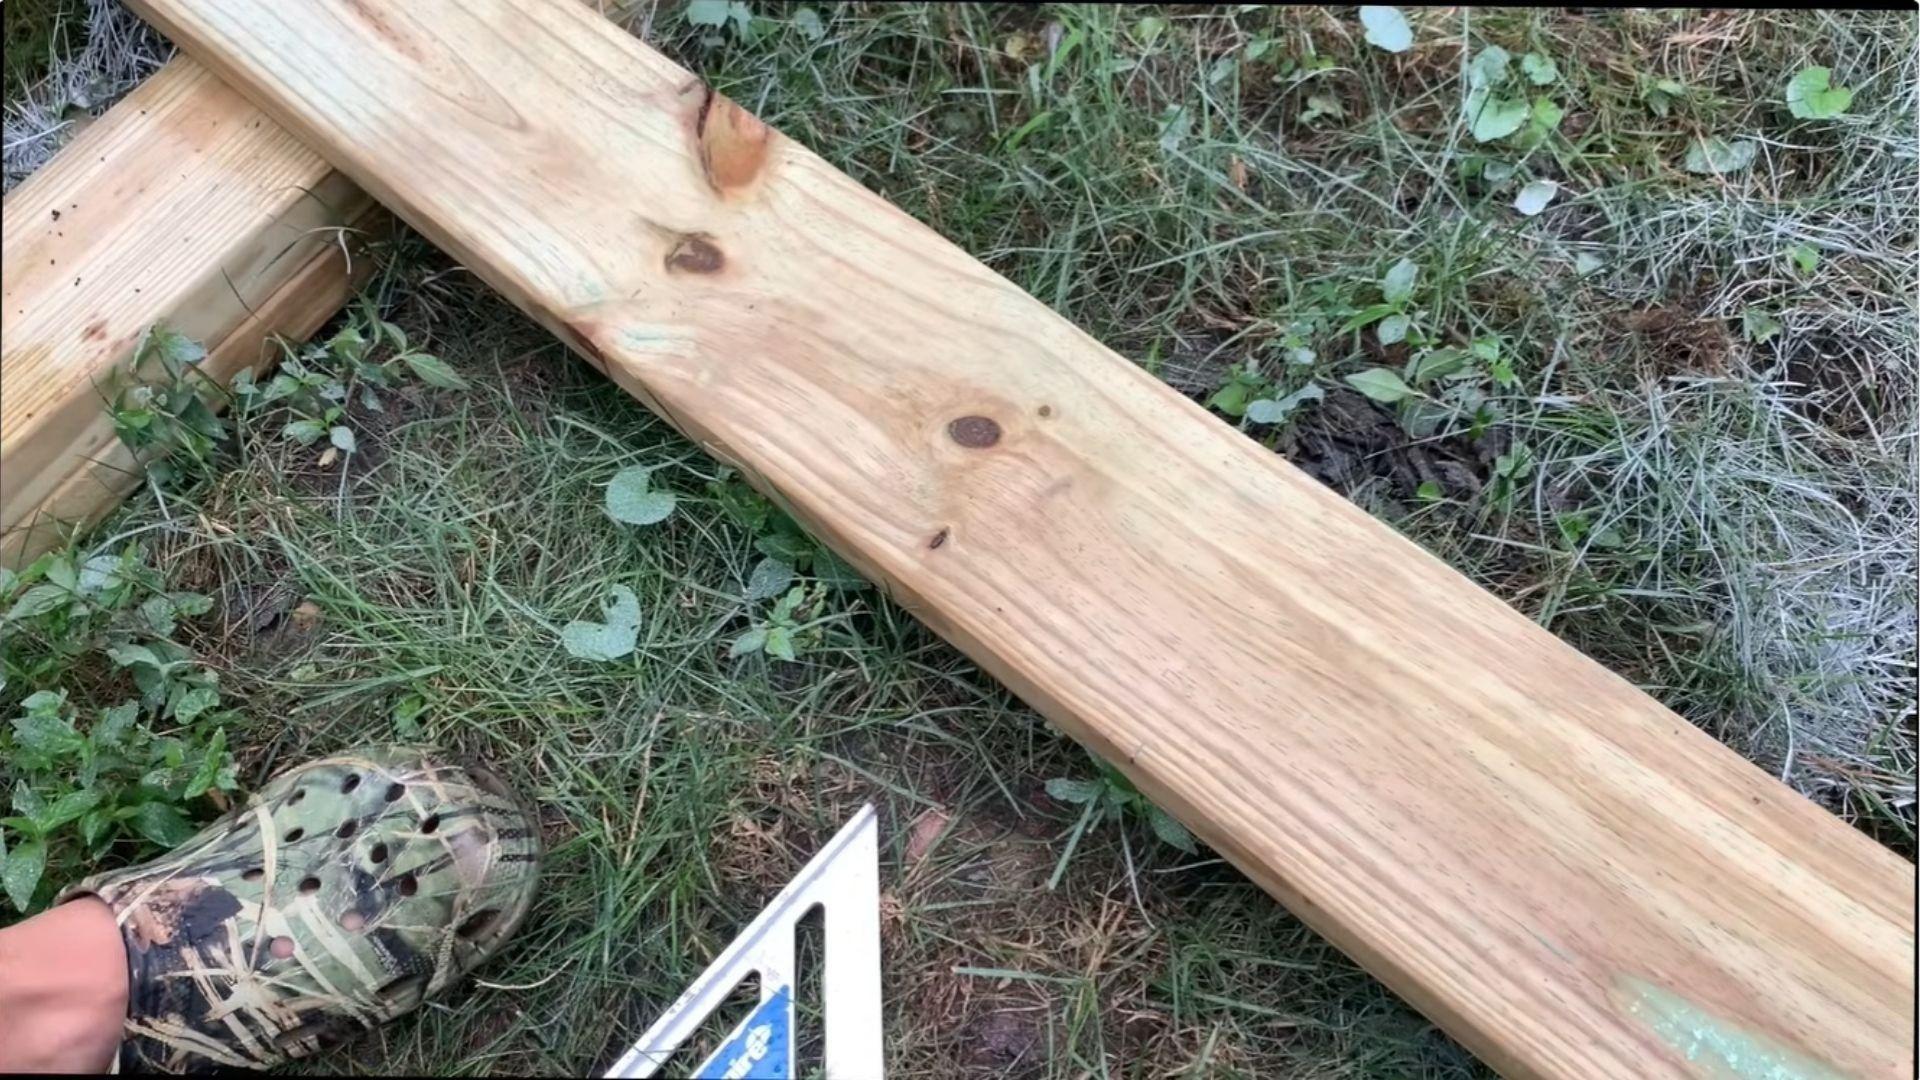
Marking birdsmouth and plumb cuts on a rafter.

The plumb cut is the angled cut at the top of your rafter where it meets the ridge board, or the ledger board if you're building a lean-to style roof against an existing wall.

The birdsmouth is the notch that sits on your wall plate. It's really two cuts in one: a level seat cut and a plumb heel cut.

Use your speed square to mark these cuts accurately. A wrong angle here throws off your whole roof line.

Take your time on this step. It's the trickiest part of the whole framing process, and it's the one mistake that shows up most in Common Mistakes below.

Step 4: Cut and Test-Fit the First Rafter

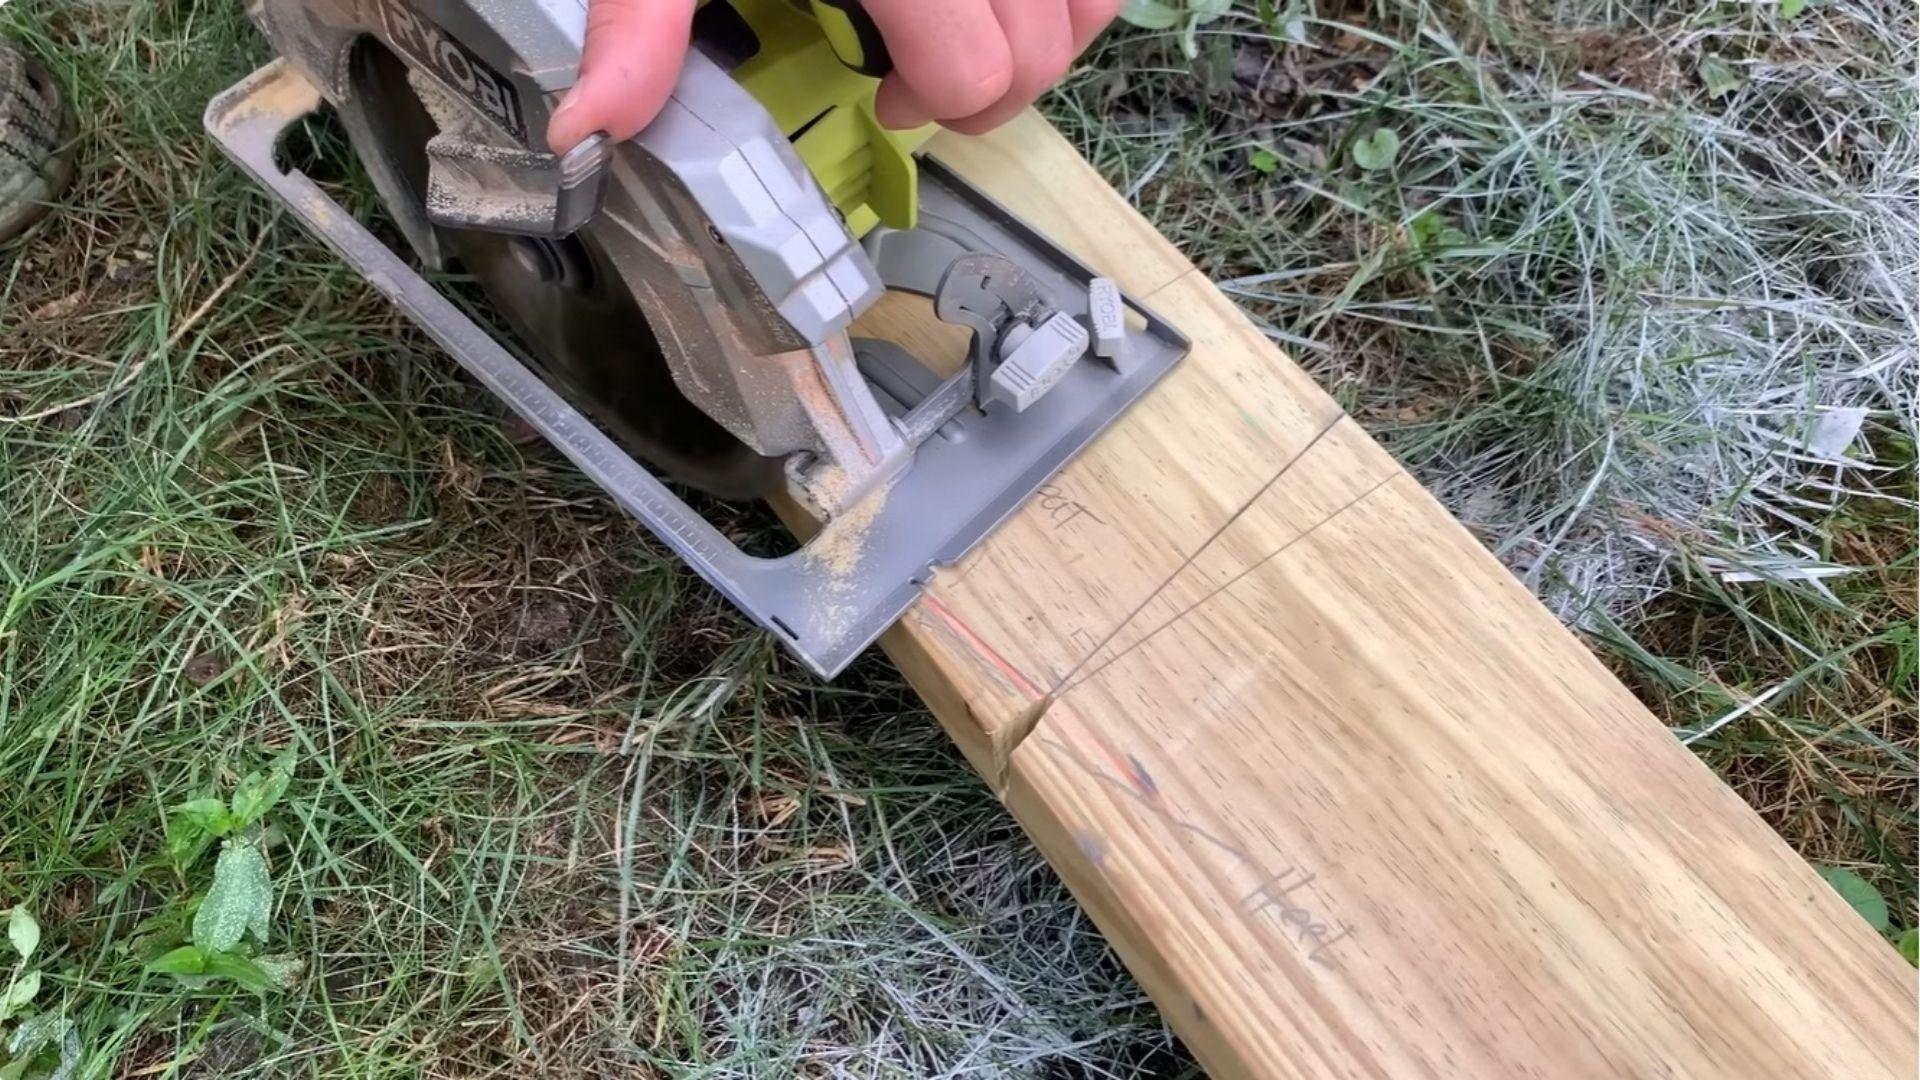
Test-fitting the first shed roof rafter.

Cut along your marked lines carefully. Then set the rafter in place to see how it fits.

Check that the birdsmouth sits flush on the wall plate. Check that the plumb cut lines up at the top too.

If something looks off, adjust your pattern before cutting the rest of your rafters.

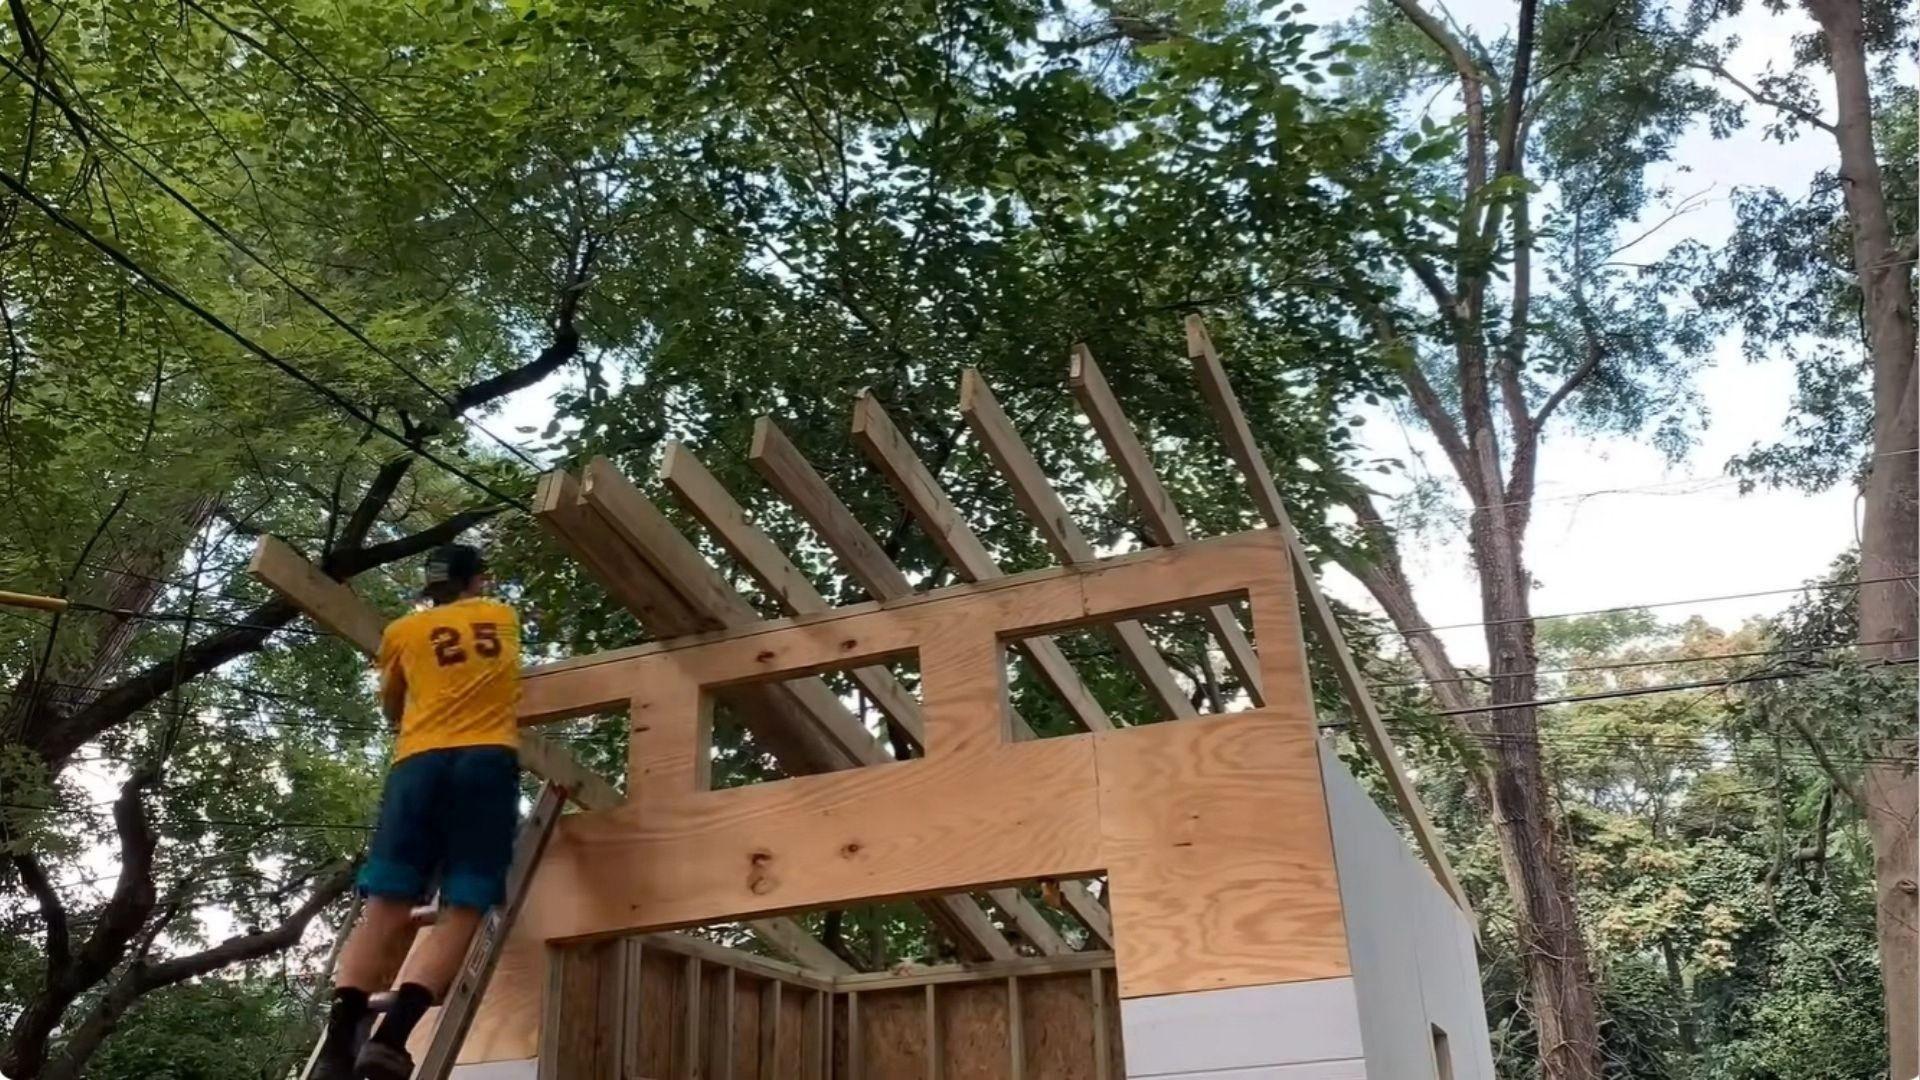
Step 5: Install the Remaining Rafters

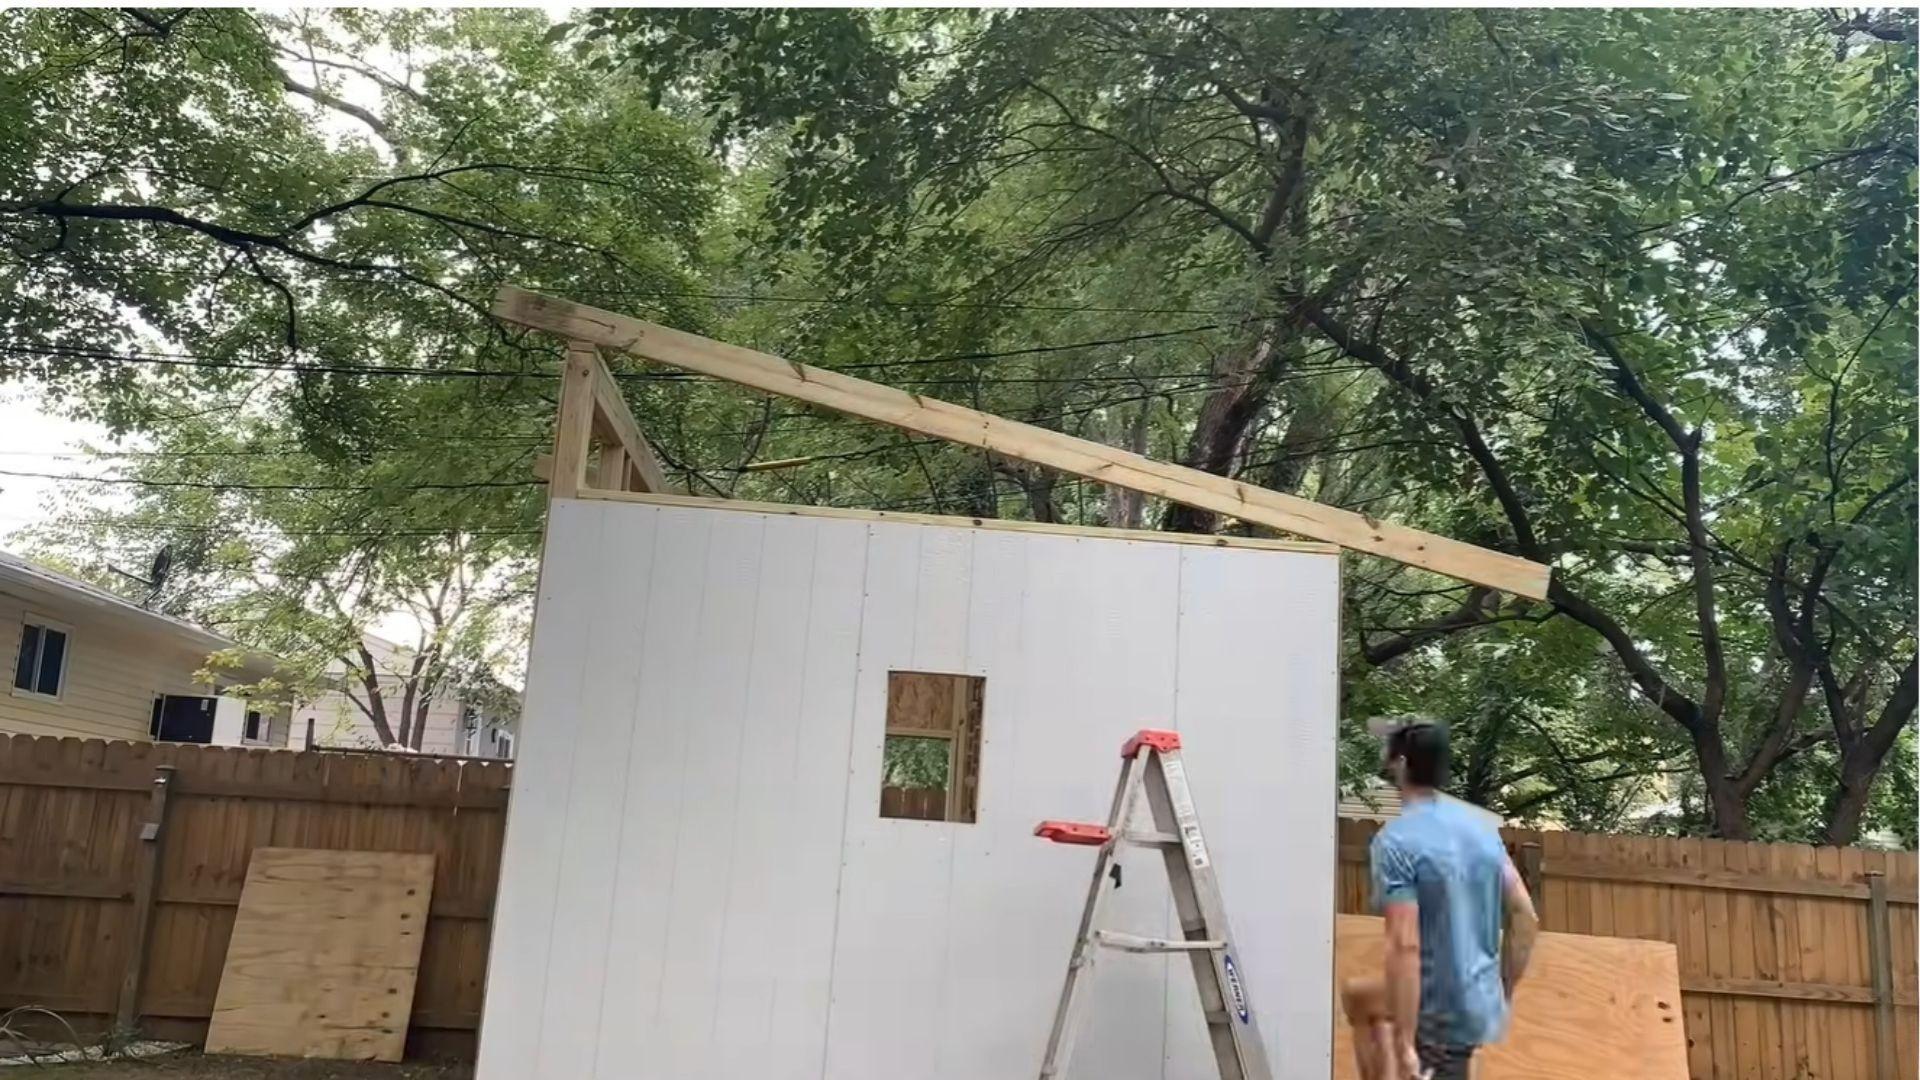
Installing rafters on a shed roof frame.

Once your pattern rafter fits right, use it to mark and cut the rest. Install each one at your marked spacing points.

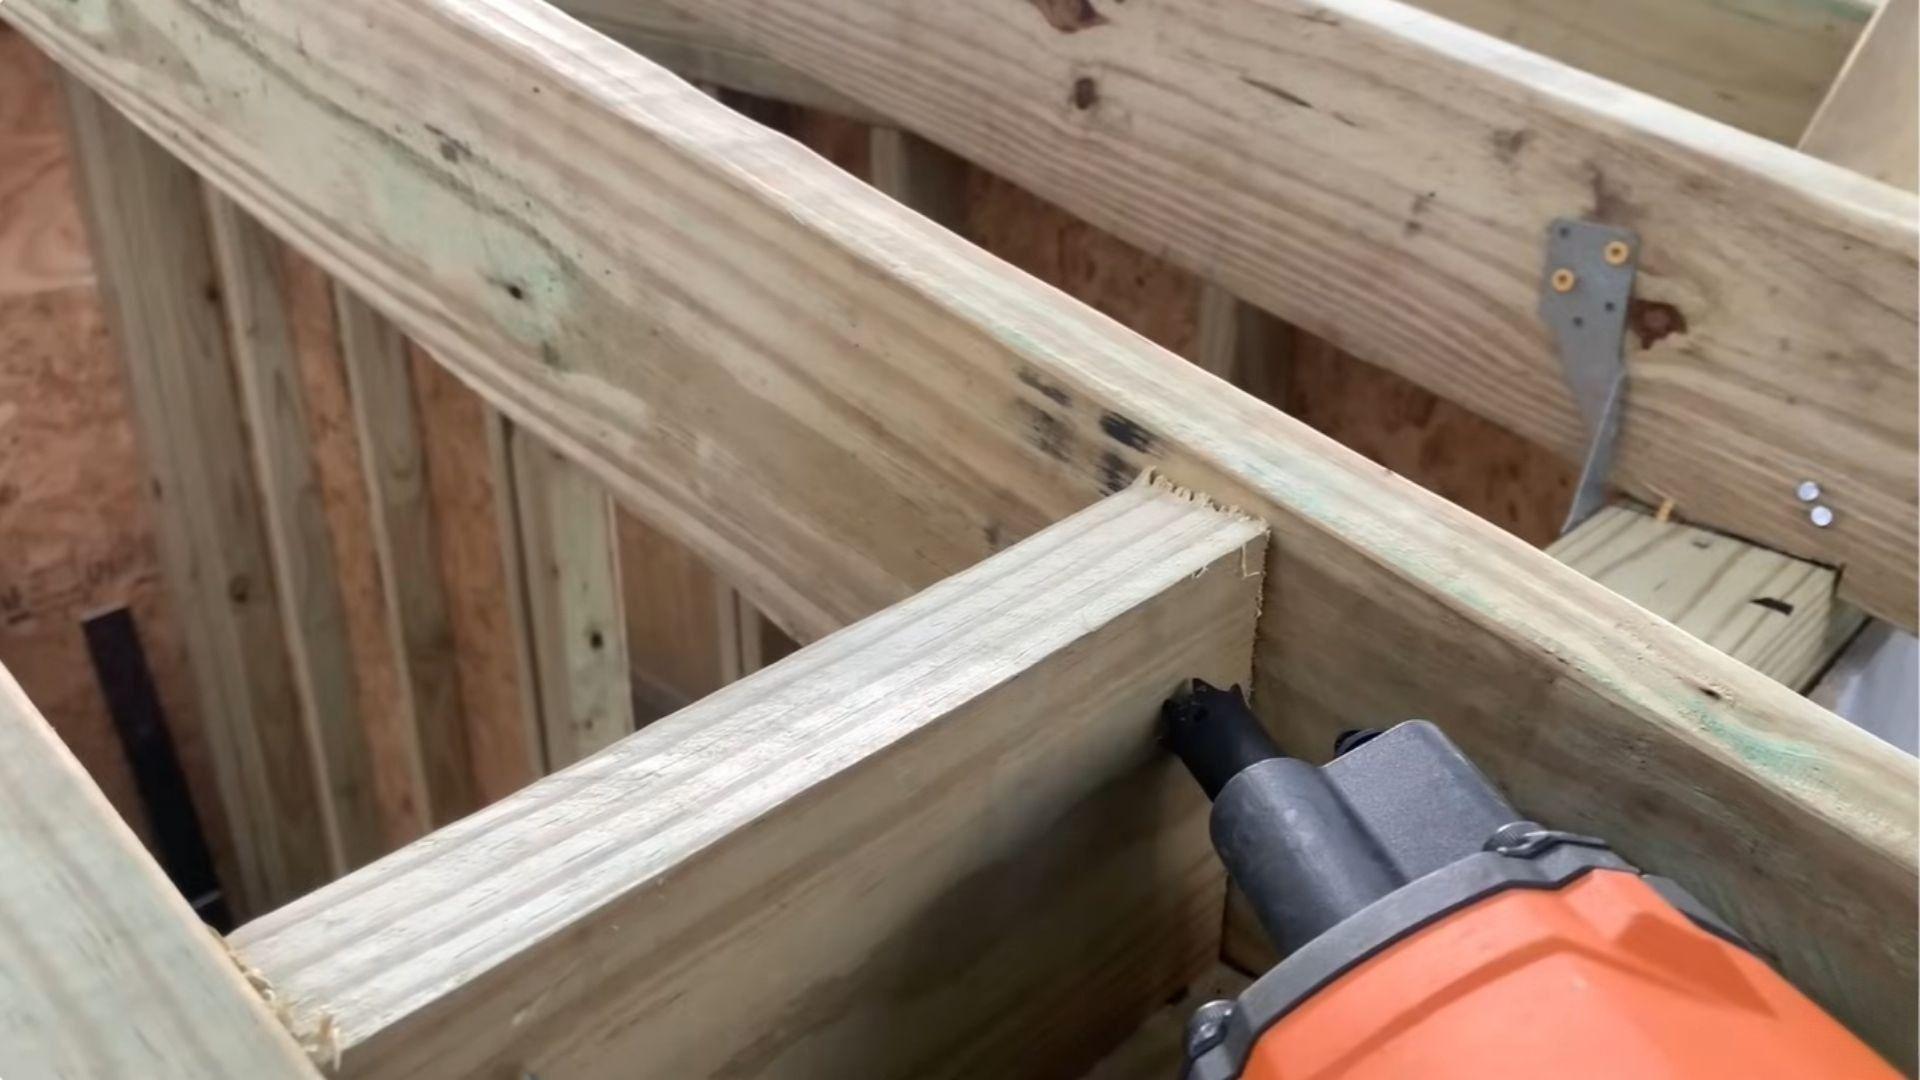
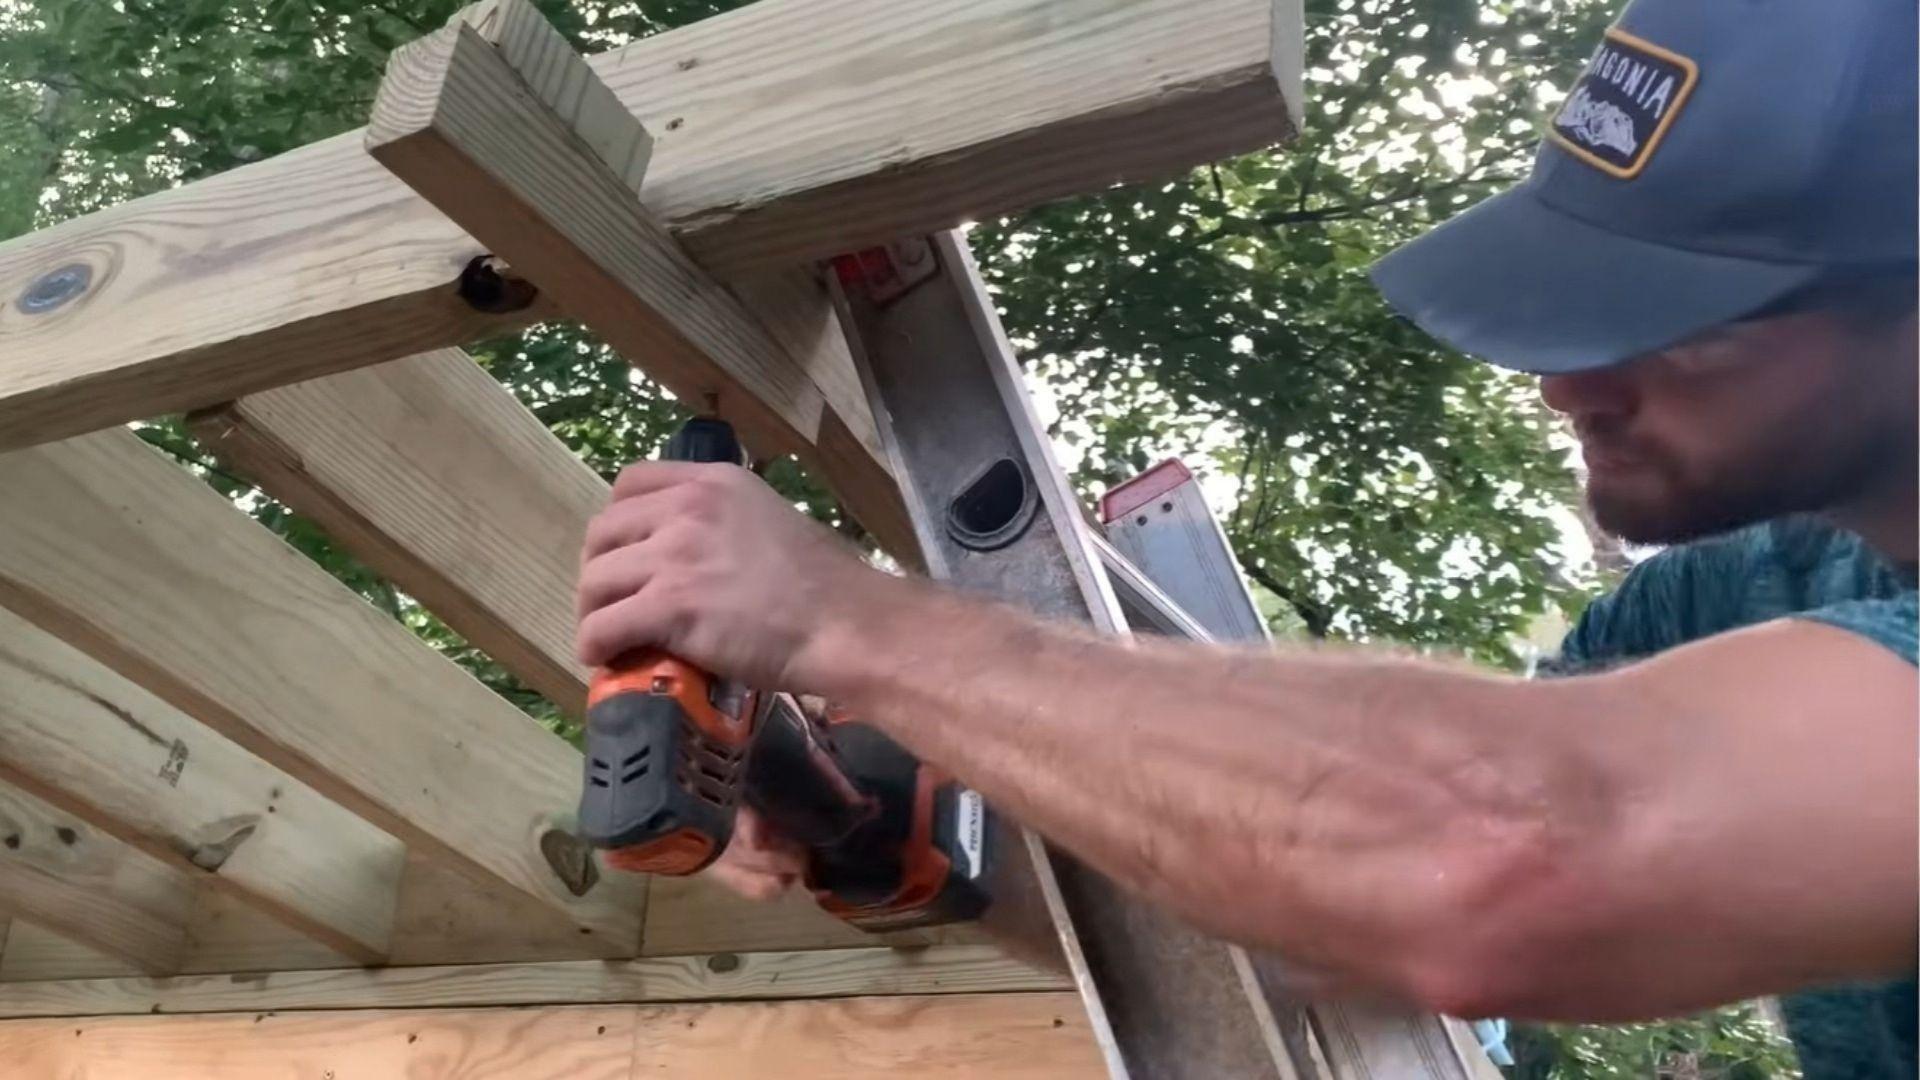
Toe-nail or screw each rafter to the wall plate, driving fasteners at an angle through the rafter into the plate.

If you want more holding power than toe nails give you, metal rafter connectors are worth the extra cost, especially in areas with high wind. Check that each one stands straight before moving to the next.

Working with a helper makes this step go a lot faster.

Step 6: Add Blocking, Collar Ties, and Hurricane Ties

Blocking and hurricane ties strengthening shed roof framing.

Blocking fills the gaps between rafters and adds stiffness to your frame. It also stops rafters from twisting over time.

If you're framing a gable style roof, add collar ties across opposing rafter pairs near the upper third of the roof. These simple boards keep the roof triangle from spreading apart under heavy snow load.

Hurricane ties connect your rafters to your wall plates with metal brackets. These help your roof stay put during high winds.

Don't skip these steps, even on small sheds. They add real strength for very little cost.

Step 7: Install Roof Sheathing

Installing roof sheathing on a shed roof.

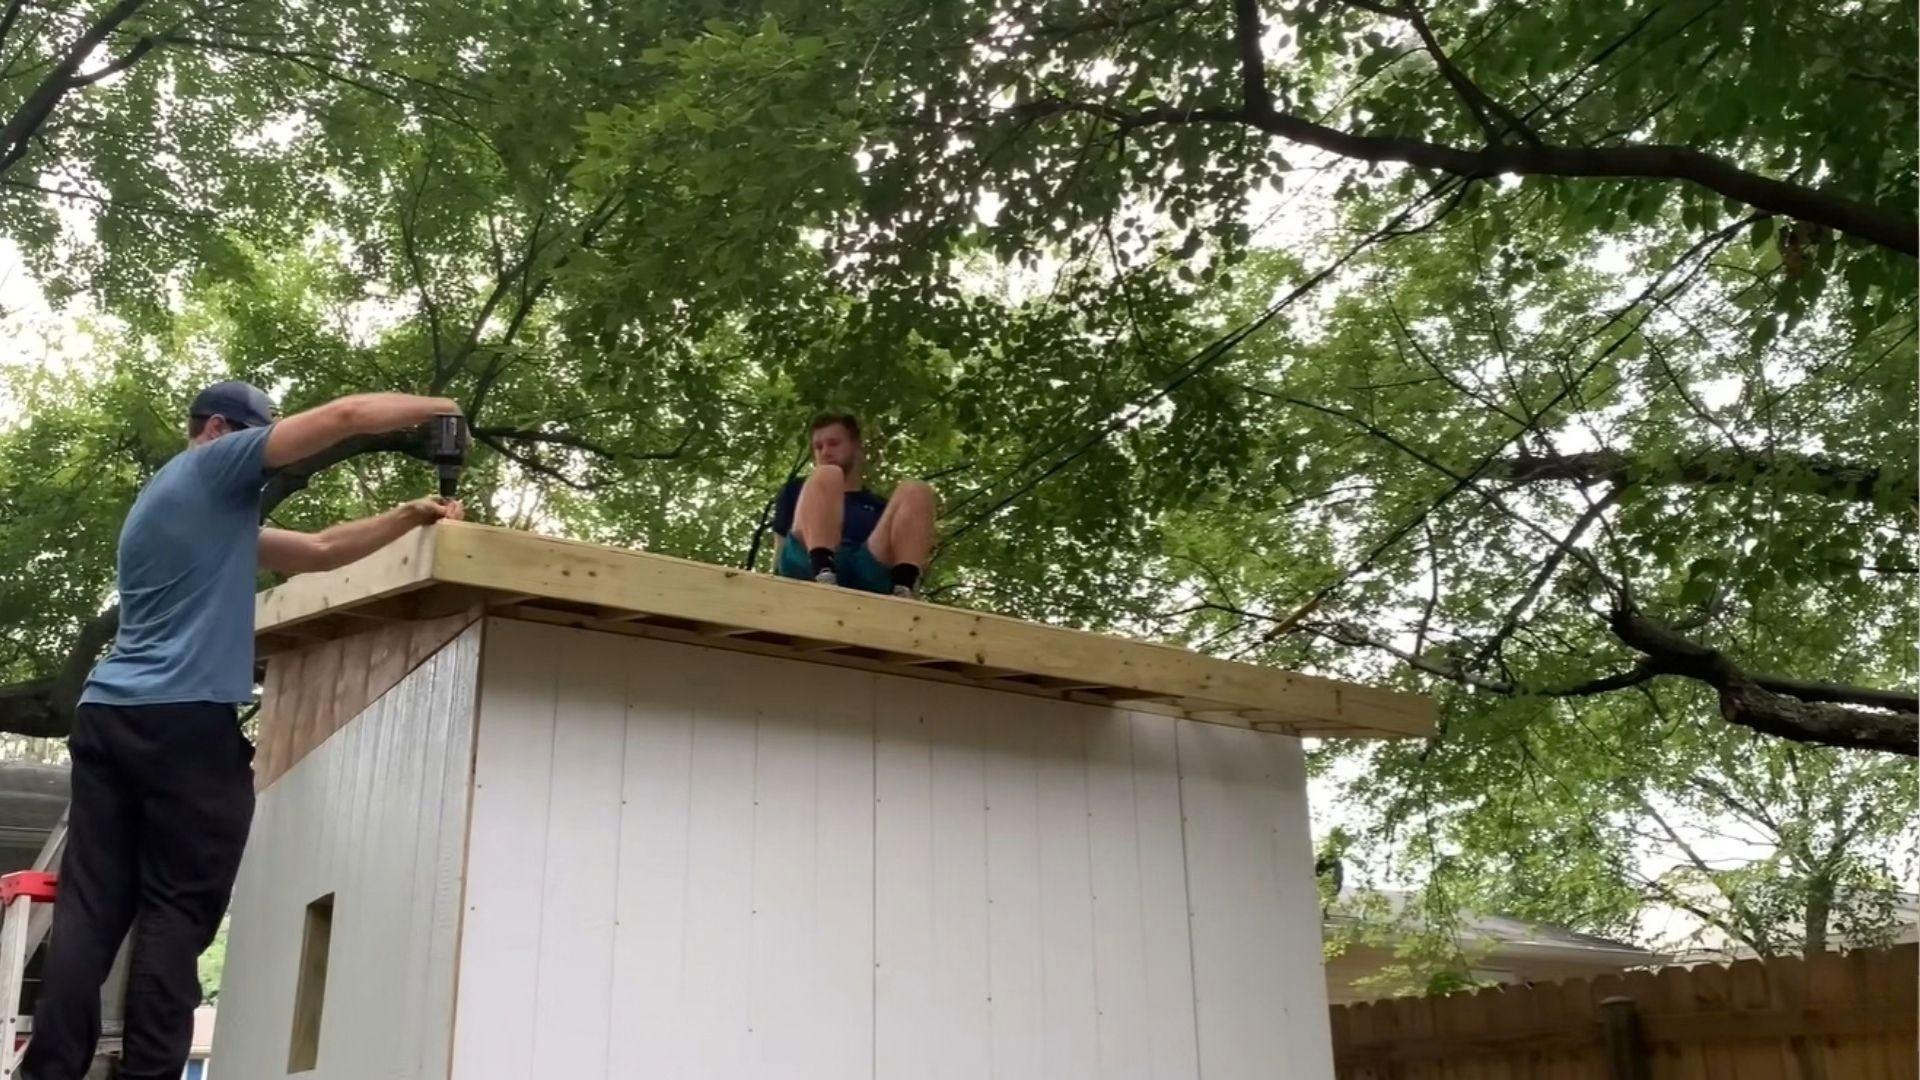
Sheathing is the plywood or OSB layer that covers your rafters. It gives your roof a solid surface for shingles or metal panels.

Start at one edge and work across, staggering your seams for extra strength. Nail every 6 to 8 inches along the edges.

Once sheathing is on, add felt paper and drip edge before your roofing material goes down.

This underlayment stops water from working its way under shingles during freeze and thaw cycles, and it's a cheap step that protects your whole frame long term.

Shed Roof Framing Details That Improve Strength

Roof overhang and fascia on a shed roof.

A closer look at small framing details that add real strength and stop long-term problems.

Small details make a big difference in how long your shed roof lasts.

Roof Overhang and Fascia Details

Overhang, sometimes called the rafter tail, protects your walls from rain running down the siding. Most sheds use an overhang of 6 to 12 inches.

Fascia boards cover the ends of your rafters and give your roof a finished look. They also protect the rafter tails from weather damage.

Cut your fascia boards after your rafters sit in place so they line up right.

Proper Fastening Methods

Use nails or screws rated for outdoor framing work. Regular indoor fasteners rust and weaken fast outside.

Space your fasteners evenly and don't overdrive them into the wood. Overdriving can split lumber and weaken the joint.

Good fastening is one of the simplest ways to add years to your shed's life.

Common Shed Roof Framing Styles

An overview of the most common shed roof styles and how each one changes your framing approach.

Not every shed uses the same roof shape. Here's a look at your main options.

Lean-To Shed Roof Framing

Lean-to shed roof framing attached to a wall.

A lean-to roof slopes in one direction only, usually against a taller wall or building.

It's one of the simplest styles to frame. Instead of a ridge board, the rafters attach to a ledger board fastened right to the existing structure, either resting on top of it or hanging from metal joist hangers.

This style works well for small storage sheds or ones built against a house or fence. You'll need fewer materials, and the framing process moves faster than other styles.

Single Slope Shed Roof Framing

Single slope shed roof framing.

Single slope framing is close to lean-to but stands as its own structure. It uses one straight run of rafters from a tall wall to a short wall, with no ridge board and no ledger.

Every rafter is identical, so once your pattern rafter fits, the rest is just repeating the same cut.

This style handles rain and snow well since water runs off in one clear direction. It also gives you extra headroom on the tall side, which is handy for storage.

Gable Shed Roof Framing

Gable shed roof framing with ridge board.

A gable roof has two slopes that meet at a center ridge board. It gives your shed a classic look and extra attic space. The triangular gable ends below each end rafter get filled in with gable studs, which support your siding.

This style takes more lumber and more time to frame than a single slope roof.

It handles wind and snow well when built with proper bracing, collar ties, and hurricane ties.

Which Style Should You Choose?

image showing the initial construction of lean to shed roof framing.

Style Framing Difficulty Material Use Best For
Lean-To Easiest Lowest Small sheds against a wall or fence
Single Slope Easy Low Freestanding sheds needing extra headroom
Gable Moderate Highest Sheds needing attic space or a classic look

Pick lean-to or single slope if you want a fast, low-cost build. Pick a gable if you want more space and a traditional shape.

Think about your climate too. Heavy snow areas often do better with steeper gable roofs.

Your budget and how much time you have will guide this choice as much as looks.

Common Shed Roof Framing Mistakes to Avoid

A look at frequent framing errors that weaken sheds and how you can avoid each one.

Here are mistakes I see most often, and how you can stay clear of them.

  • Choosing the wrong roof pitch: A pitch too flat for your climate leads to water pooling or snow buildup, adding stress to your frame over time. Check your local weather before you settle on one.
  • Incorrect birdsmouth cuts: Cutting too deep weakens your rafter at its most stressed point (see the seat and heel cut details in Step 3) and can lead to cracking under heavy loads. Measure twice and use a square to guide the cut.
  • Uneven rafter spacing: This throws off your sheathing installation and weakens your roof's overall strength, and it looks messy once the roof goes on. Mark all your spacing points before cutting a single rafter.
  • Skipping hurricane ties or collar ties: Some builders skip these to save a little money, but it's a mistake that shows up fast during the first big storm or heavy snow load. Always add them during your build.
  • Not checking the first rafter fit: Cutting all your rafters before testing the first one is a shortcut that backfires if your pattern is off. Always test fit the first rafter before cutting the rest.

Special Considerations for Different Roof Types

Metal shed roof framing with purlins.

Extra framing notes for metal roofs, porch sheds, and double slope roof designs. Some roof types need a few extra steps beyond standard framing.

Framing a Metal Shed Roof

Metal roofing needs solid, straight framing since panels show every bump or dip. Check your rafters for straightness before installing sheathing.

You may need additional purlins for certain metal panel systems.

Purlins are horizontal boards laid across the rafters that give the metal panels something solid to screw into between each rafter. Check your panel manufacturer's spacing guide first.

Metal roofs also need proper venting to stop condensation buildup underneath.

Porch Shed Roof Framing Details

A shed with an attached porch roof needs extra support where the porch rafters tie into the main structure.

This joint carries added weight, so the ledger board here should be bolted, not just nailed, straight into the framing of your main structure.

Check local codes here too, since porch additions sometimes need separate footings.

Double Shed Roof Framing Plan Basics

A double shed roof uses two separate shed roof sections at different heights, often for added light or airflow.

It's a bit more complex to frame. Where the two sections meet, you need a short vertical wall with its own flashing to keep water from working its way in at the step.

You'll need to plan the step between roof sections carefully so water drains properly.

This style works well if you want windows or vents between the two roof levels.

Expert Tips for Better Shed Roof Framing

Practical tips from experienced builders that help you frame a stronger, straighter shed roof.

A few habits separate a rough shed frame from a solid one.

  • Use a pattern rafter for consistency: Cutting one rafter first and using it as your guide keeps every other rafter the same size and angle, and it saves lumber since you catch mistakes early.
  • Keep walls square and level: A square, level wall is the base for every good roof frame. Check with a level and measure diagonal corners to confirm they're square before you start.
  • Measure from one reference point: Using a single fixed point for all your rafter marks keeps spacing accurate. Switching points often leads to small errors that add up.
  • Install rafters crown-up: Lumber often has a slight bow called a crown. Installing it with the crown facing up helps your roof settle straight under weight over time.
  • Follow local building codes: Codes keep your shed safe under wind, snow, and general wear, and skipping them can cause problems if you sell your property or file an insurance claim.

Conclusion

Shed roof framing gets easier once you understand the basics covered here. Take your time, check your measurements twice, and your frame will hold up for years.

Got questions or a shed roof framing project underway? Drop a comment below.

Frequently Asked Questions

How much does it cost to frame a shed roof yourself?

Most DIY shed roof framing costs between $300 and $800 for lumber, fasteners, and connectors, depending on shed size and the pitch and rafter size you land on.

How long does it take to frame a shed roof?

A small to medium shed roof usually takes one to two weekends, depending on your experience level, your chosen style, and how many rafters you need to cut and set.

Do I need a permit to build a shed roof?

Many areas require permits for sheds over 100 to 200 square feet, the same threshold worth checking during your planning stage. Check with your local building office first.

Can one person frame a shed roof alone?

Yes, though having a helper makes lifting rafters and holding boards steady much easier, especially on larger sheds or gable styles with heavier lumber.

Leave a Reply

Your email address will not be published. Required fields are marked *

Table of Contents

Recent Posts

Related post

Find Your Perfect Garden Escape

Explore our garden cabin ideas, designs, planning guides, and practical tips to create a peaceful and comfortable garden space.