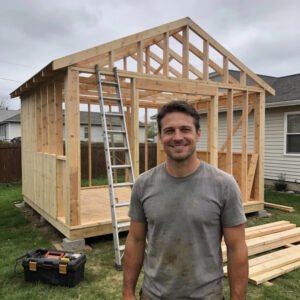
You are tired of moving the car out to cut a board. You want a space that stays set up, where your tools wait right where you left them.
A woodworking shed does that. But most guides stop at pretty photos and vague advice. They skip the numbers you actually need.
This one does not. You will get real sizes, a full cost breakdown, and joist specs that hold a 500-pound saw. You will learn where the table saw goes and why that one choice sets your whole floor plan.
We cover dust collection that works, wiring you only run once, and the permit rules to settle before you dig. Plus the safety steps that keep a small shop from becoming a fire.
Read it in order. By the end, you will know exactly what to build and what it costs.
What Size Shed Turns Into a Working Shop?
An 8×10 shed suits hand tools and small projects. Add a table saw and it stops working. You need room to feed an 8-foot board and walk around the blade.
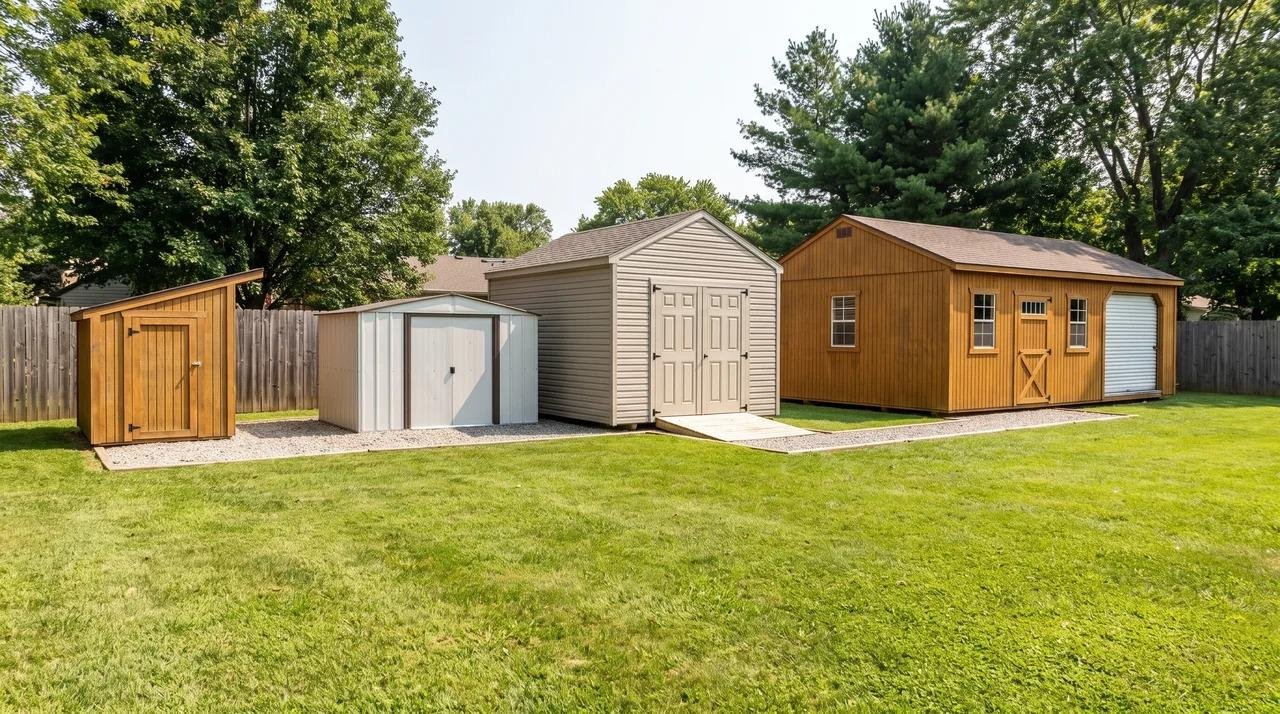
A 10×12 handles general repairs and light hobby work. Woodworking usually needs 10×16 or more. Most home shops land between 12×16 and 12×20. Check these common shed dimensions to see how those footprints compare with your yard.
That fits a saw, bench, and storage without constant shuffling. Aim for 9-foot walls so you can stand plywood upright. A lofted model keeps lumber and ladders overhead and the floor open.
Plan a wide door from the start. Machines have to get inside.
What a Woodworking Shed Really Costs?
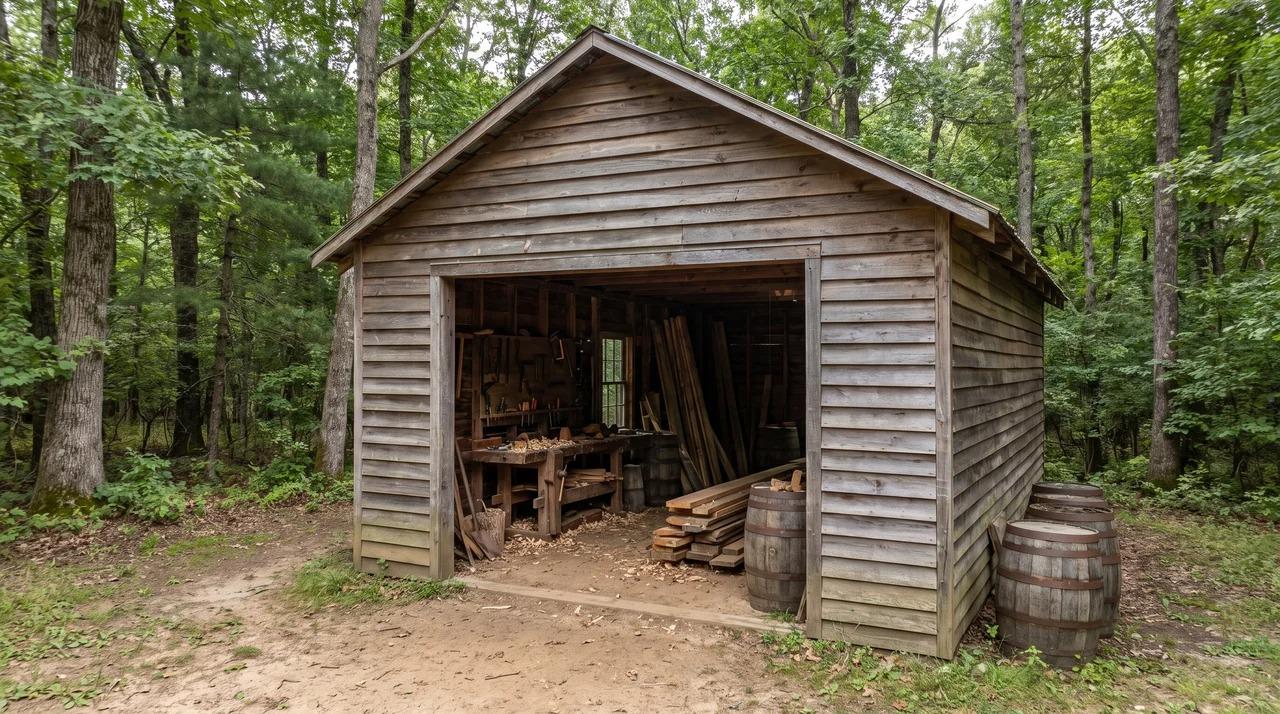
Most people underestimate this by half. The shell is the cheap part. Foundation, wiring, and insulation often cost as much as the building itself.
Here is a realistic 12×16 breakdown for 2026, built by the owner:
| Item | Cost range |
| Site grading and prep | 300 to 1,500 |
| Concrete slab at 6 to 12 dollars per square foot | 1,150 to 2,300 |
| Framing lumber and sheathing | 2,000 to 3,500 |
| Roofing, 2 squares | 600 to 1,200 |
| Siding and trim | 800 to 2,000 |
| Doors and windows | 400 to 900 |
| Electrical, licensed and inspected | 1,000 to 3,000 |
| Insulation at 1 to 3 dollars per square foot | 200 to 600 |
| Interior plywood walls | 400 to 700 |
| Dust collection | 300 to 1,500 |
| Total | 7,150 to 17,200 |
Hiring a contractor for the shell adds 3,000 to 8,000 dollars. Material prices are forecast to climb 5 to 20 percent through 2026, so buy early if your build is months out.
Two lines carry the most risk. Electrical cost rises with distance from your main panel. And a slab on sloped ground can double once grading is added.
Start With Plans or Convert What You Already Have
Two paths lead to the same place. Either your current shed is strong enough, or you build fresh from a plan set.
Checking If Your Current Shed Can Take It
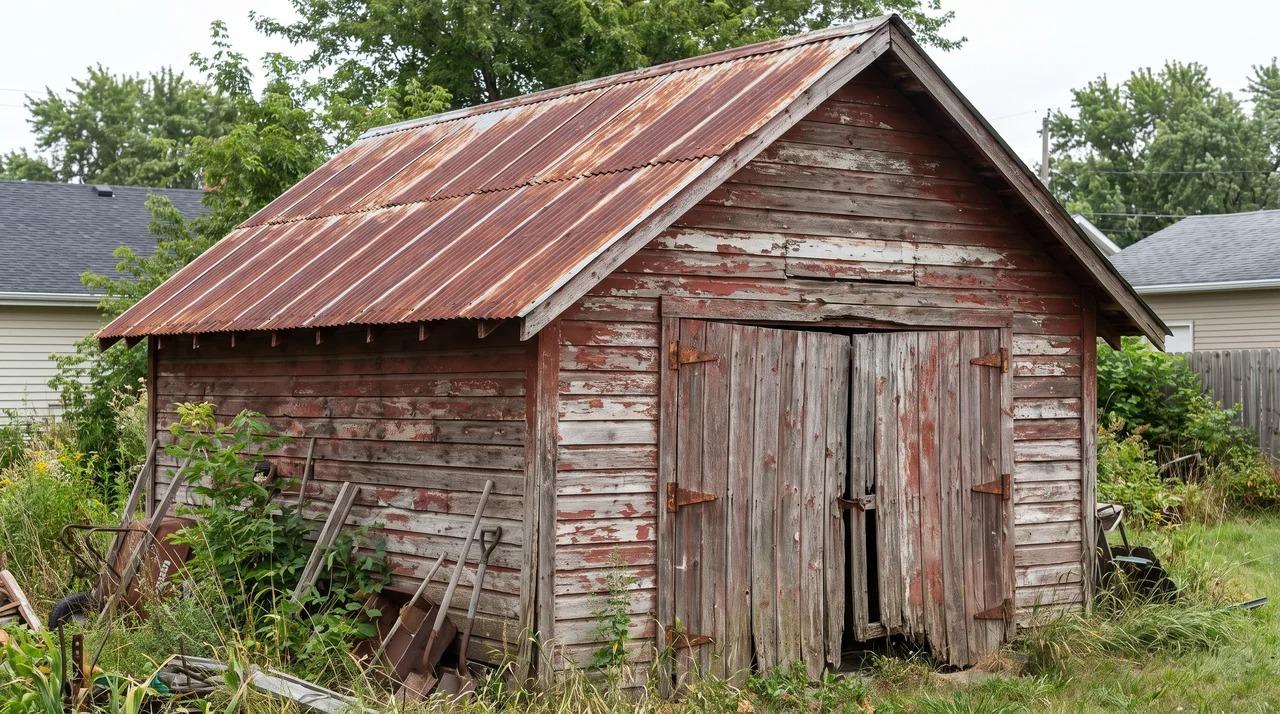
Crawl underneath first. Look at joist size, spacing, and rot near the ground. A cabinet saw weighs over 400 pounds in one spot.
Push hard on a wall. If it flexes, the framing is light. Walk away if joists are 2x4s or the floor bounces.
Most sock storage sheds use 2×4 or 2×6 joists at 16 inches on center. Those are sized for a mower, not a machine shop. Reframing a floor costs more than pouring a new slab.
Woodworking Shed Plans Worth Building From
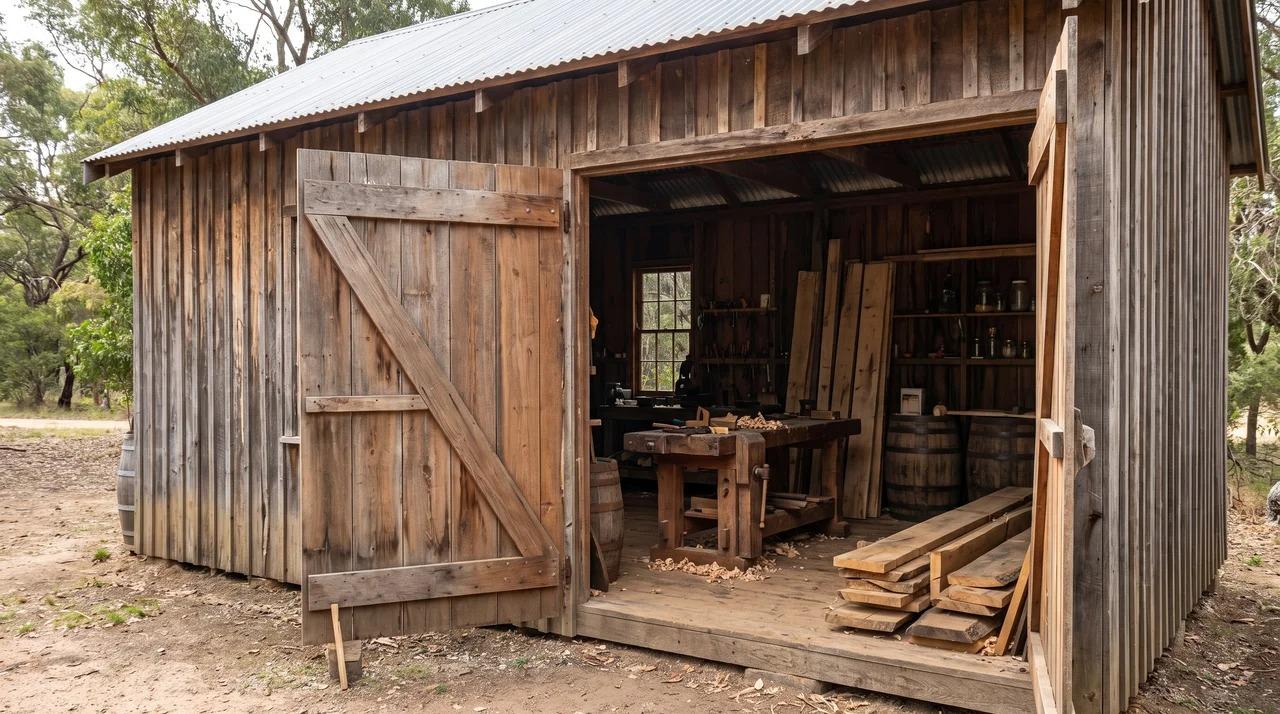
Free plans cover framing and roofing well. They rarely show wiring, insulation, or where machines go.
Paid sets run 30 to 100 dollars. A good one includes a materials list, a cut sheet, and marked electrical runs. A cut sheet is a list of every board with its finished length, so you can buy and cut without guessing.
Skipping that list means buying 15 to 20 percent too much lumber. On a 12×16 that wastes 150 to 300 dollars.
Check that the plan matches your local snow and wind loads. Your building department can give you both numbers in one phone call. Some plans are sold as permit-ready and come stamped, which speeds approval.
Prefab Kits and When They Win?
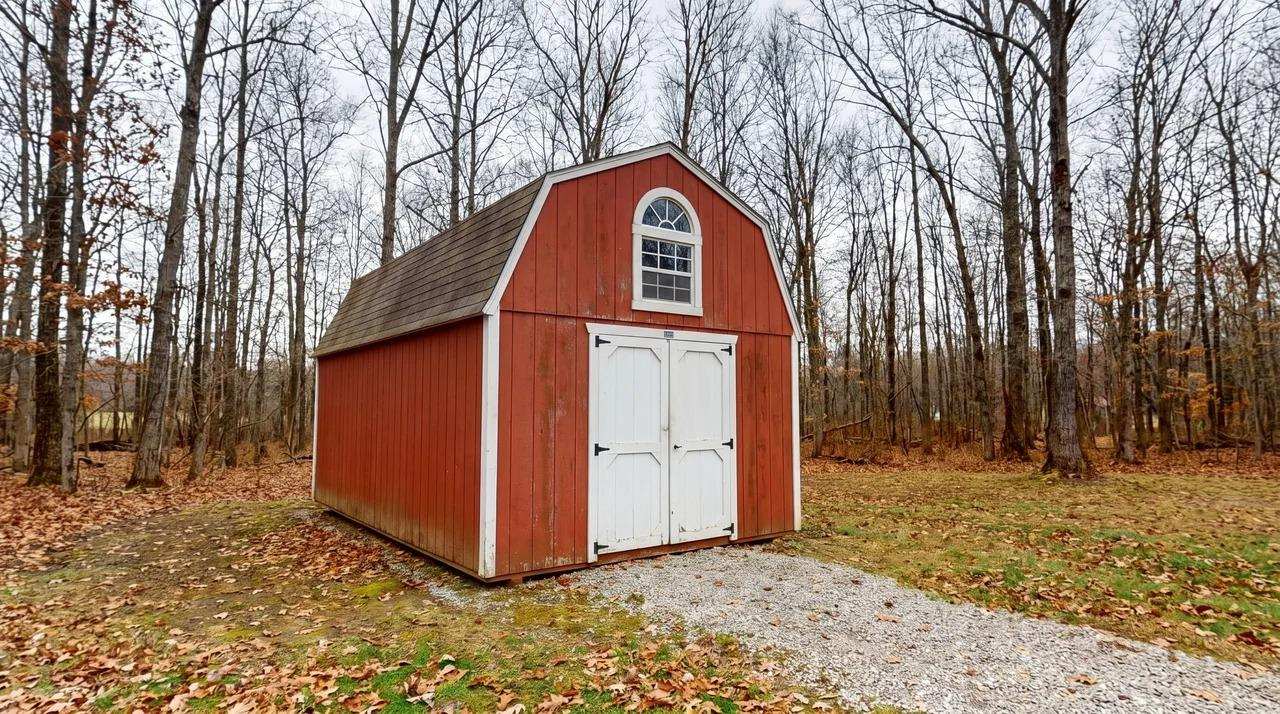
Kits arrive cut and numbered. A 12×16 kit runs 4,000 to 9,000 dollars depending on materials and finish quality.
Two people can raise most kits in two days, not one. Big-box kits sit at the low end.
Kits win when your time is short or you have never framed before. Building from plans runs 20 to 30 percent cheaper in materials.
Skip kits if you want a thick slab, taller walls, or a wider door, since most kits fix those choices for you.
Permits, Setbacks and Rules to Settle Before You Build
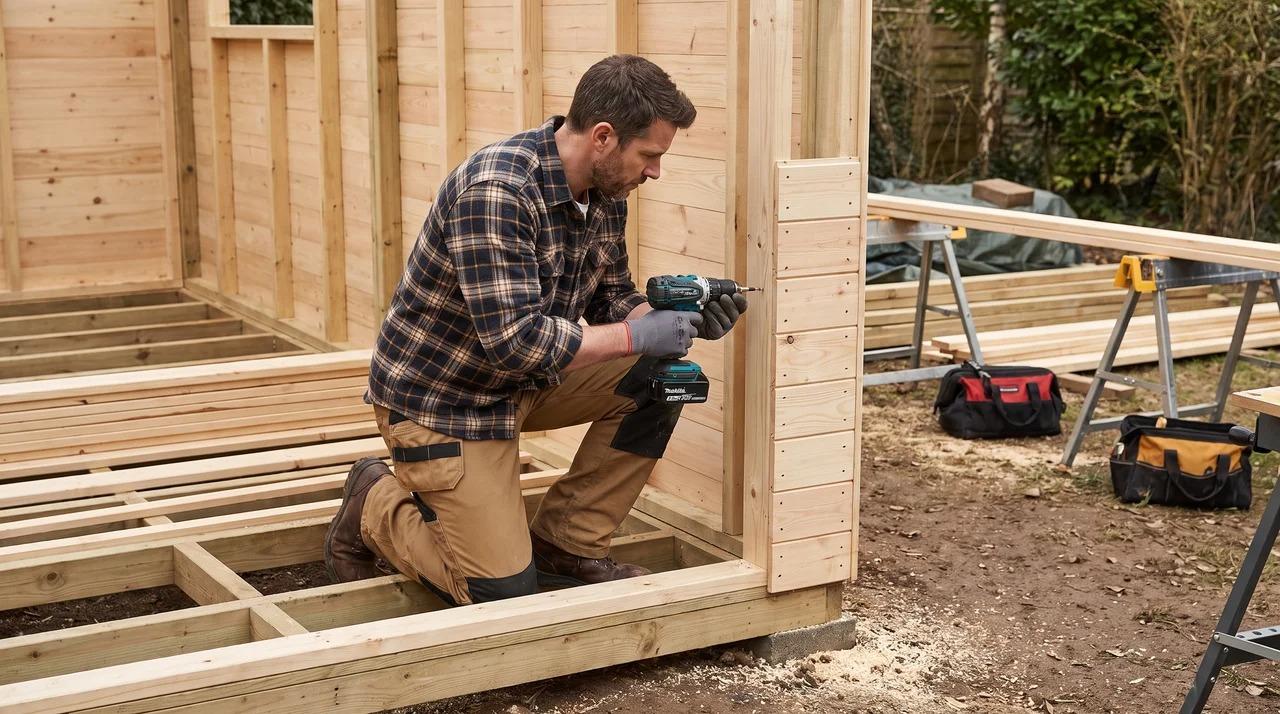
Handle this before you buy a single board. Rules decide your size, your placement, and sometimes your roof color.
Most areas require a permit above 100 to 200 square feet. Some towns require one at any size. Setbacks usually keep you 5 to 10 feet off the property line.
Permit fees run around 250 dollars on average, though some towns charge far more and add renewal fees. Approval takes two to six weeks in most places. Build that wait into your schedule.
You will typically submit a site plan, the building plans, and sometimes a property survey. Any electrical run to a detached building needs its own inspection.
HOAs may limit height, siding, and roof color. If you sell what you make, home business zoning rules can apply. A shed sized just under the permit trigger avoids the whole process, and many builders plan around that number on purpose.
Building Your Woodworking Shed Step by Step
Take these in order. Skipping ahead means opening walls later to fix what you missed.
A full build takes three to six weekends of work. Add two to six weeks for permit approval, plus slab cure time before framing starts.
1. Site Prep and Marking the Footprint
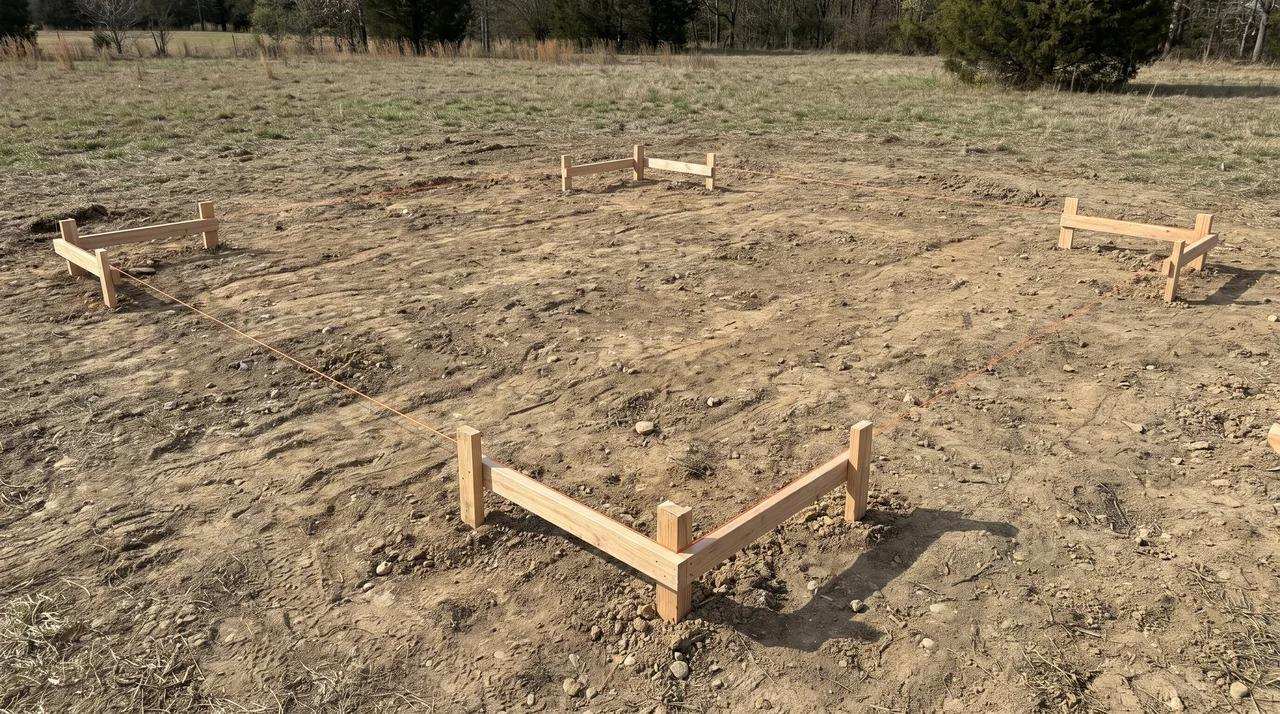
Pick high ground. Water pooling under a shop rusts tools and rots framing.
Clear the grass and level the pad. Our guide to site preparation for a shed covers grading and drainage in more detail. Plan for gutters too, since roof runoff will wash out that grade if it has nowhere to go.
Mark corners with batter boards. These are simple wooden H-frames set outside each corner, with string run between them so you can shift the layout without moving stakes.
Check the square by measuring both diagonals. They should match within 1/4 inch.
2. Slab, Pier or Skid Foundation
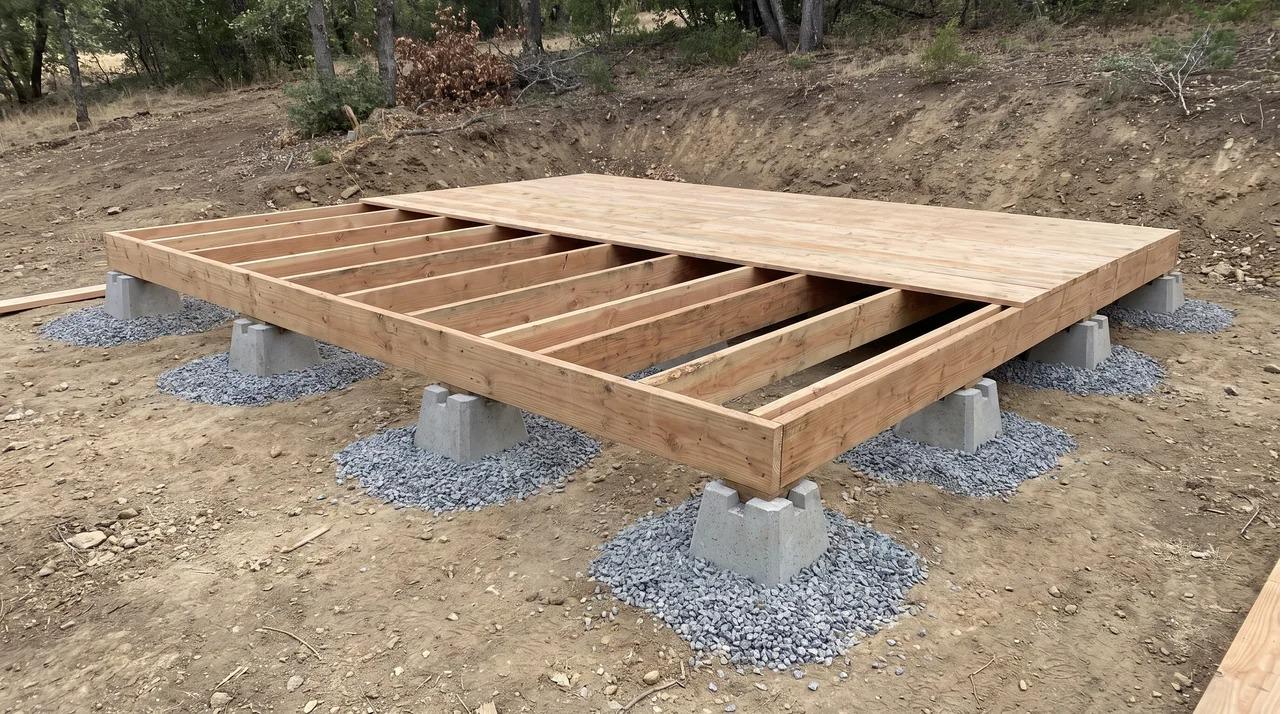
A slab kills vibration best. A jointer on a bouncy floor drifts out of tune every few weeks. An out-of-level base shows up later in binding doors and crooked windows.
Pour 4 inches over 4 inches of compacted gravel. Add rebar and set anchor bolts before it cures.
Piers work at 6-foot spacing. Skids suit small sheds only, and they shift over time.
Let a slab cure at least seven days before you frame on it. Full strength takes 28 days.
3. Framing a Floor That Holds Heavy Machines
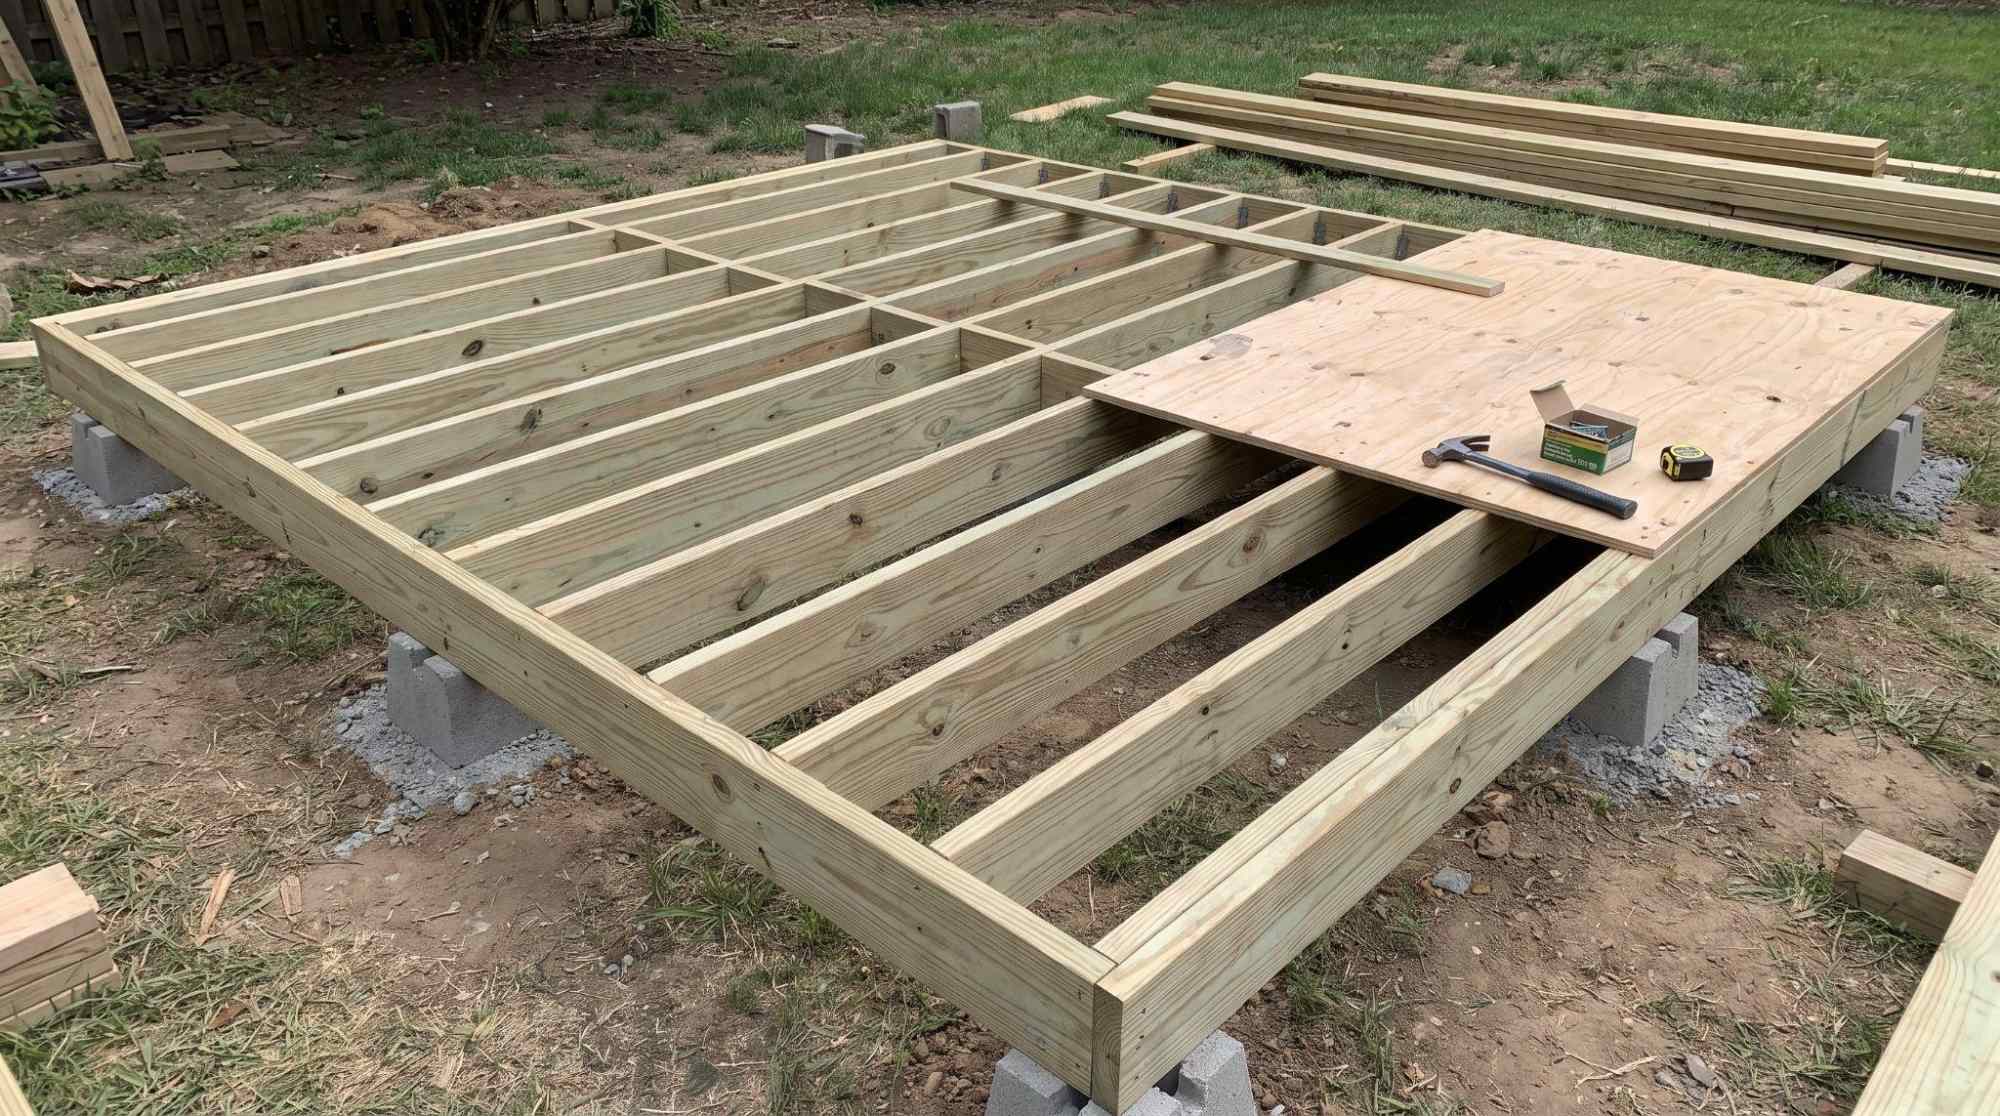
Skip this if you pour a slab.
For a wood floor, joist size depends on span. Across a 10-foot width, 2×8 joists at 12 inches on center work well. Across 12 feet or more, that same 2×8 is marginal once a 500-pound machine parks in the middle.
For a 12-foot span, use 2×10 joists at 12 inches on center. Or keep 2x8s and add a center beam on piers to cut the span in half.
Standard span tables assume 40 pounds per square foot of live load. A cabinet saw or planer concentrates far more than that in one small spot, so build stiffer than the table says.
Use two layers of 3/4-inch plywood, glued and screwed. Doubling the subfloor stops the flex you feel under a running planer.
4. Walls and Roof
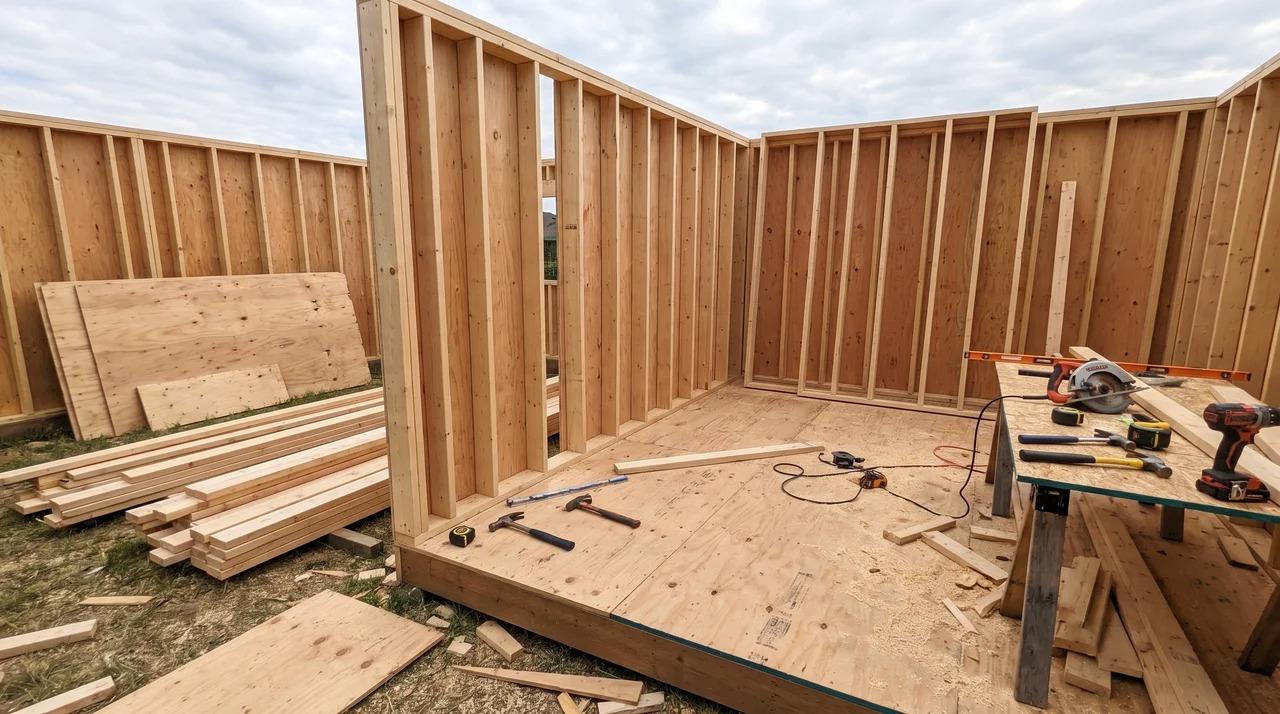
Build wall sections flat on the deck, then stand them up. Studs at 16 inches on center hold heavy cabinets.
Use 2×6 walls if you want thick insulation. The deeper cavity fits R-21 batts.
For the roof, trusses go faster and span wider without interior support. Rafters cost less and leave open ceiling space for hanging clamps, lights, and an air filter.
Match your rafter or truss spec to the snow load you looked up earlier. In a heavy snow country that usually means going up a size or tightening spacing.
A gable roof costs more than a lean-to, but the extra headroom is what lets you stand a sheet of plywood on end.
5. Sheathing, Roofing and Weatherproofing
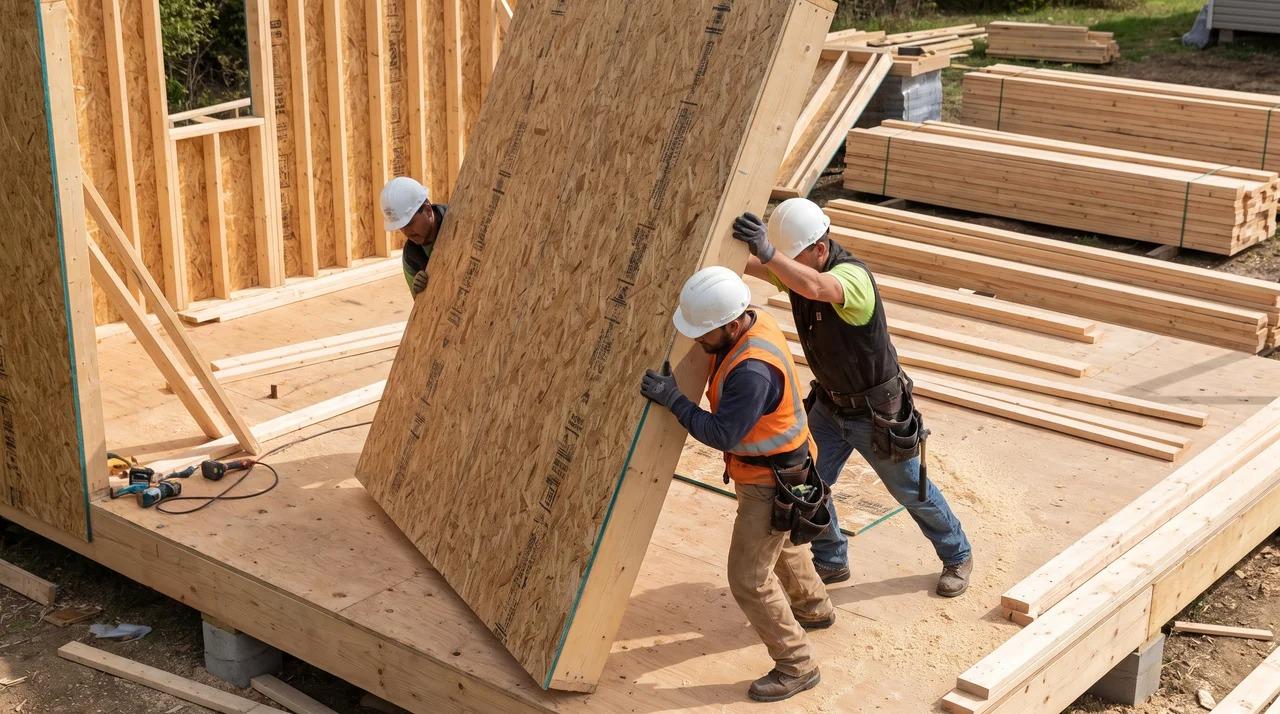
Sheathe walls before standing them when you can. It saves hours on a ladder.
Dry the roof first, then wrap the walls. Tape the wrap seams.
Asphalt shingles last 20 to 25 years and cover most sheds for the price in the table above. Metal costs more up front, lasts 40 or more, and sheds snow better.
Flash the top of every door and window before the siding goes on. Lap the house wrap over the flashing, not under it. Water gets in at openings more than anywhere else.
6. Doors, Windows and Getting Machines Inside
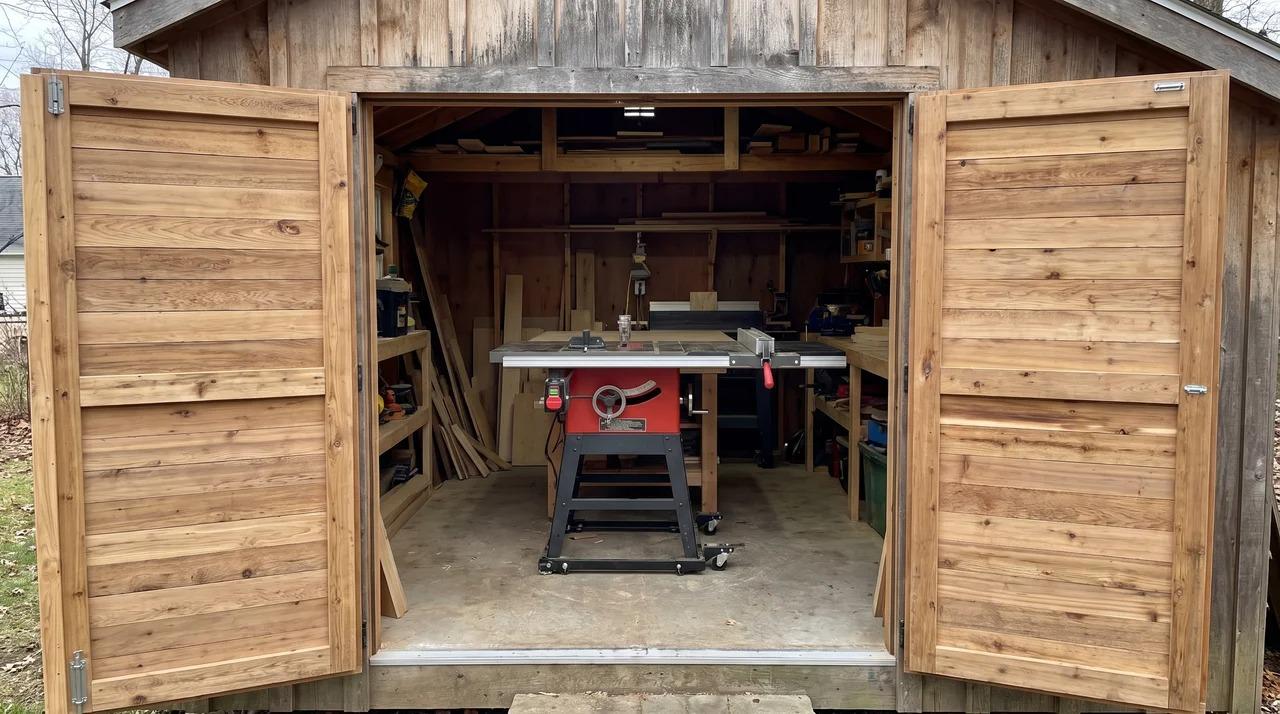
A 36-inch door will not pass a cabinet saw. Frame a double door at 60 inches or wider. A double door runs 200 to 350 dollars against 80 to 150 for a single.
An overhead door makes lumber loading easy but needs a proper header and eats headroom on that wall.
Face your window wall north for even light with no glare. Keep windows high, around 5 feet up. Set one near the bench so layout lines stay easy to read.
Low windows eat the wall space you need for cleats, racks, and cabinets.
7. Rough-In and Blocking Before You Close the Walls
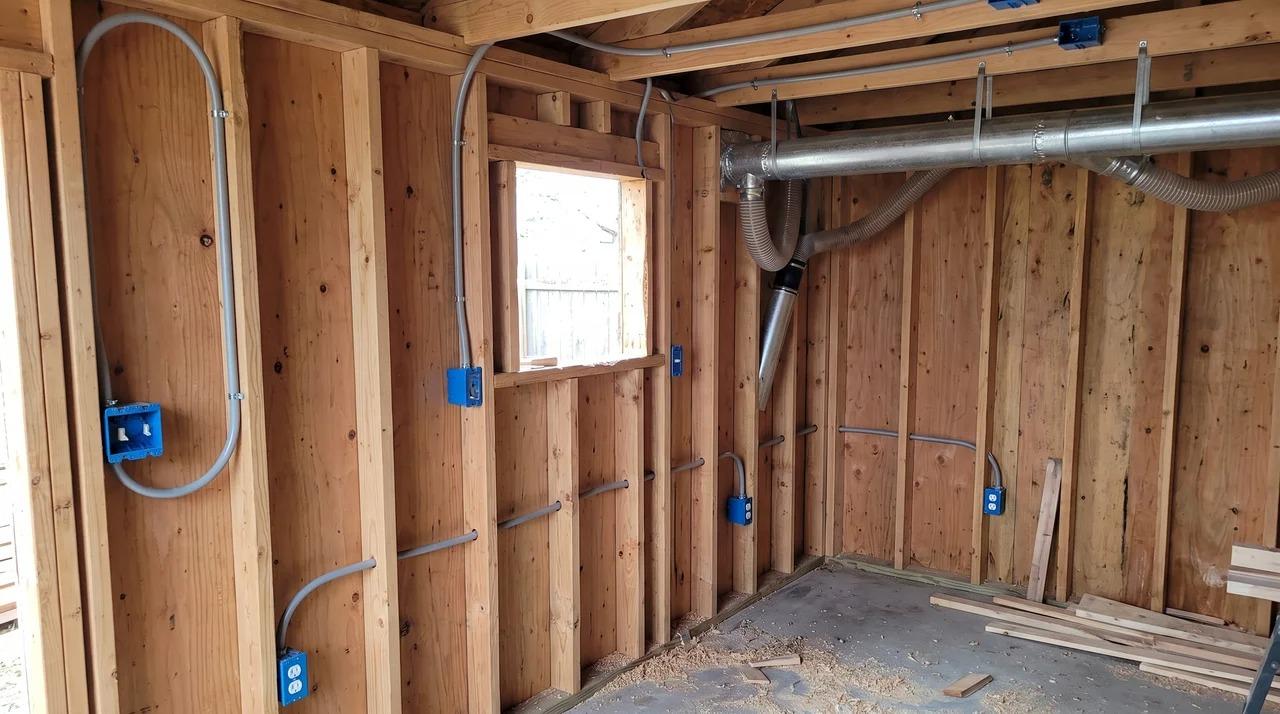
This is the step people regret skipping. Open walls give you one free chance.
Run conduit, boxes, and dust duct now. Size that duct from the dust collection section below before you buy any of it, since pipe diameter is hard to change once the walls are closed.
Add 2×6 blocking flats between studs at bench height and 6 feet up. Then cabinets and cleats mount anywhere later.
Book the electrical inspection before insulating. Inspectors need to see the wiring.
8. Insulating and Finishing the Inside
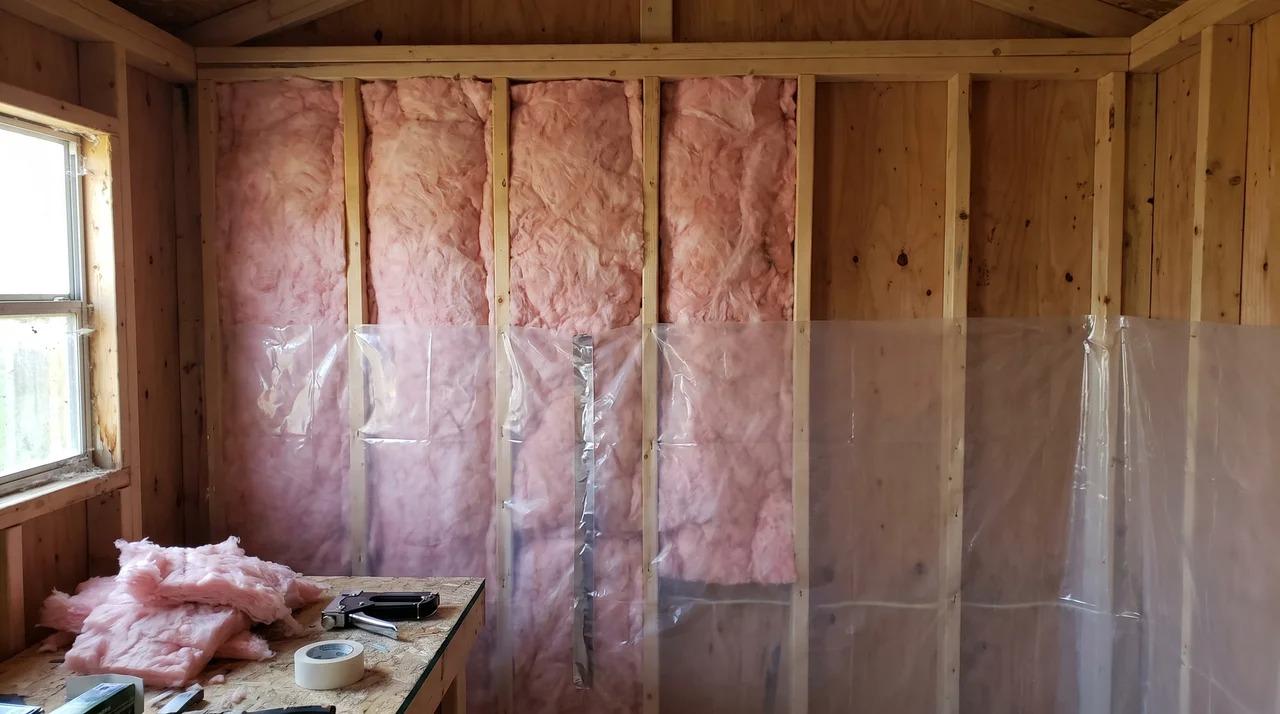
Fill cavities with batts or foam. Put the vapor barrier on the warm side of the wall.
Sheathe walls with 1/2-inch plywood instead of drywall. You can screw into it anywhere, and it takes a knock without denting.
Seal a concrete floor to cut dust and stop moisture from wicking up.
Woodworking Shed Layout: Placing Every Machine
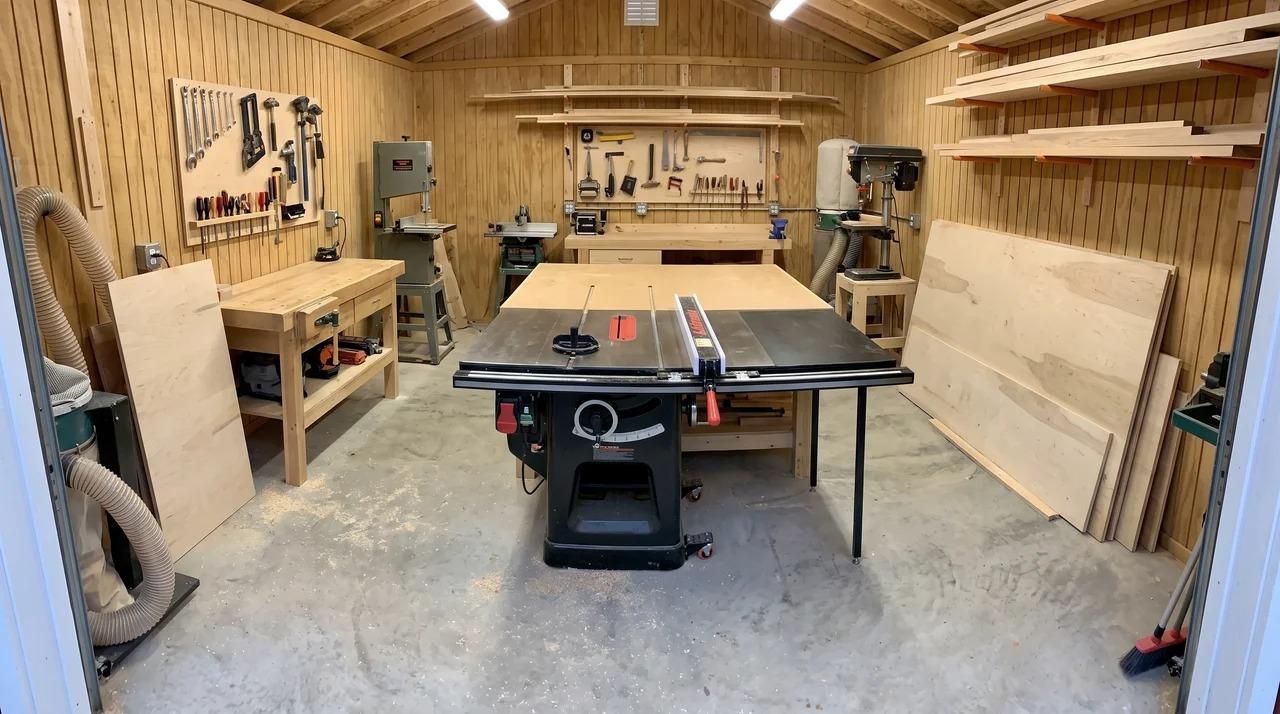
Machine spots are decided by clearance, not by taste. Get the saw placed and the rest follows.
The Table Saw Sets the Room
Put it near the middle. You need 8 feet in front and 8 feet behind to rip a full sheet.
Point the outfeed at your widest open path, often the door. Then a long board runs outside if it has to. This one choice fixes half your floor plan.
Other machines need less. A miter saw wants 8 feet of side clearance, split either way. A jointer needs clear space equal to its bed length at both ends. A planer needs the length of your longest board, front and back.
Bandsaw and drill press only need you standing at them, so they fit against a wall.
Zones From Rough Board to Finished Piece
Work moves in a line. Set up four zones: materials, milling, work, and storage.
Lumber rack, then miter saw, then jointer and planer, then the table saw and drill press, then the bench.
In a 12×16, plan roughly 25 percent for materials and storage, 30 percent for milling machines, and the rest for work space and walking room.
Put the assembly near the door where you have space to move. Keep a clear path at least 3 feet wide between zones.
Keep finishing at the far end from the saw. Sawdust in wet varnish ruins the surface.
Mobile Bases That Let Small Shops Run Big Tools
Bases cost 50 to 150 dollars each and carry 500 to 700 pounds. Check the rating against your heaviest machine before buying.
They let a 12×16 shop hold gear meant for a bigger one. Look for bases with locking casters or a foot-release that lifts wheels off the floor. A machine that rocks while running is worse than one you have to drag.
Roll the planer and bandsaw against a wall until needed. Leave the table saw and bench planted. Anything you move often loses its setting and wastes time.
Three Layouts You Can Copy
- 10×12 (120 square feet): Table saw centered, 4 feet off the back wall, outfeed pointed at the door. Fold-down bench on the 12-foot wall, 6 feet long. Lumber rack high on the opposite wall above a rolling miter saw stand. Everything else on mobile bases parked in corners.
- 12×16 (192 square feet): Table saw centered with 8 feet of clearance front and back. Fixed bench, 7 feet long, against the 16-foot wall under the windows. Jointer and planer along the opposite 16-foot wall. Lumber rack on one short wall, dust collector in the far corner. The assembly table doubles as outfeed.
- 12×20 (240 square feet): Same core as the 12×16, with the extra 4 feet at the far end walled off as a finishing area. Lumber rack on the short wall behind the miter station. Wall cabinets above the bench for finishes and fasteners.
A quick sketch on graph paper beats guessing. Cut paper rectangles to scale for each machine and slide them around before you move 400 pounds of iron.
Building the Bench and Workstations Around You
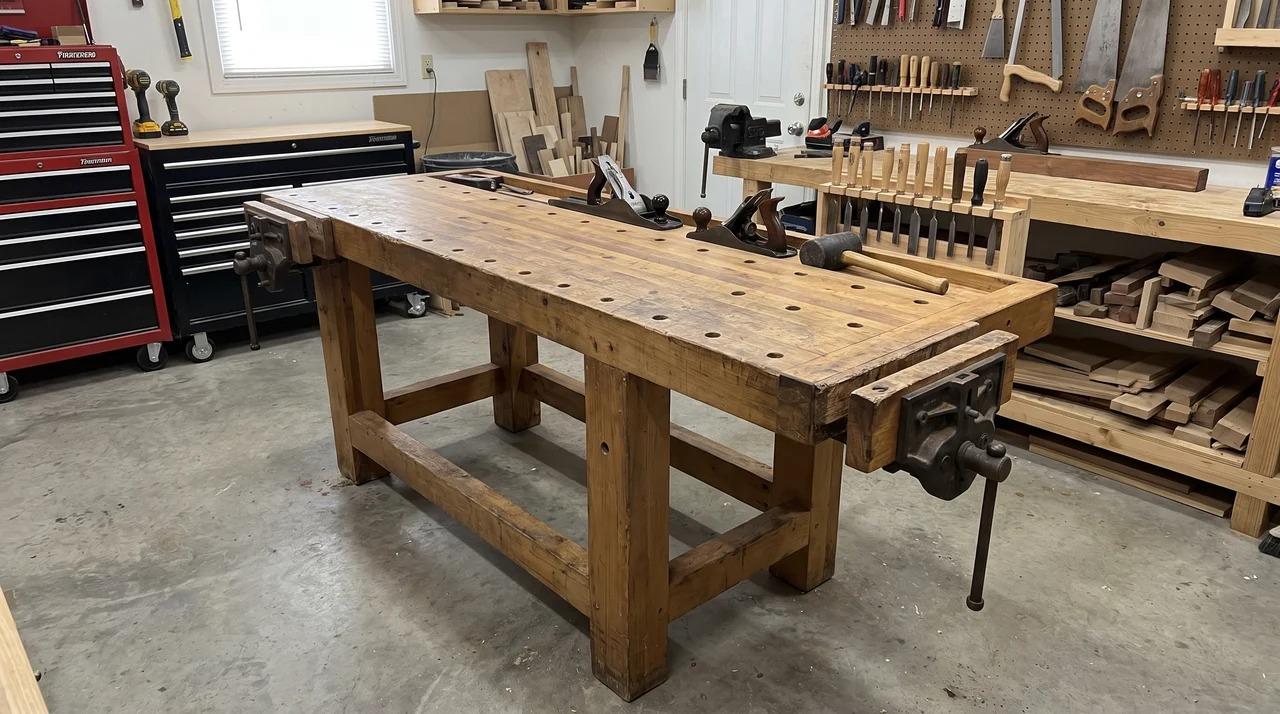
Your bench sets how the shop feels. Height and placement matter more than the wood you use.
Bench Height, Size and Why It Floats?
Stand straight and drop your hand. Wrist height suits hand tools, around 33 to 36 inches for most people. Go 24 to 30 inches deep.
Go a bit taller for detailed work and machine tasks. Pull the bench off the wall by 2 feet if space allows.
Clamping from all four sides beats reaching across every time. Keep an outlet within reach so power tool cords stay short.
Assembly and Outfeed Tables That Do Two Jobs
Build one table at exactly saw height, usually 34 inches. Now it catches sheets coming off the blade.
Make the top a torsion box. That means two plywood skins glued over an internal grid of thin ribs. The result stays flat under clamping pressure and weighs far less than a solid slab.
Add dog holes on a 4-inch grid, 3/4 inch across, to fit standard bench dogs and holdfasts.
Roll it clear and it becomes your glue-up station. Two jobs, one footprint, in a room where floor space is short.
Wall Systems That Keep Tools in Reach
French cleats beat pegboard. A 3/4-inch plywood cleat at 45 degrees holds a loaded cabinet without sagging, and holders move as your tool list grows.
Pegboard bends under anything heavy, so save it for light hand tools. Hang your ten most used tools within arm's reach of the bench.
Closed cabinets keep fine dust off finishes, fasteners, and sharp edges. Put those above the bench and leave open racks for what you grab daily.
Lumber Racks, Offcut Bins and Clamp Storage
Anchor rack arms to studs, spaced 32 inches apart. Each arm should hold 100 pounds. Keep every board off the floor so damp concrete does not cup it.
Sort offcuts by width in open bins. Set one rule: anything shorter than 12 inches goes in the burn pile.
Hang clamps on a rolling rack next to the assembly, not across the room. Glue sets in minutes and you will not have time to walk.
Dust Collection Done Right the First Time
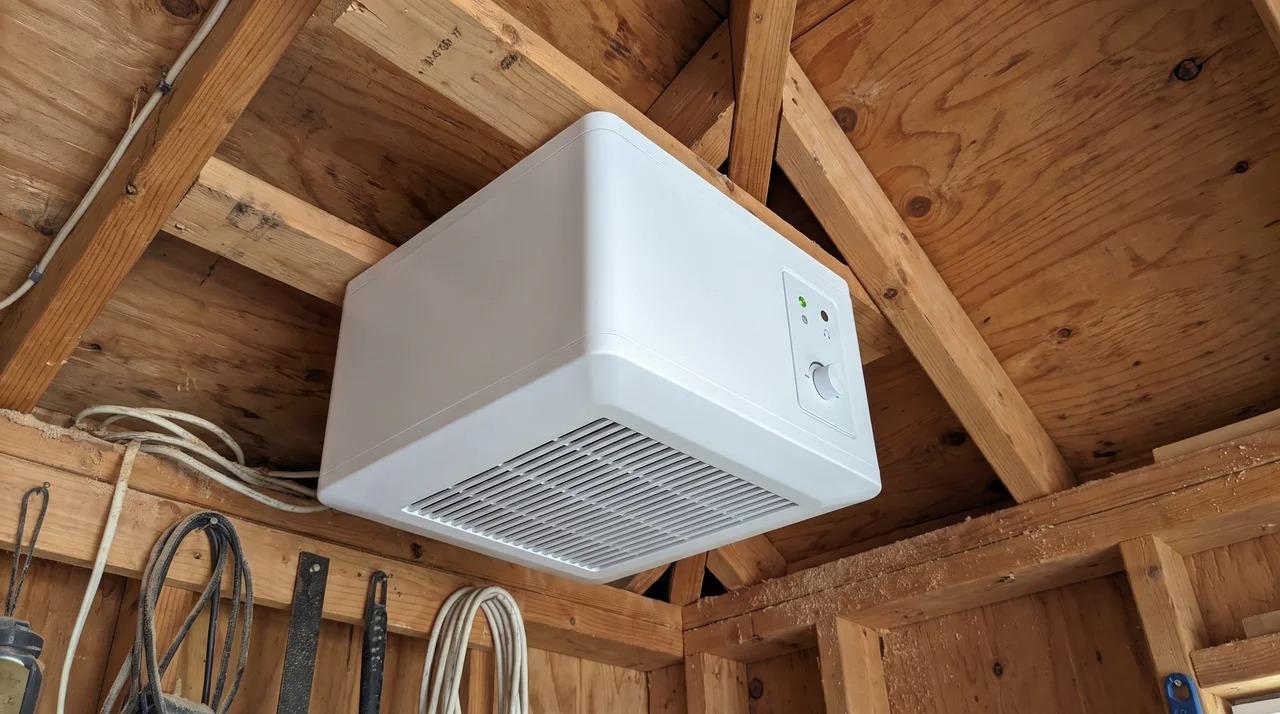
Fine dust is the real risk in a small shop, and the system works best when you plan it before the machines go in. Get three things right: enough airflow for your biggest machine, short and wide ducting, and a filter for the particles you cannot see.
- Size the collector to your hungriest machine: A table saw or jointer wants 350 to 450 CFM, but a planer needs 700 to 900 since it throws chips faster than anything else.
- Treat box ratings as optimistic: A collector rated at 650 CFM often delivers around 420 once you add a filter and 6 feet of flex hose, so size up from what you think you need.
- A shop vac has a narrow job: It pulls about 150 CFM, which covers sanders, a drill press, and a router table only.
- Cyclones hold their power: Single stage units start near 300 dollars, while cyclones cost 900 and up and pull 90 to 99 percent of chips out before the filter, so suction stays steady as the bin fills.
- Match pipe size to airflow: A 4-inch metal duct carries roughly 350 to 400 CFM, and 6-inch carries 800 or more, which is the right call if you run a planer.
- Keep the flex hose short: Hold it under 3 feet per machine, because it cuts airflow badly over longer runs.
- Open one blast gate at a time: Two open gates can drop your airflow below 300 CFM at the machine you are actually using.
- Watch your air speed: Aim for 3,500 to 4,000 feet per minute inside the duct, since chips settle and clog the pipe below that.
- Chips fall, but fine dust does not: Particles under 10 microns hang in the air for hours and reach deep into your lungs.
- Add a ceiling-hung air filter:It clears the room in about 20 minutes when sized for six to eight air changes per hour.
- Never sweep: Wear a fitted N95 or half mask when sanding and use a HEPA vac, since a broom sends the worst dust airborne again.
Fire and Safety Basics for a Shop This Size
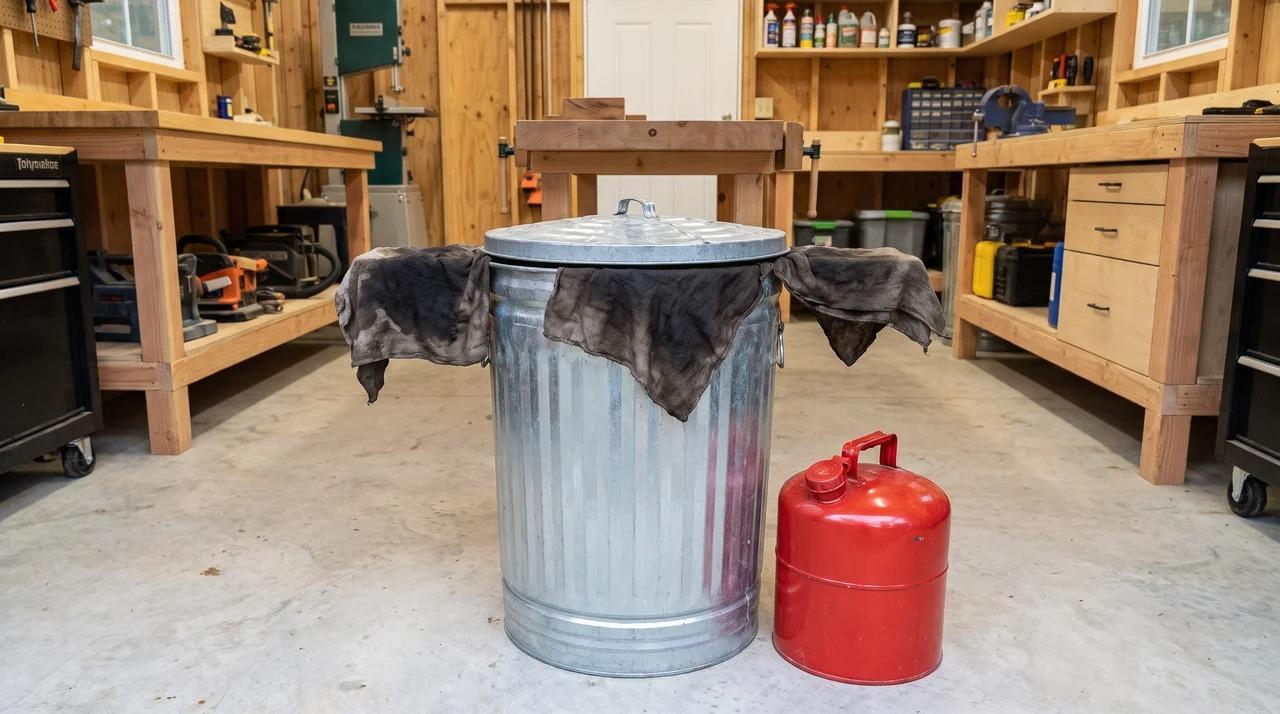
A woodworking shed holds dust, solvents, and heat in one small sealed building. Two rules matter more than the rest.
First, rags. Linseed oil, tung oil, and oil-based stains generate heat as they dry. A wadded pile of oily rags can reach ignition temperature in about three hours with no spark at all.
Drape used rags flat over a trash can edge until stiff, or drop them in a sealed can of water. Never leave them balled up. Spontaneous combustion causes roughly 14,000 fires a year in the US.
Second, gear. Keep an ABC-rated extinguisher by the door where you can reach it on the way out. Add a smoke alarm, since nobody is in the shed at night.
Store finishes and solvents in a closed metal cabinet, away from any heat source.
Power and Light You Set Up Once
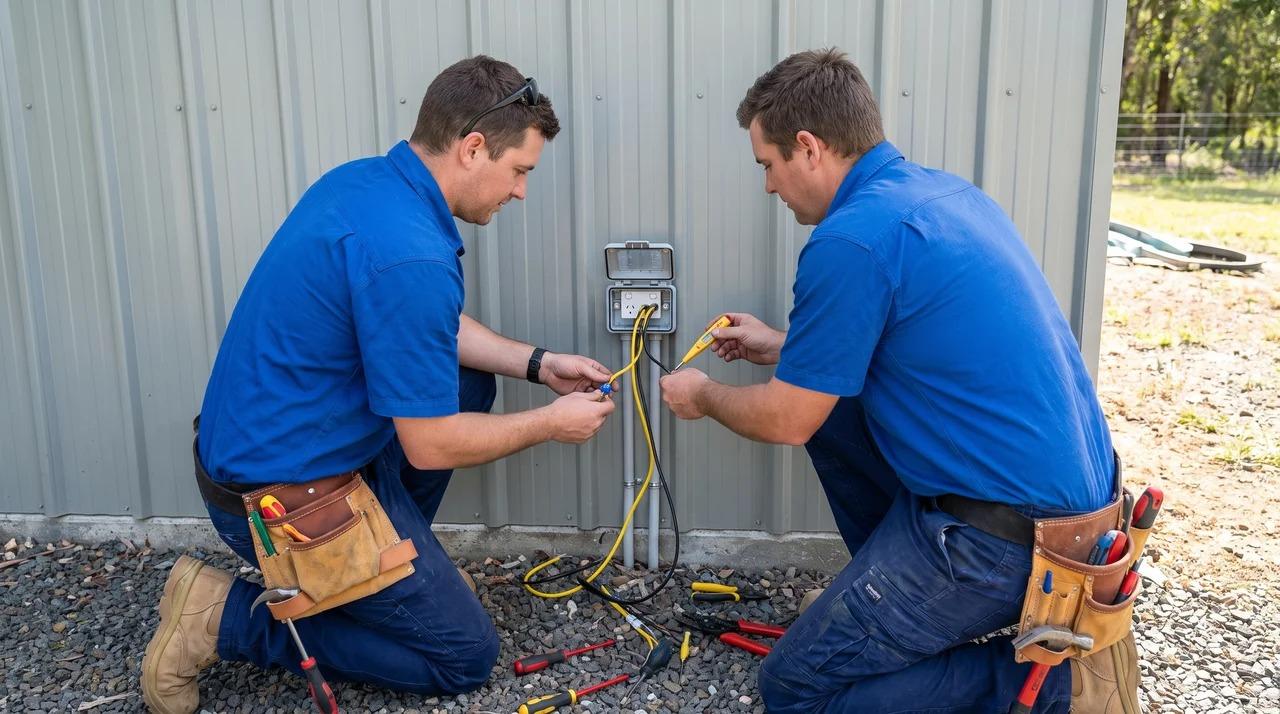
Wiring is the one part you cannot redo cheaply. Size it for the shop you will have in five years.
Subpanel, Circuits and 240V Runs
Run a 60-amp subpanel to the shed. A 30-amp feed fills up fast once you add heat.
Give dust collection its own circuit. It runs while everything else runs.
Add 240V if you plan on a cabinet saw or a 3HP collector. Pulling that wire later means digging the trench twice. That second dig is the most expensive mistake on the whole list.
Outlets, Ceiling Drops and Cord Management
Put outlets every 4 feet at 48 inches high. Above the bench, not behind it.
Drop a ceiling outlet over the saw and the assembly table. Cords running across the floor are a trip risk and they snag sheet goods.
Use quad boxes where tools cluster.
Lighting That Shows a Cut Line
The Illuminating Engineering Society recommends 60 to 100 foot-candles for woodworking. One foot-candle equals one lumen per square foot at the work surface.
For a 12×16 at 75 foot-candles, you need roughly 14,400 lumens on the bench. Fixture losses mean buying closer to 25,000 to 30,000 lumens total. That works out to six or seven 4-foot LED shop lights rated around 4,000 lumens each.
Choose 4000K to 5000K bulbs. Run fixtures along the length of the room, not across.
Light thins out as ceilings rise, so add fixtures if your walls are 10 feet. Add a task light at the bench so your body does not shadow the line you are cutting. And plan brighter than the minimum, since eyes at 60 need about three times the light they did at 20.
Climate Control So Wood and Tools Stay True
Wood moves with humidity and steel rusts, and both problems trace back to air you never controlled. Three things fix it: insulation that suits your climate, humidity held in a narrow band, and heat that does not put the shop at risk.
- Insulate your zone: Target R-13 walls and R-30 overhead in mild areas, and R-21 walls with R-38 up top where winters run cold.
- Put the vapor barrier on the heated side: In hot, humid regions skip the interior barrier entirely, since a barrier on the wrong face traps water inside the wall.
- Hold humidity between 35 and 55 percent: A 30 to 50 pint dehumidifier handles most shops this size.
- Wax your cast iron: A coat of paste wax every few months keeps rust off saw tables and jointer beds.
- Sticker lumber for a week before cutting: Stack boards with thin strips between each layer so air reaches every face, because boards that move after assembly split joints and open glue lines.
- A mini split does the most for the least: A 12,000 BTU unit suits most shops this size, though a window AC and an oil-filled radiator work at a higher running cost.
- Cold changes how the work behaves: Most glues need 55 degrees or warmer to cure and finishes go cloudy or stay tacky below that, so warm the shop an hour before you start.
- Skip kerosene and open flame heaters: Fine dust and solvent fumes ignite, and electric heat should sit high with 3 feet of clearance from any finish or rag.
- Vent while finishing: Crack a window or run an exhaust fan, since solvent vapor builds fast in a sealed, insulated building.
Conclusion
Here is the one thing to hold onto. Wire, duct, and block your walls while they are still open. That single hour saves you a weekend of tearing things apart later.
Everything else can wait. Your shed will grow with you.
Now go mark your corners.
Found this useful? Share it with someone building their own shop. And drop a comment below with your shed size and layout. We read every one.
Frequently Asked Questions
How much does it cost to build a woodworking shed?
A 12×16 built by the owner runs 7,000 to 17,000 dollars with slab, wiring, and insulation. Hiring out the shell adds 3,000 to 8,000 more.
How long does a woodworking shed take to build?
Two people can raise a prefab kit in about two days. Building from scratch takes three to six weekends, plus permit wait and slab cure time.
How do I keep my tools safe in a backyard shed?
Use a solid core door, a deadbolt, and hidden hinges. Photograph serial numbers, and check that your home policy covers detached buildings.
Do I need a floor drain or slope in a woodworking shed?
No. A wood shop stays dry, and a sloped floor makes machines sit crooked. Keep the slab flat and handle water outside with grading and gutters.