I built my first shade sail post setup two summers ago, and I made almost every mistake you can make. My posts leaned. My sail sagged in the middle. One post pulled loose after a windy week, and I had to start over.
That's why I want to walk you through this the right way. DIY shade sail posts don't have to be hard to get right. You just need good posts, solid footings, and the right angles.
In this guide, I'll show you what materials work best, how deep to set your posts, and how to keep everything tight and steady in strong wind.
I'll keep things simple and practical, step by step, so you can build a setup that holds up for years, not just one season.
Why Strong Posts Matter for a Shade Sail
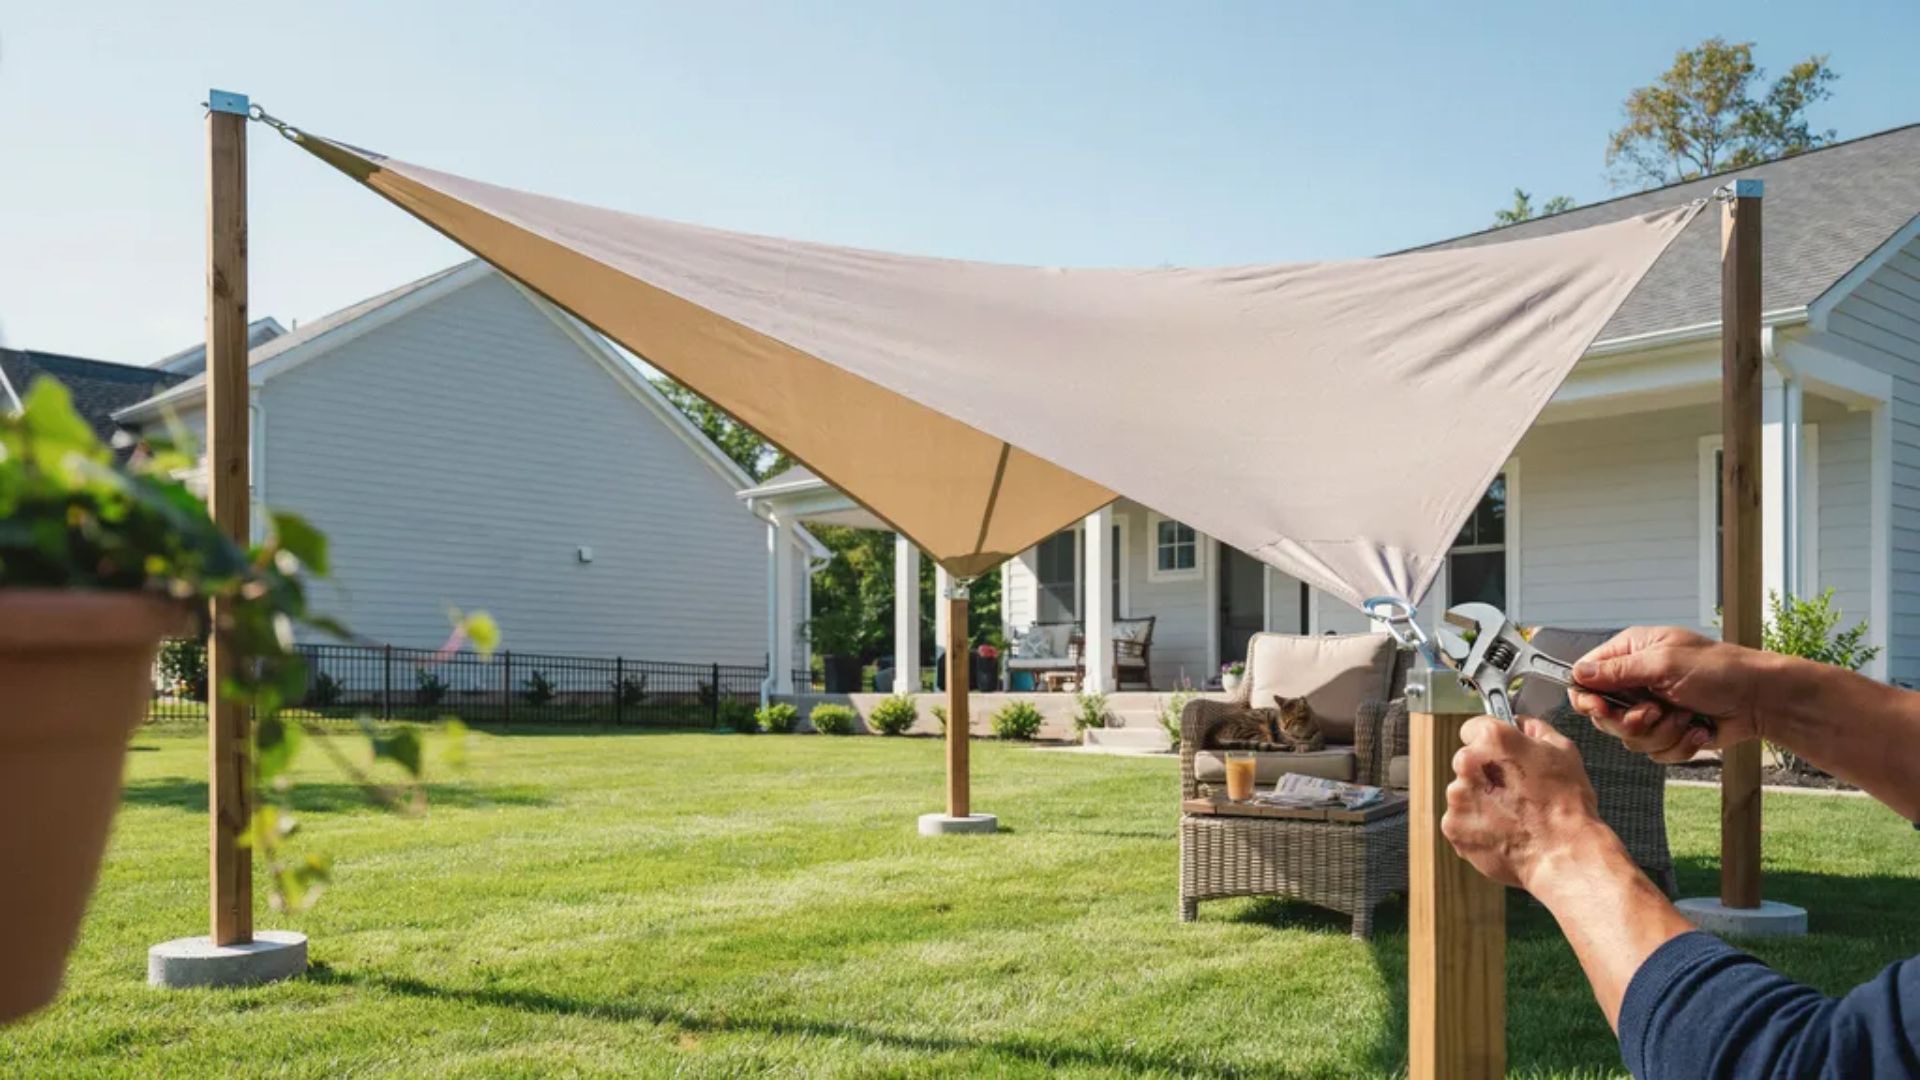
Strong posts do more work than most people think. Your shade sail pulls hard on each post, especially in wind. Weak posts can bend, lean, or even snap under that pressure.
Solid posts handle wind loads safely and keep your sail steady, even in rough weather. Good posts also keep the sail tight. A tight sail looks better and lasts longer, since loose fabric flaps around and wears out fast.
Strong support stops sagging over time, so you won't need to fix or replace parts as often. This means less maintenance for you and more years of use from your shade sail.
In the end, sturdy posts also make your whole backyard setup look neat, safe, and well built for years to come.
How to Build DIY Shade Sail Posts: Step by Step
Once you have your materials ready, it's time to build. Follow these steps in order, and don't rush the process. Each stage sets up the next one.
Step 1: Plan the Layout and Dig the Holes
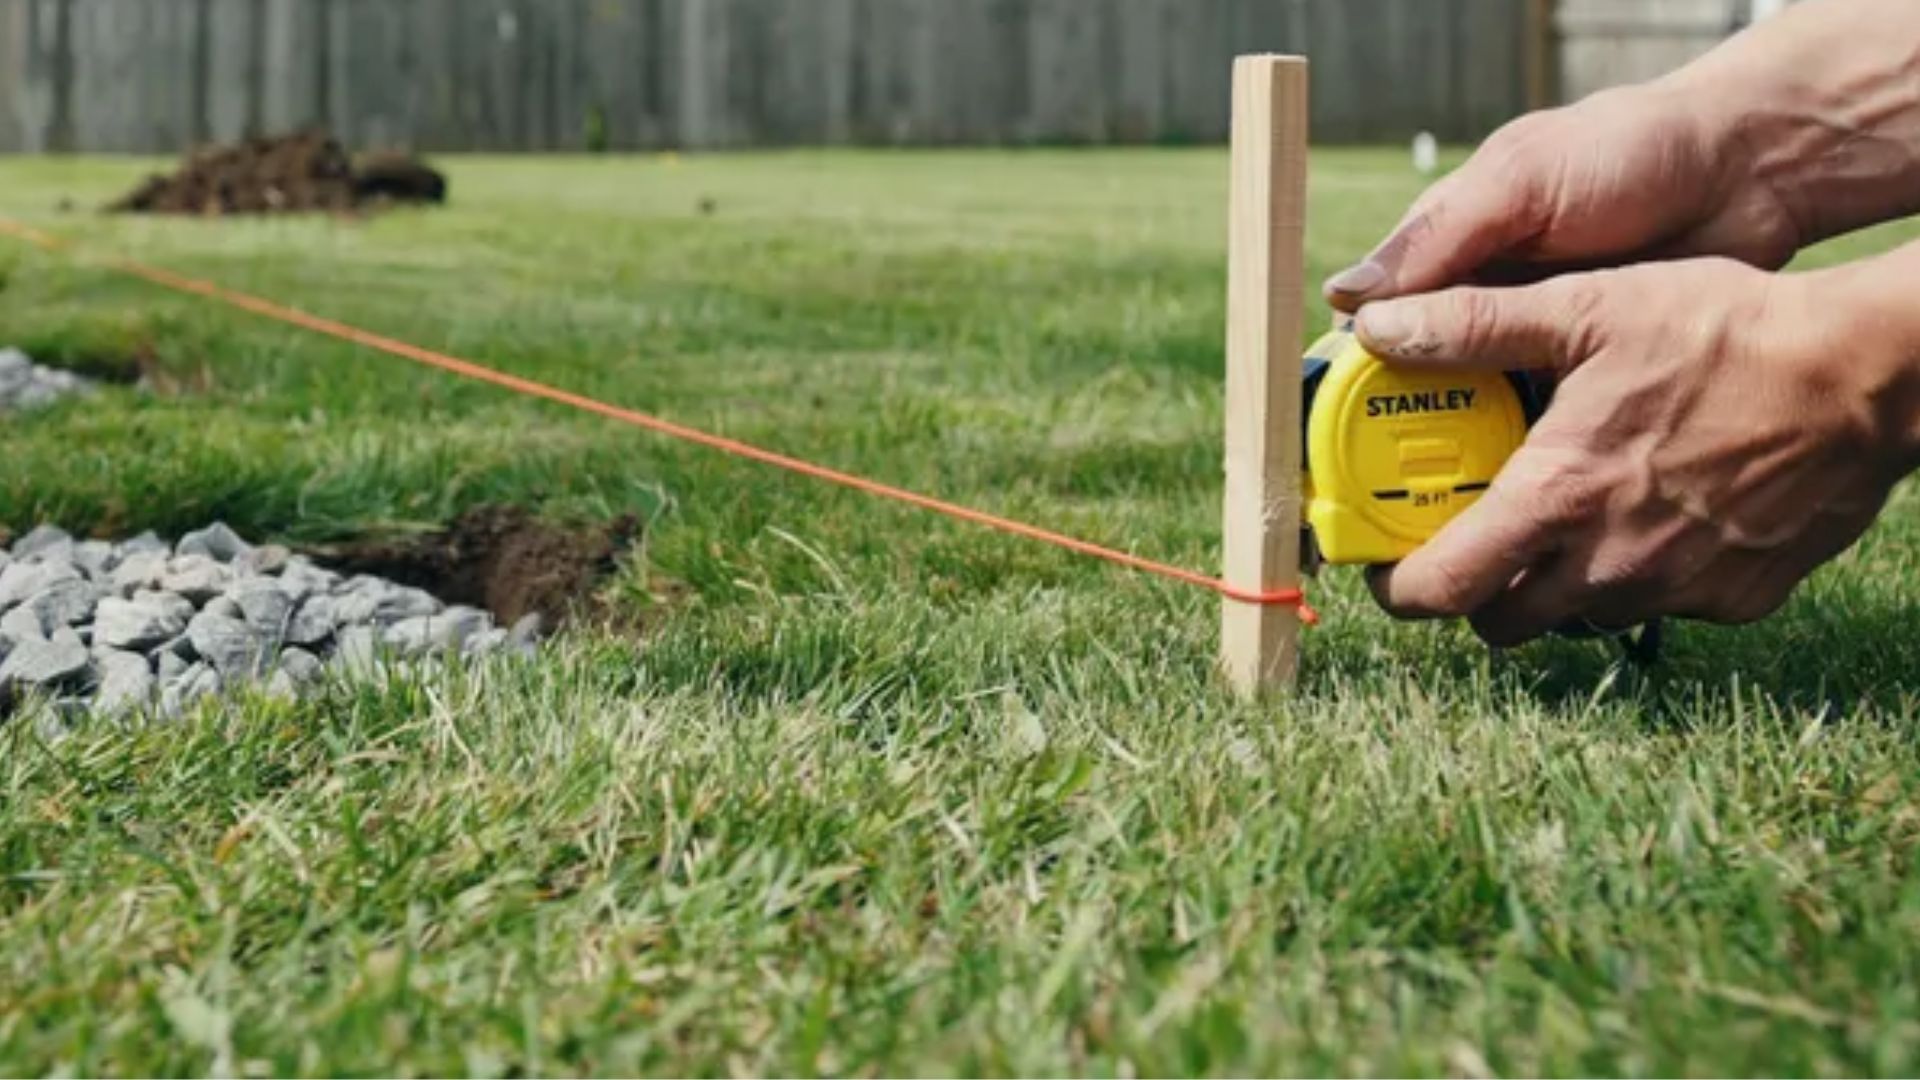
Start by measuring your space and marking where each post will go. Leave room for tensioning the sail later, since a tight sail needs some slack built into the layout.
Once you're happy with the plan, dig each hole with a post hole digger. Clear out loose soil, then add a layer of gravel at the bottom to help with drainage.
Step 2: Set the Posts and Pour Concrete
Place each post into its hole and check it with a level to keep it straight. For more on setting posts plumb and solid, see our guide to building a garden fence.
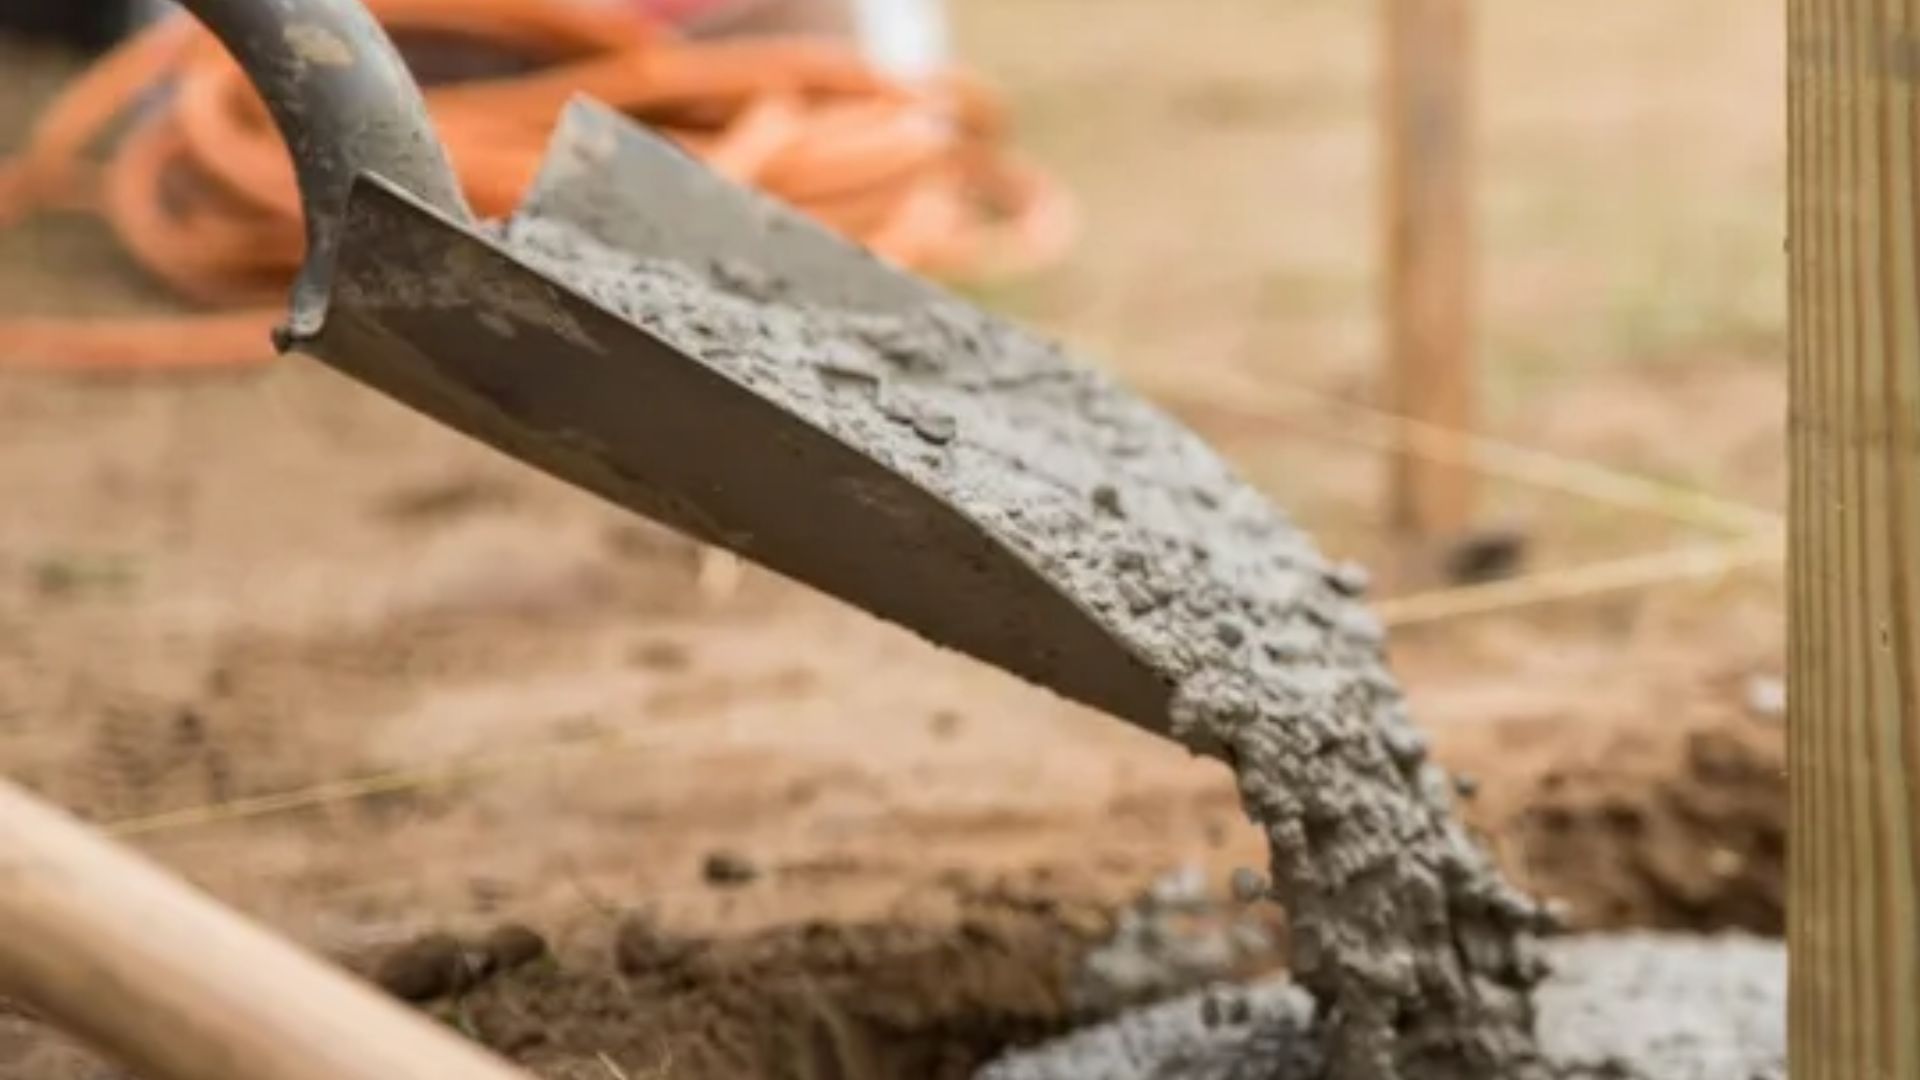
Pour concrete around the base, filling the hole evenly on all sides. Smooth the top so water runs off instead of pooling, then let it cure fully before moving forward.
Step 3: Install the Hardware
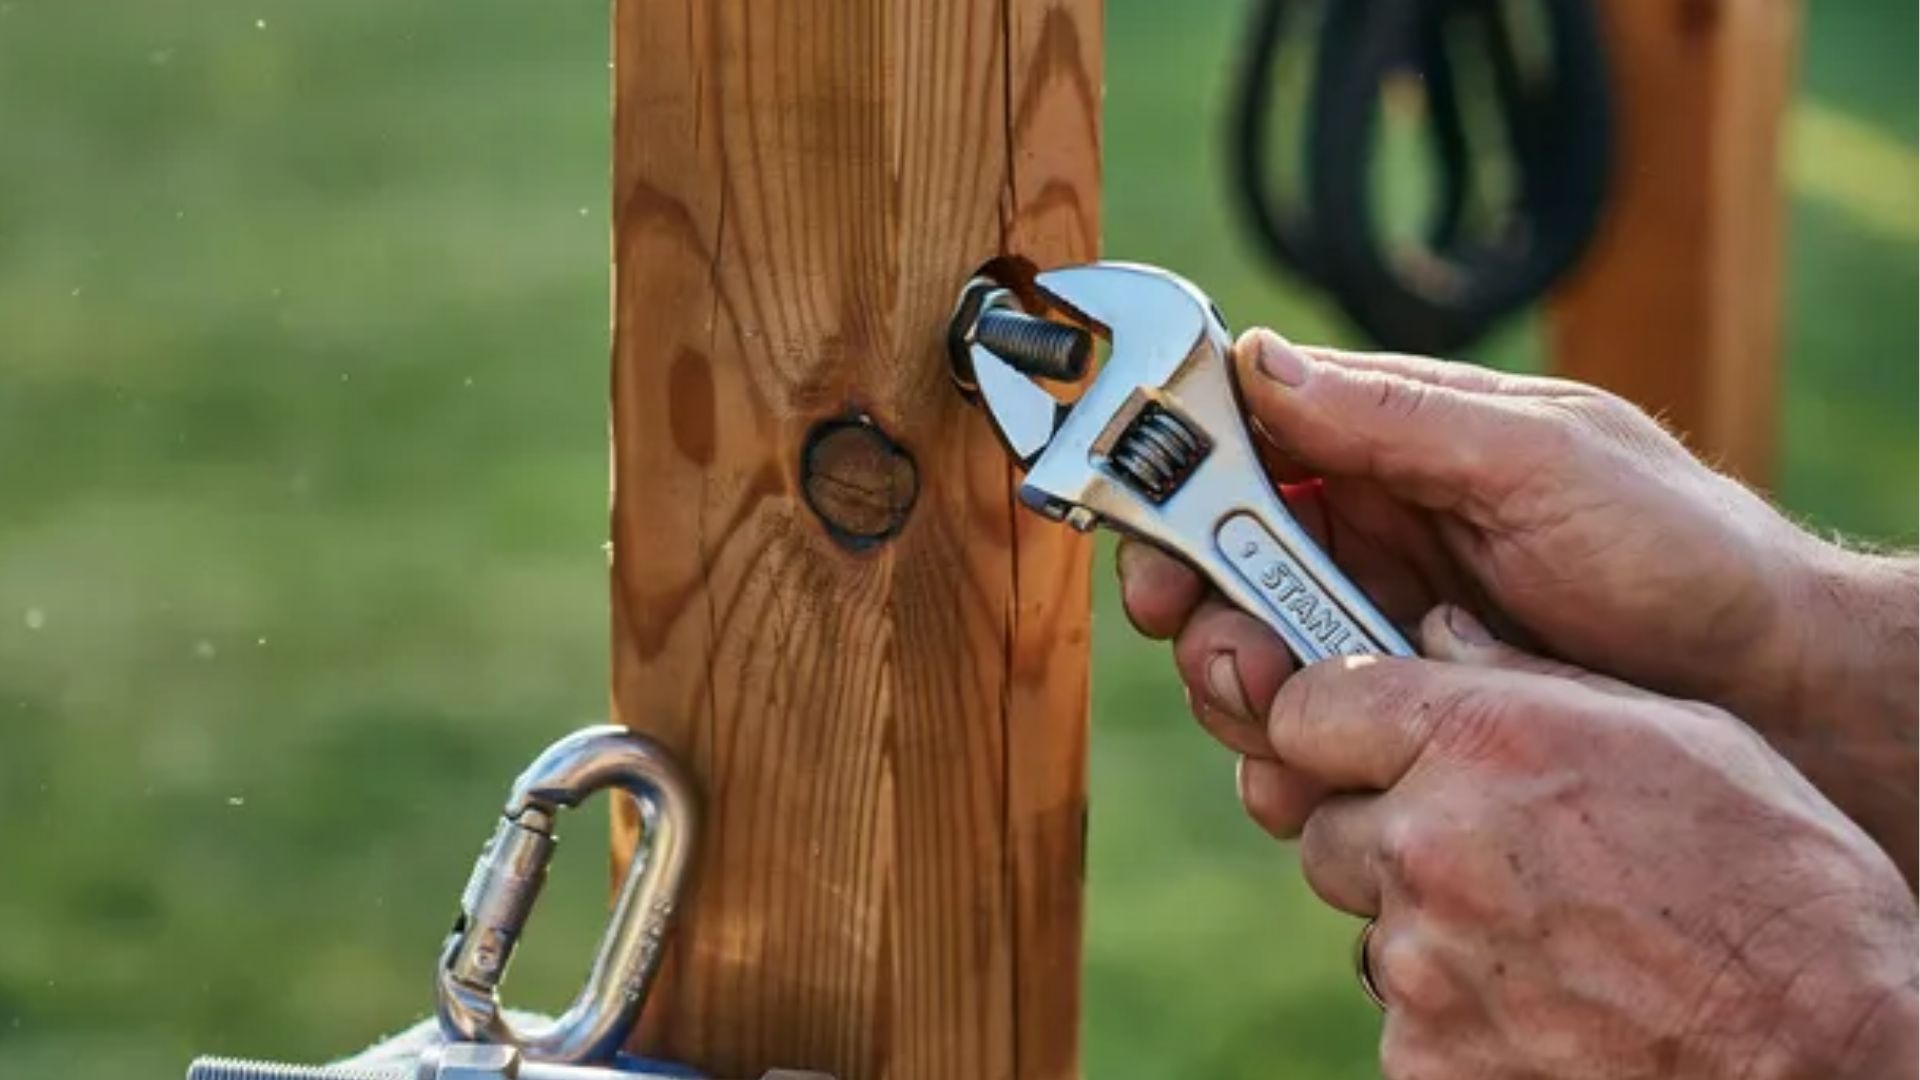
Once the concrete has cured, add your hardware to each post. Eye bolts anchor the sail firmly to the post itself. Turnbuckles let you adjust and fine-tune the tension as needed.
Shackles connect the different hardware pieces together in a strong, secure way. Each part plays its own role in keeping the whole sail steady and safe.
Step 4: Attach and Tension the Shade Sail
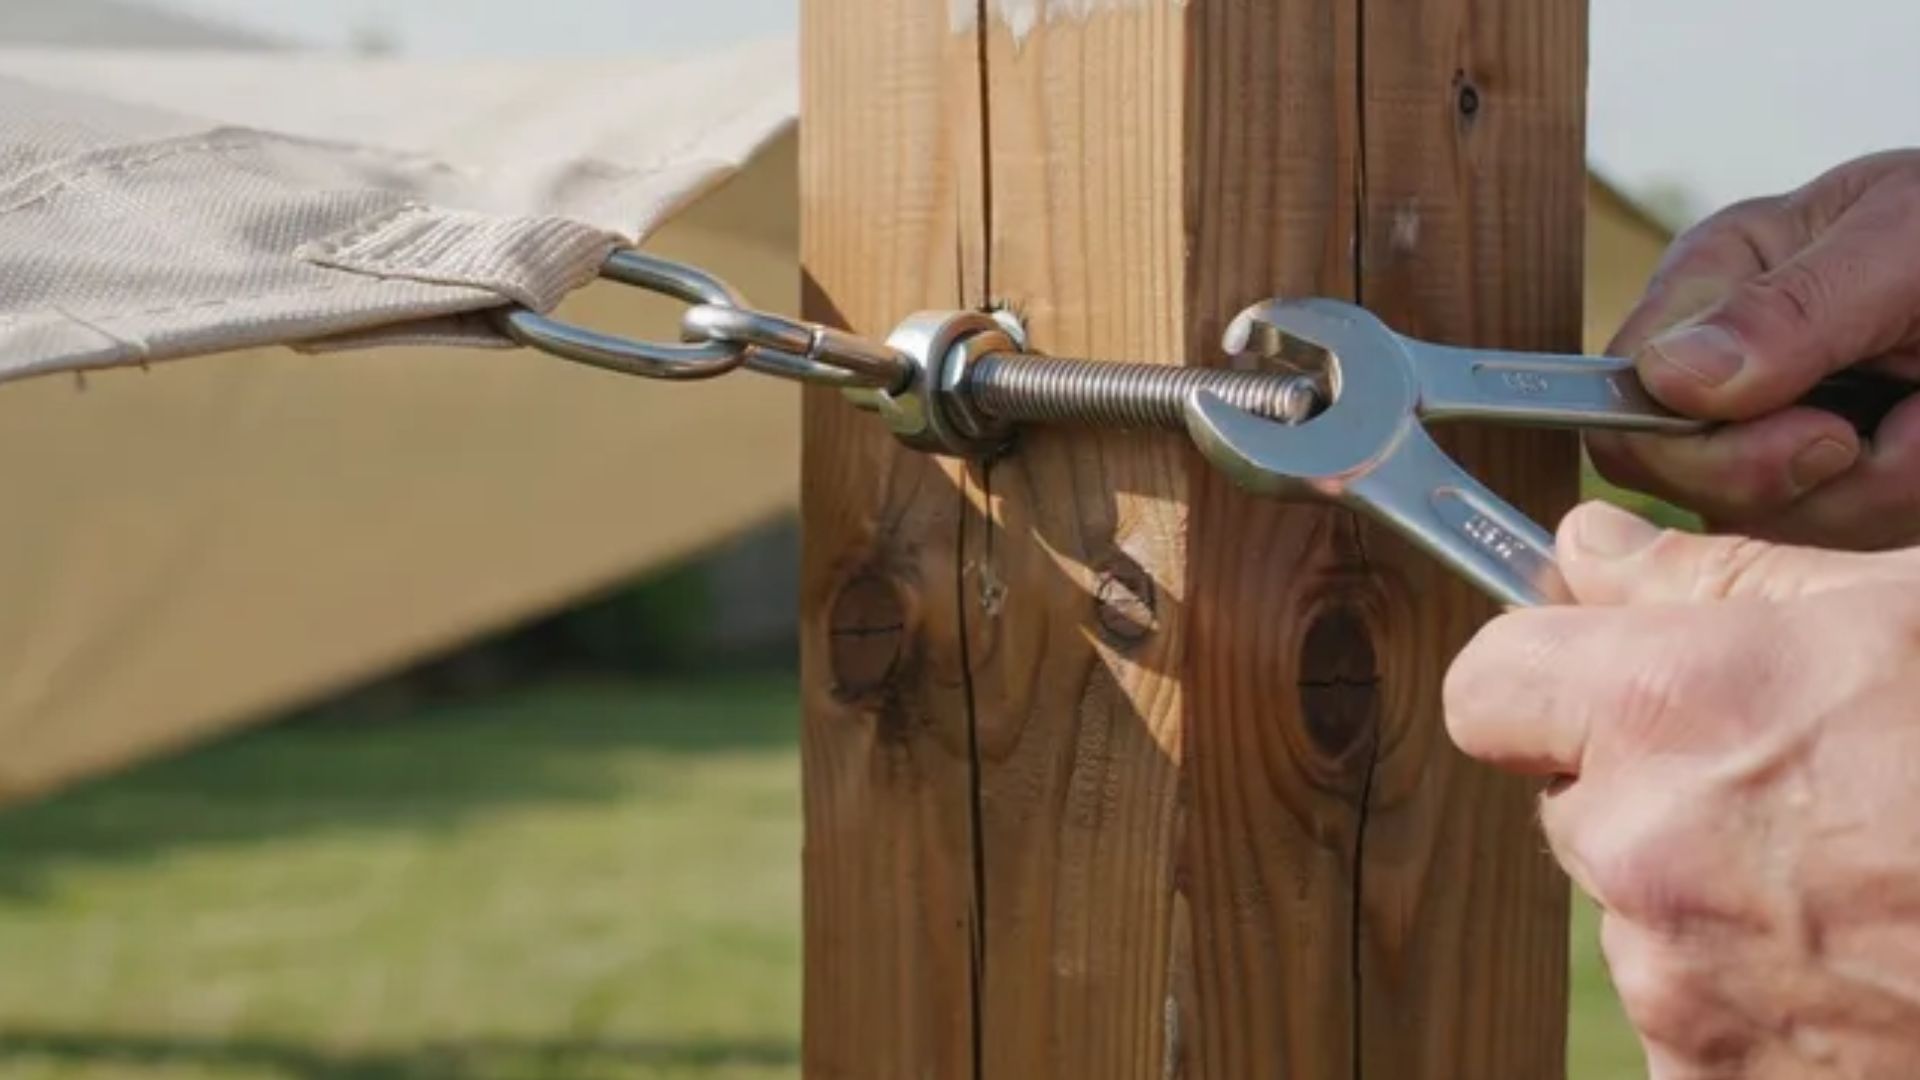
Hook the sail onto the hardware at each post, one corner at a time. Tighten the turnbuckles evenly, working around the whole sail as you go.
You want firm, even tension spread across the entire surface. Avoid pulling too tight, since that can strain your posts and hardware over time and shorten their life.
Materials Required
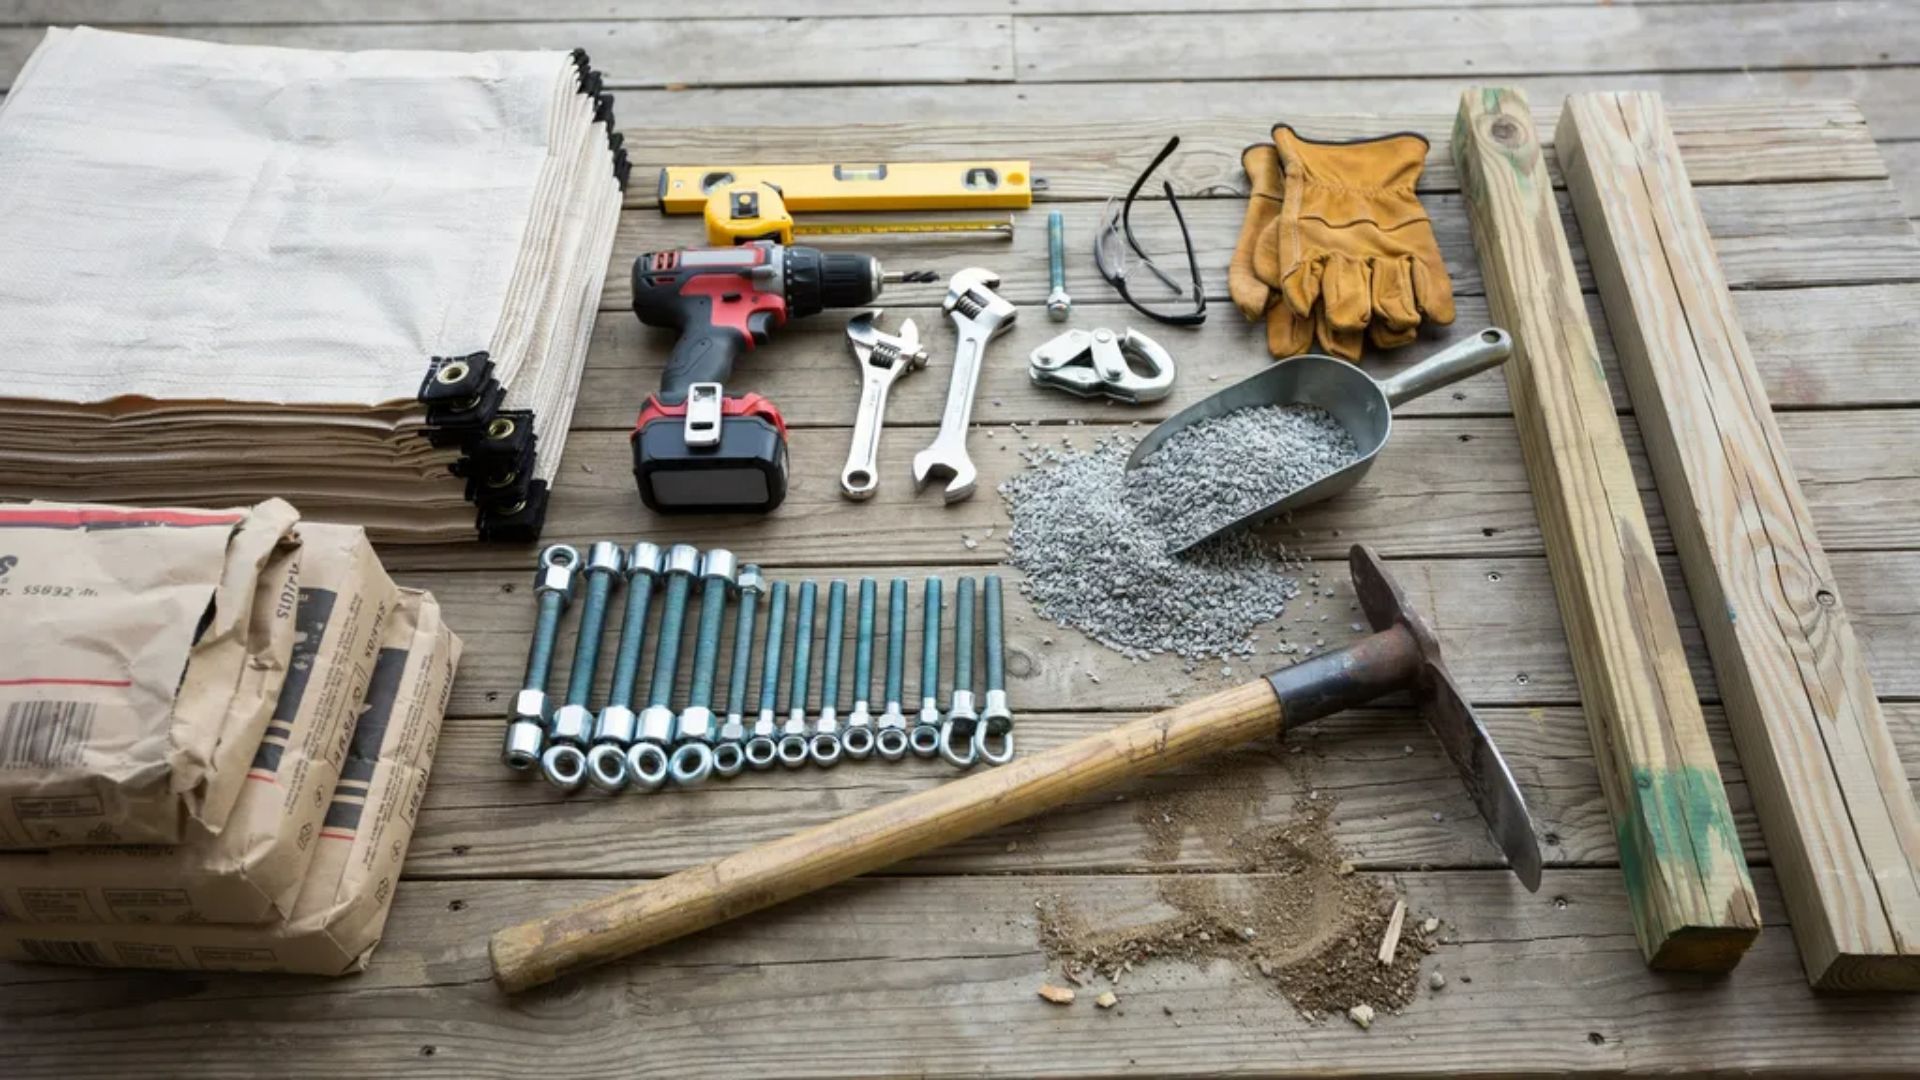
Before you start, get all your materials ready. This saves time and stops mid-project trips to the store. Below's what you'll need for a solid setup.
- Shade sail
- Posts (wood or steel)
- Concrete mix
- Gravel
- Post hole digger
- Level
- Tape measure
- Turnbuckles and hardware
- Drill and wrench
- Safety gear
Once you have everything on this list, you're ready to move on to the build. Having your materials laid out ahead of time makes the whole process smoother and faster.
Choosing the Right Post Material
Your post material affects how long your setup lasts. Wood posts, at least 6×6 in size, offer a natural look and are easy to work with. They fit well in gardens and cost less upfront.
Steel or galvanized posts, in the 4 to 6 inch range, offer more strength and hold up better in harsh weather.
Wood needs sealing and can warp over time, so it asks for more upkeep. Steel resists rust and stays firm for years with little care.
If you want a natural look and don't mind some maintenance, choose wood. If you want strength and low upkeep, steel is the better pick.
DIY Shade Sail Post Ideas for Different Backyards
Every backyard is different, so your setup should fit your space. Here are a few common ways people install shade sail posts.
1. Planter Box Post
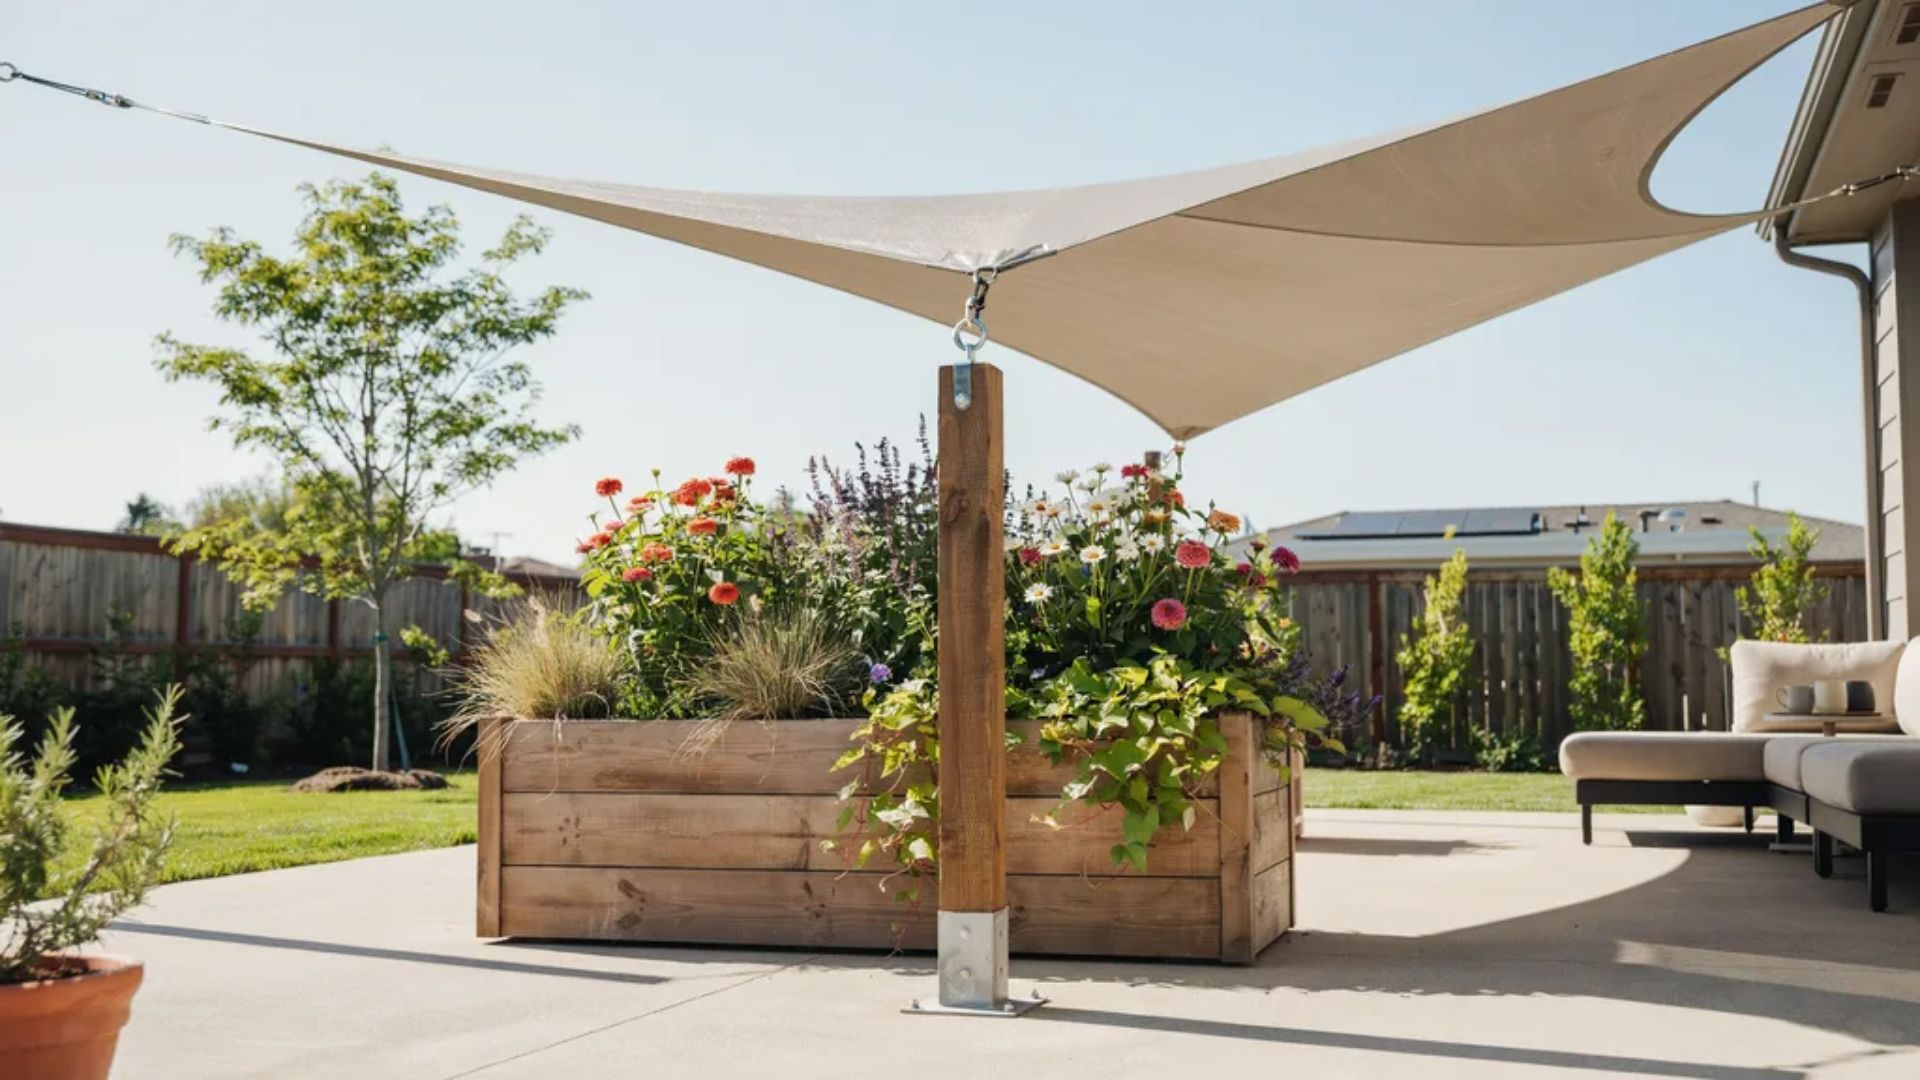
A planter box hides your post footing inside a large pot filled with soil and plants. This looks neat and adds some greenery to your yard at the same time.
Center the post in the pot, then pour concrete around it to hold it firm. Add bricks at the bottom for extra weight and better drainage before you add soil and plants.
2. Attached to House Wall Plus Posts
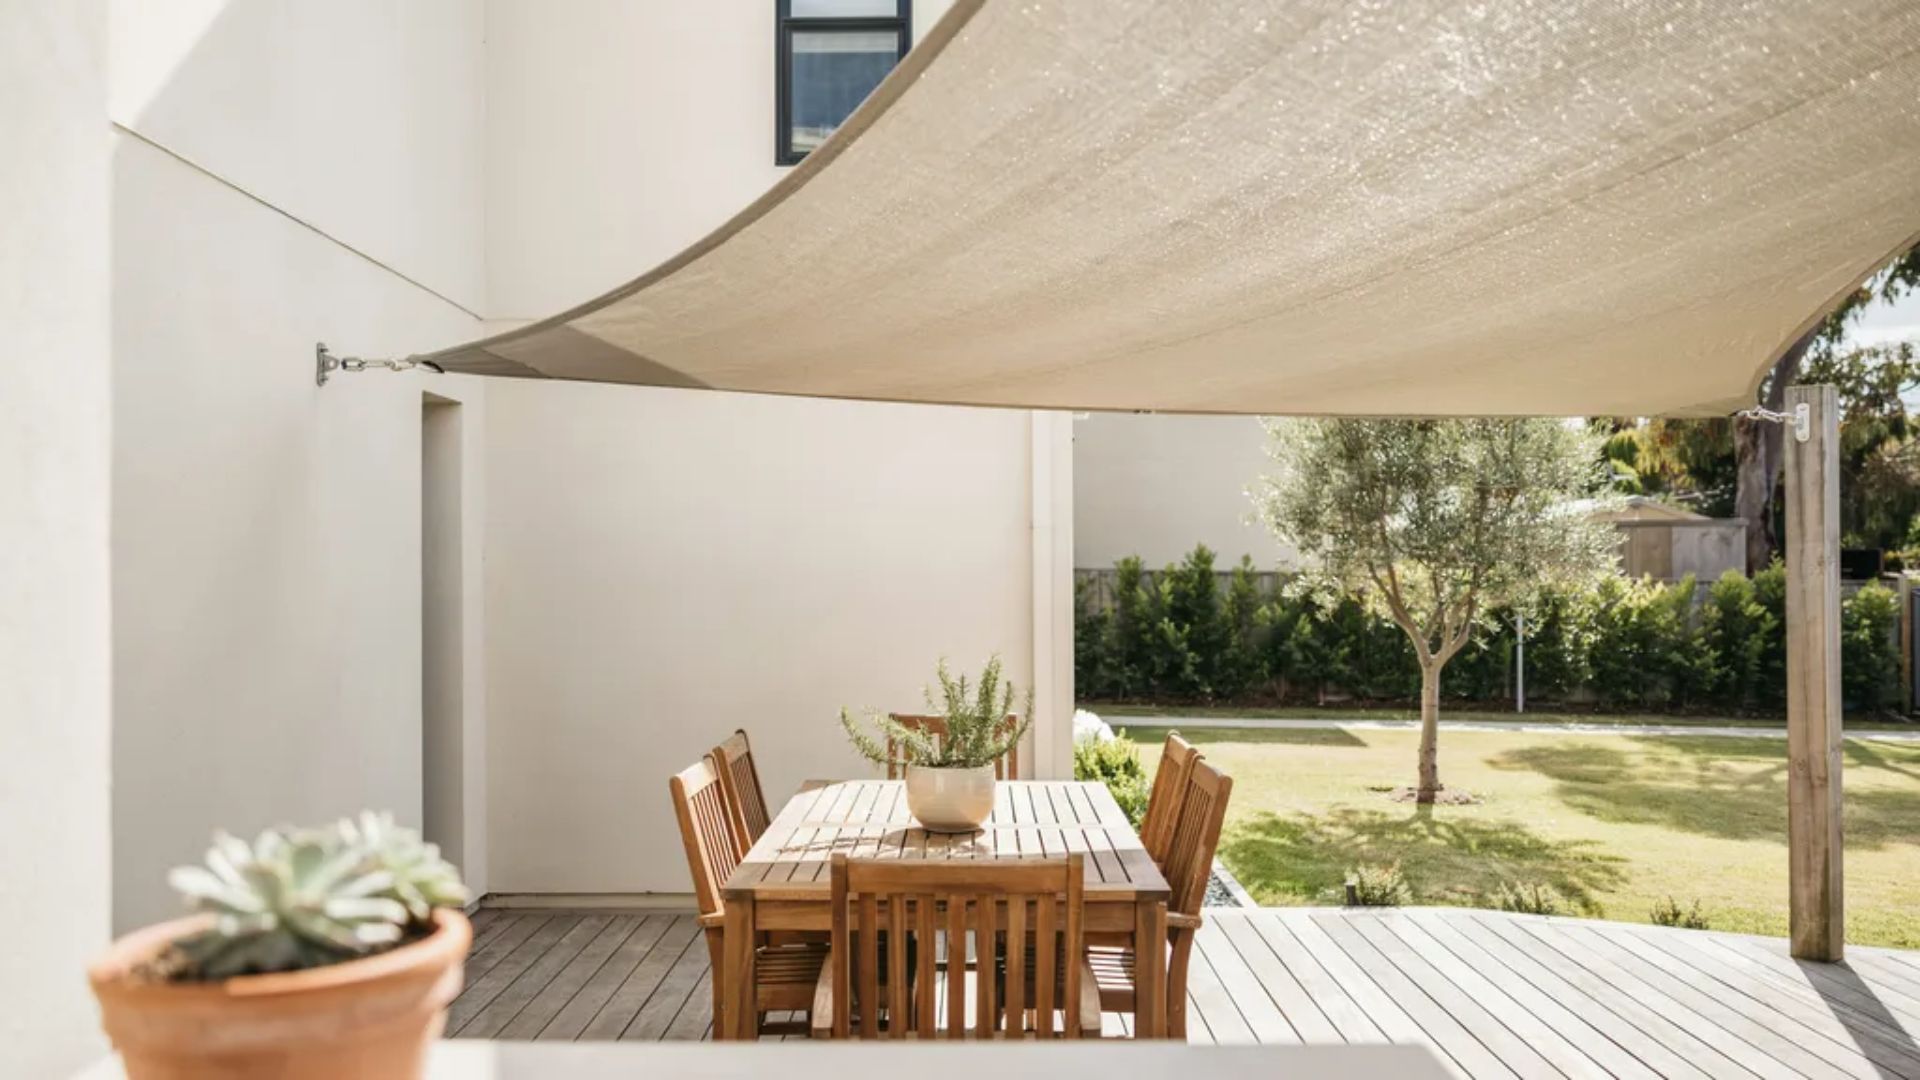
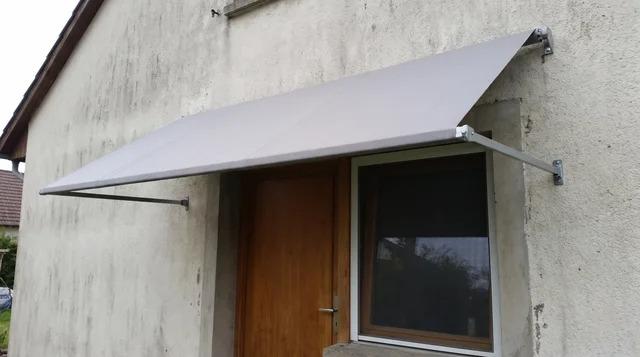
If your patio sits next to your house, you can attach one side of the sail to the wall using a strong eye hook. Then add one or two support posts on the open side to complete the setup.
This saves on materials and works well for smaller patios, as long as the wall mount can handle the pull.
3. Freestanding Posts in Open Yard
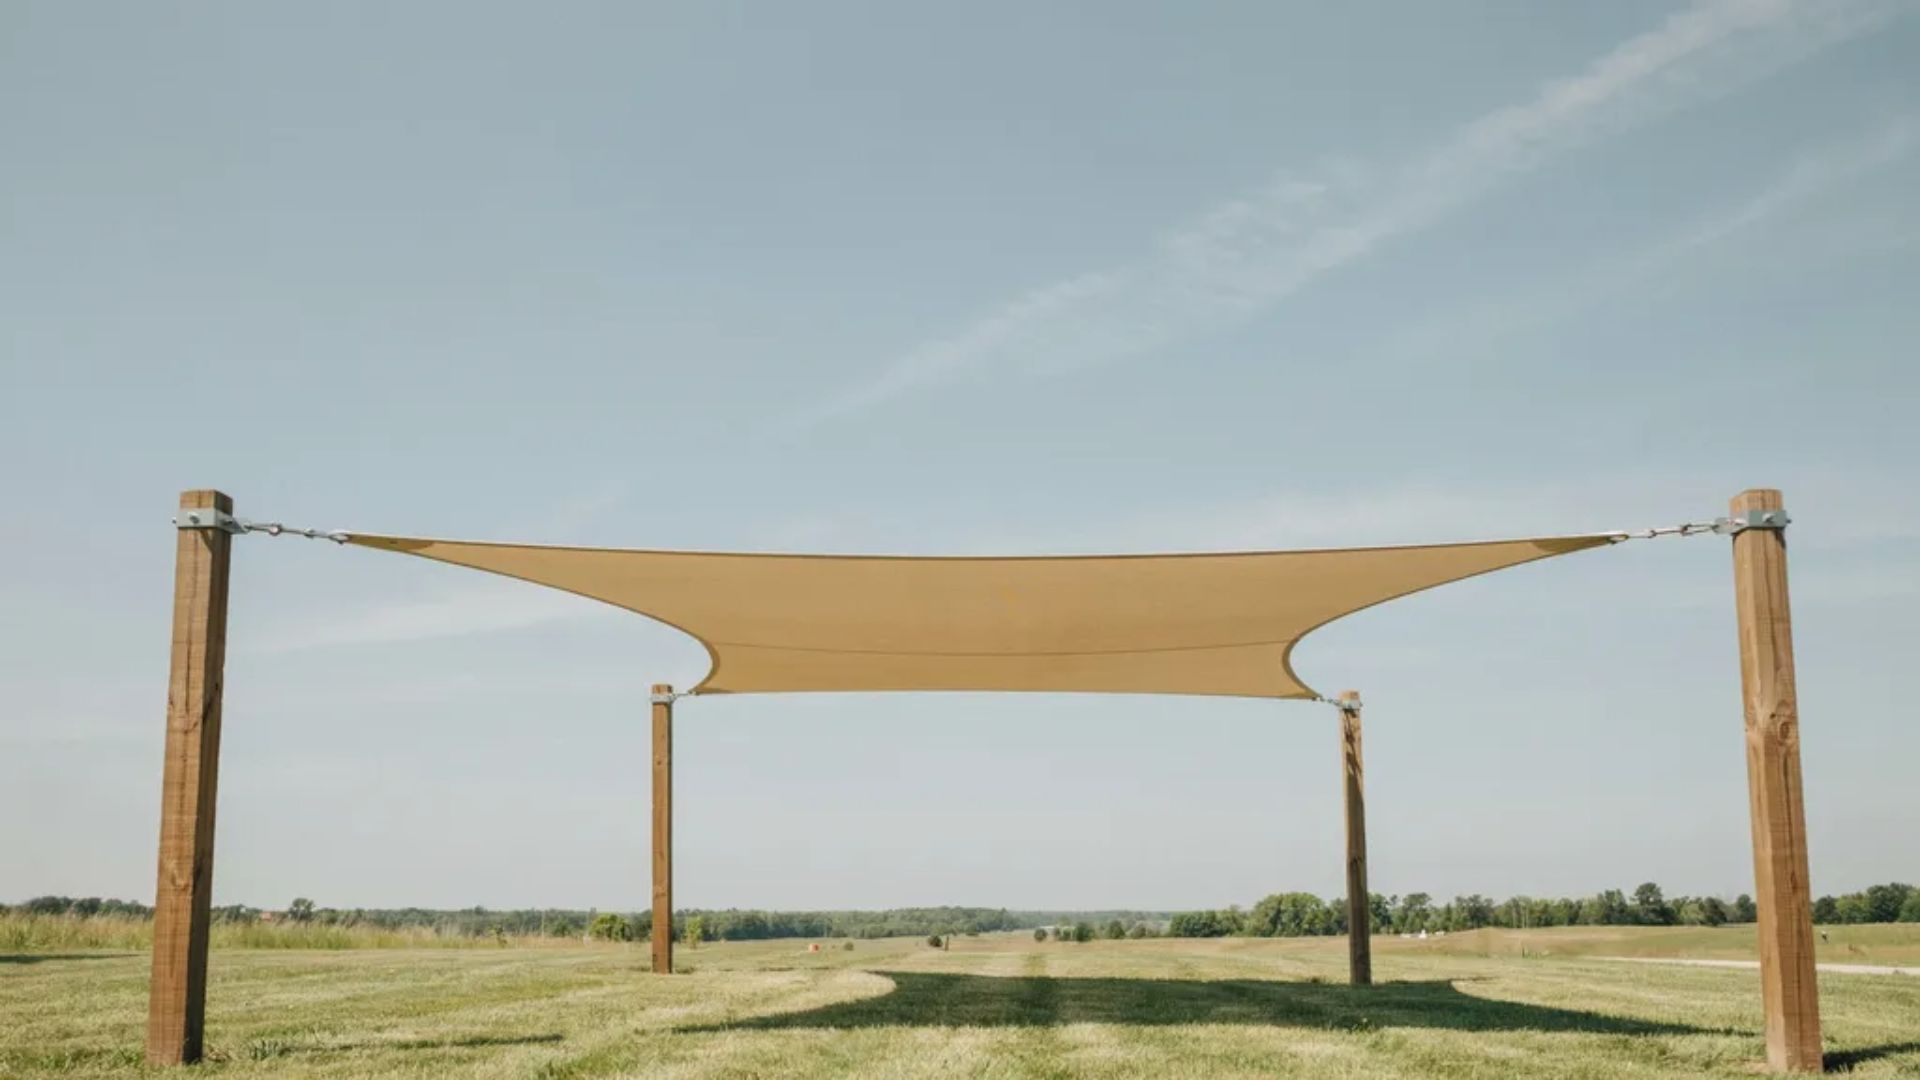
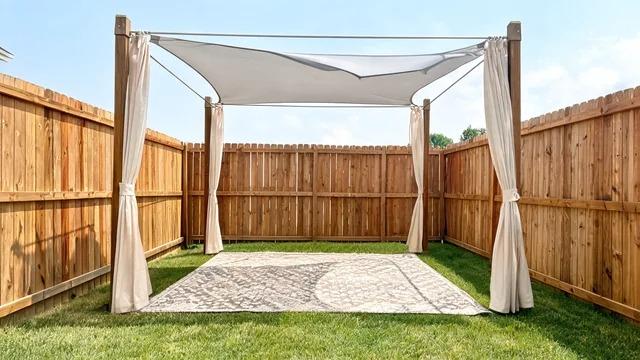
For open garden areas with no walls or trees nearby, use posts on all sides of the sail. This gives you full control over the shape, angle, and height of your shade.
It also spreads the load evenly across each post, which helps a lot with larger sails. Freestanding posts fit almost any yard shape or size.
4. Using a Tree as One Anchor Point
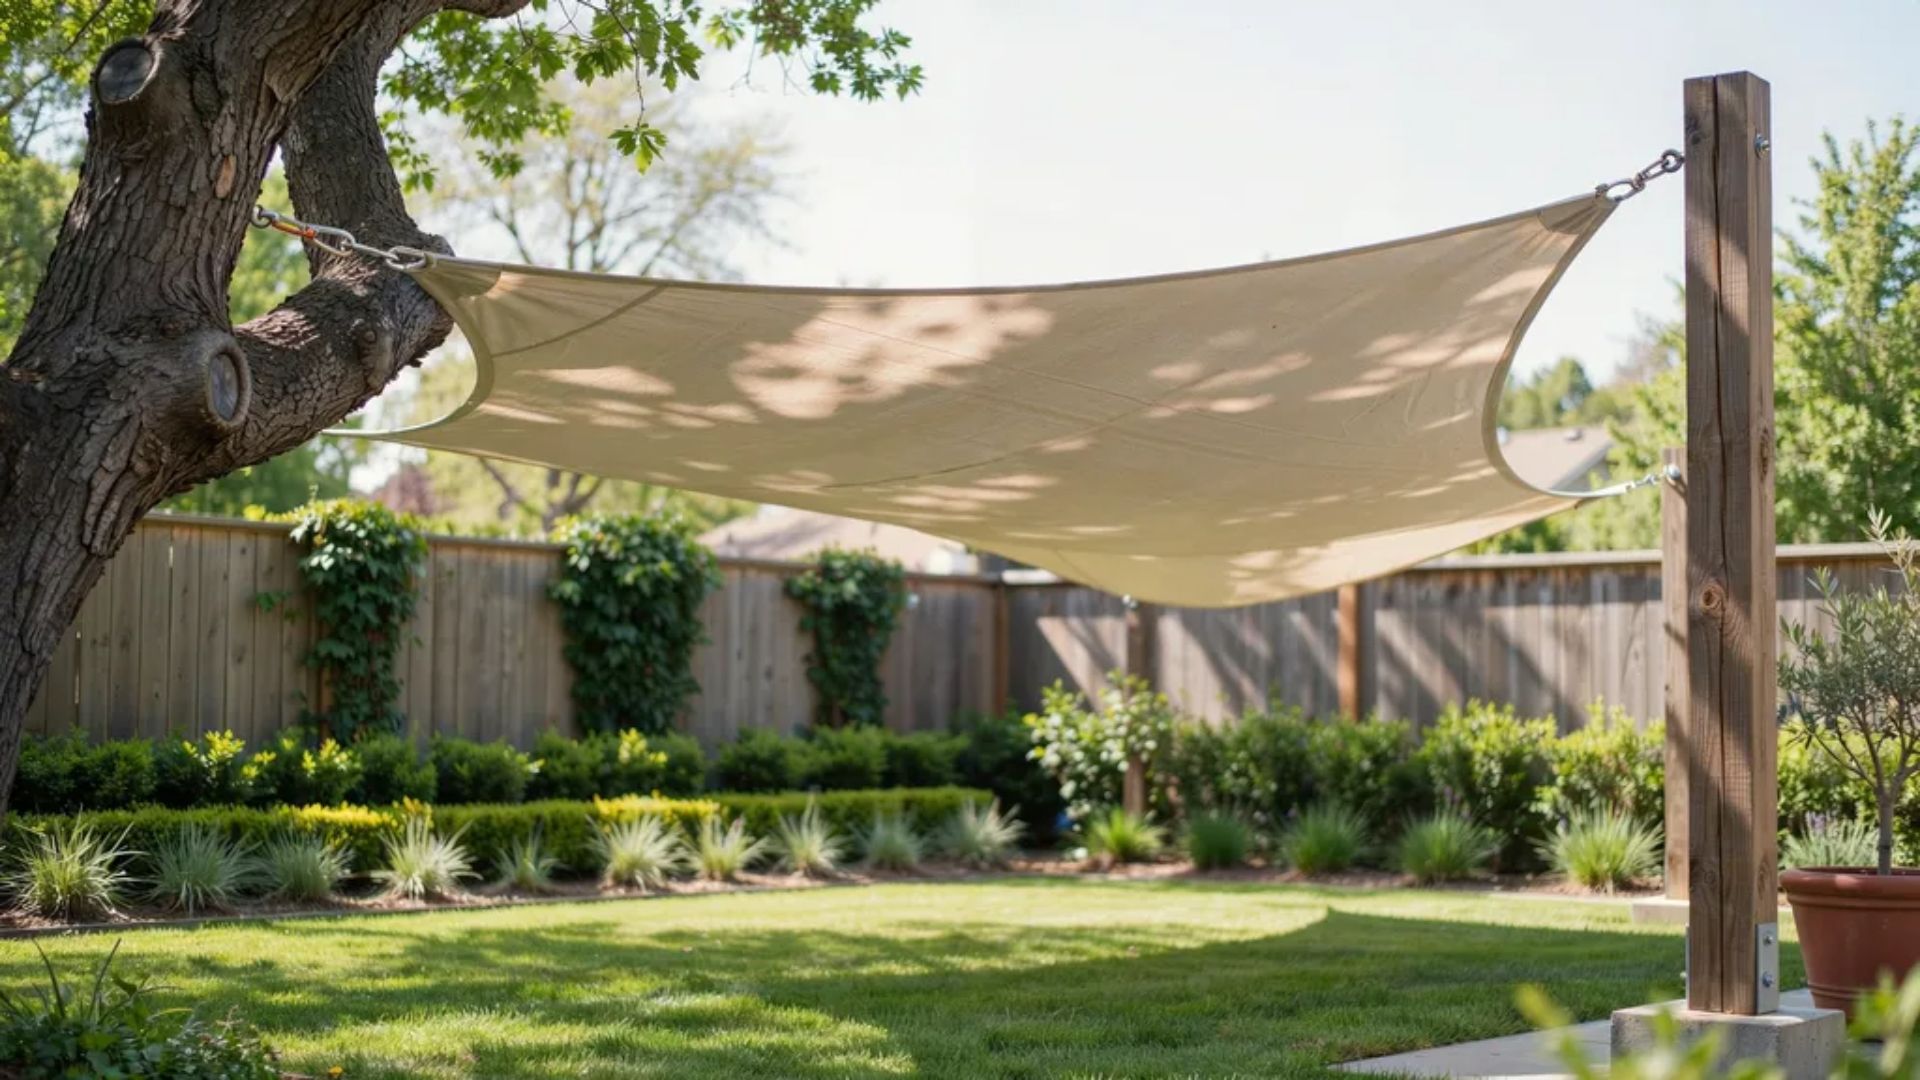
A sturdy tree can serve as one anchor point instead of adding another post. Choose a tree that is at least 10 inches wide, and use a lag screw eyebolt to attach the sail safely.
This saves you from digging one extra hole, but always check the angle and distance first before you commit to it.
5. Inground vs. Surface-Mounted vs. Portable Posts
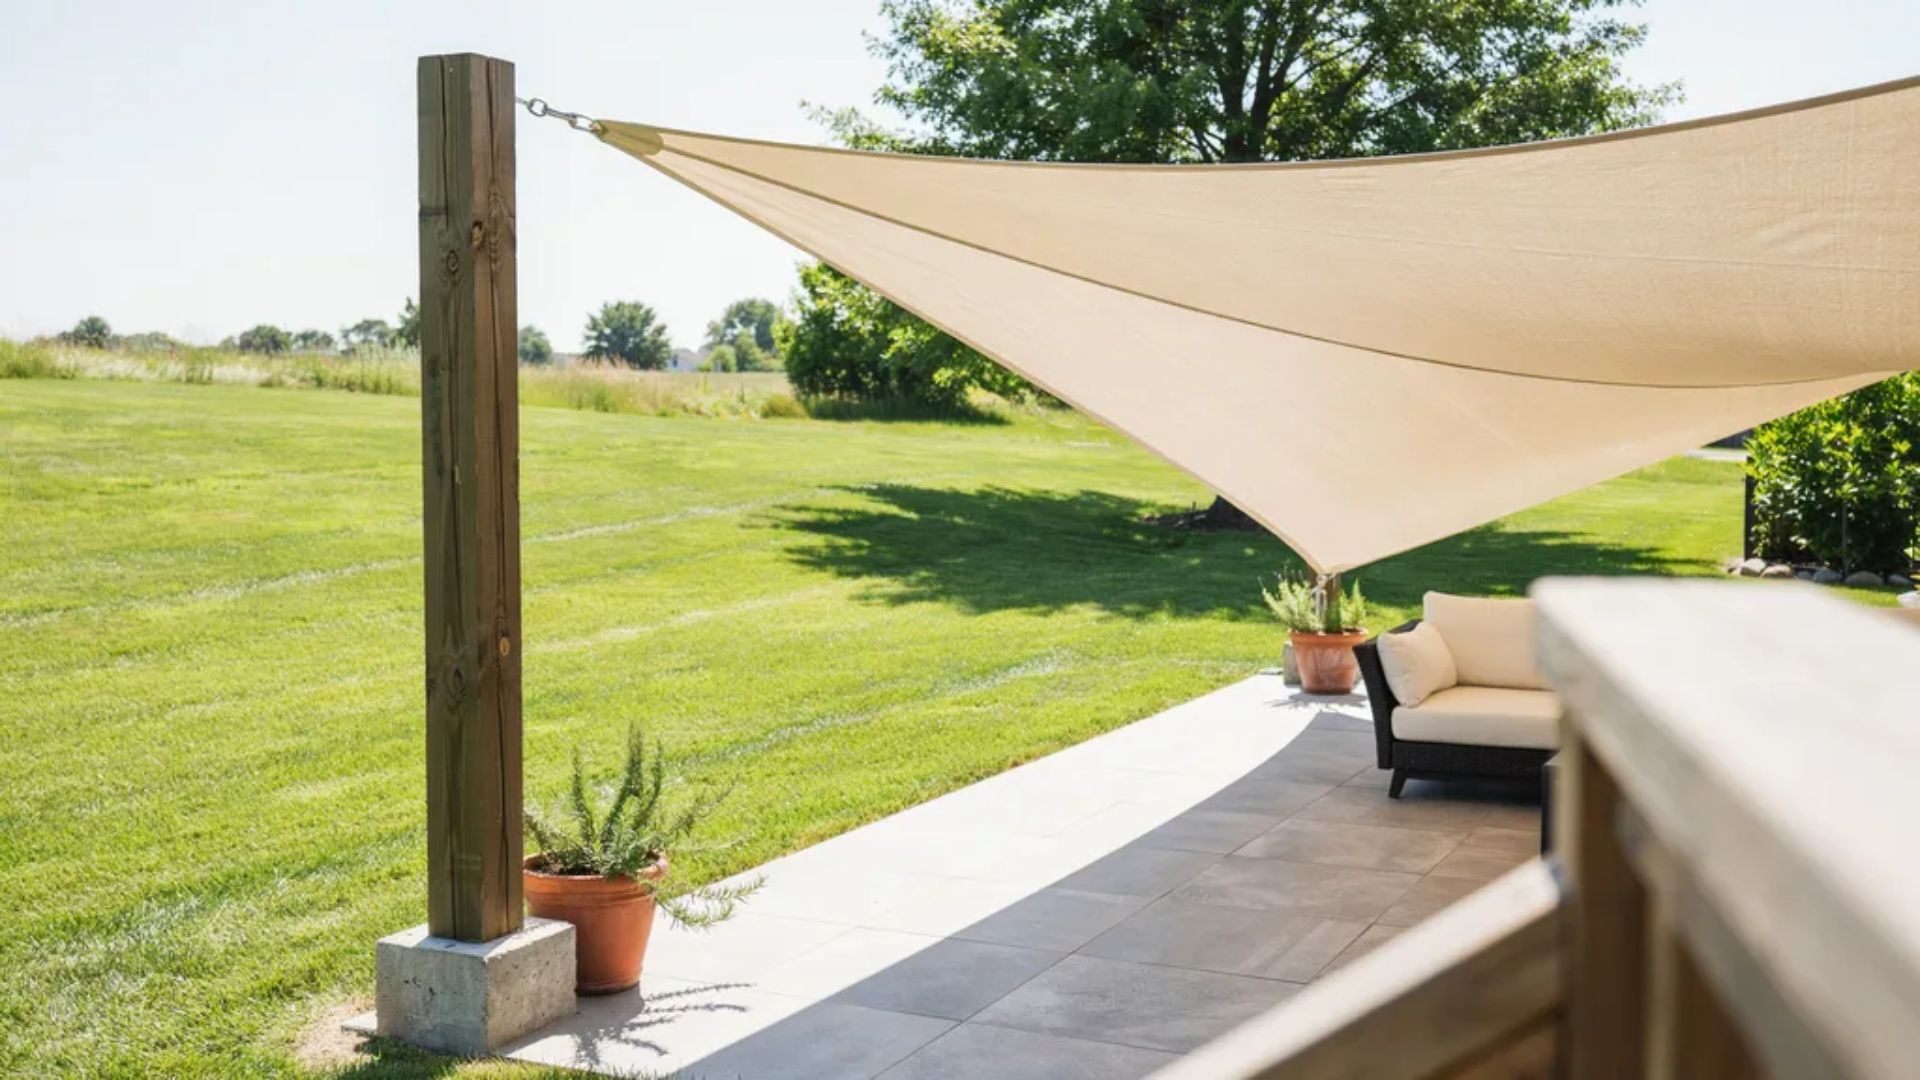
Inground posts go straight into the ground and offer the most permanent, stable setup. Surface-mounted posts attach to a concrete slab or patio, which works well if you already have solid paving.
Portable posts are lightweight and let you move your shade sail around your yard as needed, though they offer less overall strength.
Common Mistakes to Avoid
Small mistakes can cause big problems later. Setting posts too shallow is one of the most common ones. Shallow posts loosen fast and lean under pressure.
Using undersized posts is another issue, since thin posts can't handle the pull from a large sail. Poor concrete footing also leads to wobbly, unsafe posts over time.
Many people forget to plan for sail tension, which puts extra strain on the whole structure. Installing posts perfectly flat instead of at a slight angle is another mistake, since angled posts handle wind loads better.
Ignoring wind direction and using weak hardware can also lead to early failure.
Quick Tips for Strong, Long-Lasting Posts
A few simple habits can add years to your shade sail setup. Small checks now can save you from bigger repairs later.
- Use pressure-treated lumber outdoors, since it resists rot and insect damage
- Choose stainless steel hardware, as it won't rust or weaken over time
- Angle posts 5 to 10 degrees away from the sail for added strength
- Add a guy wire for extra support on tall or wood posts
- Inspect your posts and hardware after storms
- Remove the sail during extreme weather to protect both the sail and posts
Conclusion
That's really all there is to it. Building your own DIY shade sail posts takes some planning, the right materials, and a bit of patience while the concrete cures.
Get your post size right, secure your footings well, and check your hardware often. Do that, and your shade sail will hold up strong for years.
I hope this guide made the whole process feel simple and doable. Now I'd love to hear from you.
Have you built your own shade sail posts? Share your experience or questions in the comments below. I read every one.
Frequently Asked Questions
What is the best post for shade sails?
Heavy-duty galvanized steel posts are the strongest choice, while pressure-treated 6×6 wood posts are a reliable DIY option.
How to put up a shade sail without posts?
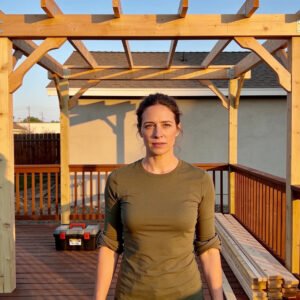
Anchor the shade sail to strong existing structures like your house, garage, pergola, or sturdy trees using proper mounting hardware. If you're planning a bigger build, a raised deck with a pergola can give you sturdy anchor points and shade in one structure.
What kind of wood posts for shade sails?
Use pressure-treated lumber, typically 4×4 posts for small sails and 6×6 posts for larger or higher-tension installations.
What Size and Depth Should Your Posts Be?
Use 4×4 or 6×6 pressure treated wood posts or 3 to 4 inch steel posts, and set them 3 to 4 feet deep in concrete, or about one-third of the total post length, for a strong and stable foundation.