If your yard sits on a hill, you already know fencing is not simple. Water runs downhill, posts sit at odd angles, and panels look crooked if you get the layout wrong. A step-down fence on slope design solves this problem.
It keeps each panel aligned while the fence line drops in stages to match the ground. This guide walks you through every stage, from checking your property line to setting the last post.
Installing fences on sloped ground requires careful planning because even small layout mistakes can leave panels uneven. If you're new to fencing, start with the basics of how to build a garden fence.
Drawing on proven fencing practices and common installation methods, this guide explains each step in a beginner-friendly way.
By the end, you will know exactly how to plan, build, and finish a fence that looks good and holds up on uneven ground.
What Is a Step-Down Fence on a Slope?
A step-down fence on slope is a fencing method where each panel stays level, but the whole fence line drops in small steps as the ground slopes down.
This creates a staircase look along the top of the fence. It is the go-to method when a yard has a steady, gradual slope and the owner wants a clean, even look. Both methods work, but a stepped fence usually looks tidier on yards with a gentle to moderate grade.
Building a stepped fence takes planning before you touch a shovel. Skipping steps here is where most DIY fences go wrong. Follow these steps and you will avoid the most common setbacks.
How to Build a Step Down Fence on a Slope: Step-by-Step Guide
Follow these steps to build a strong, level, and attractive step down fence that matches your yard's slope while ensuring long-term stability and durability.
Step 1: Measure the Slope and Assess the Terrain
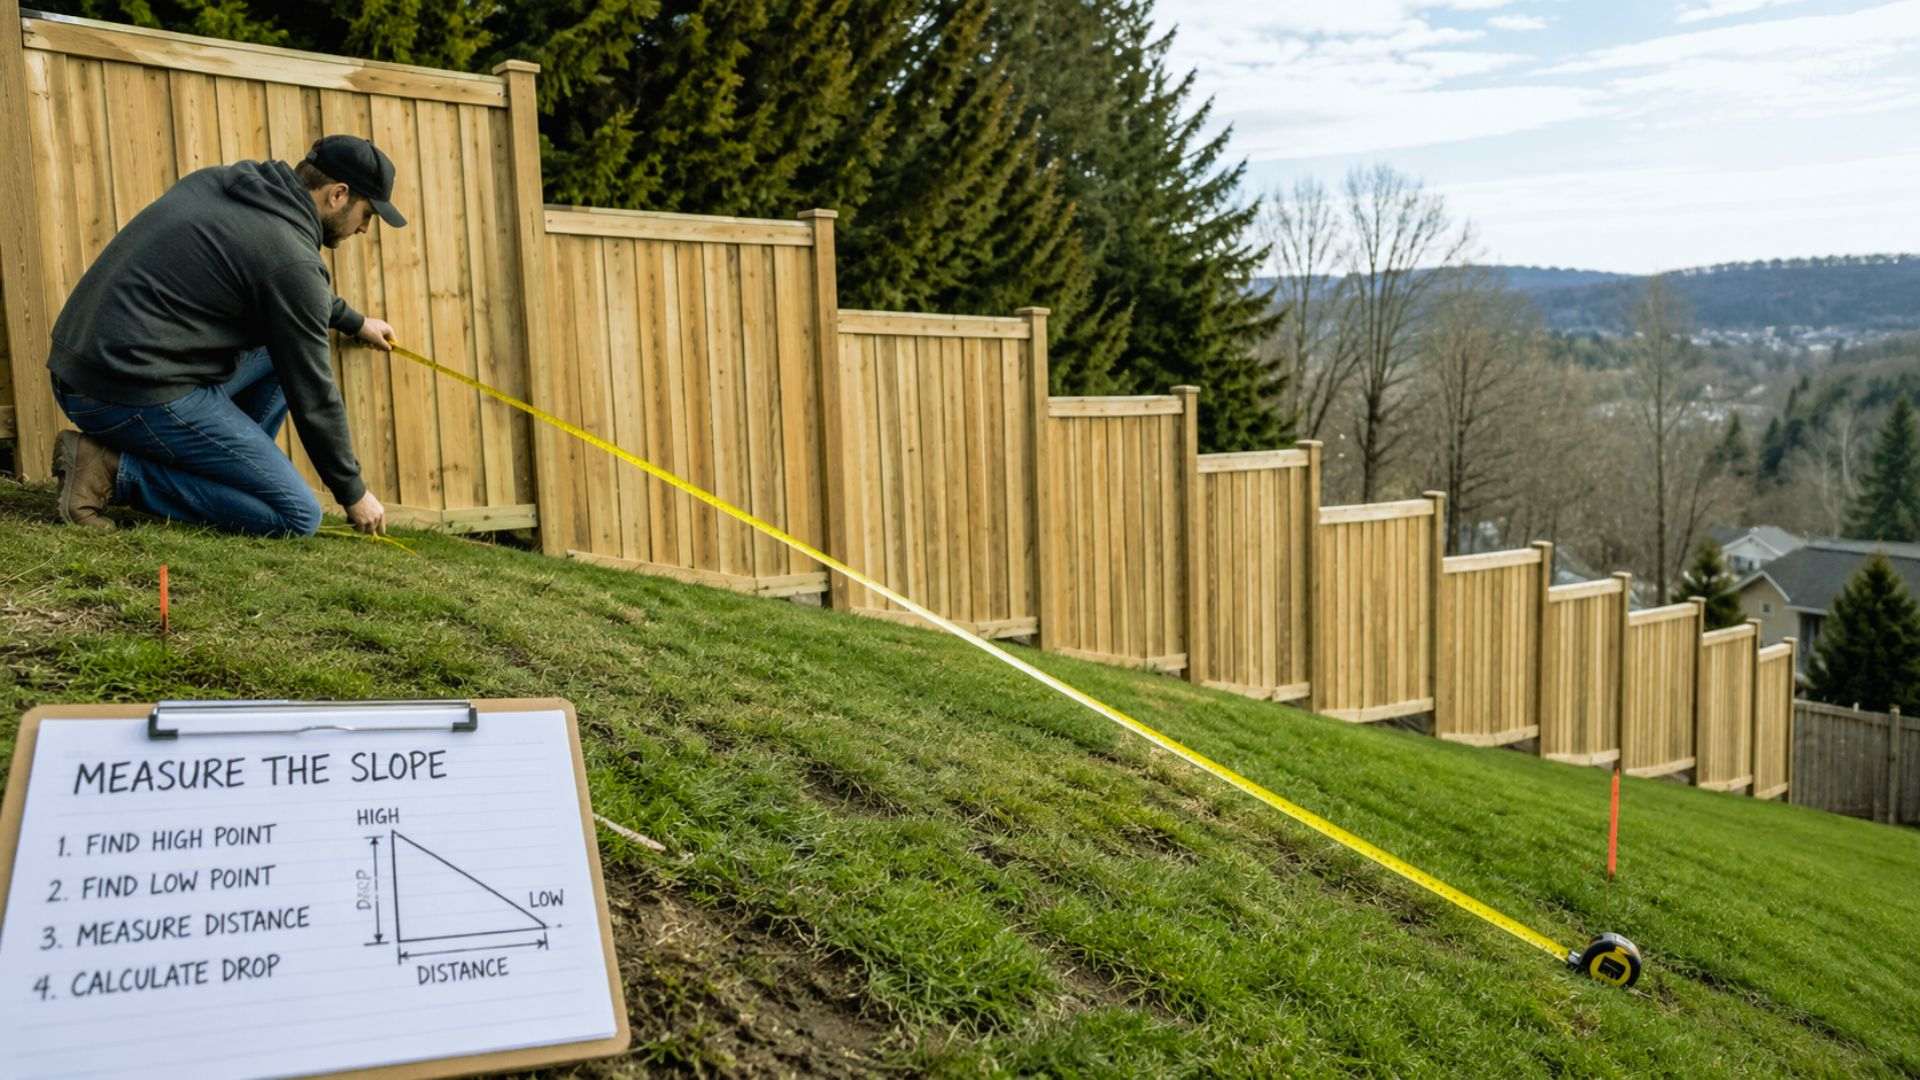
Start by measuring how much the ground drops over the length of your fence line. Use a string level, a long board, and a tape measure.
Tie a mason's line between two stakes at each end of the fence line, keep it horizontal with a line level, then measure the gap between the string and the ground at several points.
This tells you the total rise and fall, which decides how many steps you will need and how tall each step should be.
Step 2: Check Property Lines and Local Fence Regulations
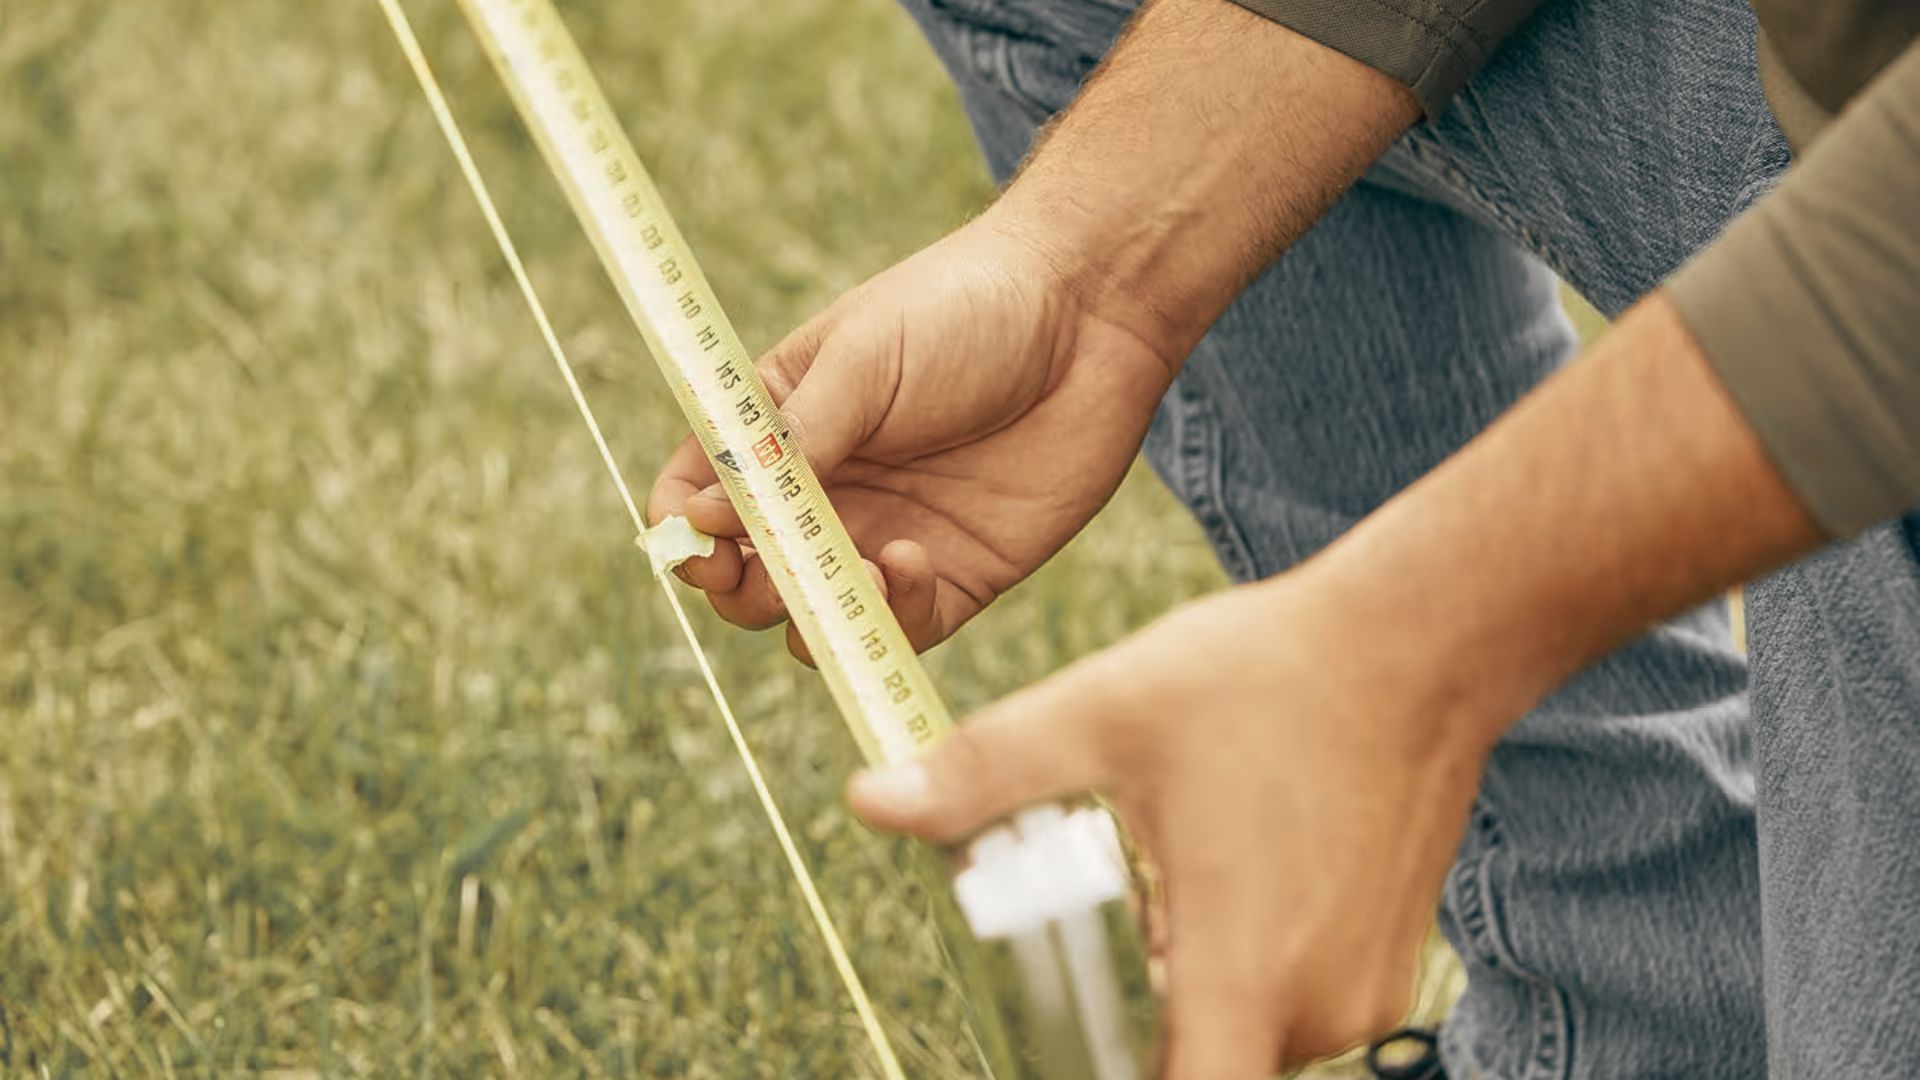
Before you dig a single hole, confirm your property line with a property survey or plot map. Many towns also require a building permit and have rules about fence height, setback distance, and materials, especially near a shared boundary.
Call your local building office or check their website. Skipping this step can lead to fines or a fence you have to move later. You should also call your local utility locating service, or dial 811, before digging any post holes.
This marks buried gas, water, and power lines so you avoid a dangerous and costly accident.
Step 3: Choose the Right Fence Material
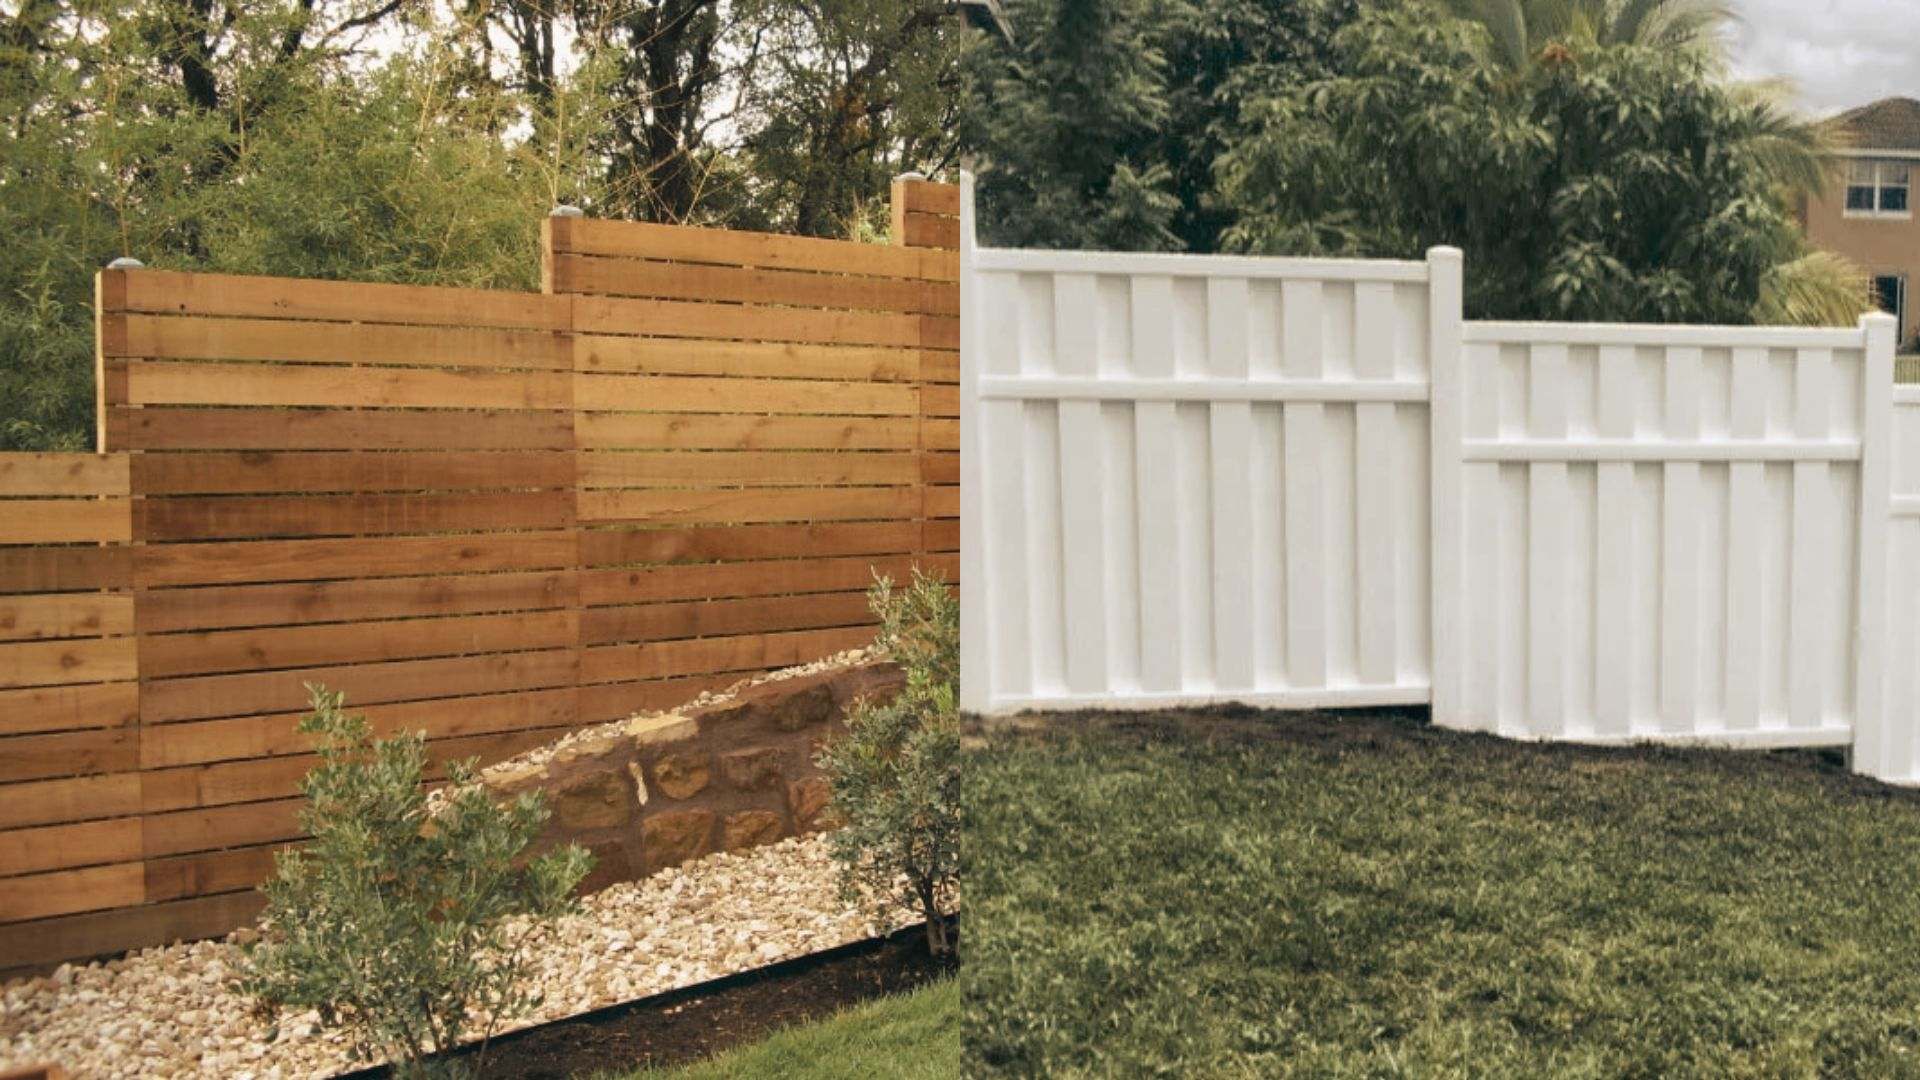
Your material choice affects both the look and the work involved in a sloped fence installation. Wood is flexible and easy to cut for custom panel sizes.
Vinyl and aluminum come in preset panel heights, which can make stepping trickier. Chain link is budget-friendly but harder to make look neat on a hill.
A horizontal fence looks great on flat ground but is one of the trickier styles to step or rack, since each board runs side to side instead of up and down.
Think about your climate, budget, and how much upkeep you want before deciding.
Step 4:Plan Your Fence Layout and Step Intervals
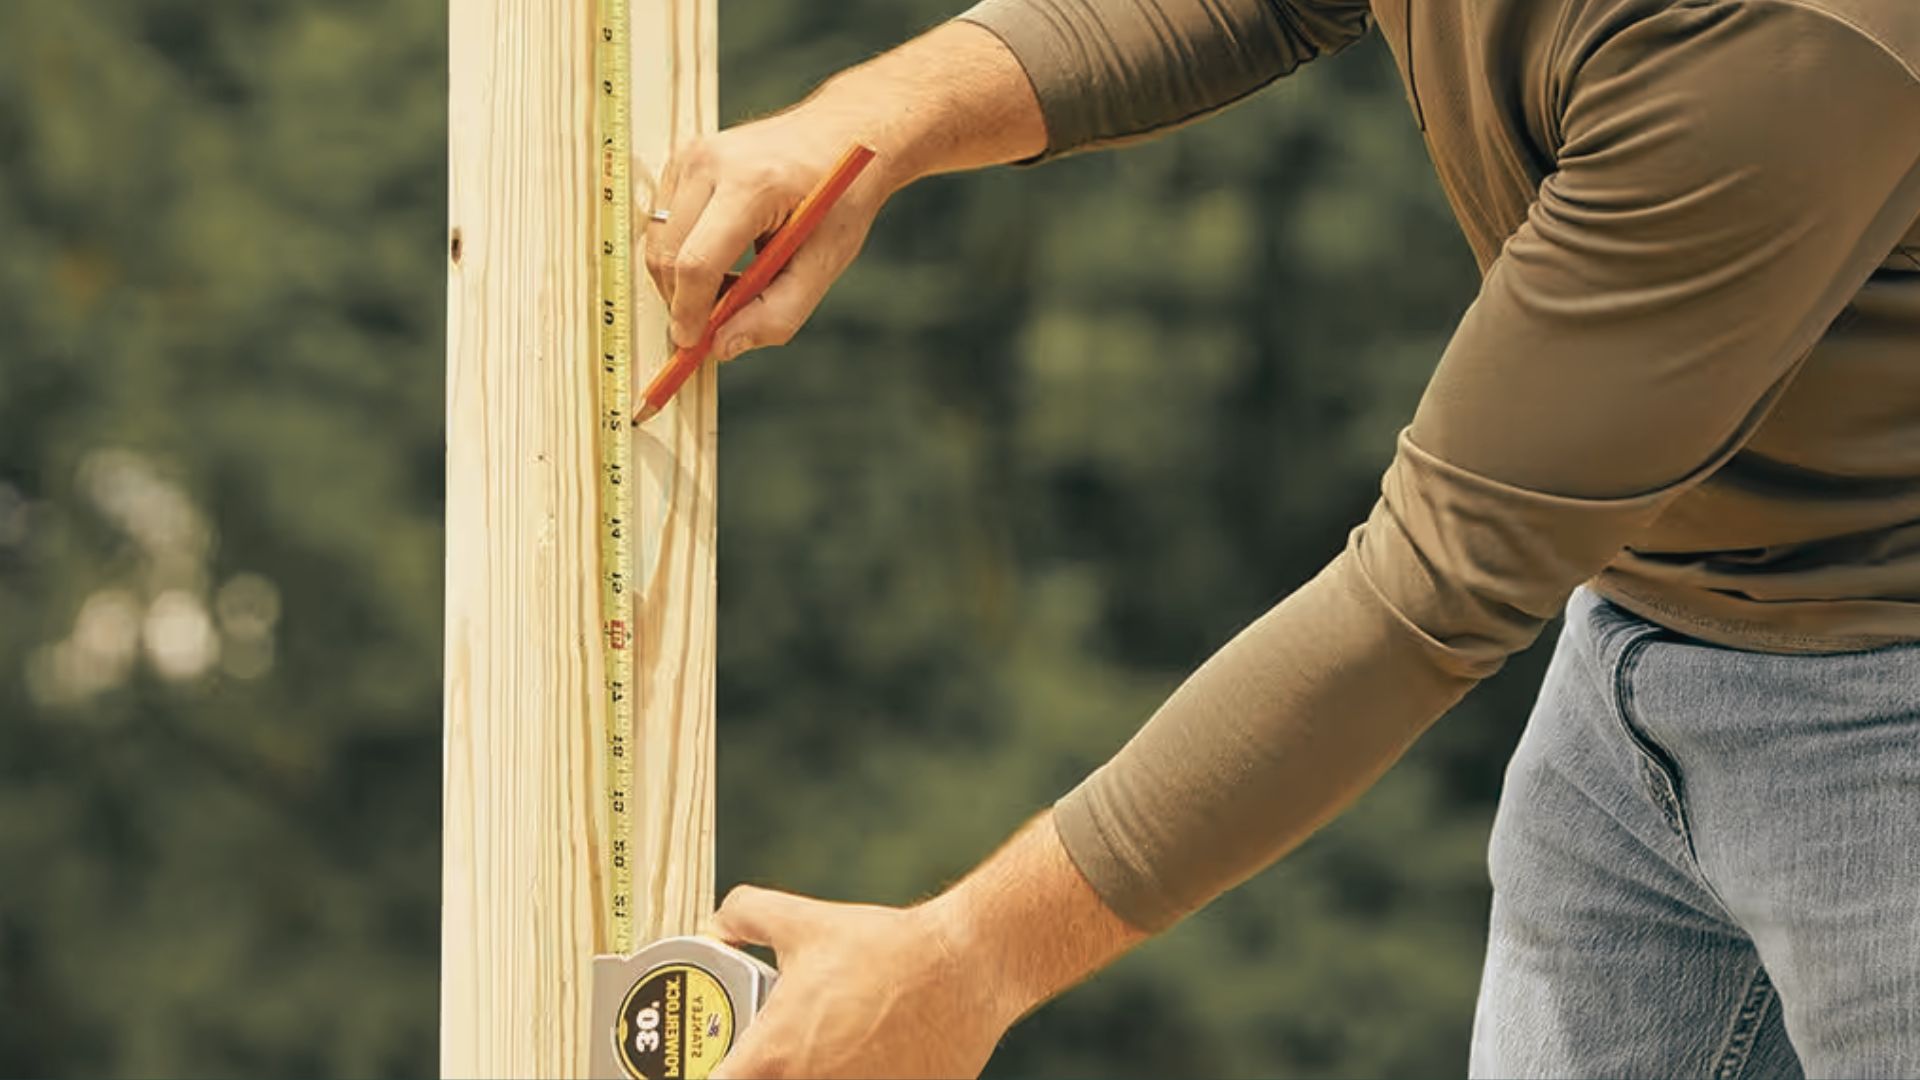
Decide how often the fence will step down and by how much. Common step heights range from 2 to 6 inches, depending on how steep the yard is and the panel size you picked. Mark this out on paper first.
Consistent step intervals give the fence a clean, professional look, while random step sizes tend to draw the eye and look unplanned.
Step 5:Mark Post Locations
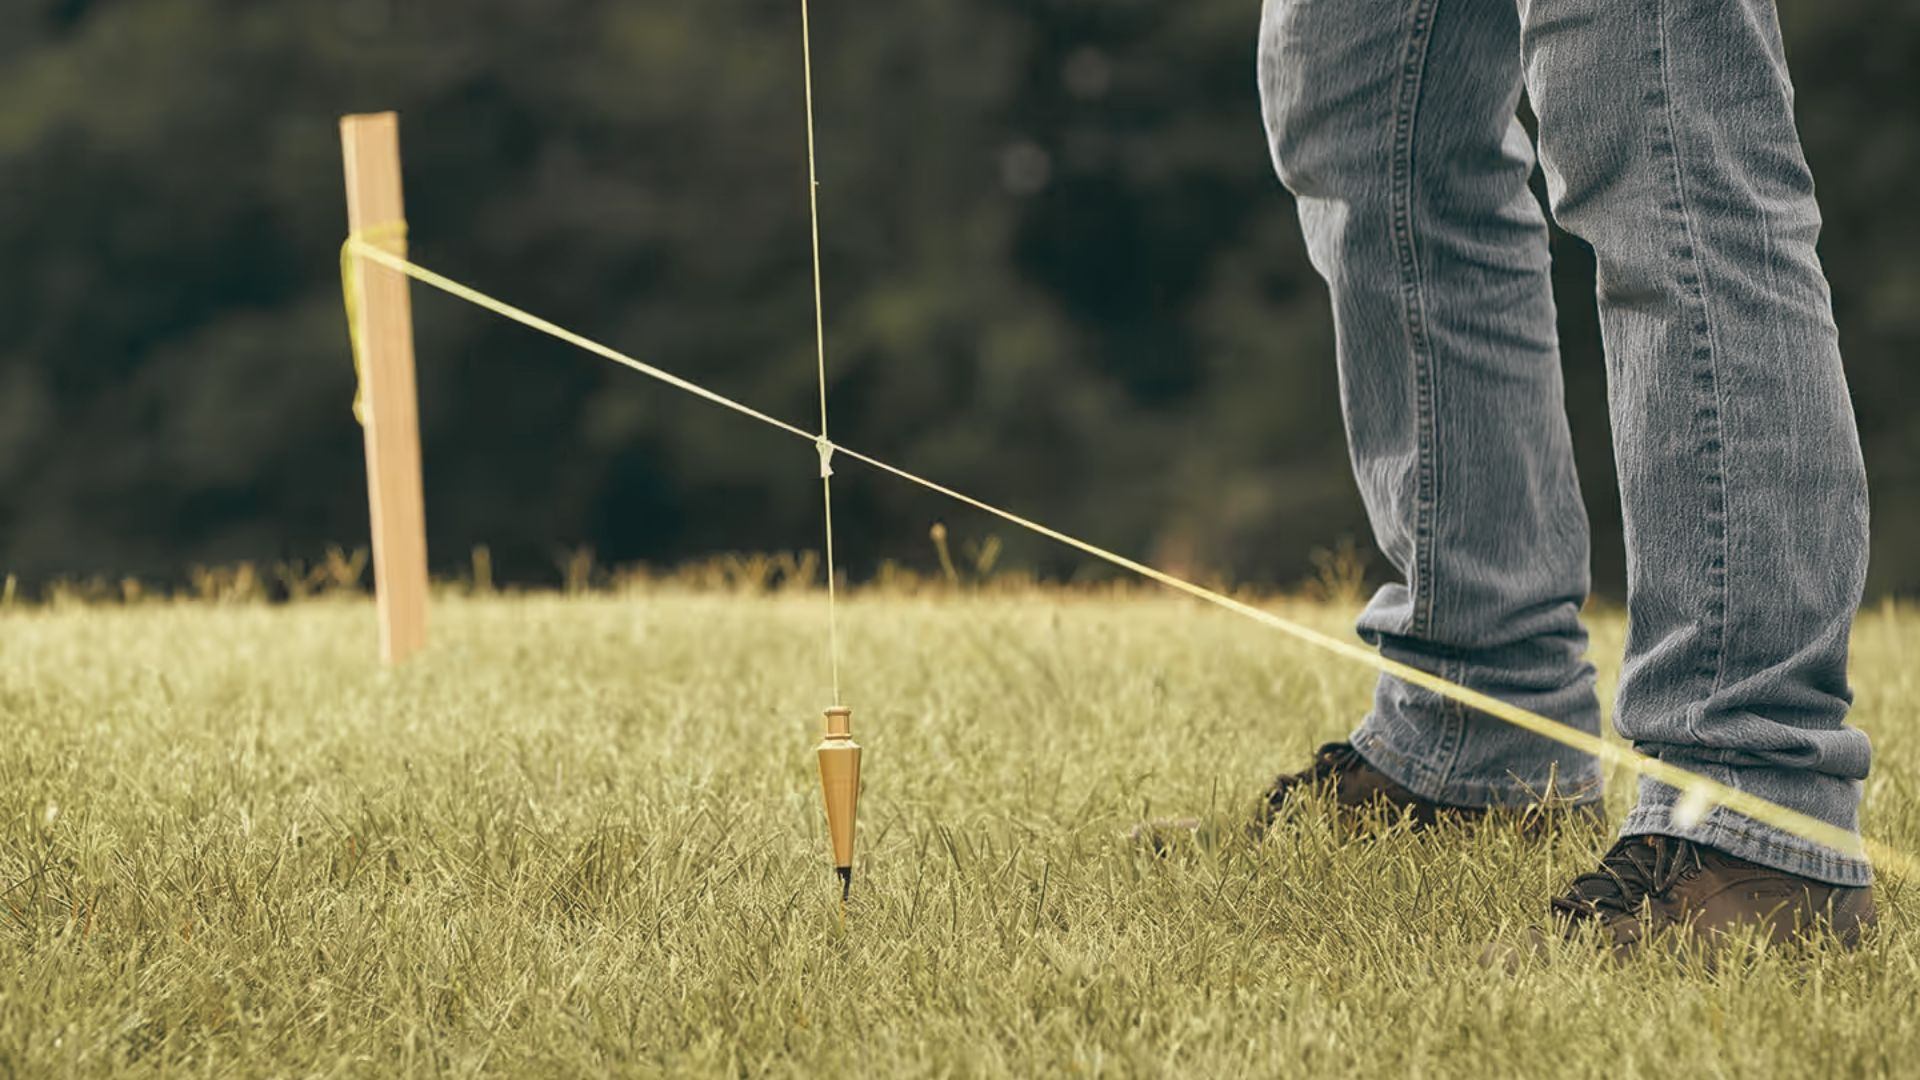
Use stakes and string to mark where each post will go, based on your panel length and step plan.
A plumb bob helps you drop each mark from the mason's line straight down to the ground so your post holes line up exactly.
Keep spacing even. This is also the point to double check your gate location and any spots where the ground has a sharp dip or rise, since those spots may need extra planning.
Step 6: Dig and Set Fence Posts
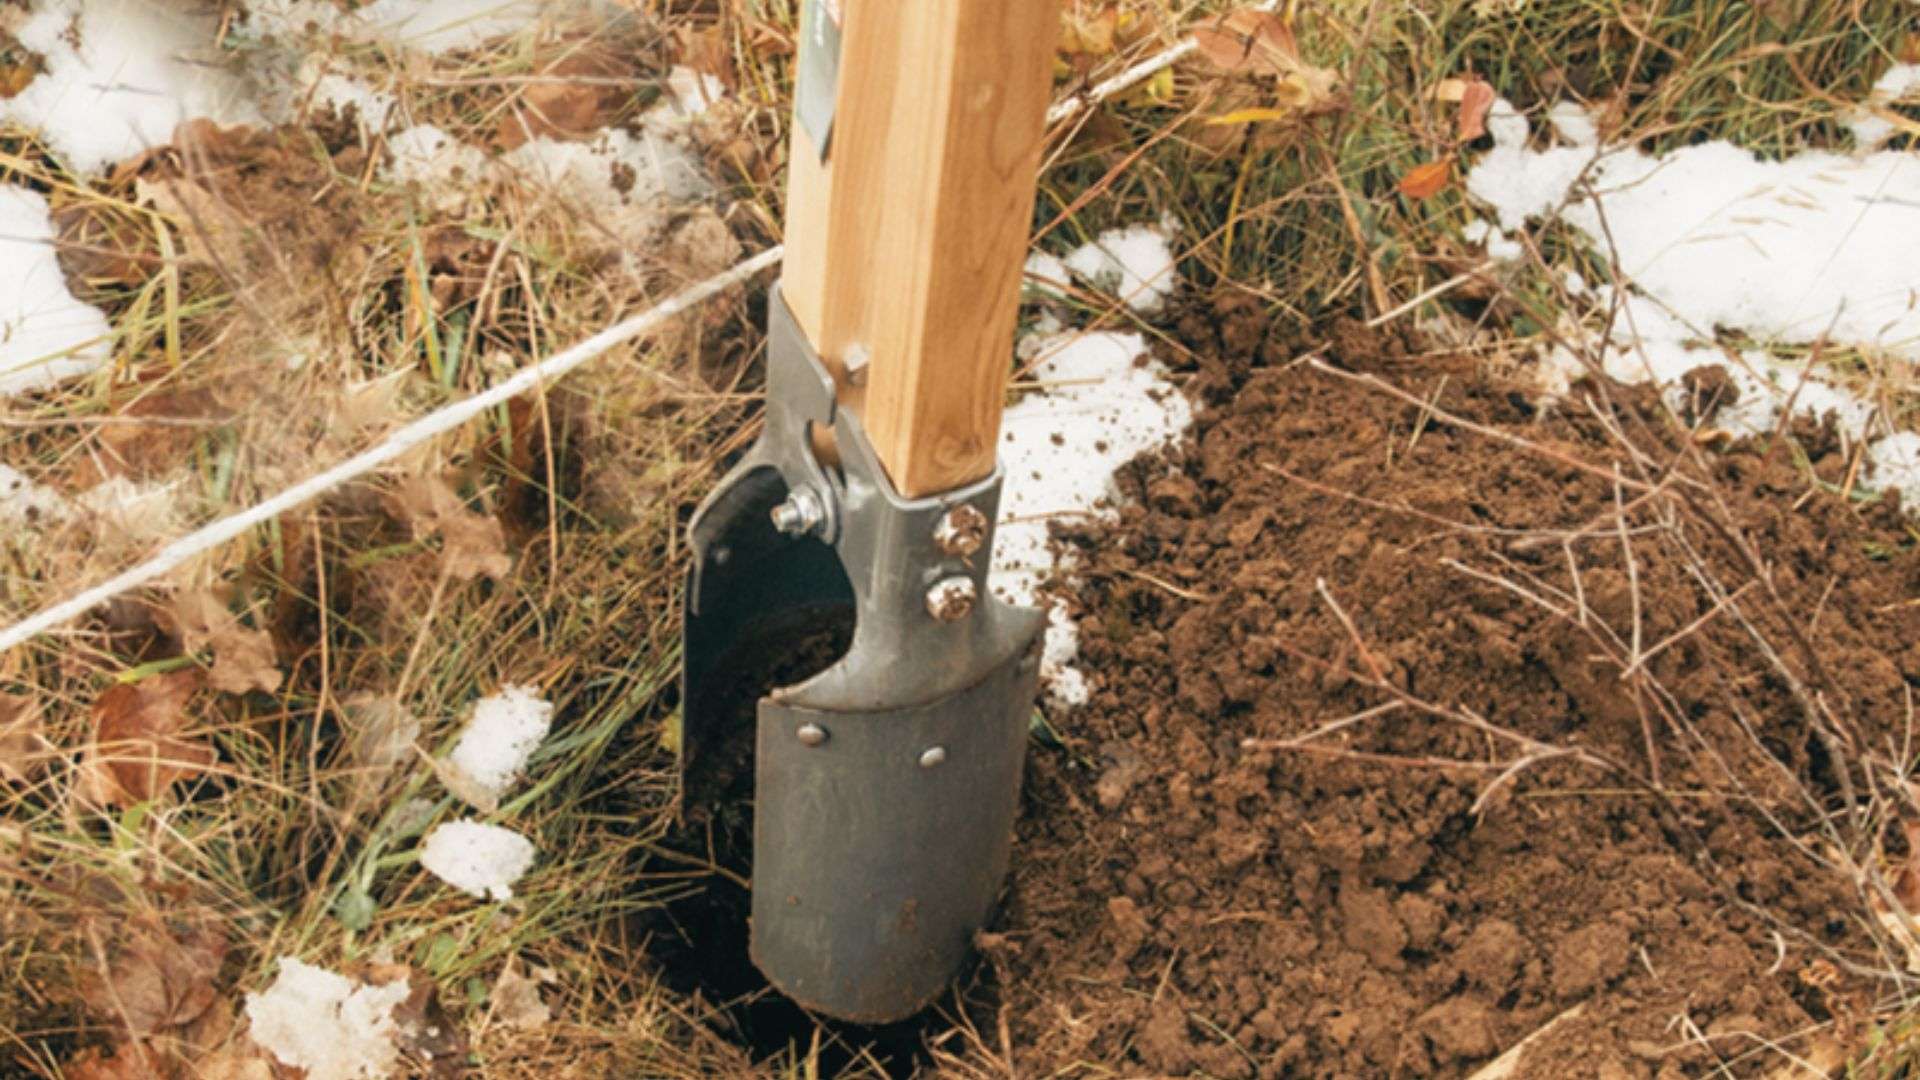
Check your area's frost depth before you start, then dig each post hole below that frost line, usually 24 to 36 inches deep.
A post hole digger works fine for most soil, though a power auger saves effort on rocky or compacted ground. If digging isn't an option for a light-duty barrier, a no-dig pallet fence is a simple alternative.
Add 4 to 6 inches of gravel to the base of each hole for drainage, then set the post and fill around it with concrete.
Quick-setting concrete mix can speed up the job since it does not need premixing before you pour it in and add water.
This keeps every post sturdy, even as the fence line drops.
Step 7: Install Rails and Fence Panels
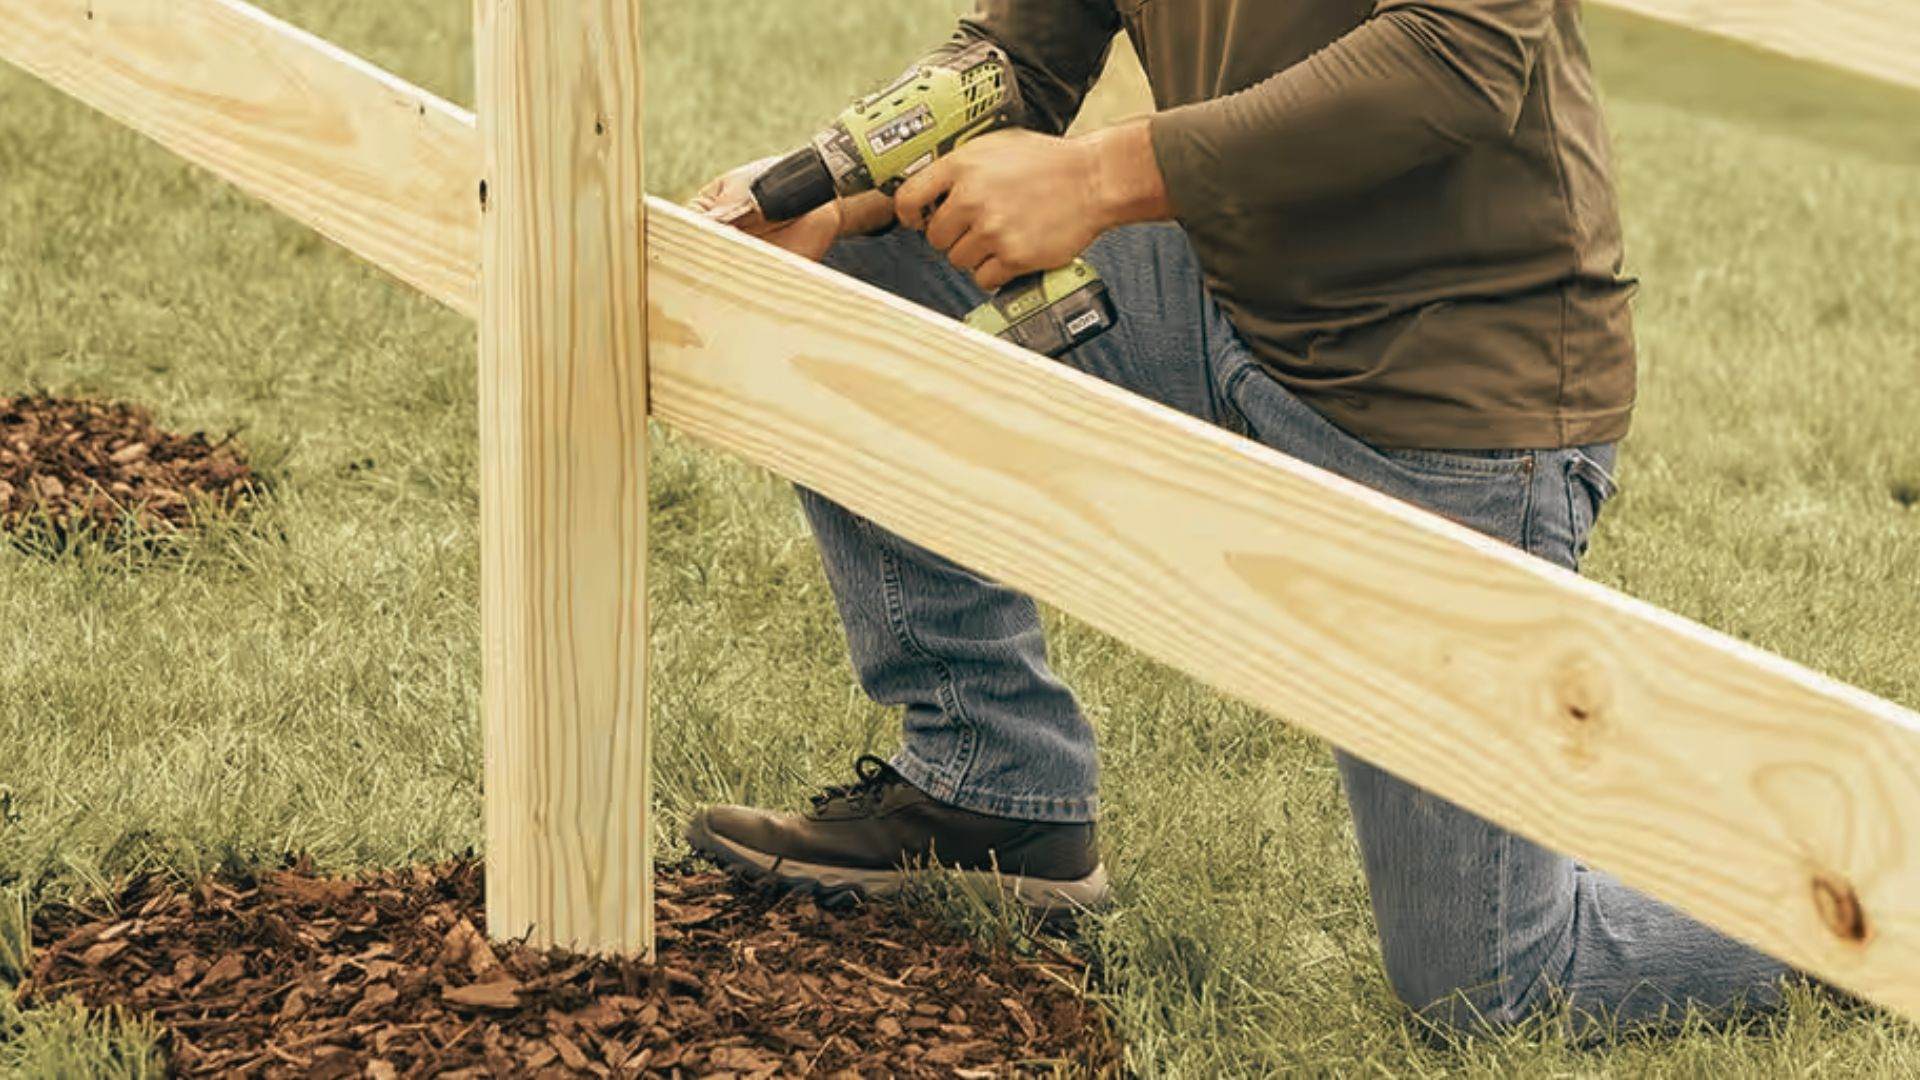
Attach horizontal rails to the posts, keeping each section straight with a bubble level. Then attach your panels or pickets to the rails.
Each section should look even on its own, since the stepping happens between sections, not within one.
Double-check the alignment before securing everything permanently to ensure a clean, consistent appearance across the entire fence line.
Step 8: Create Consistent Fence Steps
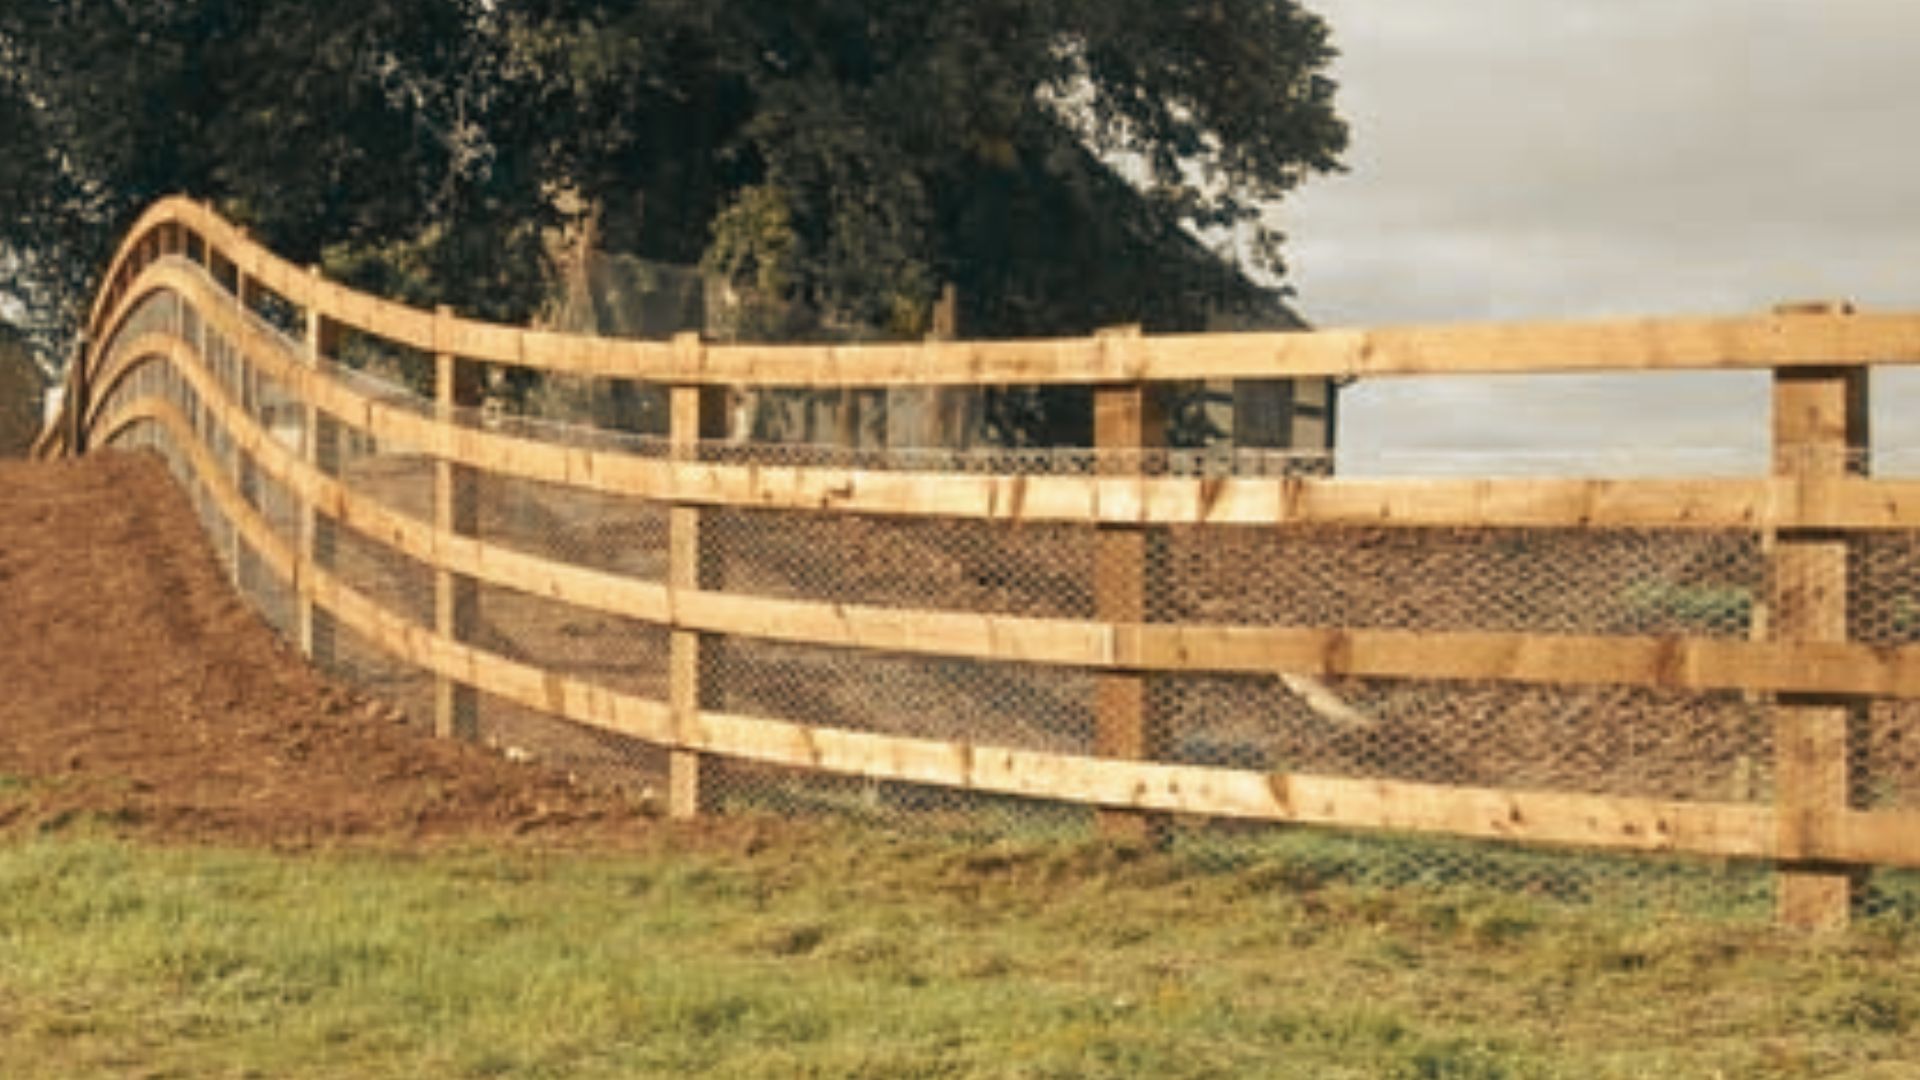
At the end of each panel section, drop down to the next post height based on your planned drop per section.
The gap beneath the fence should stay roughly the same width along the entire run, unless local rules require you to close larger gaps for pets or privacy.
Stepped fences almost always leave some bottom gap, so if keeping pets in or other animals out matters, add a kickboard or rot board along the base of each panel to close that space.
Step 9: Install Gates on Sloped Ground
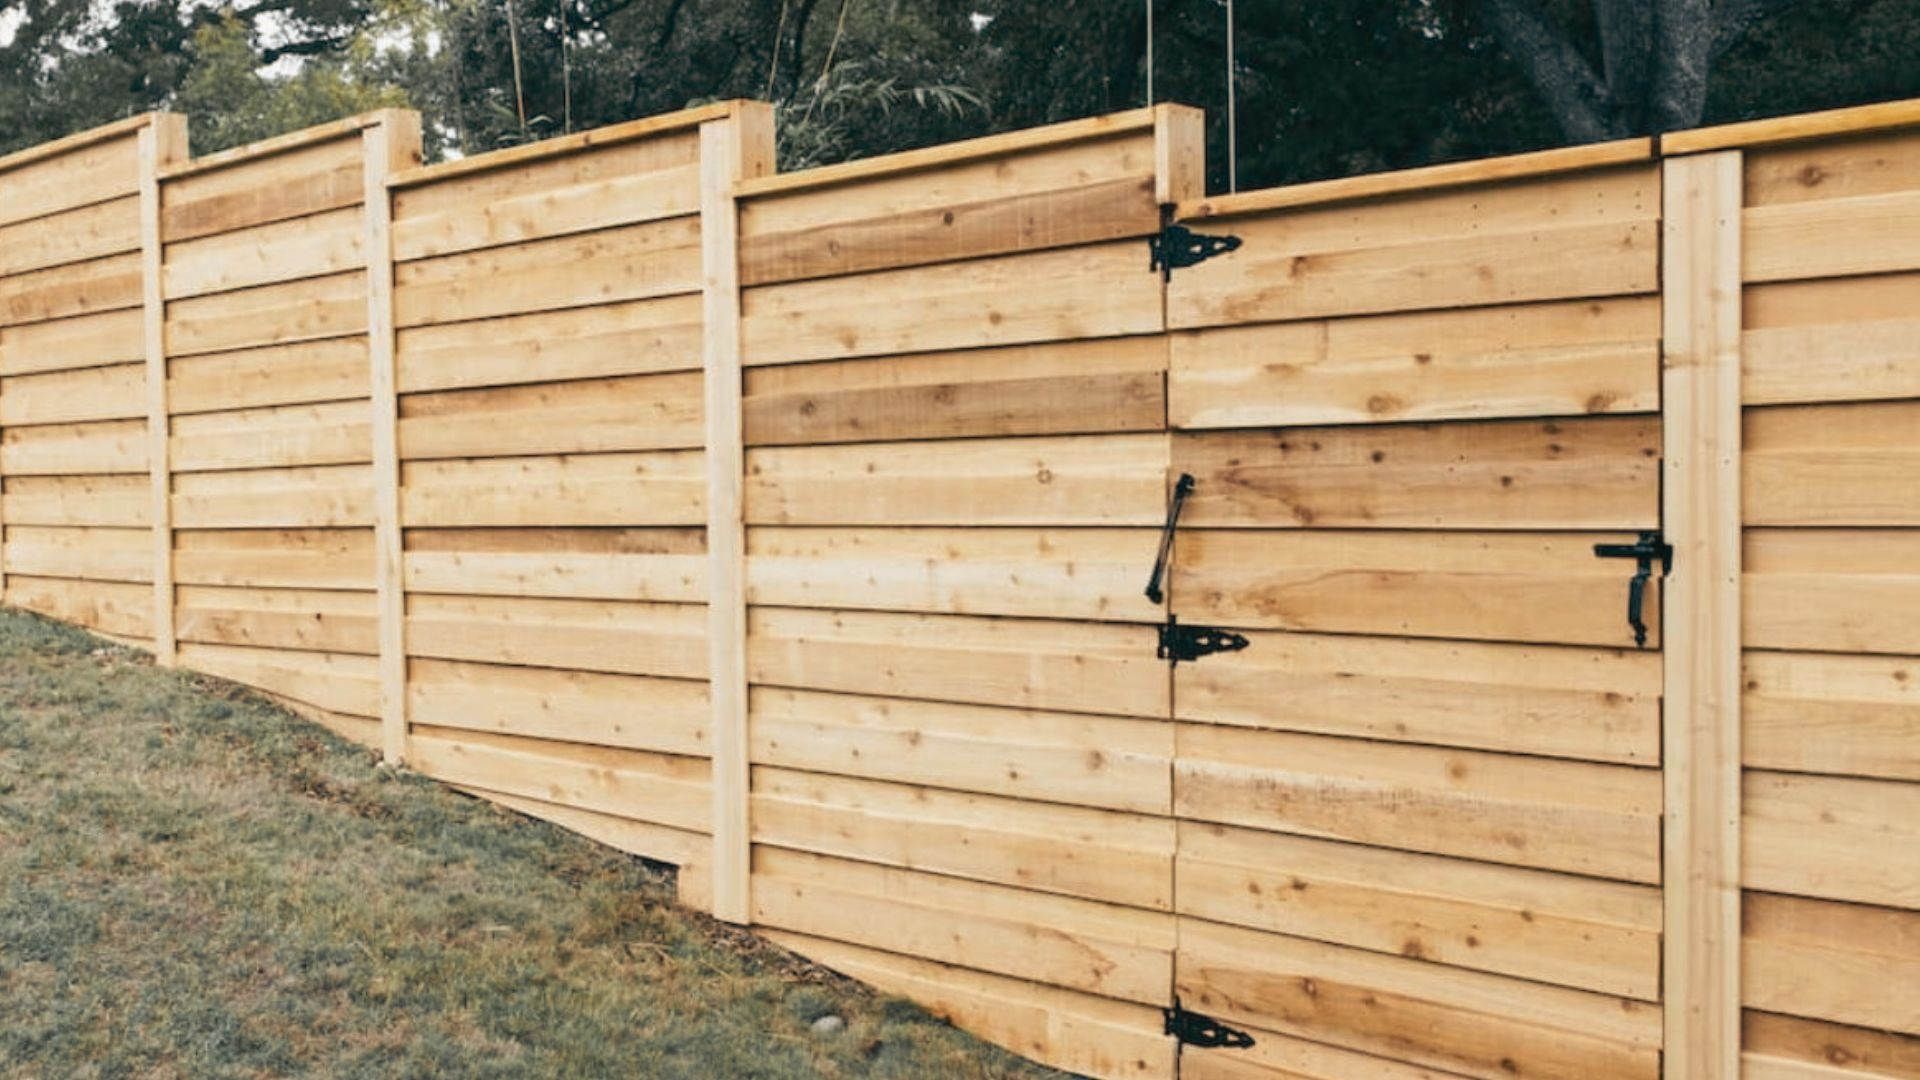
Gates need an even threshold to swing properly, so this is one of the trickier parts of building on a hill.
Set the gate posts extra firm, and consider adding a small paved or graveled pad under the gate opening so it does not drag or stick as the ground shifts with the seasons.
Choose heavy-duty hinges rated for the gate's weight, and consider self-closing hinges on sloped ground so the gate does not swing open on its own and stay stuck against a post.
Step 10: Inspect and Finish the Fence
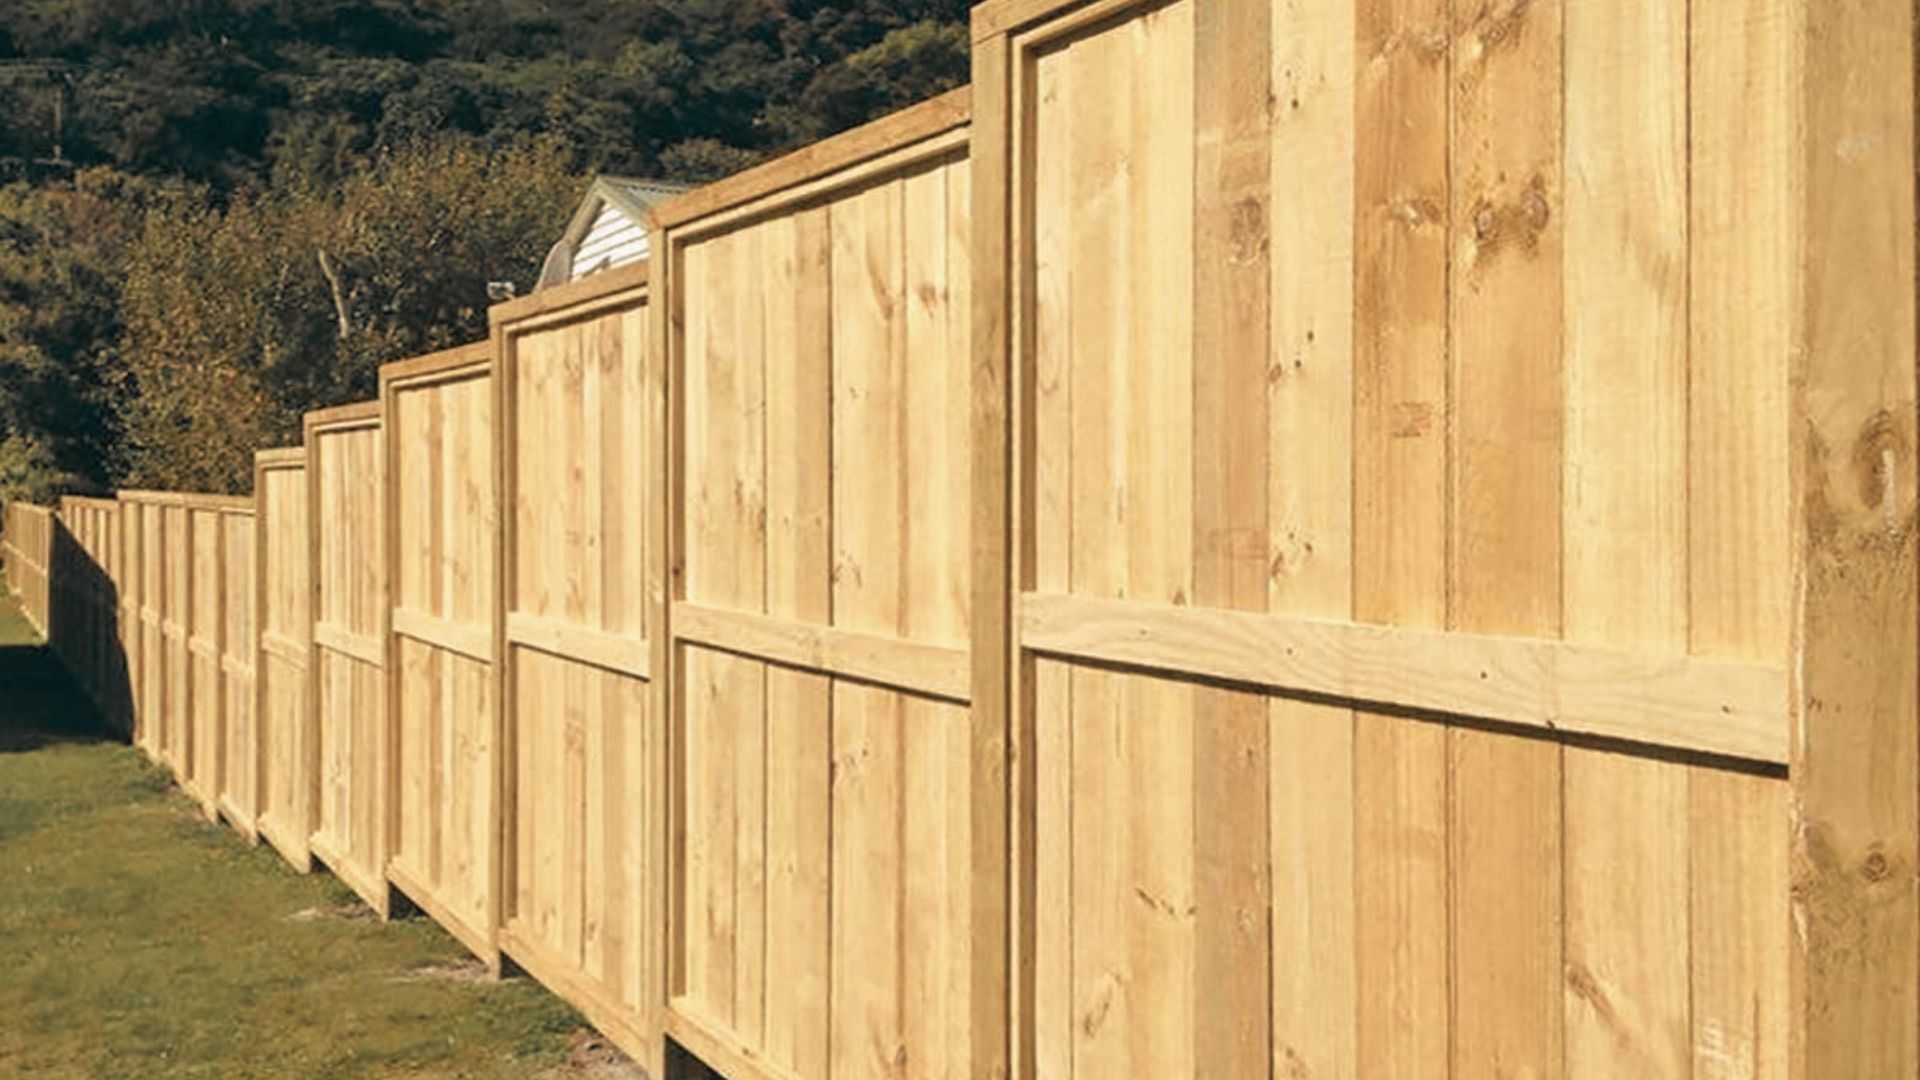
Walk the entire fence line and check for loose posts, uneven panels, or gaps under the bottom rail.
Add post caps, trim, or stain your material calls for, since post caps also help keep water from soaking into the top of each post.
This final check catches small issues before they turn into repair jobs later.
How Steep Can a Slope Be Before You Need a Step Down Fence?
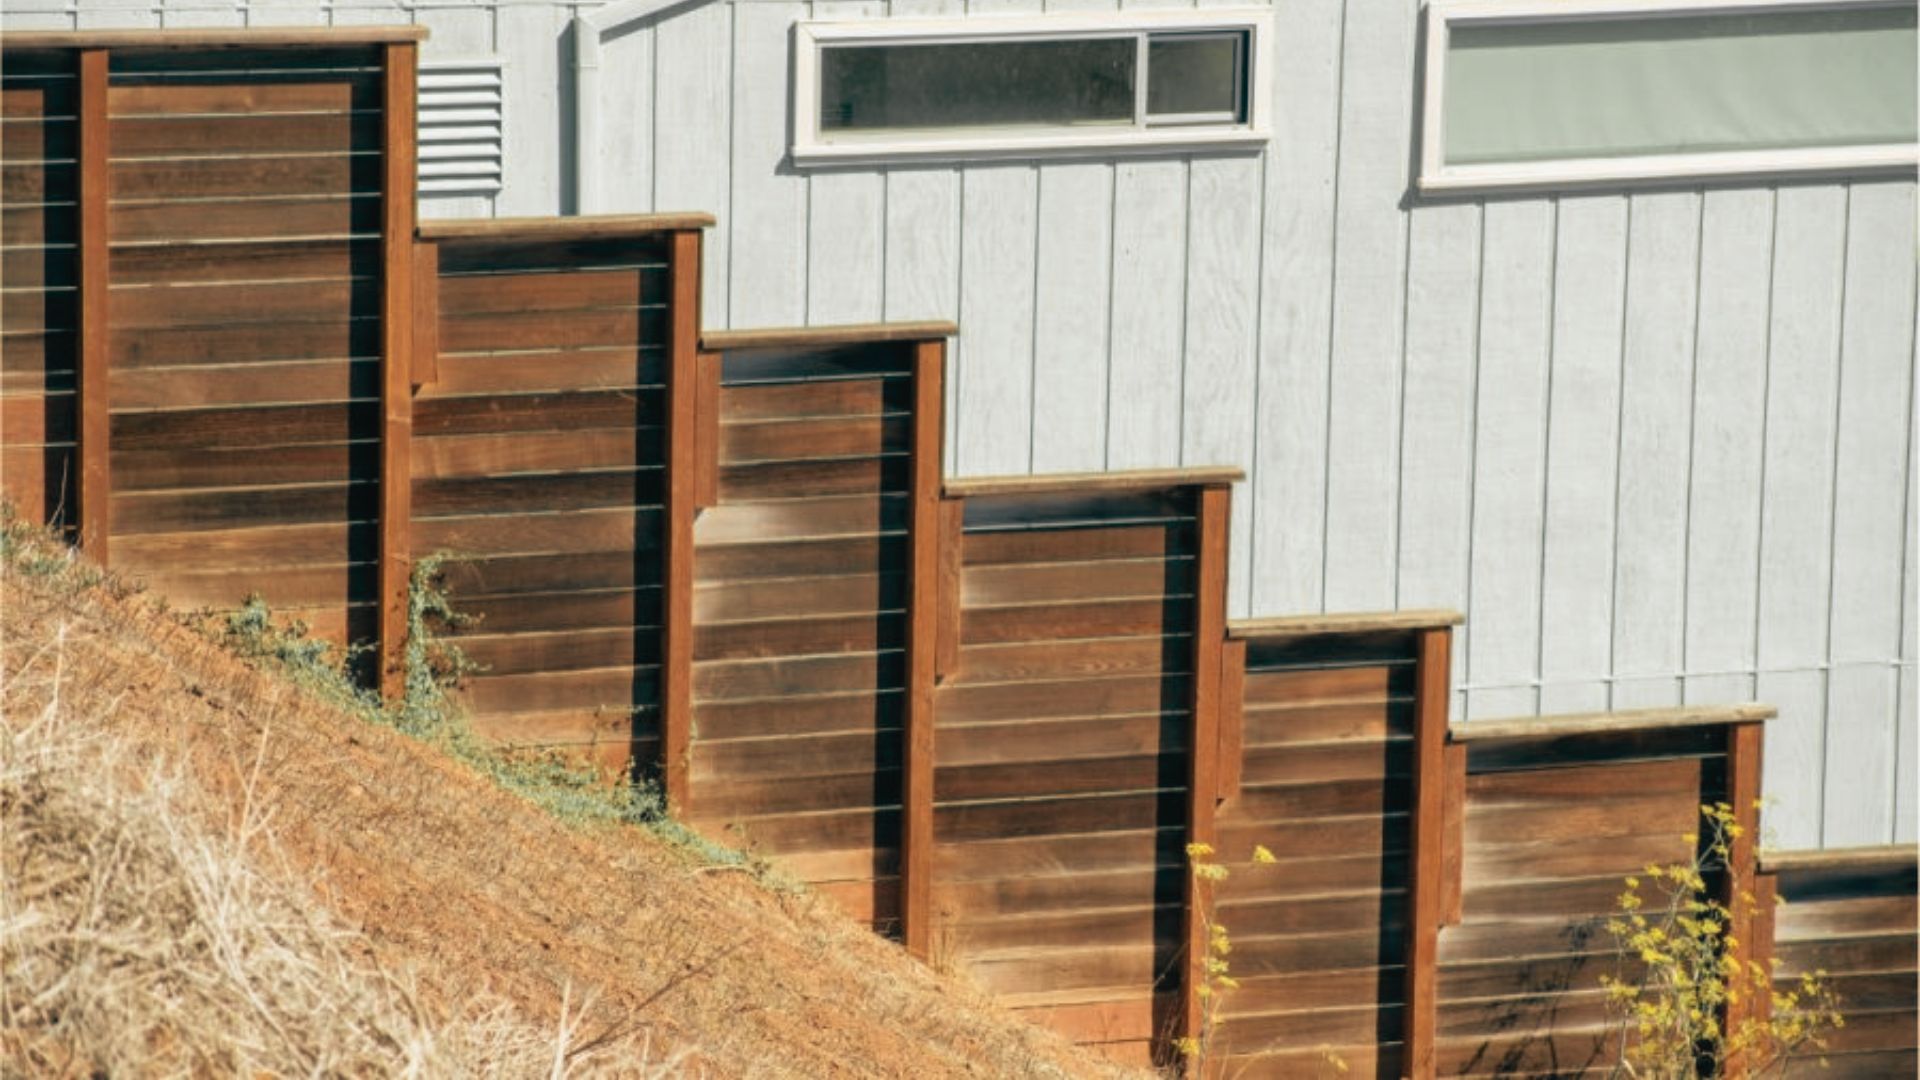
Not every hill requires a stepped fence. The best installation method depends on the slope of your yard, the fence material, and the look you want to achieve.
Measuring the grade before you begin helps you decide whether a stepped fence, a racked fence, or another solution will provide the best results.
Gentle Slopes
A gentle slope, generally under a 5 percent grade, is mild enough that either a stepped or racked fence will work well. Some homeowners even install a standard fence without noticeable stepping because the elevation change is so small.
The final choice often comes down to appearance rather than necessity
Moderate Slopes
Once your yard reaches a 5 to 15 percent grade, a stepped fence usually becomes the better option. The height difference between panels remains small enough to create clean, even transitions while keeping each section level.
This approach also makes installation easier than trying to rack rigid fence panels.
Steep Slopes
On grades above 15 percent, stepping still works, but it usually requires shorter panel sections and more frequent step downs to follow the terrain neatly. Large gaps beneath the fence may need to be filled with landscaping, additional boards, or custom panels.
In some situations, a retaining wall with fencing installed on top provides a more practical and attractive long-term solution
Best Fence Materials for Sloped Yards
Picking the best fence for uneven terrain comes down to flexibility, durability, cost, and how much the material can be adjusted during installation.
Some fence types are easier to step down than others, while certain materials work better for the long-term.
Choosing the right option before installation can save both time and money.
Wood Fences
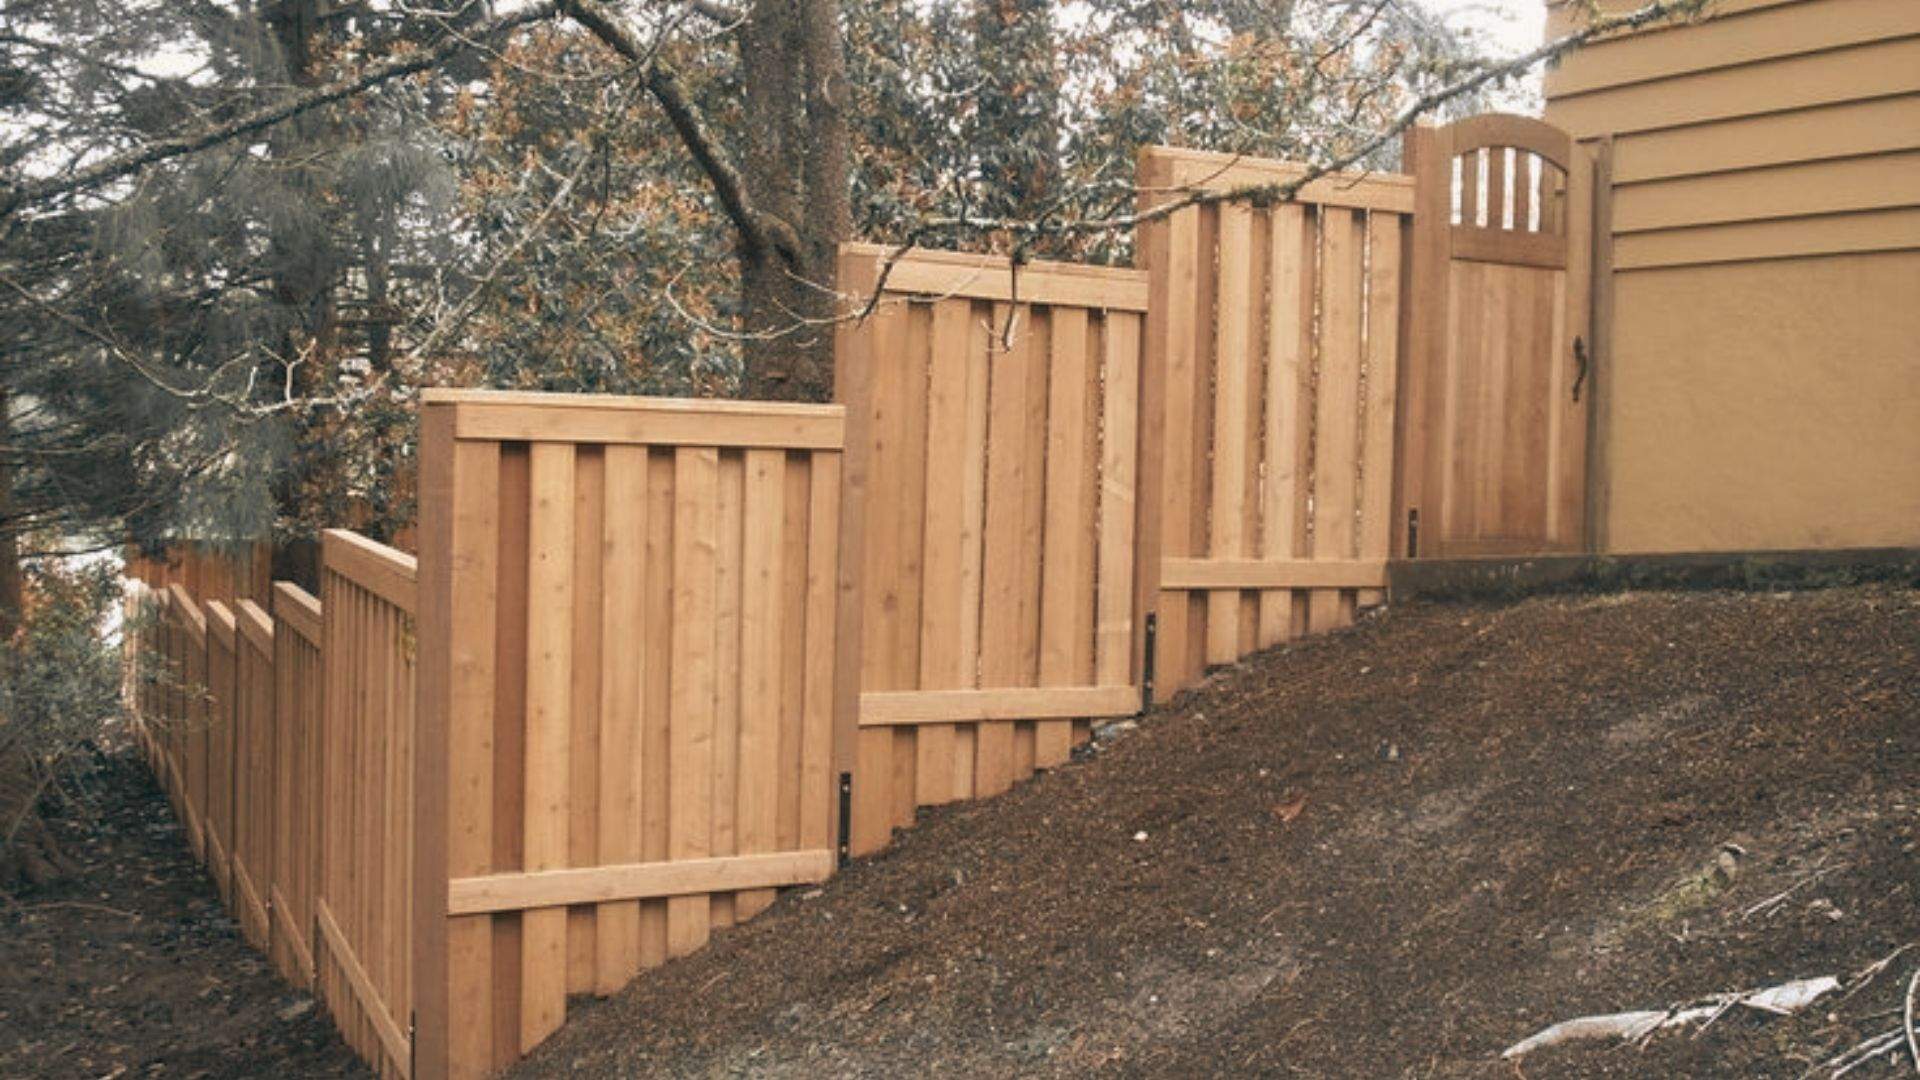
A wood fence on a slope is one of the easiest options to customize. Individual boards can be cut to match any step height, making it ideal for uneven ground and irregular slopes.
Repairs are also simple because damaged boards can be replaced without removing an entire section. Wood also gives homeowners plenty of flexibility with paint, stain, and design styles.
Vinyl Fences
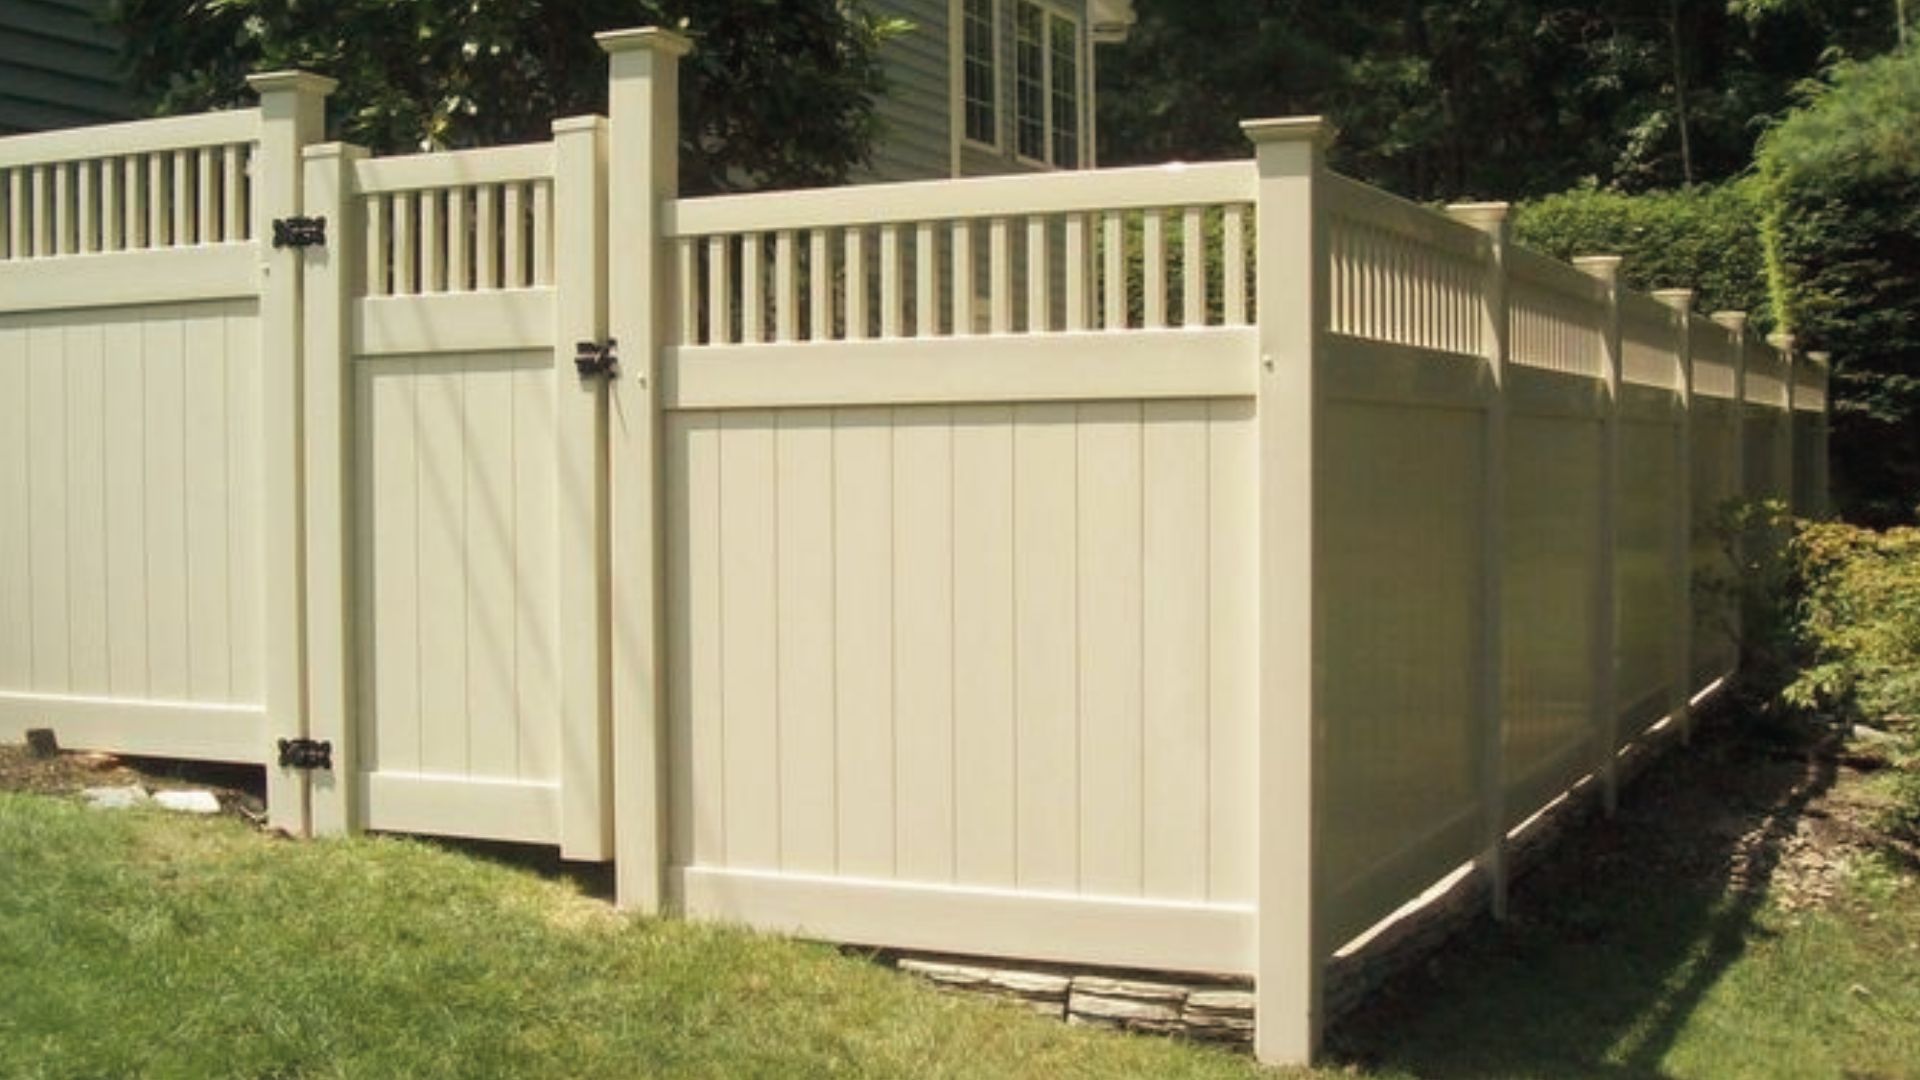
Vinyl fence on slope installations require more careful planning because most panels are manufactured in fixed sizes.
Many modern vinyl systems include rackable panels that can follow gentle slopes, while steeper yards often need a stepped layout.
Always check the manufacturer's specifications before purchasing. Although the upfront cost is higher than wood, vinyl requires very little maintenance over time.
Aluminum Fences
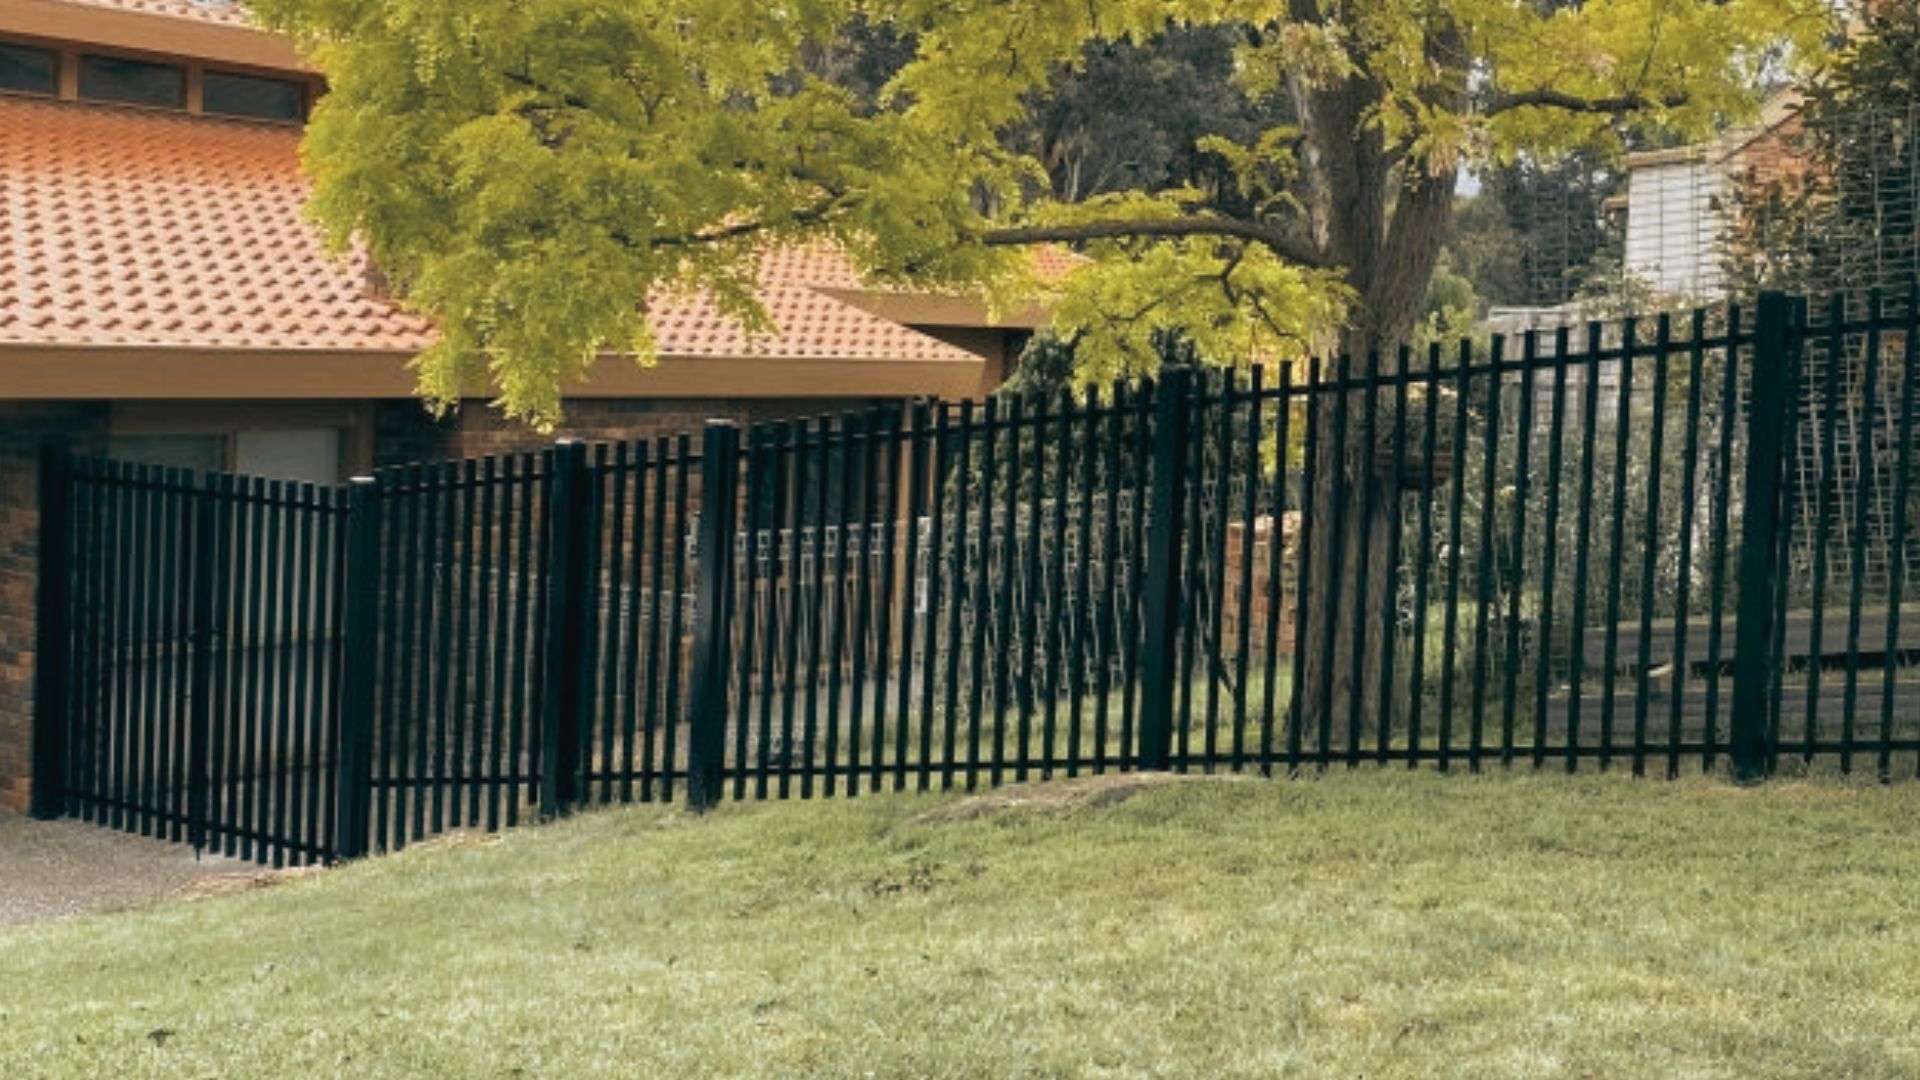
Aluminum fence on slope options are lightweight, durable, and naturally resistant to rust, making them a great choice for wet or humid climates.
Fixed panel sizes mean accurate measurements are important, especially on steeper grades where additional step downs may be needed.
Their open design also preserves views while still providing a secure boundary.
Chain Link Fences
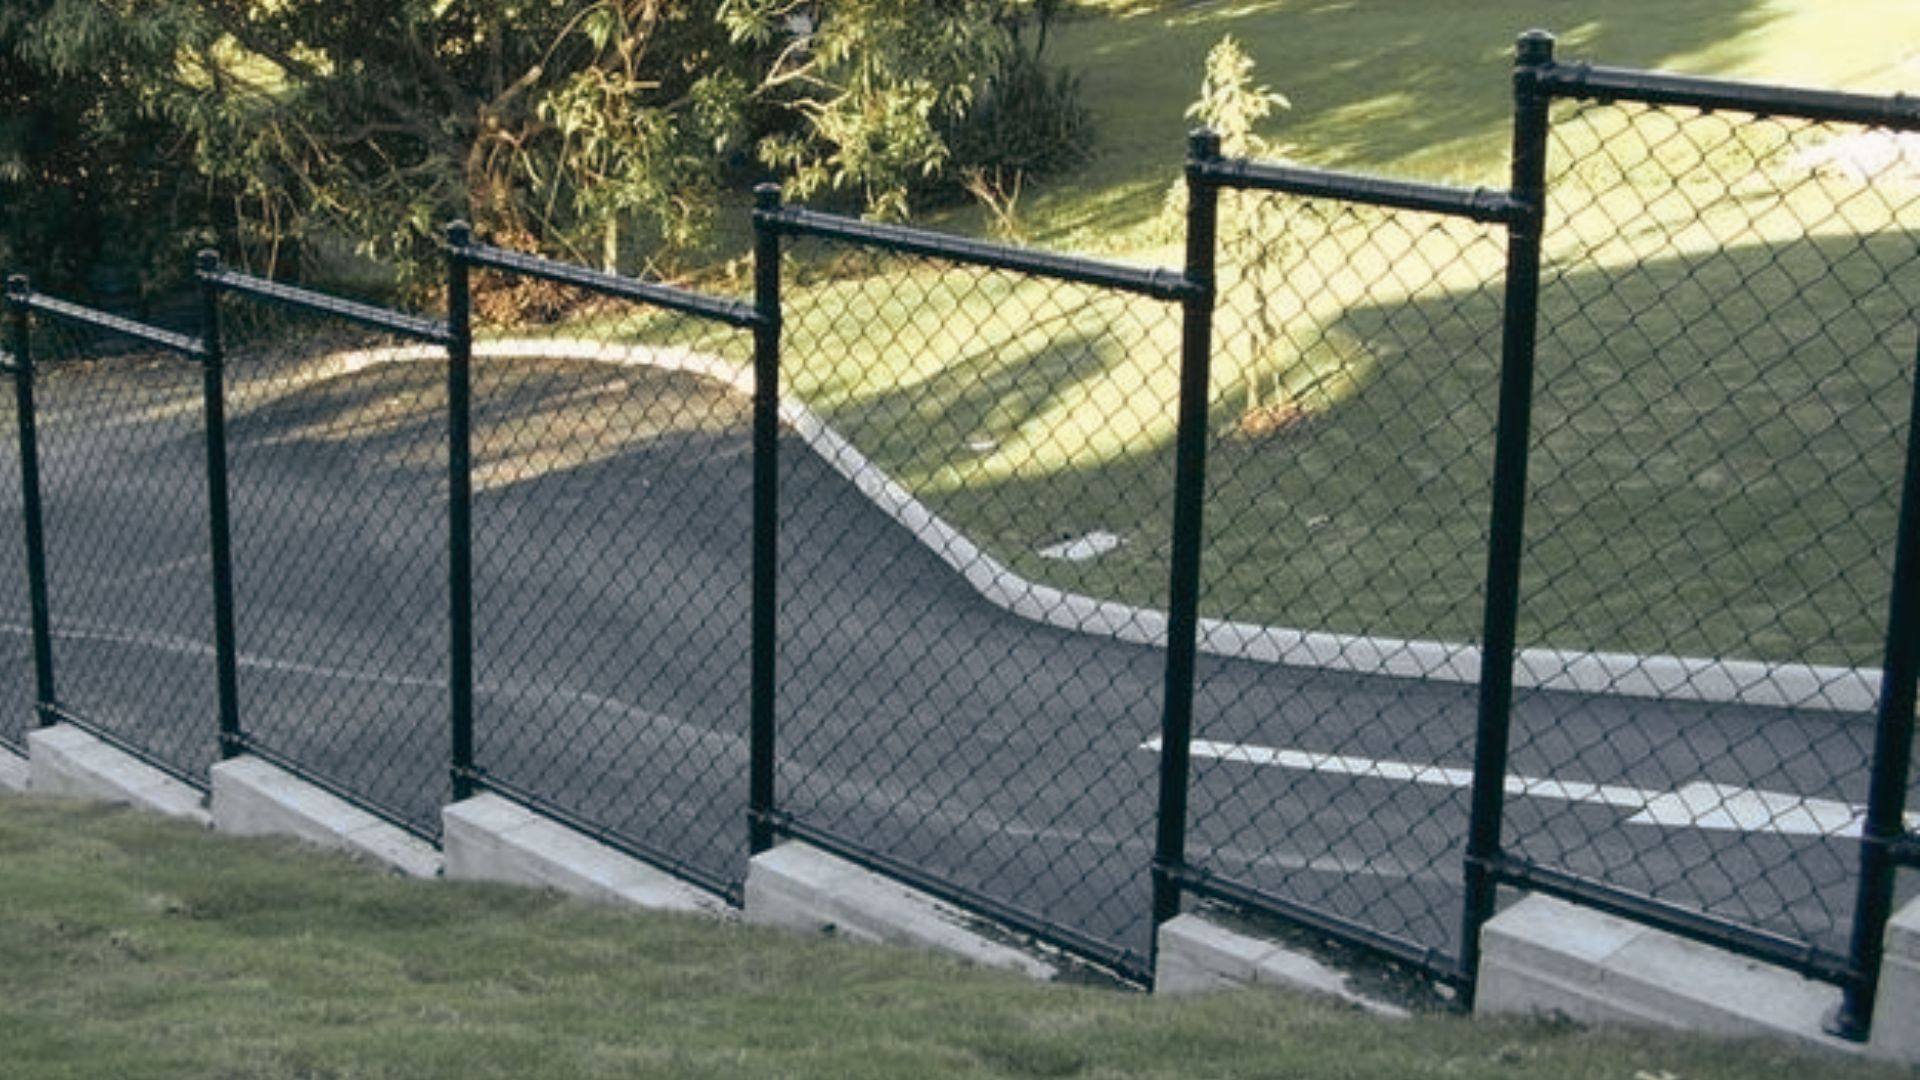
A chain link fence on a slope is usually the most budget-friendly option and works well for marking property boundaries or securing large areas.
It can be stepped or stretched to follow the terrain, although achieving a clean, polished appearance often requires extra planning and careful installation.
It is a practical choice when function matters more than decorative appeal.
Composite Fences
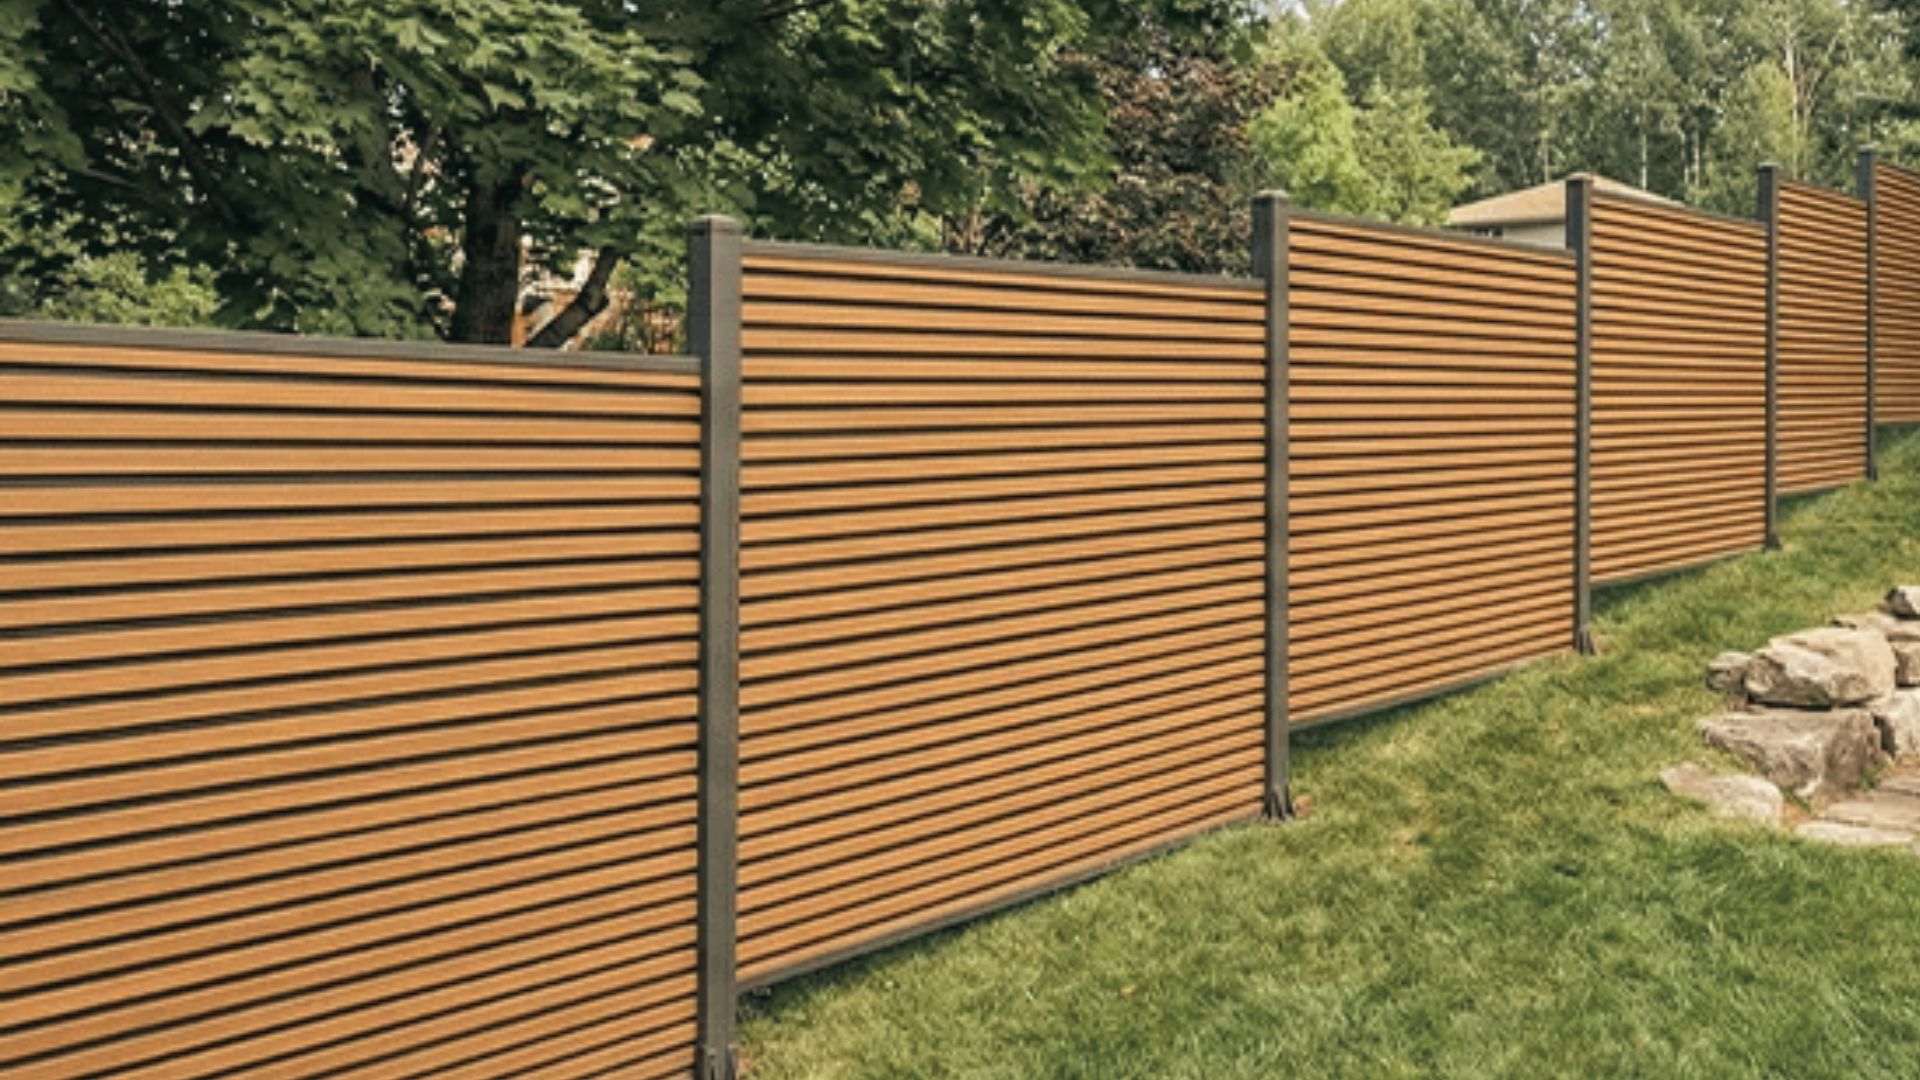
Composite fencing combines the appearance of natural wood with lower maintenance and excellent durability.
Many composite boards can be trimmed to suit stepped sections, making them a practical choice for sloped yards where homeowners want a long-lasting fence without frequent upkeep.
They also resist rot, insect damage, and fading better than many traditional wood fences.
Common Challenges When Installing a Step Down Fence
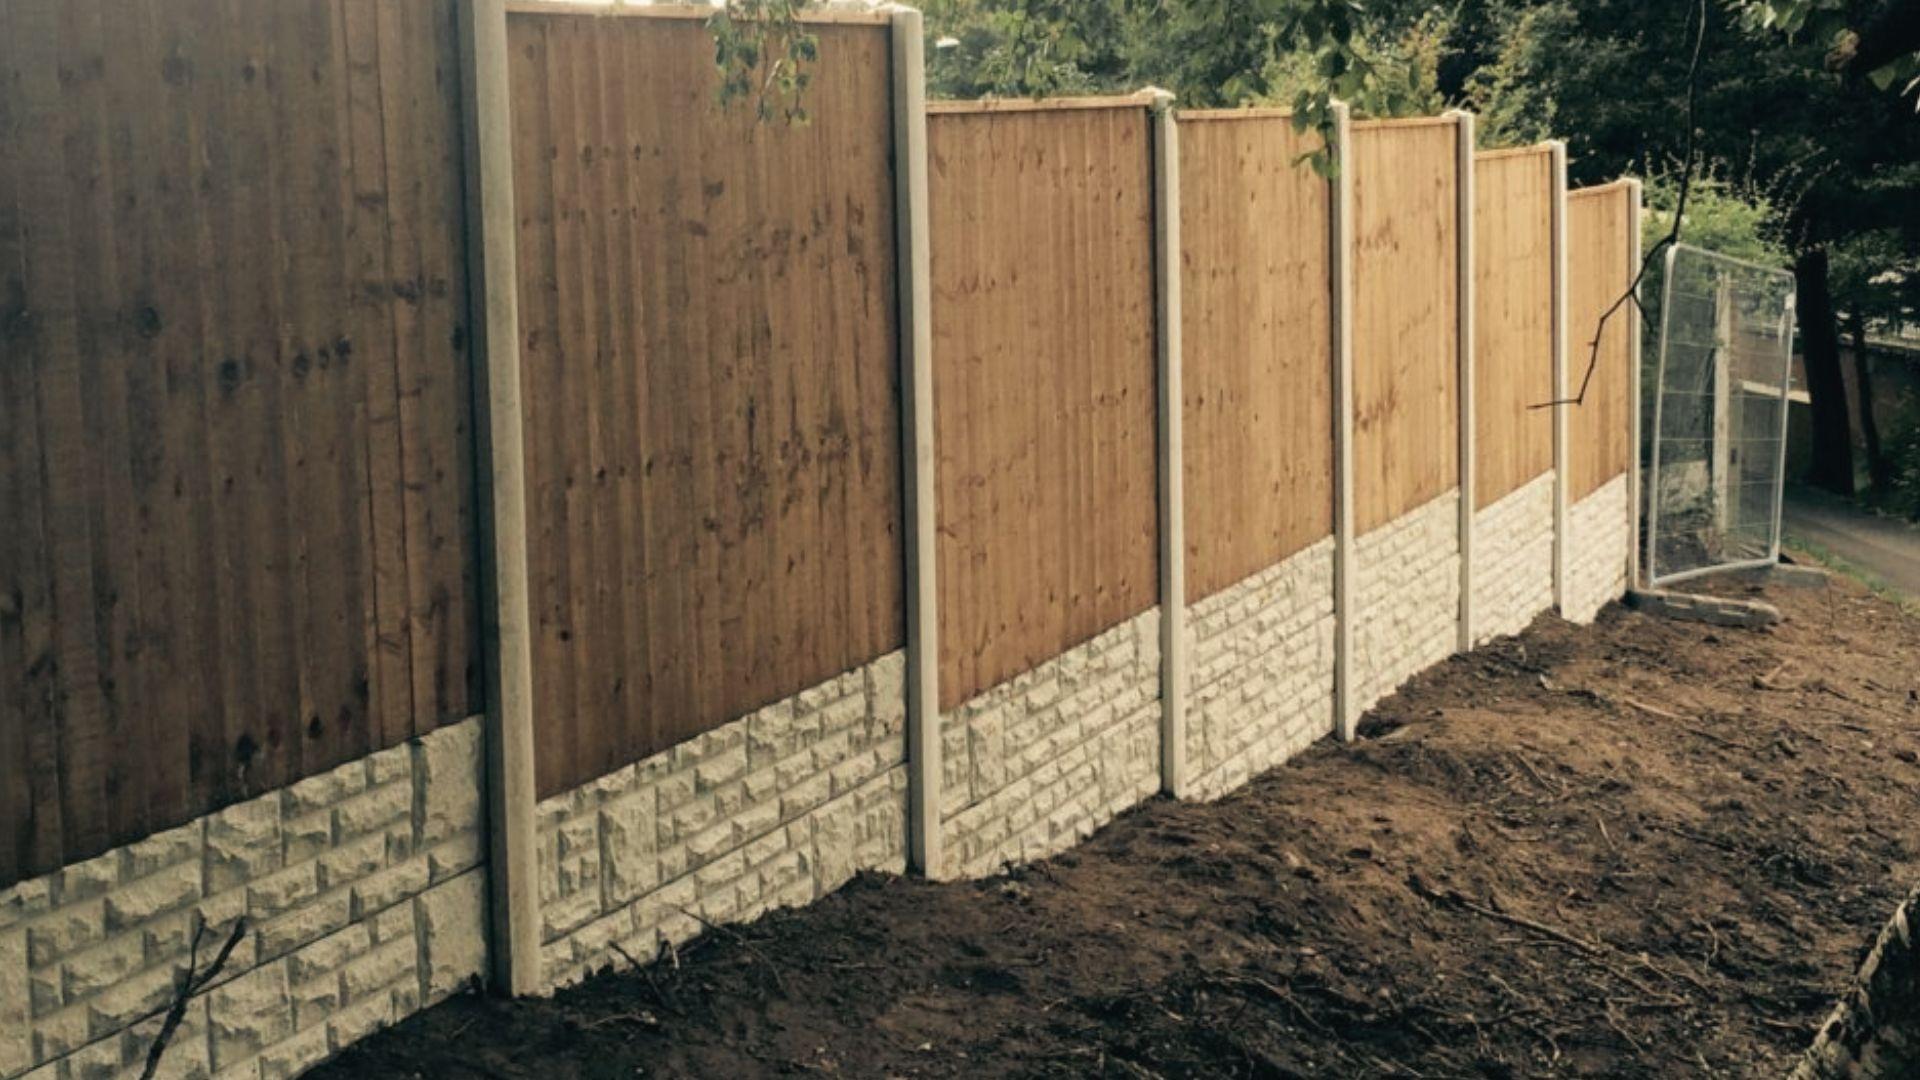
Building on uneven ground brings its own set of problems. Knowing them ahead of time makes the whole project smoother.
- Uneven ground can make it difficult to keep fence sections level and evenly spaced. Measure the slope at every post location instead of relying on the overall grade of the yard.
- Rocky or compacted soil makes digging post holes more challenging and time-consuming. Using a power auger or the right digging tools can make the installation process much easier.
- Water naturally flows downhill, which can leave lower fence posts exposed to excess moisture. Use pressure-treated or rot-resistant materials and add a gravel base to improve drainage around each post.
- Keeping the fence line straight becomes harder when working across changing elevations. Stretch a string line before setting posts and check the alignment regularly throughout the installation.
- Gates need a level opening to swing and latch properly without dragging. Whenever possible, install gates on the flattest section of the slope to reduce extra grading or adjustments later.
Common Mistakes to Avoid
A few repeated errors show up again and again in sloped fence installation projects. Avoiding these will save time and money.
Incorrect Slope Measurements
Guessing at the slope instead of measuring it properly leads to uneven steps and wasted material. Take the time to measure accurately before you plan your layout.
Uneven Post Spacing
Posts set at random distances make the fence look sloppy and can weaken the structure. Stick to a consistent spacing plan across the entire fence line.
Setting Posts Too Shallow
Shallow post holes may seem fine at first but often lead to leaning or shifting posts within a year or two, especially on a slope where soil movement is more common.
Ignoring Drainage
Skipping drainage planning around post bases can lead to faster wood rot or rust, along with soil erosion that exposes the base of your posts over time.
Choosing the Wrong Fence Style
Picking a racked fence style when your yard truly needs stepping, or the other way around, can leave you with awkward gaps or a fence that looks out of place with the terrain.
How Much Does a Step Down Fence on a Slope Cost?
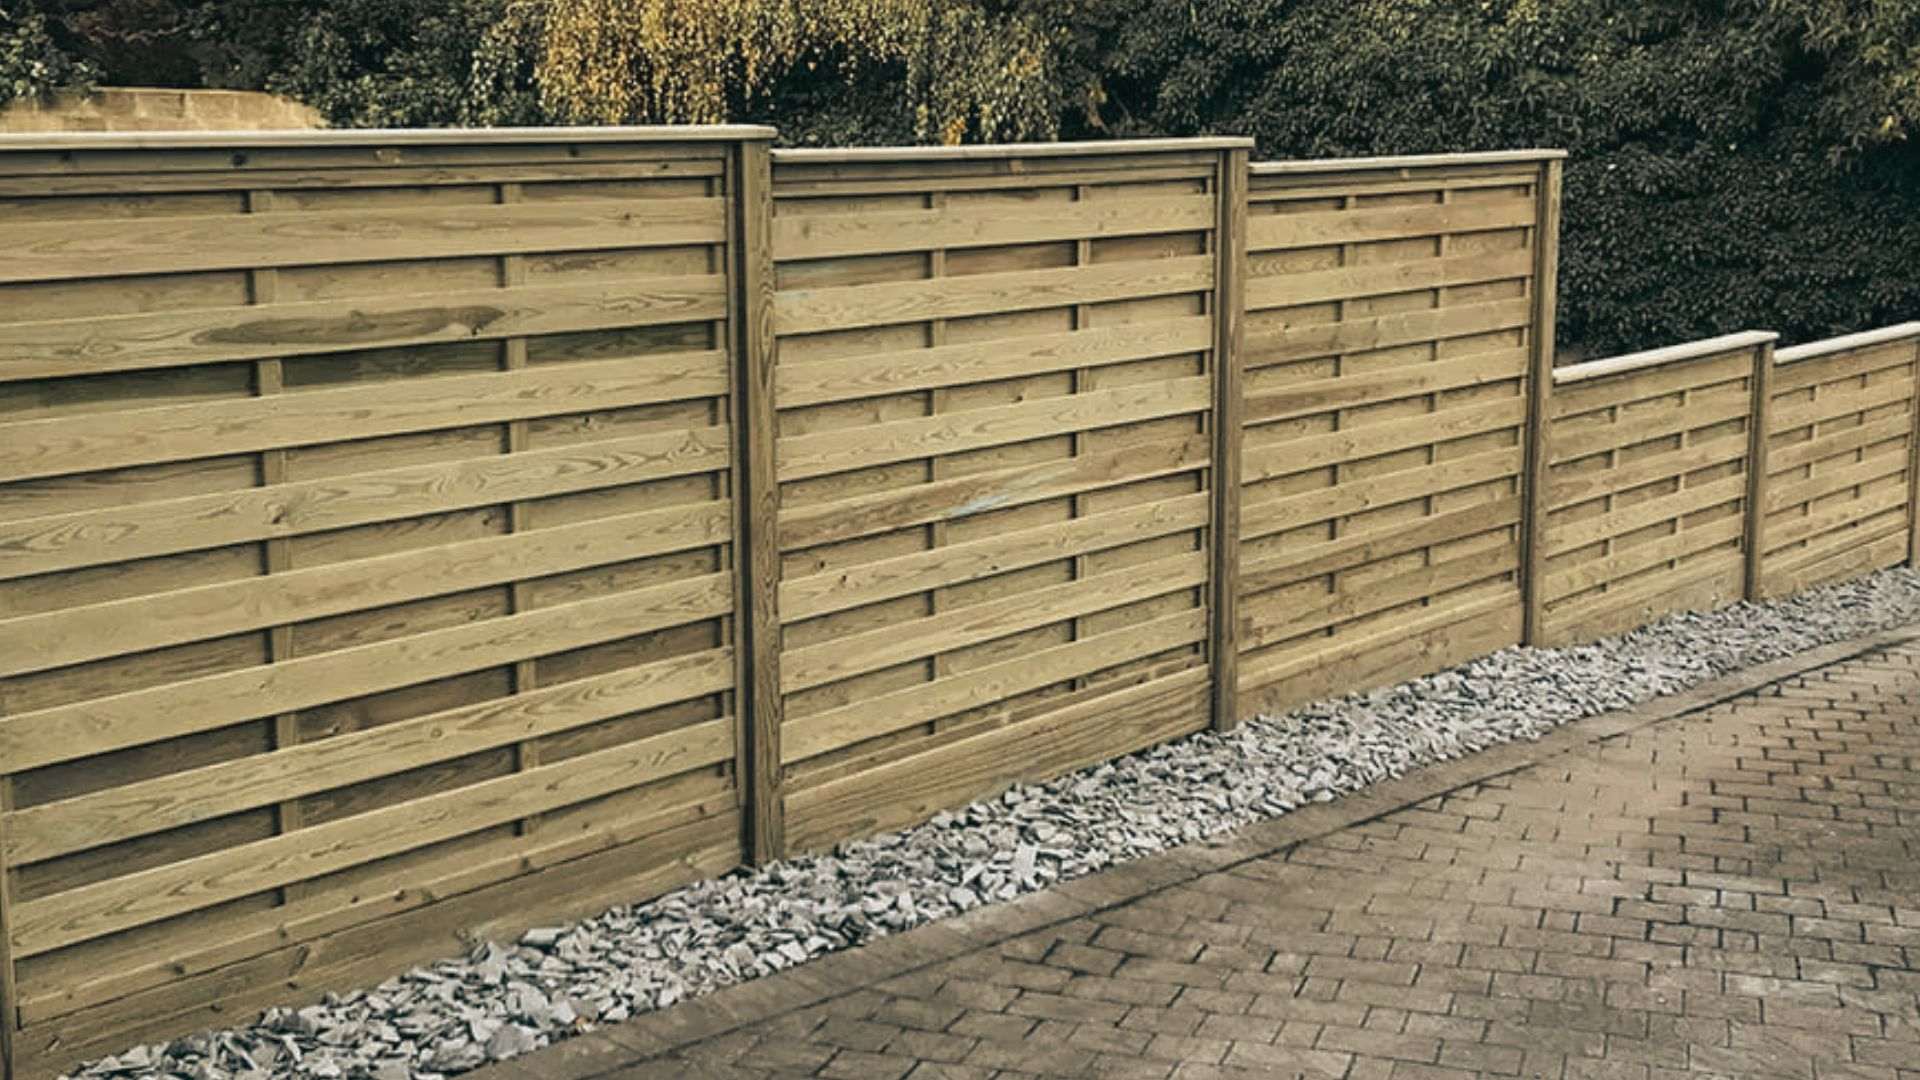
Costs vary based on material, yard size, and how steep the ground is, but breaking down each part helps you budget accurately.
Material Costs:Wood tends to sit on the lower end of the cost range, while vinyl, aluminum, and composite options run higher. Steeper yards may need extra material for shorter panel runs and more posts.
Labor Costs:Sloped yards generally cost more to install than flat ones, since measuring, digging, and leveling each step takes extra time. Expect labor costs to run higher than a standard flat fence project.
Site Preparation Expenses:Rocky soil, extra grading, or drainage work adds to your budget. Getting a written estimate that separates prep work from installation helps you see where your money is going.
Long-Term Maintenance Costs:Wood fences need regular staining or sealing, while vinyl and aluminum need less upkeep but may cost more upfront. Factor in maintenance over several years, not just the installation price, when comparing materials.
Tips to Maintain a Step Down Fence on a Slope
Regular maintenance and seasonal inspections help keep a stepped fence strong, attractive, and protected from weather, moisture, and soil movement.
- Inspect the entire fence at least twice a year for loose posts, cracked boards, rusted hardware, or shifting panels. Check again after heavy rain or strong winds, as weather can cause damage that is easy to miss.
- Clean wood, vinyl, aluminum, or composite fence panels regularly to remove dirt, mildew, and debris. If you have a wood fence, reapply stain or sealant when needed to protect it from moisture, UV rays, and wear.
- Prevent soil erosion around fence posts by adding mulch, gravel, or low-growing ground cover. Stable soil helps keep posts secure and reduces the chances of gaps forming beneath the fence.
- Repair damaged sections as soon as you notice leaning posts, loose panels, cracked boards, or worn fasteners. Fixing small problems early helps prevent larger repairs and extends the life of your fence.
- Trim grass, weeds, and shrubs growing along the fence line to improve airflow and reduce moisture buildup. Keeping vegetation under control also makes inspections easier and helps prevent long-term damage.
Conclusion
Building a step down fence on a slope is much easier when you plan every stage of the installation. Measure the grade accurately, choose materials that suit your terrain, and install each section carefully to create a fence that is both sturdy and visually appealing.
Pay close attention to post depth, drainage, and alignment, these details have a big impact on the fence's long-term durability and performance.
If this guide helped you, share it with someone planning a fencing project, and leave a comment below with your questions or experience.
We would love to hear how your project turned out.
Frequently Asked Questions
Can I mix a step down fence with a racked fence on the same property?
Yes. Many yards use stepping on gentle sections and racking on steeper runs, as long as the transition point looks planned rather than random.
Do I need a permit to install a fence on a sloped yard?
Often yes, especially near property lines or above a certain height. Check with your local building department before starting any work.
How long does it take to install a step down fence on an average yard?
Most homeowners finish a standard yard in two to four days, though steep terrain, rocky soil, or gate installation can add extra time.
Can I install a step down fence myself without hiring a contractor?
Yes, if you are comfortable digging, leveling, and measuring precisely. Steep or complex yards may still benefit from professional help.
What is the minimum slope percentage that requires special fence planning?
Slopes above 5 percent generally need stepping or racking planning, while anything under that can often use a standard flat fence layout.