A sloped yard can feel impossible to use. Mowing it is hard. Planting on it is harder. Water runs off before it even soaks in.
If you have been staring at your slope wondering what to do with it, a terraced garden might be exactly what you need.
This guide walks you through everything. From planning and choosing the right materials to building retaining walls and planting your first bed, it covers the full process.
You will also find tips on drainage, common mistakes, and how to keep your terraced garden looking great for years.
I have helped readers tackle sloped gardens of all sizes, and the steps here are based on what actually works in real yards, not just theory.
What Is a Terraced Garden?
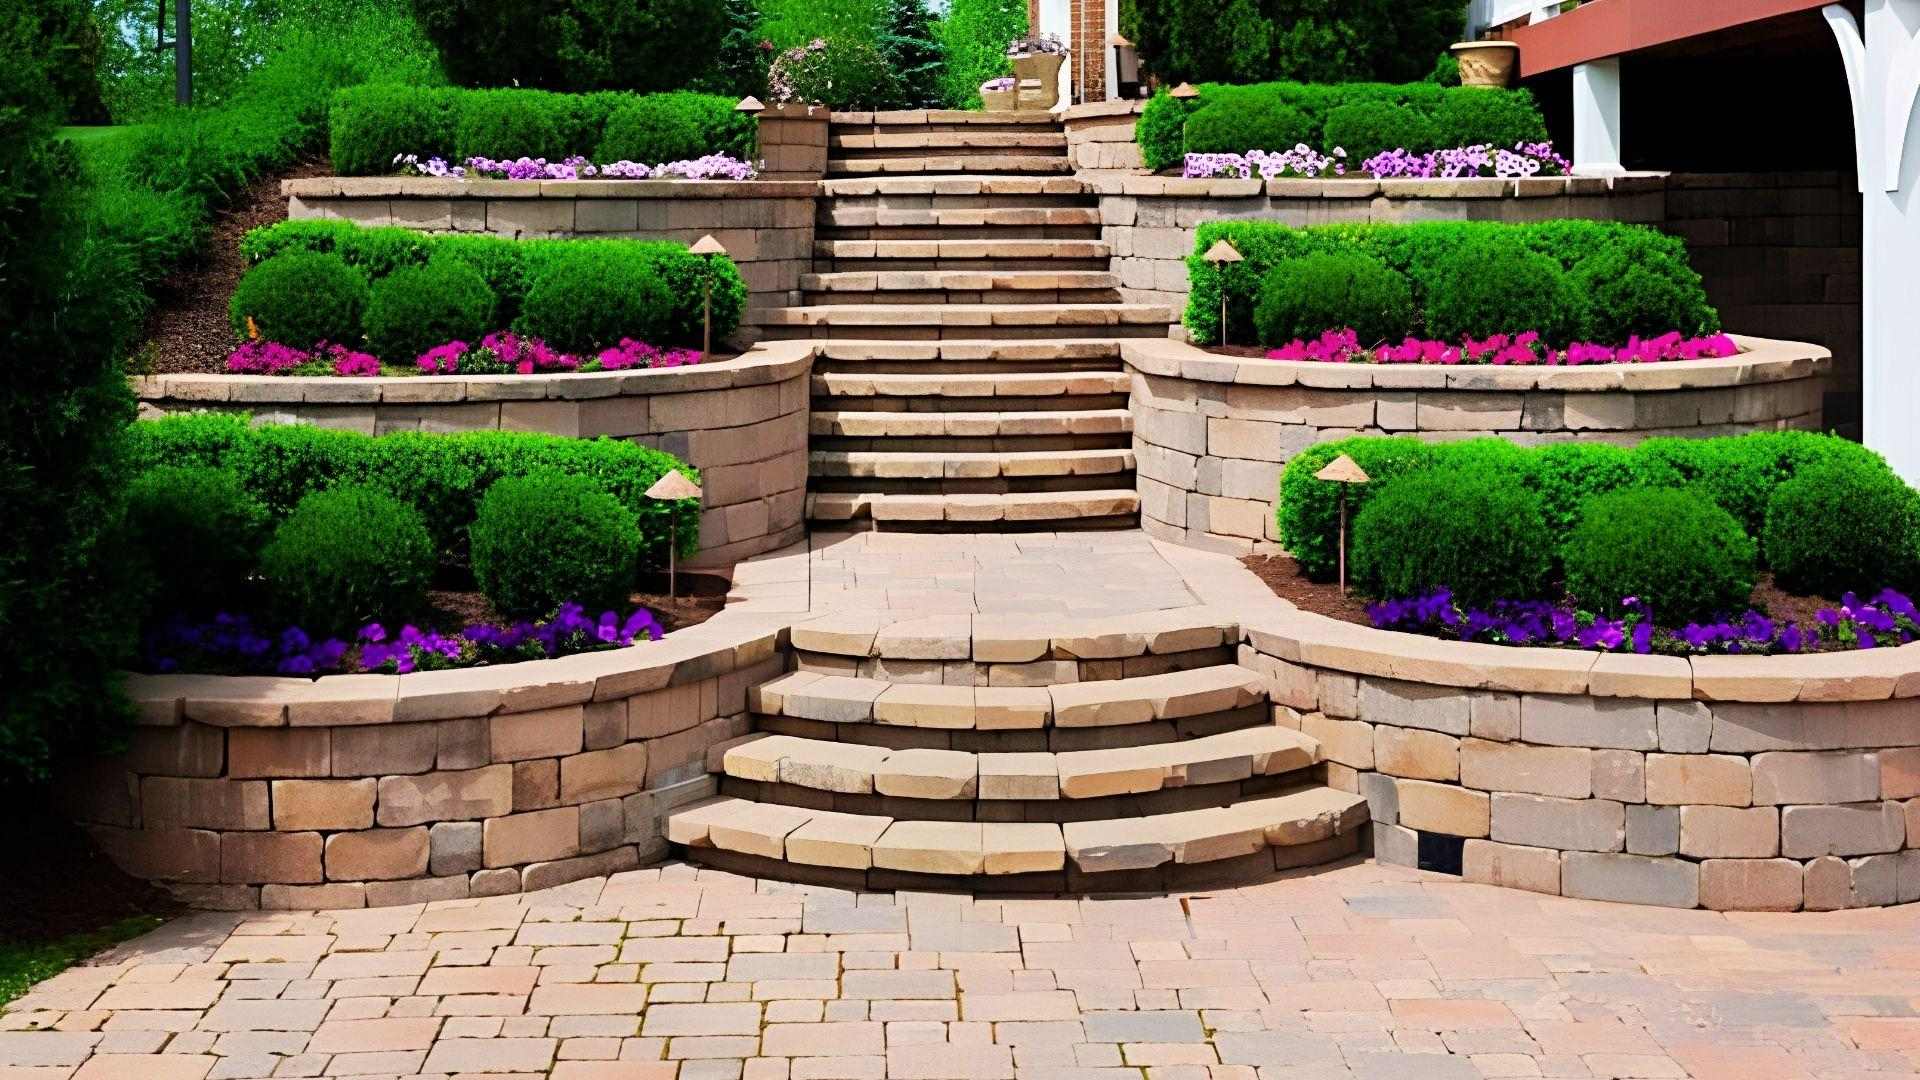
A terraced garden turns a sloped piece of land into a series of flat, level planting areas stacked one above the other.
Think of it like steps carved into a hillside. Each flat section, called a terrace, is held in place by a retaining wall. The walls stop soil from sliding down and give you a stable, usable garden bed.
Terraced gardens have been used for thousands of years. Ancient farmers in South America and Asia used this technique to grow crops on steep hillsides. Today, homeowners use the same idea to make sloped yards productive and good-looking.
The size of each terrace depends on your slope and how much space you want. Some terraces are just a foot or two wide. Others can stretch several metres across.
Is Your Slope Suitable for a Terraced Garden?
Most slopes work for terracing, but the angle and soil type change your approach.
Gentle slopes between 10 and 20 degrees are the easiest. You can build wide terraces with low retaining walls. Steeper slopes need taller walls and more planning. Anything over 45 degrees needs professional input before you start.
Soil matters too. Sandy soil drains well but shifts. Clay holds moisture but can waterlog. If the ground is rocky or too hard to dig, bring in fresh topsoil or use grow bags on each terrace instead.
Check for underground pipes or cables before digging. Hitting one midway through is a costly problem.
Also think about the sun. South-facing slopes get more light. North-facing slopes stay cooler. Match your plant choices to what your slope actually offers.
Planning Your Terraced Garden
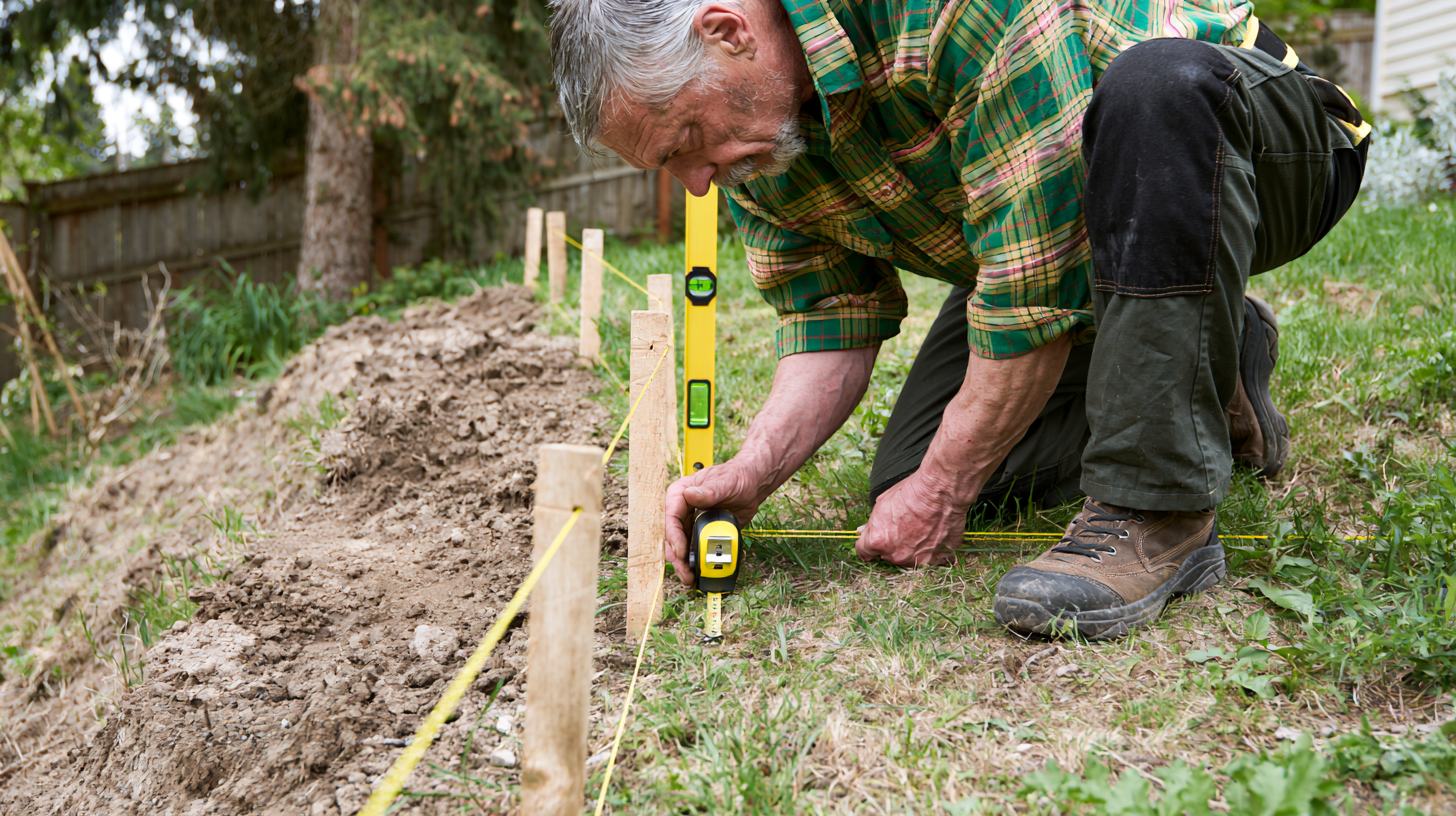
Good planning saves you time, money, and frustration later.
Start by measuring your slope. Use a spirit level and a long plank, or a measuring tape and two stakes, to find out the total rise and run of the hill. The rise is how high it climbs.
Divide the total rise by the height you want each terrace wall to be. This gives you the number of terraces you will need. For example, a slope with a 1.2 metre rise and 40 cm walls gives you three terraces.
Sketch out your plan on paper. Mark where each retaining wall will sit, how wide each bed will be, and where you will place any pathways or steps. Use rebar and string to mark out boundaries on the ground before you start digging.
Think about what you want to grow, and if you like a low-maintenance, ecological approach, a beginner's permaculture garden layout can help you decide what goes where.
Plan your drainage from the start. Water that builds up behind retaining walls can cause them to fail. We cover this in more detail in the drainage section below.
Choosing the Best Retaining Wall Material
The material you choose for your retaining walls affects how long they last, how much they cost, and how they look.
There is no single best option. It depends on your budget, the height of the walls, and what suits your garden style.
| Feature | Timber | Natural Stone | Concrete Blocks |
| Cost | Low to medium | Medium to high | Medium |
| Lifespan | 10–20 years | 50+ years | 30–50 years |
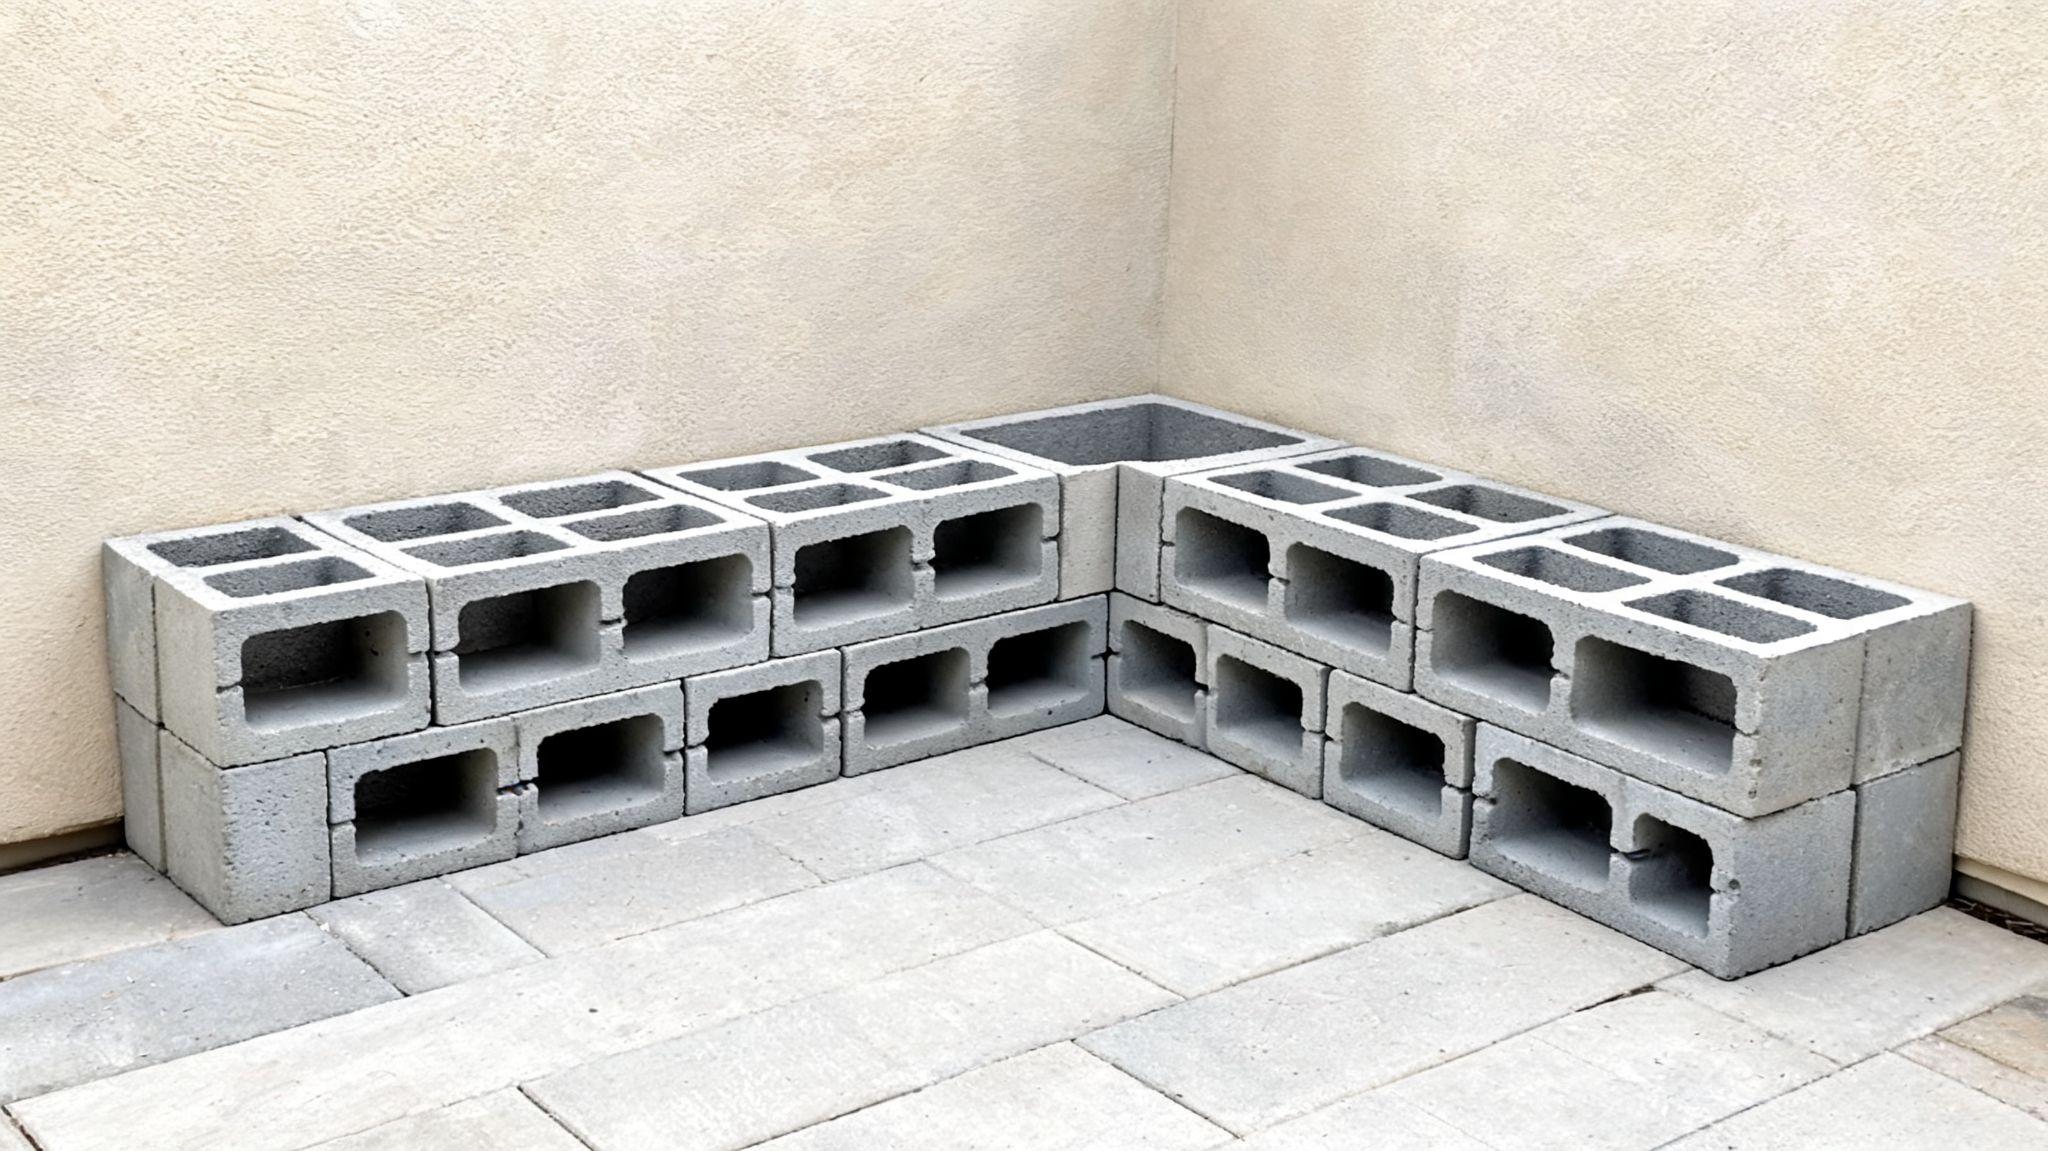
| DIY Friendly | Yes | Moderate | Yes |
| Strength | Good for low walls | Excellent | Excellent |
| Drainage | Needs added drainage | Naturally drains well | Needs weep holes |
| Appearance | Warm, natural look | Rustic, natural | Clean, modern |
| Maintenance | Needs treating | Very low | Low |
| Best For | Budgets, low walls | Sloped gardens, rural homes | Taller or structural walls |
Tools and Materials You Will Need

Getting everything ready before you start makes the job much smoother.
Tools:Spade and shovel, pickaxe or mattock for hard ground, wheelbarrow, spirit level, tape measure, string line and stakes, rebar for anchoring timber walls, rubber mallet, compactor or hand tamper, safety gloves and boots, drill with an auger bit if using timber, and a saw if cutting lumber to size.
Materials:Retaining wall material of your choice (pressure-treated timber sleepers, stone, or concrete blocks), rebar stakes for anchoring timber walls, gravel or crushed rock for drainage, quality garden soil or topsoil, composted manure to mix into beds, weed mat, landscape pins, drainage pipe if needed, mulch, and sand or bedding material for wall bases.
The exact quantities depend on the size of your project. As a rough guide, plan for at least 20 to 30 cm of gravel behind each wall for drainage, and enough topsoil to fill each bed to a workable depth of at least 30 cm.
How to Build a Terraced Garden Step by Step
Follow these steps in order and the project will come together in a logical, manageable way.
Step 1: Clear and Prepare the Slope
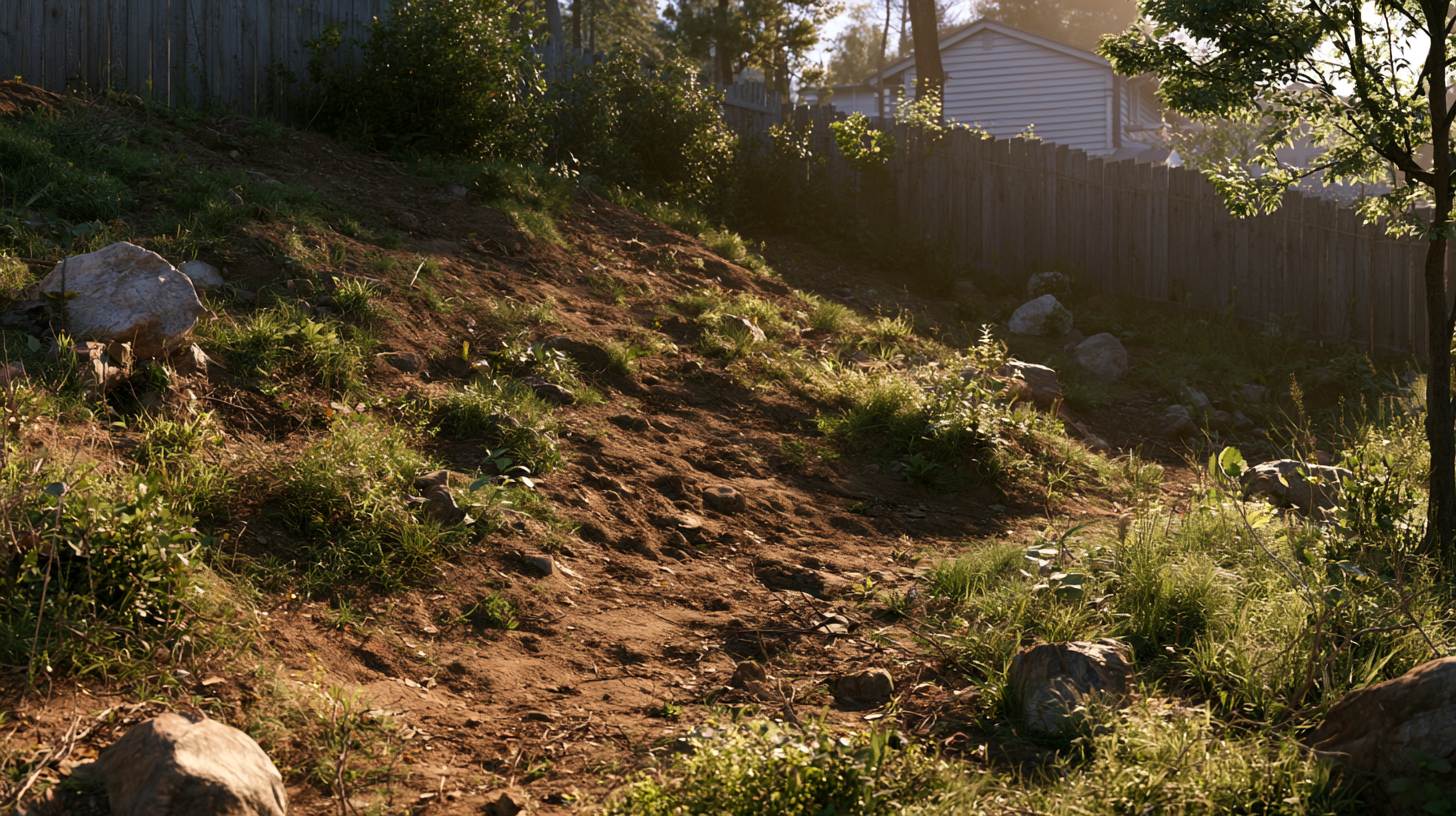
Remove all grass, weeds, rocks, and debris from the area, following the same clearing and levelling principles used in site preparation for a shed.
If roots are in the way, dig them out now. If the existing soil is poor, rocky, or full of clay, plan to bring in fresh topsoil rather than trying to work with what is there.
Step 2: Mark Terrace Levels with Stakes and String
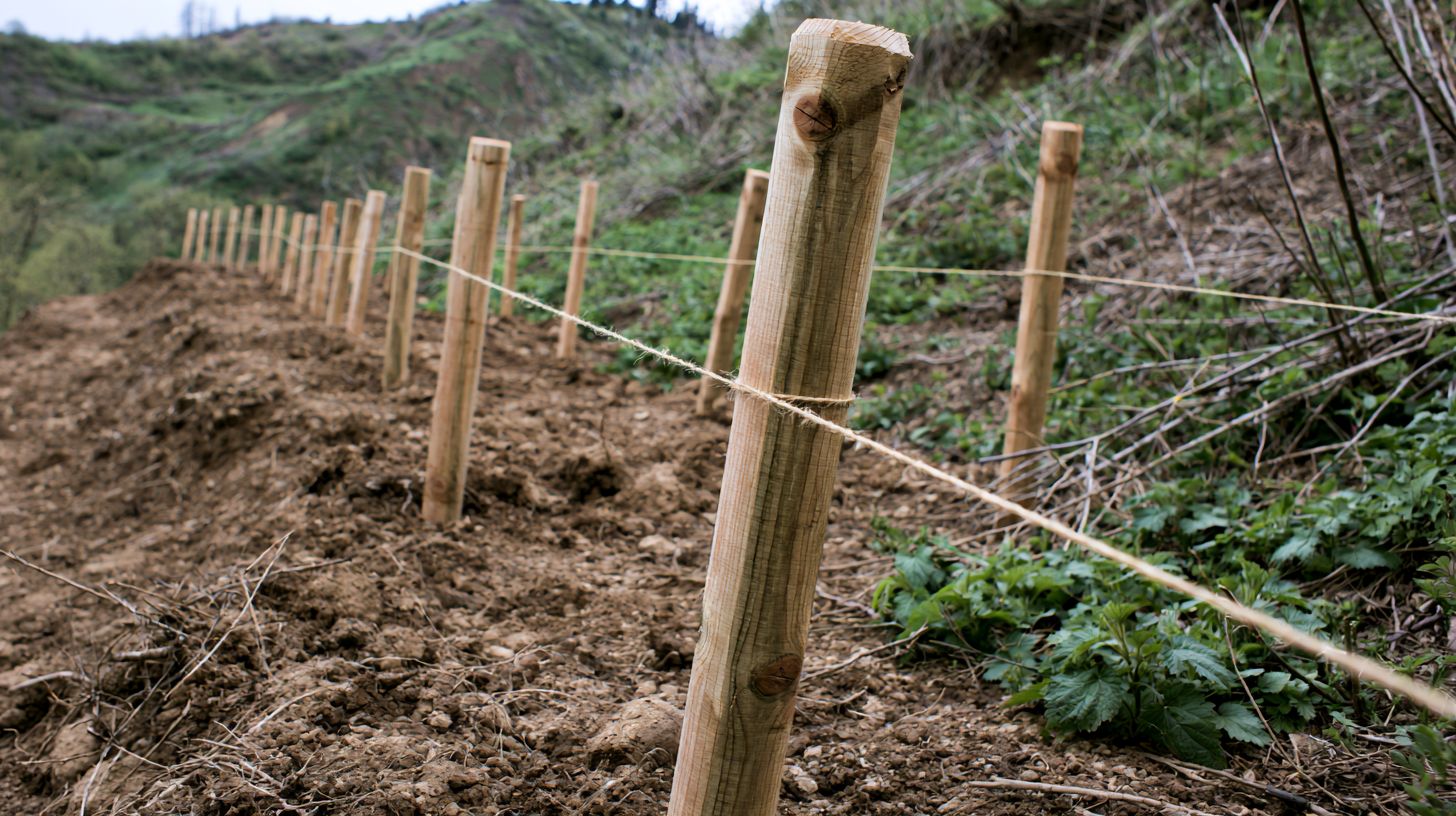
Use stakes and a string line to mark out where each terrace will sit. Use a spirit level on the string to make sure each line is perfectly horizontal.
This step is worth taking your time over. If your levels are off here, everything that follows will be off too.
Step 3: Excavate Each Terrace
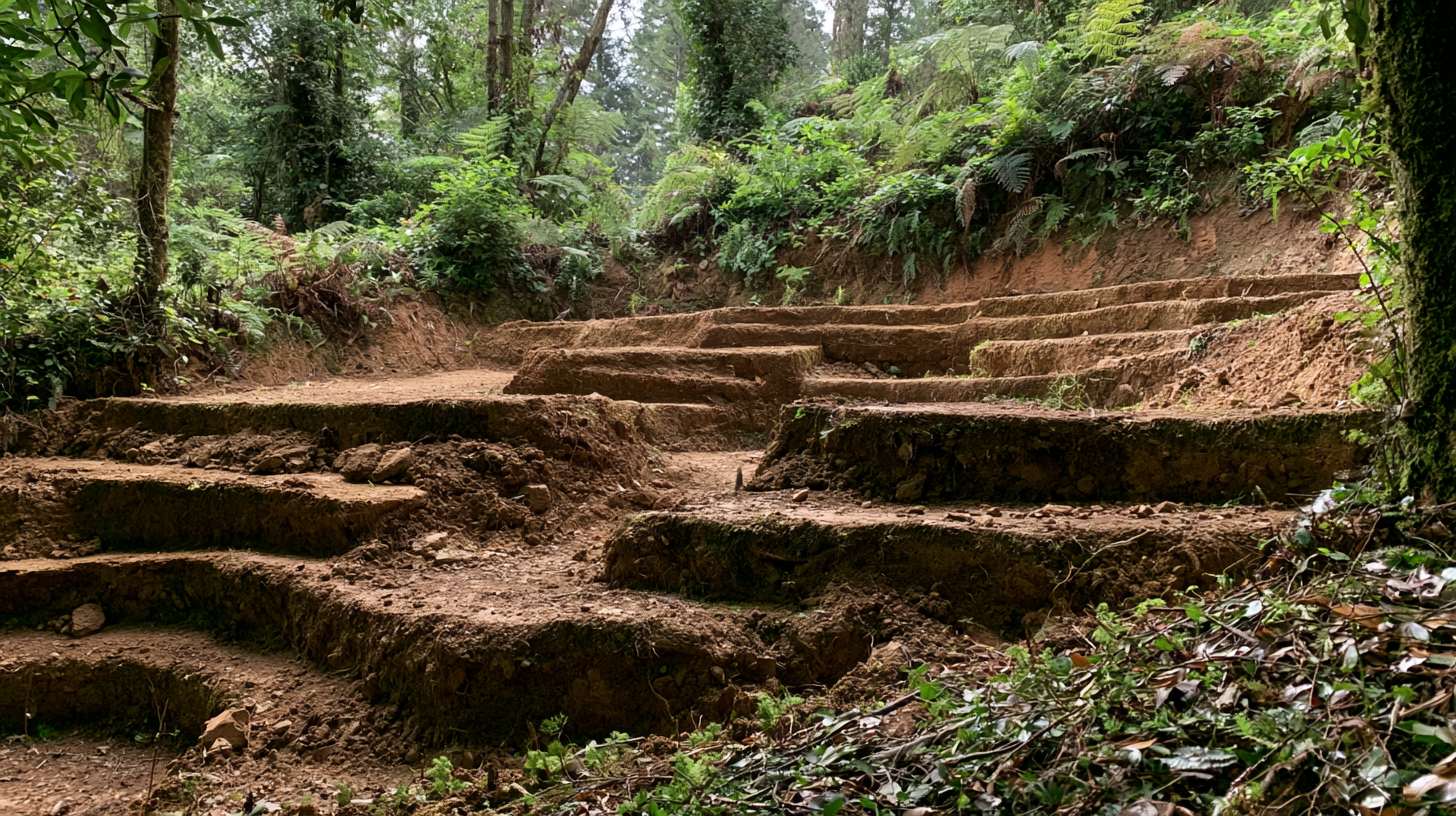
Start digging from the top terrace down. Cut into the slope to create a flat shelf where each terrace will sit.
The soil you dig out from the back of each terrace gets used to build up the front. This is called cut-and-fill. The goal is to keep each terrace as level as possible before you build the wall.
Step 4: Build Retaining Walls
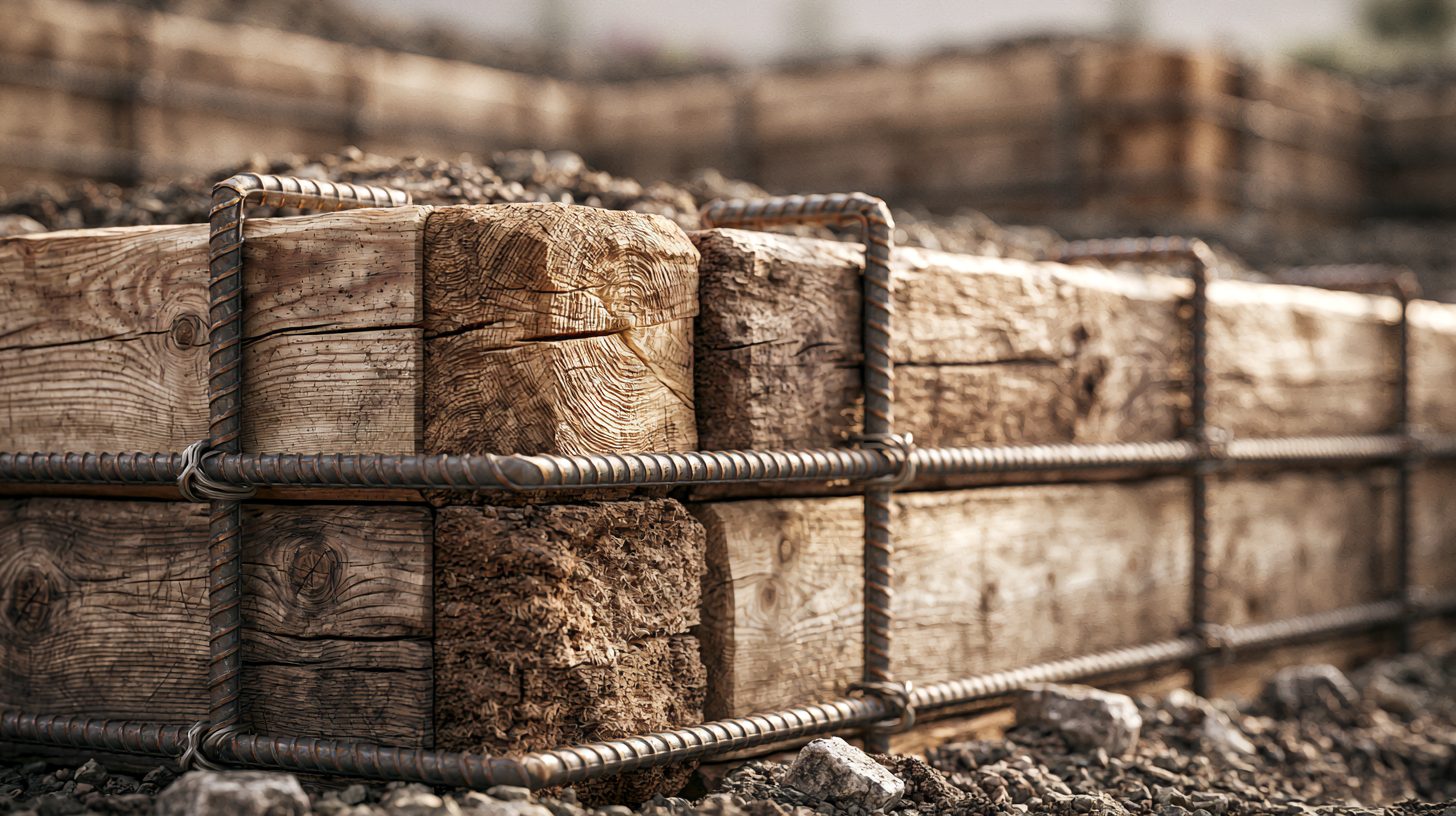
Build your walls from the bottom terrace up. Start with a solid base. For timber, bury the first sleeper at least 10 to 15 cm into the ground.
Drill holes through the timber and drive rebar stakes down through each section to anchor the wall firmly into the ground.
This stops the wall from shifting over time. For stone or blocks, dig a shallow trench and add a bed of compacted sand or gravel.
Step 5: Install Drainage Behind the Walls
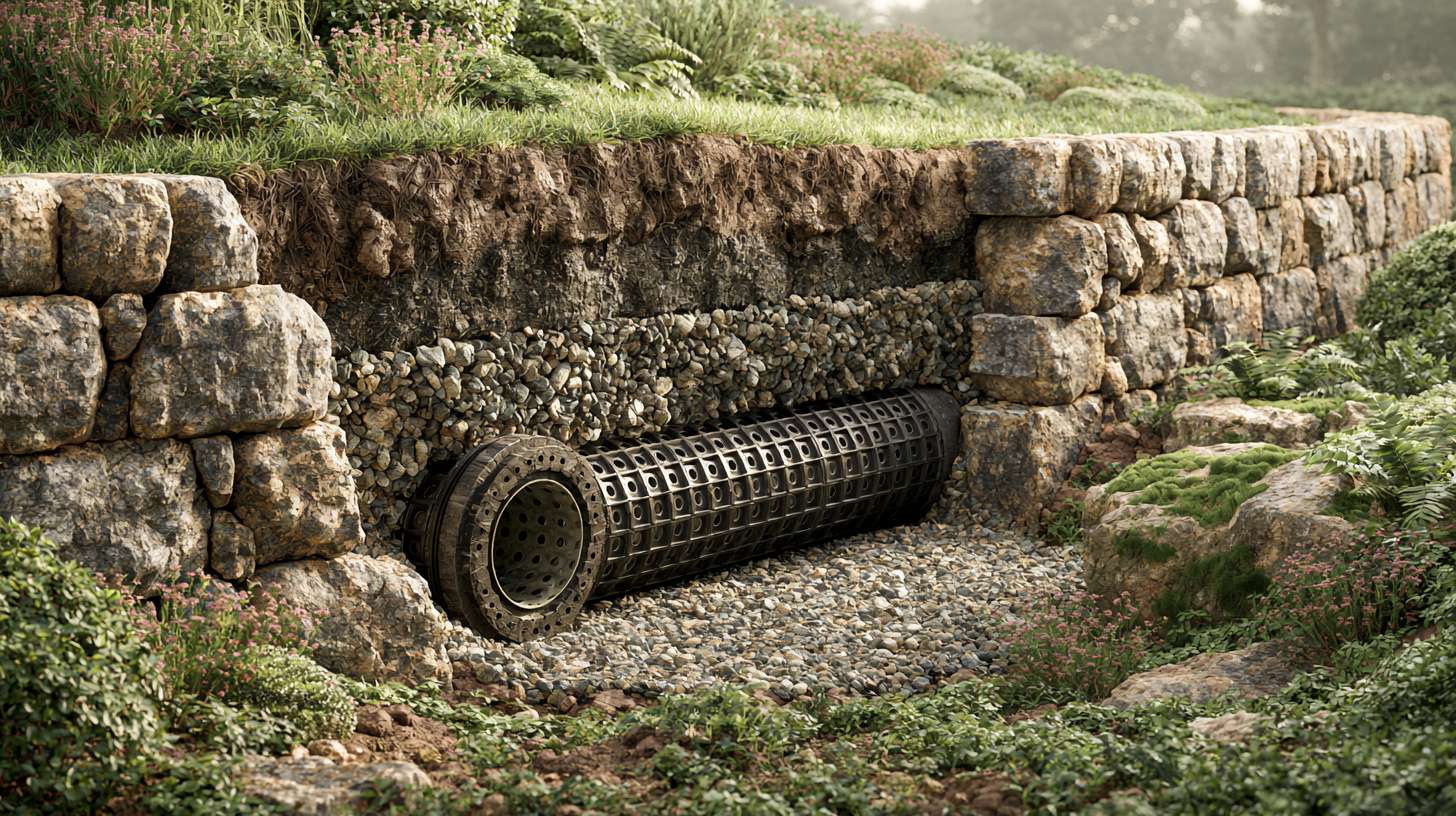
This step is critical and often skipped by beginners. Lay weed mat against the back of the wall, then fill with at least 20 to 30 cm of gravel.
For taller walls or wetter climates, add a perforated drainage pipe at the base of the gravel to carry water away. Without drainage, water pressure builds up behind the wall and can push it over.
Step 6: Backfill with Gravel and Quality Soil
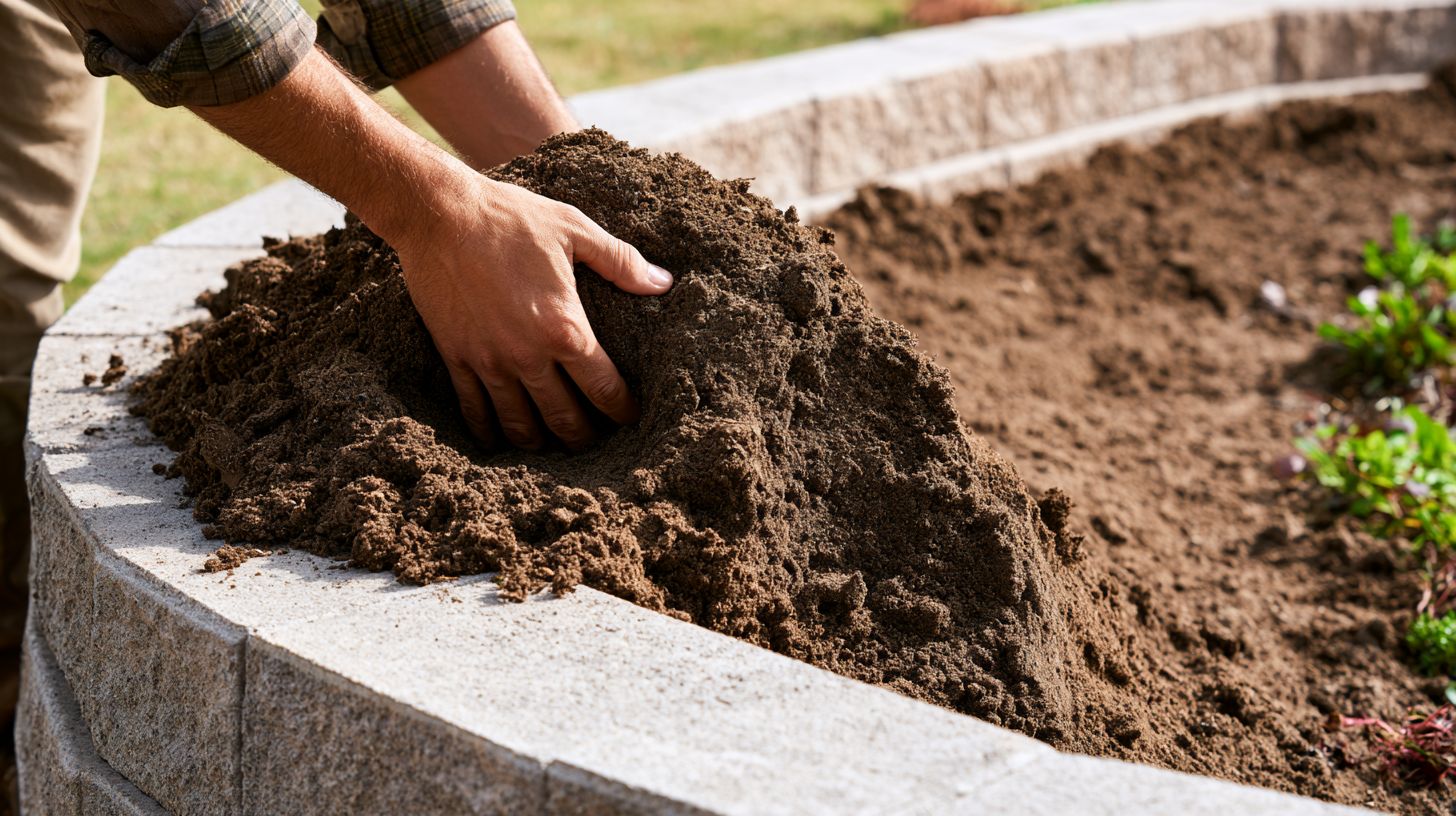
Once drainage is in place, backfill the rest of the terrace with good quality topsoil. Mix in composted manure or compost if the soil is poor.
Aim for a loose, well-structured growing medium that roots can move through easily.
Step 7: Level Each Garden Bed
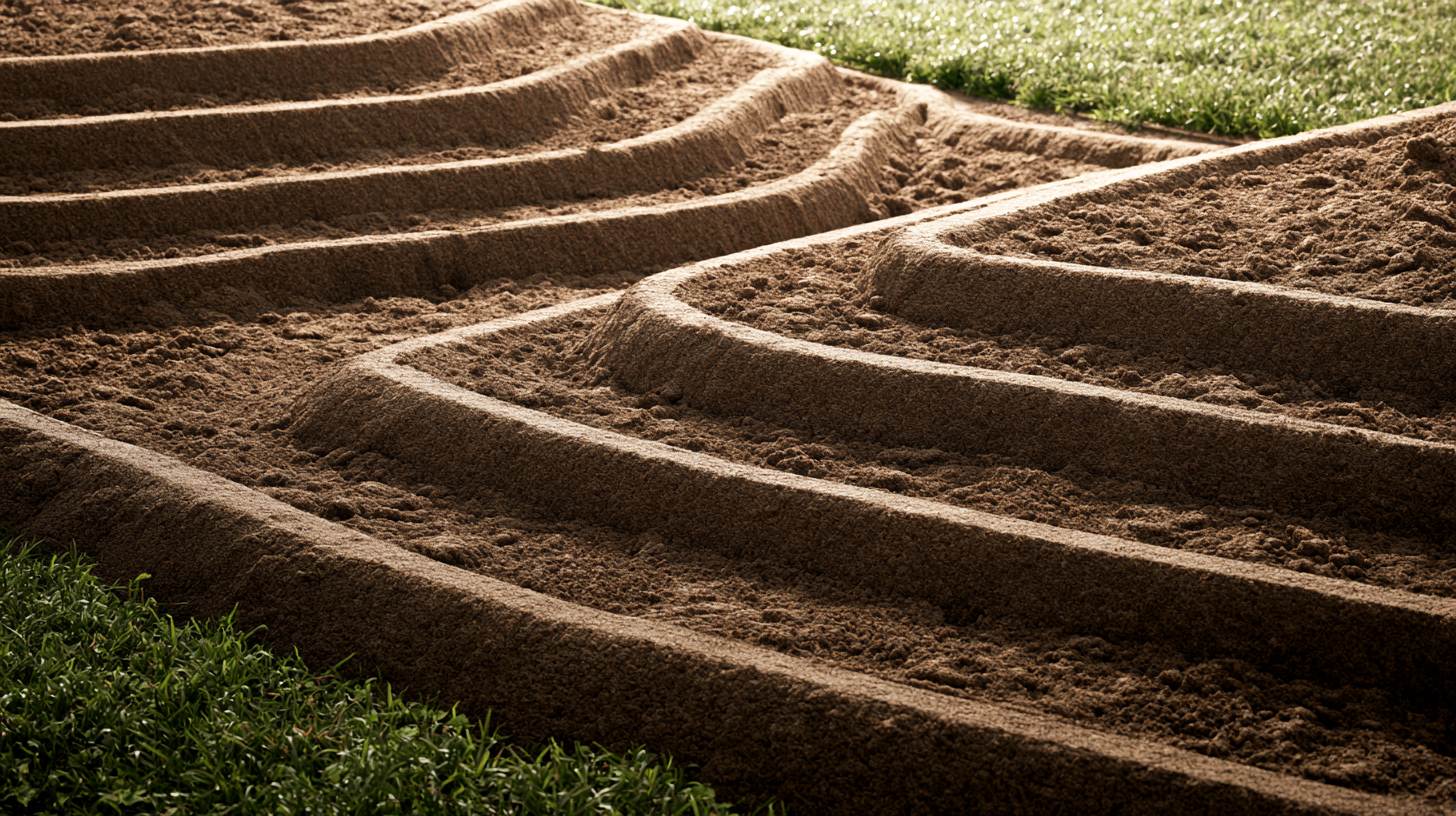
Rake each terrace level and firm it down gently. Do not compact it too hard or you will reduce the air space that plant roots need.
The surface should be flat with a very slight slope toward the wall to help water drain forward rather than pool at the back.
Step 8: Build Stairs or Pathways
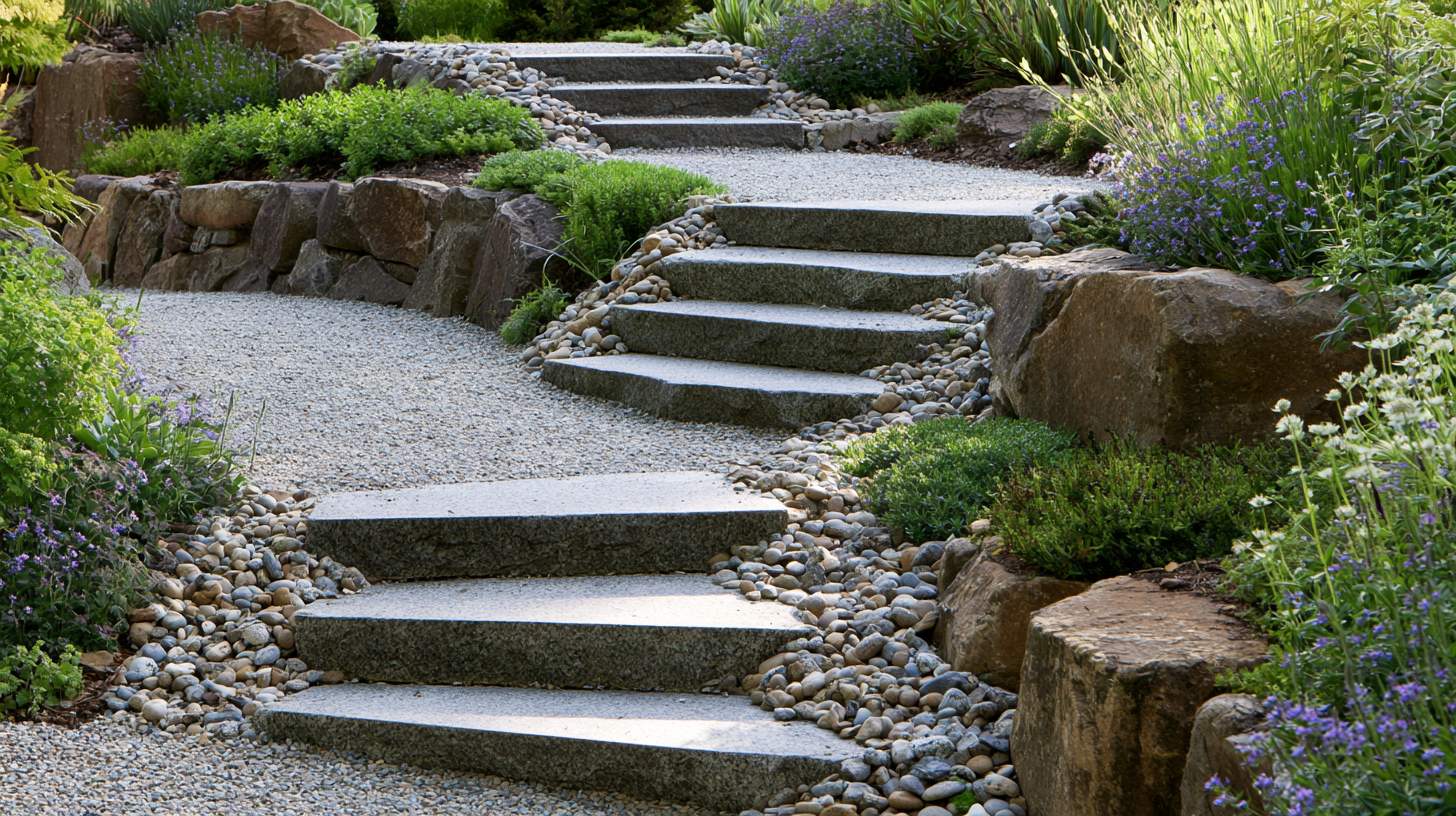
Plan access between terraces before you plant. Steps can be made from timber, stone slabs, or concrete.
Make them wide enough to carry tools and a watering can comfortably. A simple gravel path between terraces works well and is easy to install.
Step 9: Add Mulch and Begin Planting
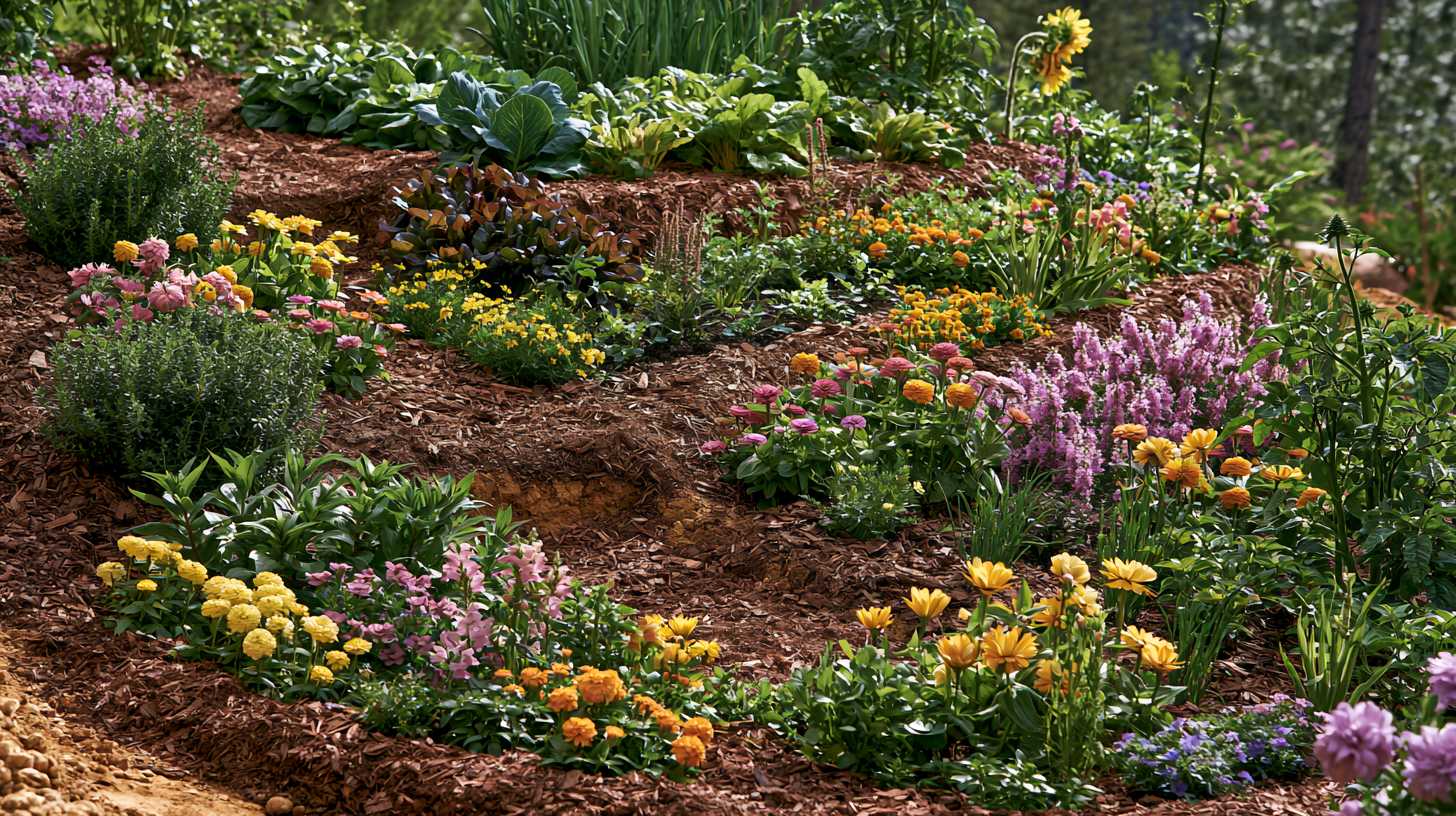
Lay weed mat over the soil if you prefer, then cover with 5 to 8 cm of mulch. Mulch holds moisture, reduces weeds, and regulates soil temperature.
Plant according to your plan, grouping plants with similar water and sun needs together.
Best Plants for a Terraced Garden

The great thing about terraced gardens is that you can match different plants to different levels based on sun, soil, and water needs.
Sunny upper terraces work well for lavender, rosemary, thyme, salvia, ornamental grasses, and sun-loving perennials. These plants handle heat and tend to need less water once established.
Middle terraces suit a wide range of plants including roses, coneflowers, agapanthus, daylilies, and most vegetable crops.
Lower terraces often stay moister and shadier. This makes them ideal for hostas, ferns, hydrangeas, and other plants that prefer cooler conditions.
Groundcovers on the slopes between terraces, like creeping thyme or native grasses, help stabilize any exposed soil and reduce the chance of erosion between the beds.
Watering and Drainage Tips
Watering on a slope is different from watering a flat garden. Here are the key points to get it right.
- Water slowly and deeply rather than quickly. Fast watering just runs off before it soaks in.
- Use drip irrigation or soaker hoses on each terrace. These deliver water directly to the root zone and are the most effective option for terraced beds.
- Check soil moisture before watering. Terraced beds often hold water longer than you expect.
- Make sure weep holes or drainage pipes behind your walls are clear and working.
- Add organic matter or composted manure to the soil each season to improve its ability to hold moisture.
Maintaining a Terraced Garden
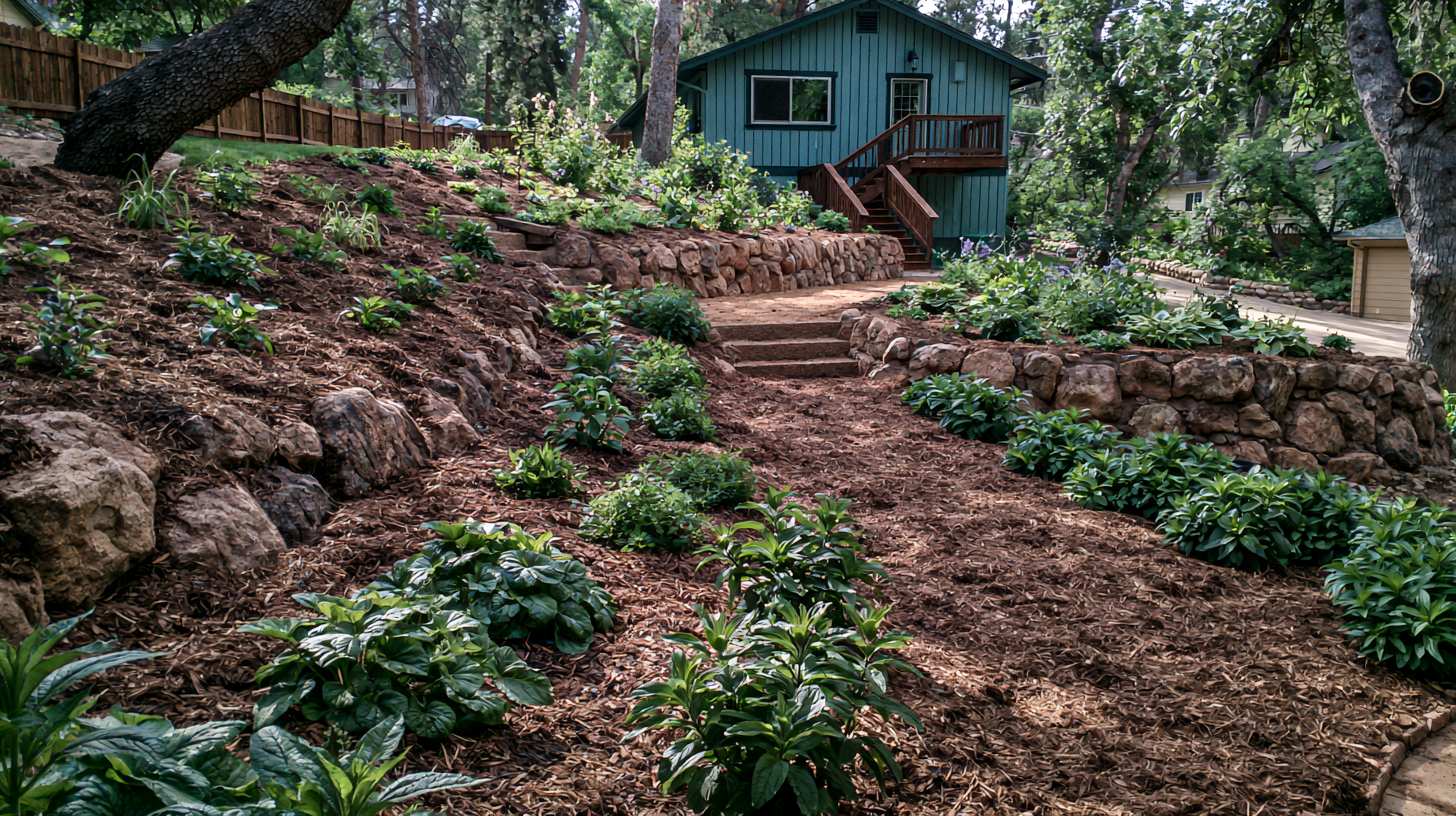
Once your terraced garden is built, keeping it in good shape is straightforward.
Check your retaining walls after heavy rain. Look for any movement, bulging, or sections that have shifted. Catching small problems early stops them from becoming bigger ones.
Top up mulch each spring. It breaks down over time and needs refreshing to keep working properly.
Add compost or composted manure to each bed once or twice a year to replenish nutrients. This is especially important for vegetable terraces.
Keep an eye on weeds. Weed mat and mulch help a lot, but some weeds still find a way through. Deal with them while they are small.
Clear weep holes and drainage pipes each autumn, especially if you have trees nearby. Leaves and debris can block them over winter and cause drainage issues in spring.
Troubleshooting Common Terraced Garden Problems
Even a well-built terraced garden can develop issues over time. Here is how to deal with the most common ones.
- Wall movement or leaning usually points to drainage failure or a wall that was not properly anchored. Recheck weep holes and drainage first.
- Waterlogged beds happen when drainage is blocked or the soil has too much clay. Dig in gravel or coarse sand and clear any drainage pipes. Raised planting in each bed can also help, and the best material for raised garden beds depends on your budget and soil.
- Soil slumping at the back of beds is common in new terraces. It happens as soil settles. Top up with fresh compost or topsoil and firm it down. This usually settles out after the first season.
- Erosion between terraces means exposed soil is getting hit by rain or wind. Plant groundcovers on exposed areas or use weed mat and gravel to protect the surface.
- Poor plant growth often comes back to soil quality. Test your soil pH and nutrient levels. Most vegetables and ornamentals do best in a pH between 6 and 7. Adjust with lime or sulphur as needed.
Terraced Garden Costs
The cost of building a terraced garden varies widely depending on size, materials, and whether you do the work yourself.
As a general guide, a small two-terrace project using pressure-treated timber sleepers might cost between $500 and $1,500 in materials.
A medium-sized project with three to five terraces in stone or concrete blocks could range from $2,000 to $6,000. Large or complex projects can go well beyond that, especially if you hire excavation equipment or a landscaper.
The main cost factors are wall material, the amount of soil and gravel needed, any drainage infrastructure, steps or pathways, and labour if you hire help.
Doing the work yourself saves a significant amount. However, for walls over 1 metre tall or slopes steeper than 30 degrees, getting professional help is worth the cost. A poorly built retaining wall is expensive to fix and potentially dangerous.
Do You Need to Hire a Professional?
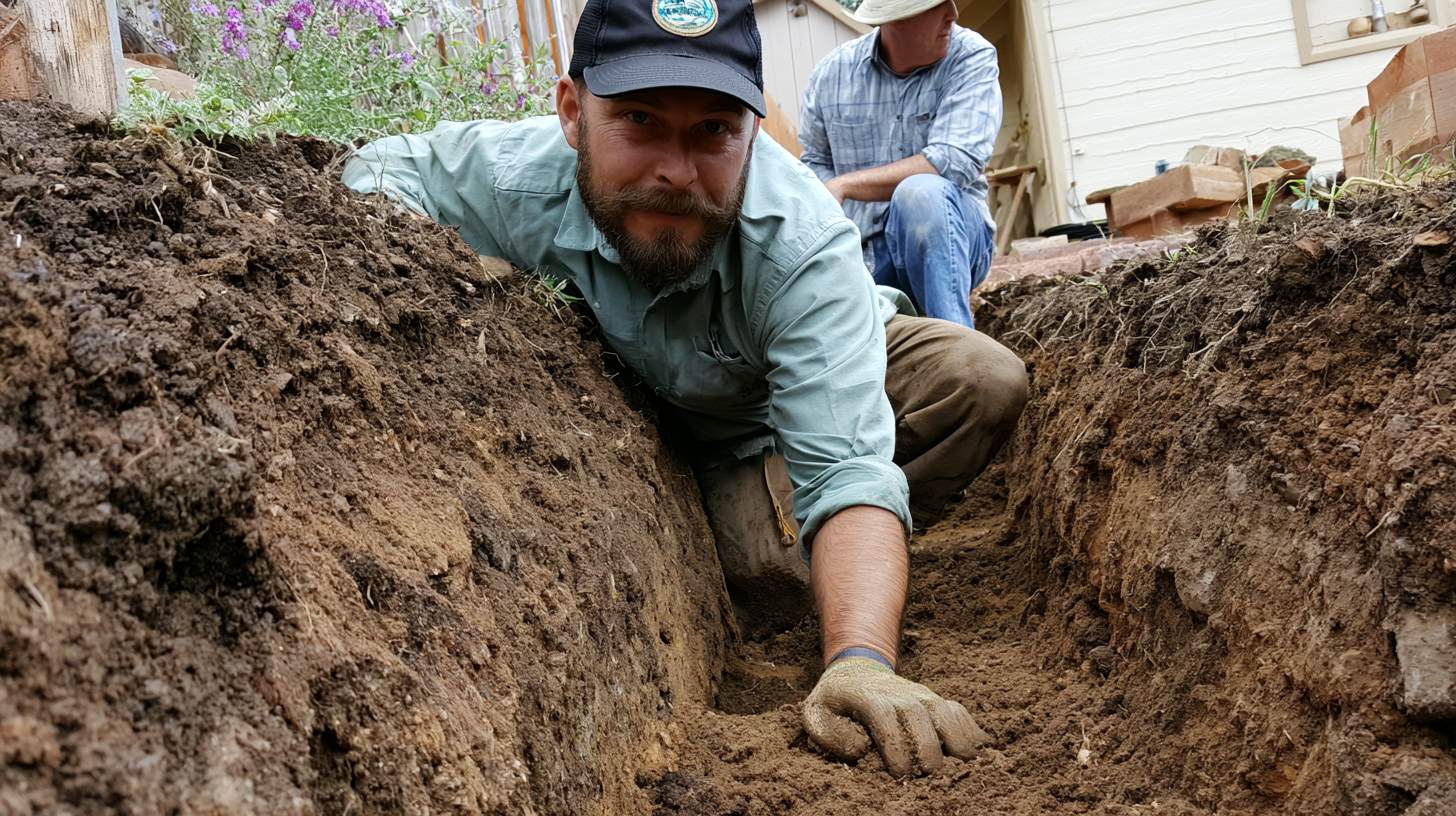
Knowing when to do it yourself and when to call in help can save you a lot of trouble.
Small to medium terraced gardens with low walls are well within reach for most homeowners with basic tools. If your slope is gentle and walls will stay under 1 metre, go ahead and do it yourself.
For steeper slopes, taller walls, or sites near a boundary fence, consult a landscaper or structural engineer. Also check local council rules before you start.
If your slope runs along a property line, a step-down fence on a slope is worth planning alongside your terraces.
Conclusion
A terraced garden takes effort to build, but the payoff is a yard that is both functional and genuinely enjoyable to spend time in.
The most important things to take away are solid planning, proper drainage, and quality materials. Get those three right and your terraced garden will hold up for years.
Now it is time to put what you have learned into action. Start with your slope measurements, sketch out your plan, and take it one step at a time.
If this guide helped you, share it with a friend who has a tricky slope, or drop a comment below with your questions or how your project went.
Frequently Asked Questions
How deep should a terraced garden wall footing be?
Most retaining walls need a footing depth of at least 10 to 15 percent of the wall's total height, buried firmly in undisturbed ground.
Can I terrace a garden on rented property?
Yes, but always get written permission from your landlord first. Stick to temporary or removable structures like lightweight timber where possible.
Do terraced gardens need a permit?
In many areas, retaining walls over 600 mm to 1 metre require a council permit. Always check local building regulations before starting construction.