Starting a garden is exciting until you face the empty yard. Where do the beds go? Which plants sit near the door? Where does the water run?
A good beginners permaculture garden layout answers these questions before you dig. It gives every bed, path, and plant a clear job.
This guide walks you through the steps. You will learn how to watch your yard, set up zones, place beds and paths, and group plants that help each other. We also cover water and common mistakes.
The tips follow core permaculture ideas, explained in plain words for first-time gardeners. By the end, you will have a simple plan you can start using right away.
What Is a Permaculture Garden Layout?
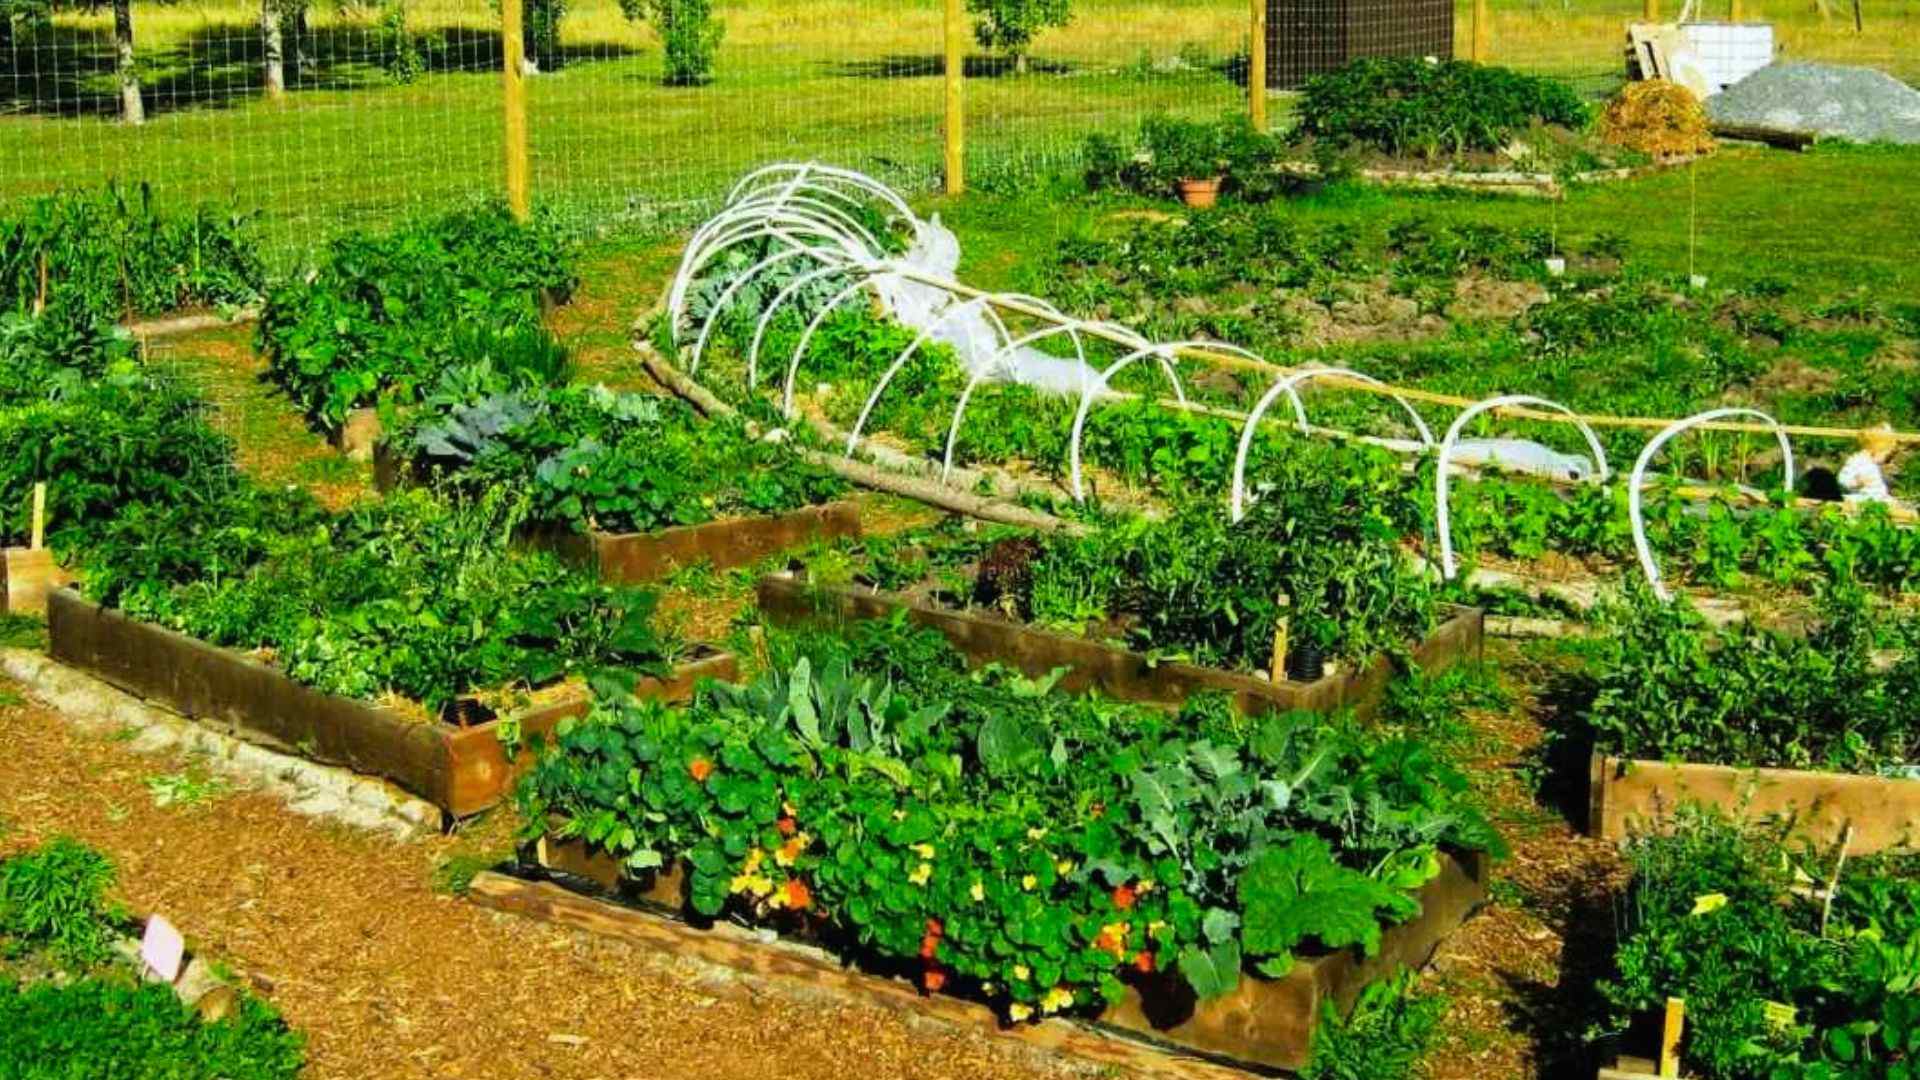
A permaculture garden layout is a plan that arranges plants, beds, water systems, and paths so they support one another.
Instead of planting in random rows, you group things by their needs and by how often you visit them.
Planning matters because a garden without a plan wastes water, soil, and effort. When you take time to design your space first, you save yourself from digging in the wrong spot or planting trees where they will block sunlight later.
It improves soil health by keeping beds undisturbed and covered. And it creates a garden that keeps producing food with less work each year.
Step-by-Step Guide
Follow these simple planning steps to create a permaculture garden layout that makes the best use of your space, improves growing conditions, and supports a healthy, low-maintenance garden for years to come.
Step 1: Work With Nature Instead of Against It
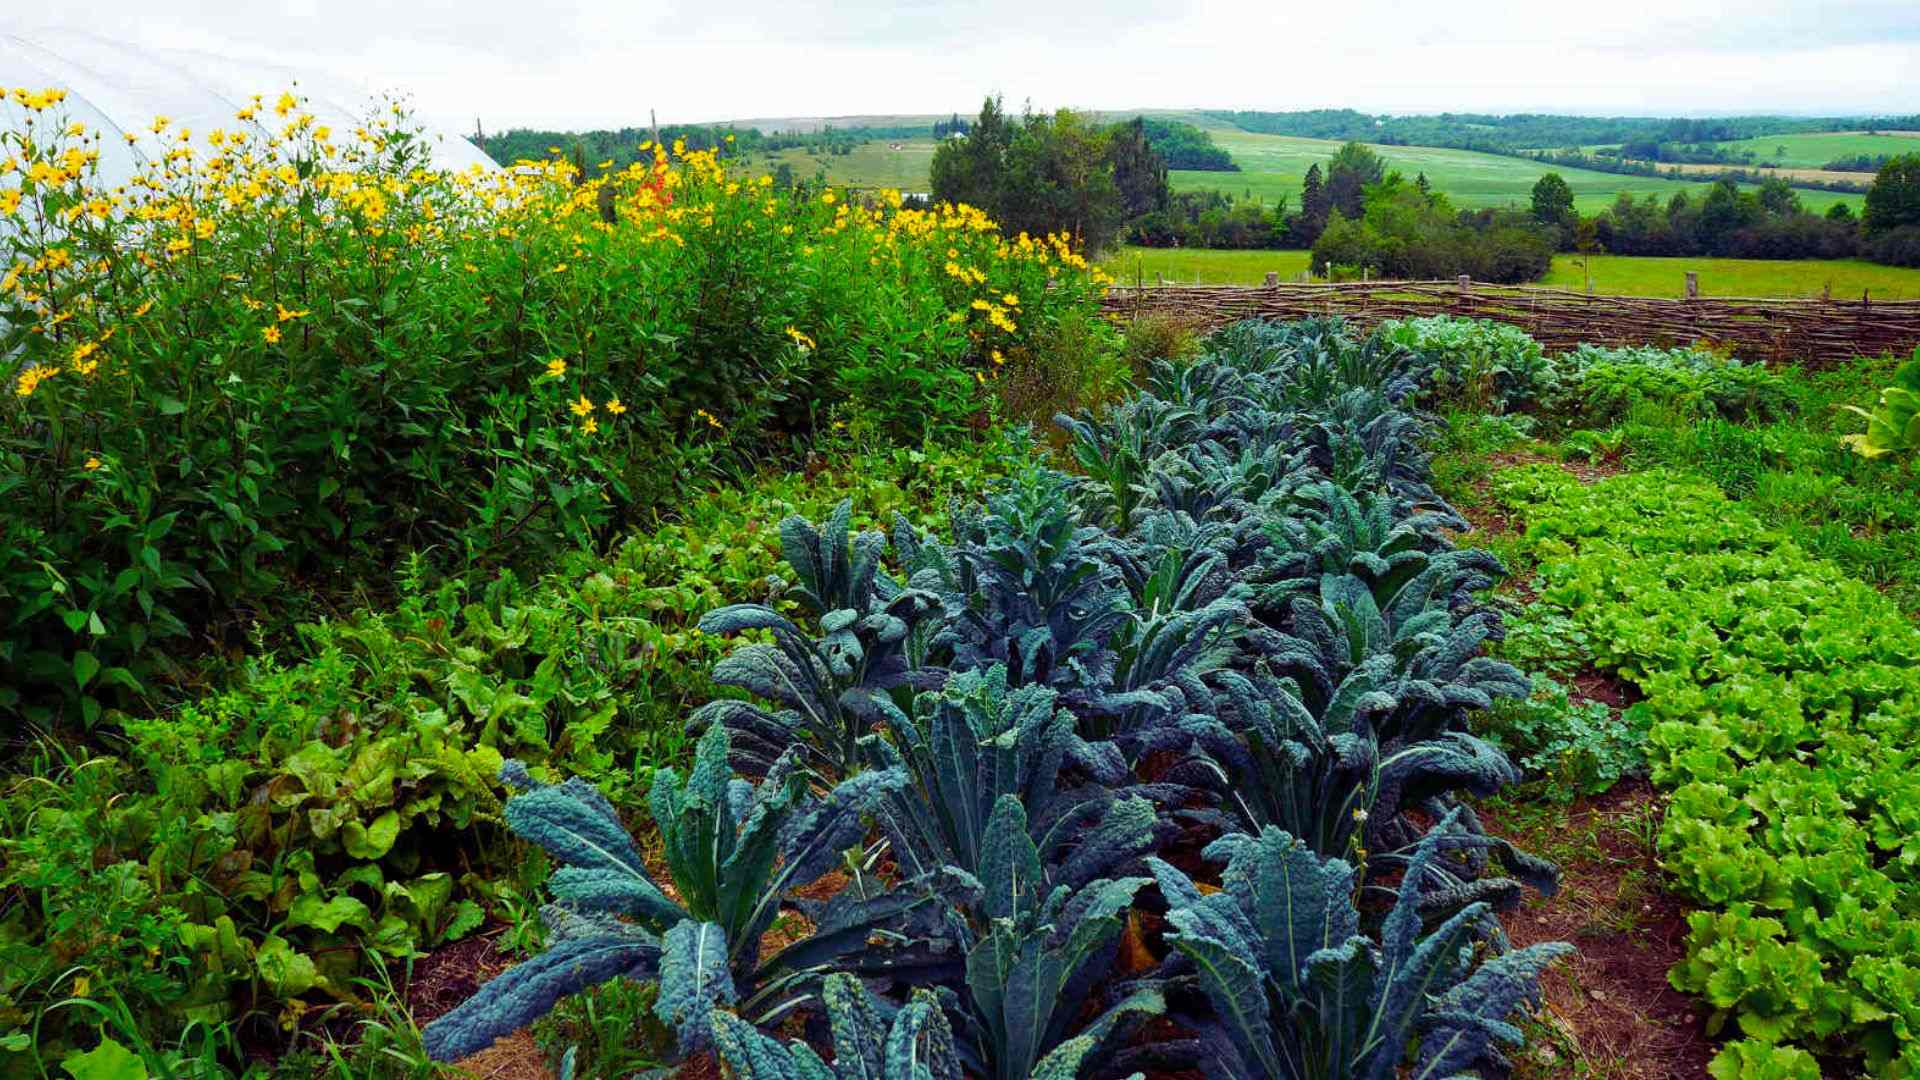
Permaculture is based on observing how nature already solves everyday challenges.
Rain naturally flows downhill, fallen leaves become nutrients for the soil, and different plants support one another as they grow.
Instead of forcing your garden into an artificial design, create a layout that works with these natural patterns.
This approach reduces maintenance, improves plant health, and helps build a more self-sustaining garden over time.
Step 2: Observe Your Garden Before Designing
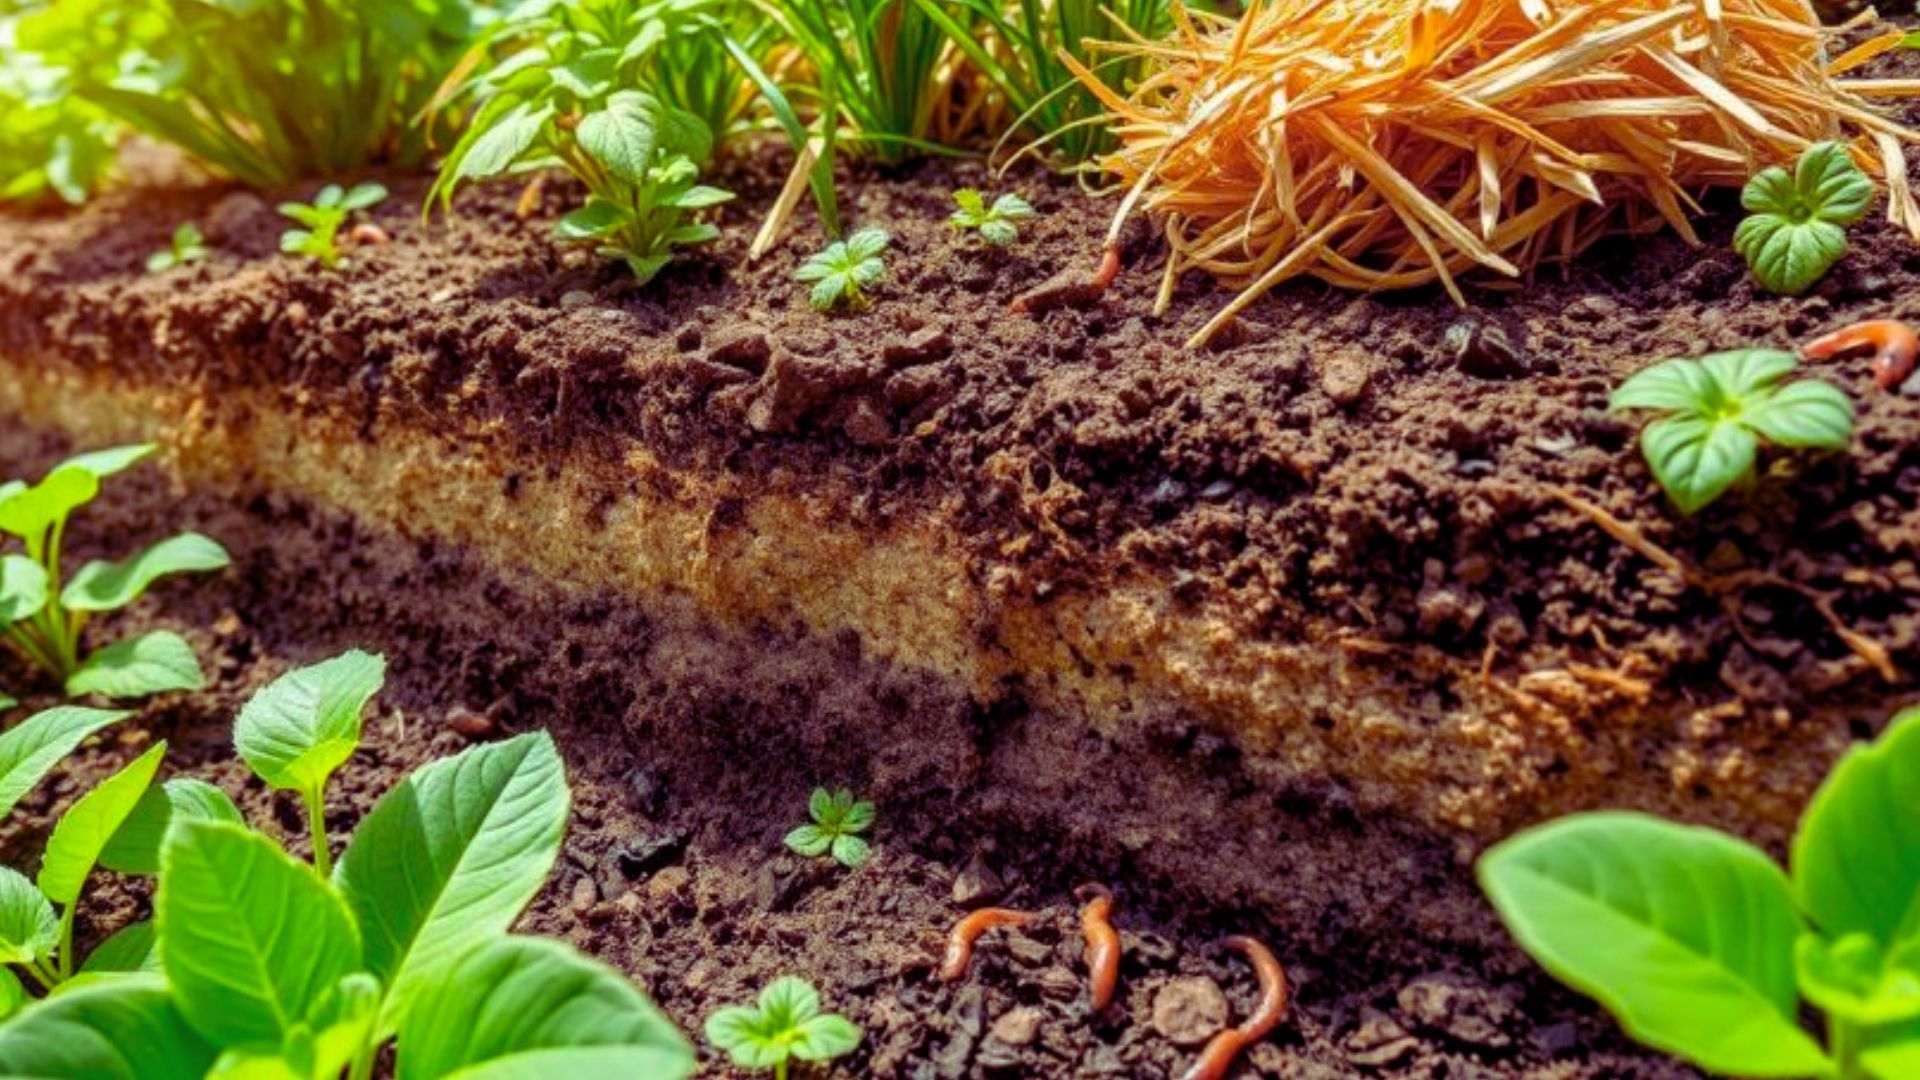
Spend a few weeks watching your yard before you plant anything. Note where the sun lands in the morning and afternoon, where water pools after rain, and which spots stay dry.
This information will guide almost every choice you make later.
These small shifts create microclimates, pockets of sun, shade, or wind that affect which plants will do best in each corner of your yard.
Step 3: Maximize Every Element's Purpose
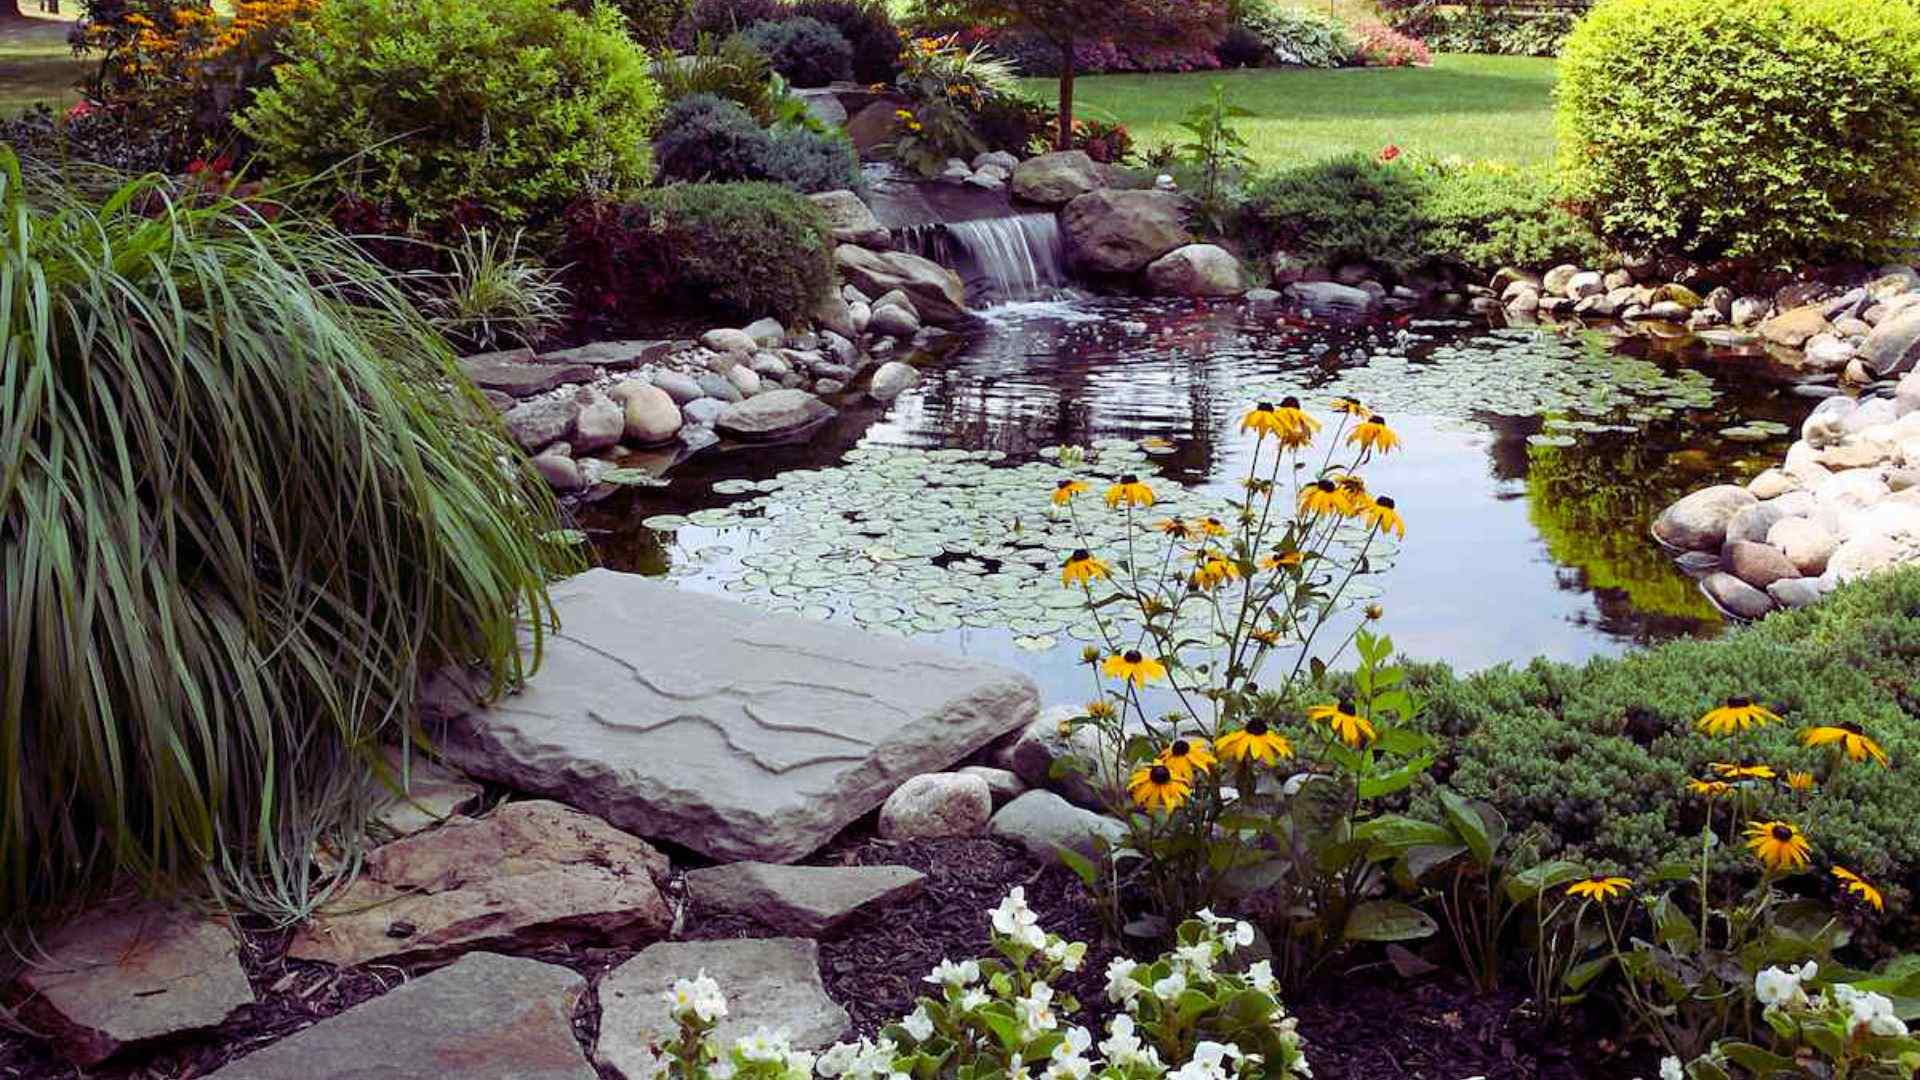
In a permaculture garden, every feature should perform more than one function whenever possible.
A fruit tree can provide food, shade, wildlife habitat, and organic matter for the soil, while a pond can store water, cool the surrounding area, and support beneficial insects or fish. Looking for multiple uses helps you make the most of every part of your garden.
Step 4: Assess Sunlight, Shade, and Wind Patterns
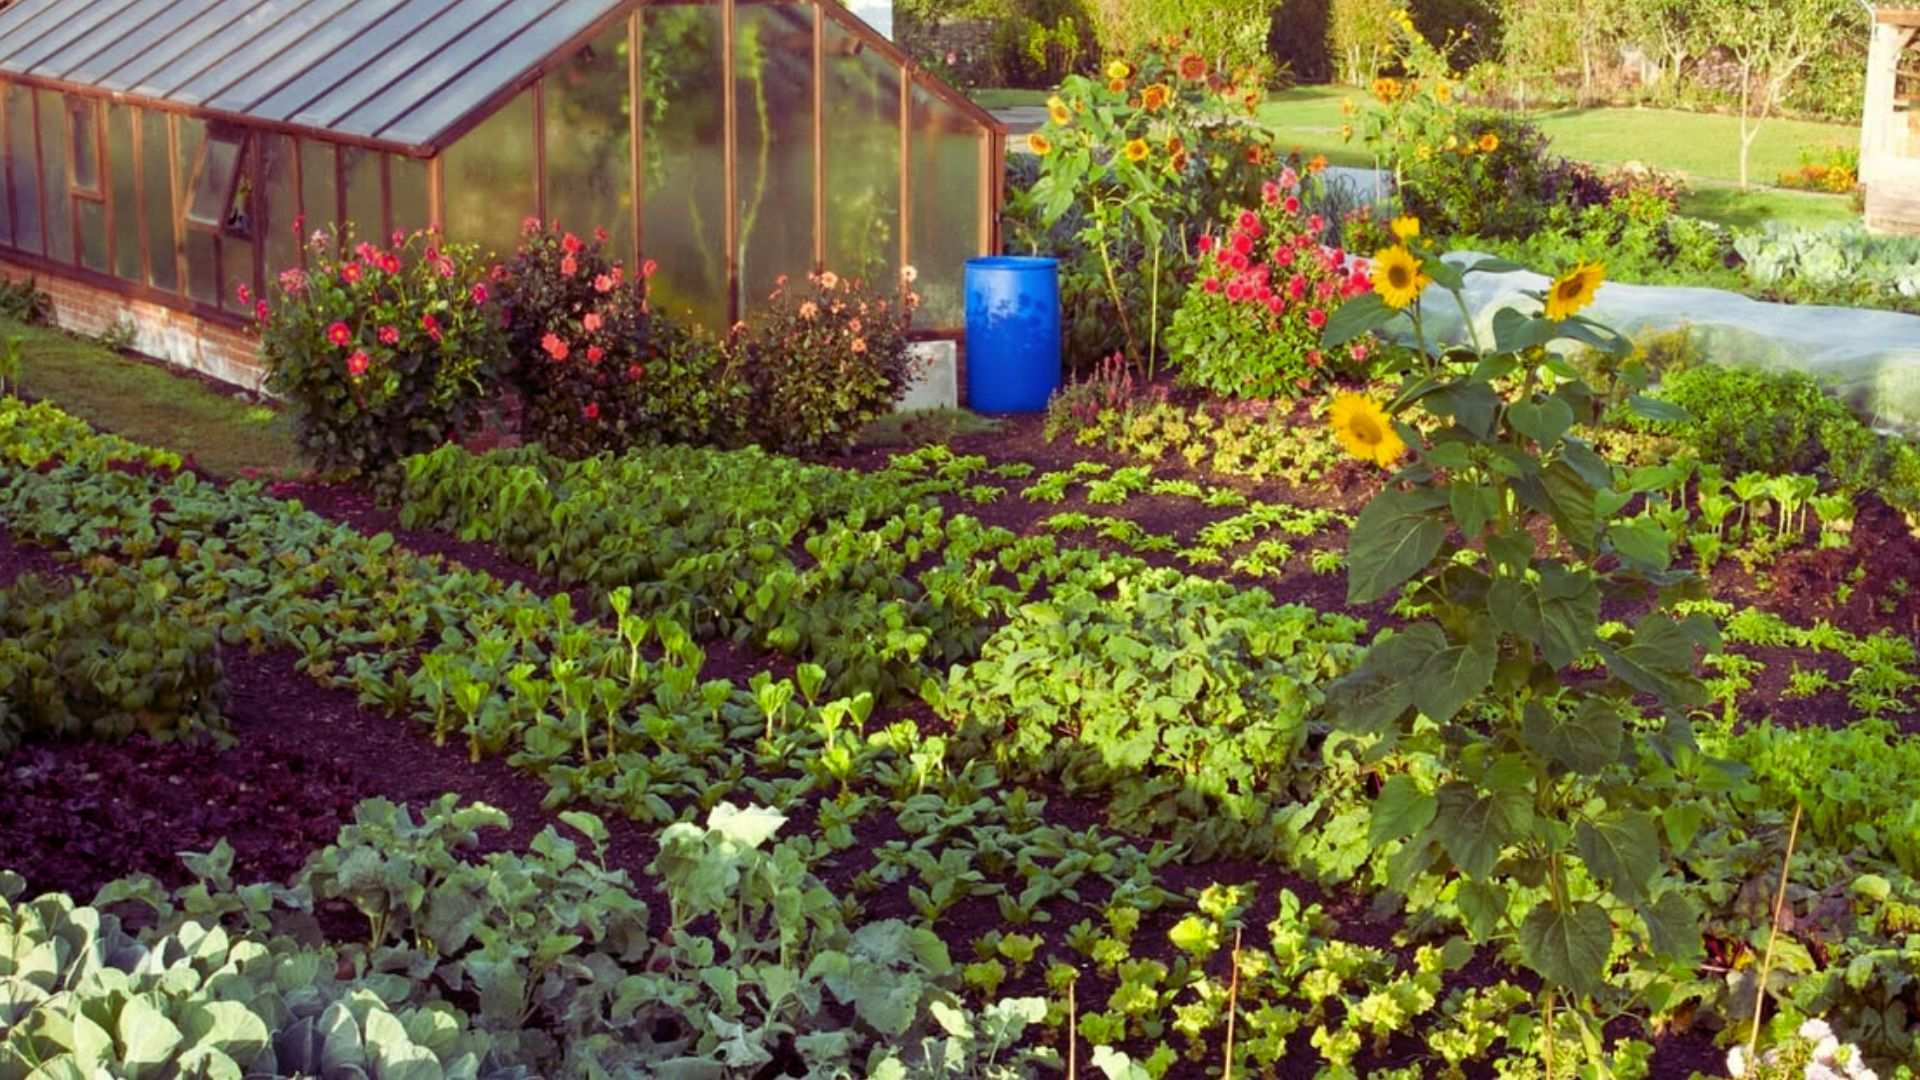
Walk your yard at different times of day and write down which areas get full sun, partial shade, and full shade. Most vegetables need six hours of direct sun.
Note which direction strong winds come from too, since this affects where you place taller plants or wind barriers.
Also watch for frost pockets, low spots where cold air settles and collects on chilly mornings. These areas often stay colder for longer, so they are worth avoiding for tender plants in early spring.
Step 5: Test Your Soil and Drainage
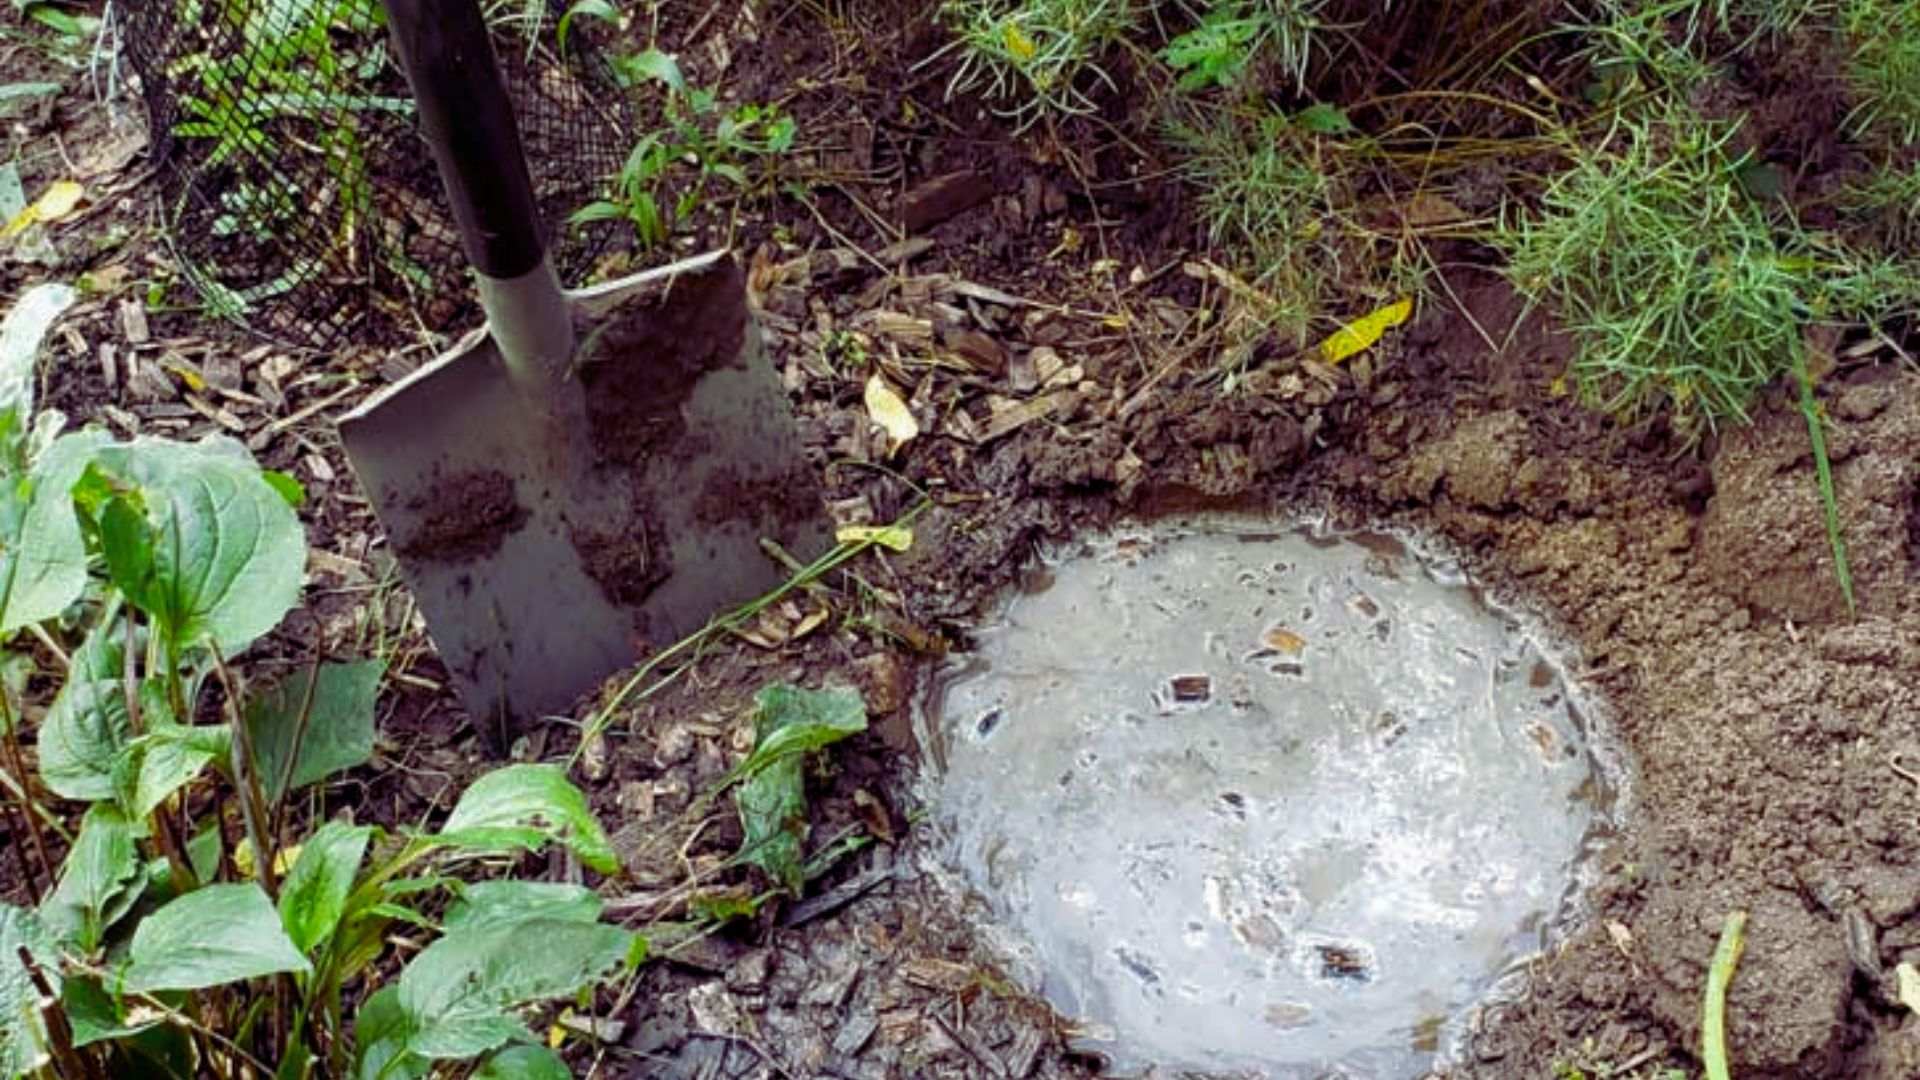
Dig a small hole and fill it with water to see how quickly it drains.
If the water disappears within a few hours, your soil has good drainage, while standing water for a day or more may indicate the need for raised beds or drainage improvements.
A basic soil test kit can also measure pH and nutrient levels, helping you choose the right plants and soil amendments.
Step 6: Identify Water Sources and Rainwater Flow
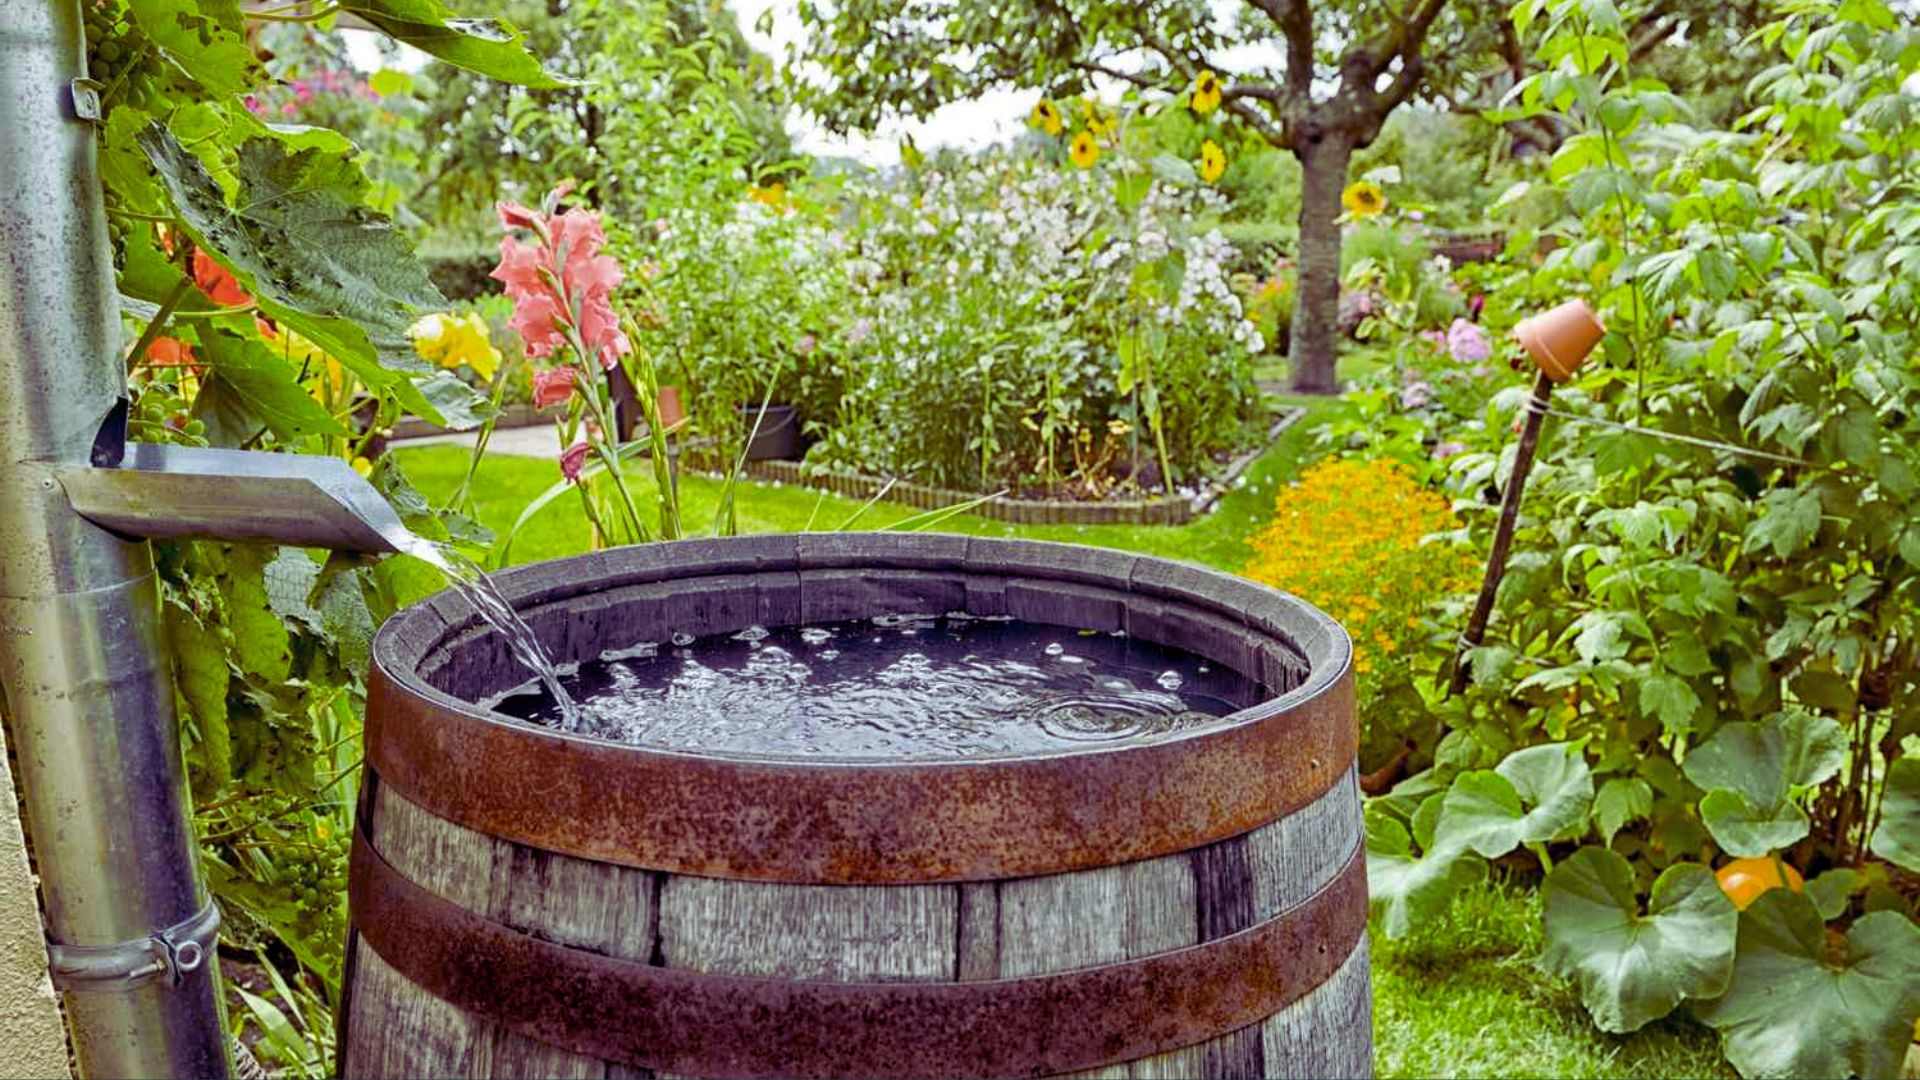
Locate your outdoor water sources and check how far a hose or irrigation system can comfortably reach.
During rainfall, observe where water naturally flows, pools, or drains across your property.
This information helps you decide the best locations for rain barrels, swales, or other water-harvesting features that keep your garden well supplied with moisture.
Step 7:Measure Your Available Growing Space
Get exact measurements of your yard so you can plan bed sizes and paths that actually fit.
This step also helps you decide how many beds you can realistically manage as a first-time gardener.
Sketch your growing space on graph paper before you dig. Seeing your beds, paths, and zones drawn to scale makes it much easier to spot problems before they become expensive mistakes.
Understand Permaculture Zones for Better Garden Planning
Permaculture zones organize your garden by how often you need to visit each area. This is one of the most useful ideas for permaculture garden planning.
Zone 0, Your Home:This is your house itself, where daily decisions about food and water use begin.
Zone 1, Daily-Use Crops and Herbs:Plant herbs, salad greens, and vegetables you pick often right outside your kitchen door. You will visit this zone daily, so keep it close and easy to reach.
Zone 2, Vegetables and Fruit Bushes: A bit further out, place vegetable beds and fruit bushes that need regular but not daily attention, such as watering every few days or weekly harvesting.
Zone 3, Staple Crops:This area holds larger crops like corn, beans, or squash that need less frequent care once established.
Zone 4, Managed Woodland:Here you might grow fruit or nut trees and collect firewood. This zone needs occasional visits, maybe once a month.
Zone 5, Natural Wildlife Area:Leave this space wild and untouched. It supports local wildlife and pollinators, which benefit the rest of your garden.
Important Elements to Include in a Beginners Permaculture Garden Layout
Certain features appear in almost every successful permaculture backyard garden because they improve efficiency, conserve resources, and make daily maintenance easier.
Adding these elements from the beginning creates a layout that is practical, productive, and easier to expand over time.
Raised Garden Beds
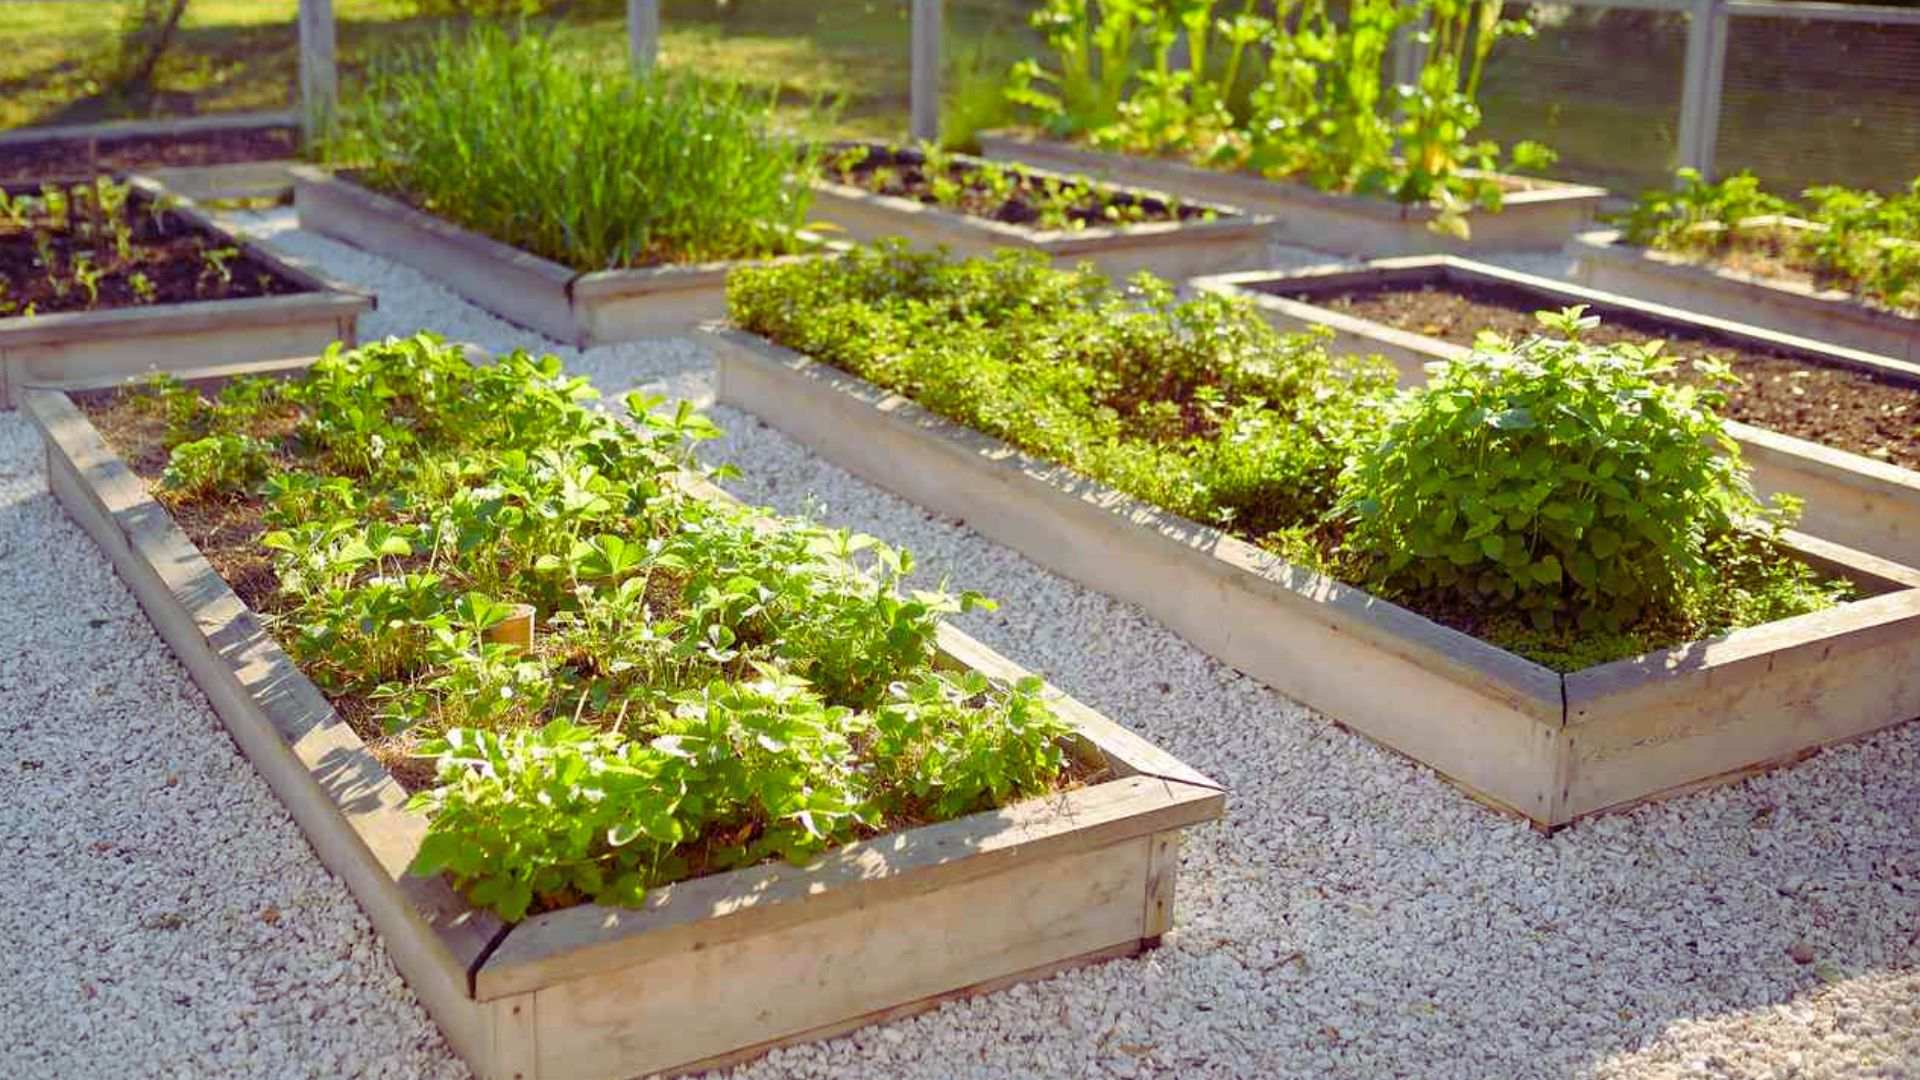
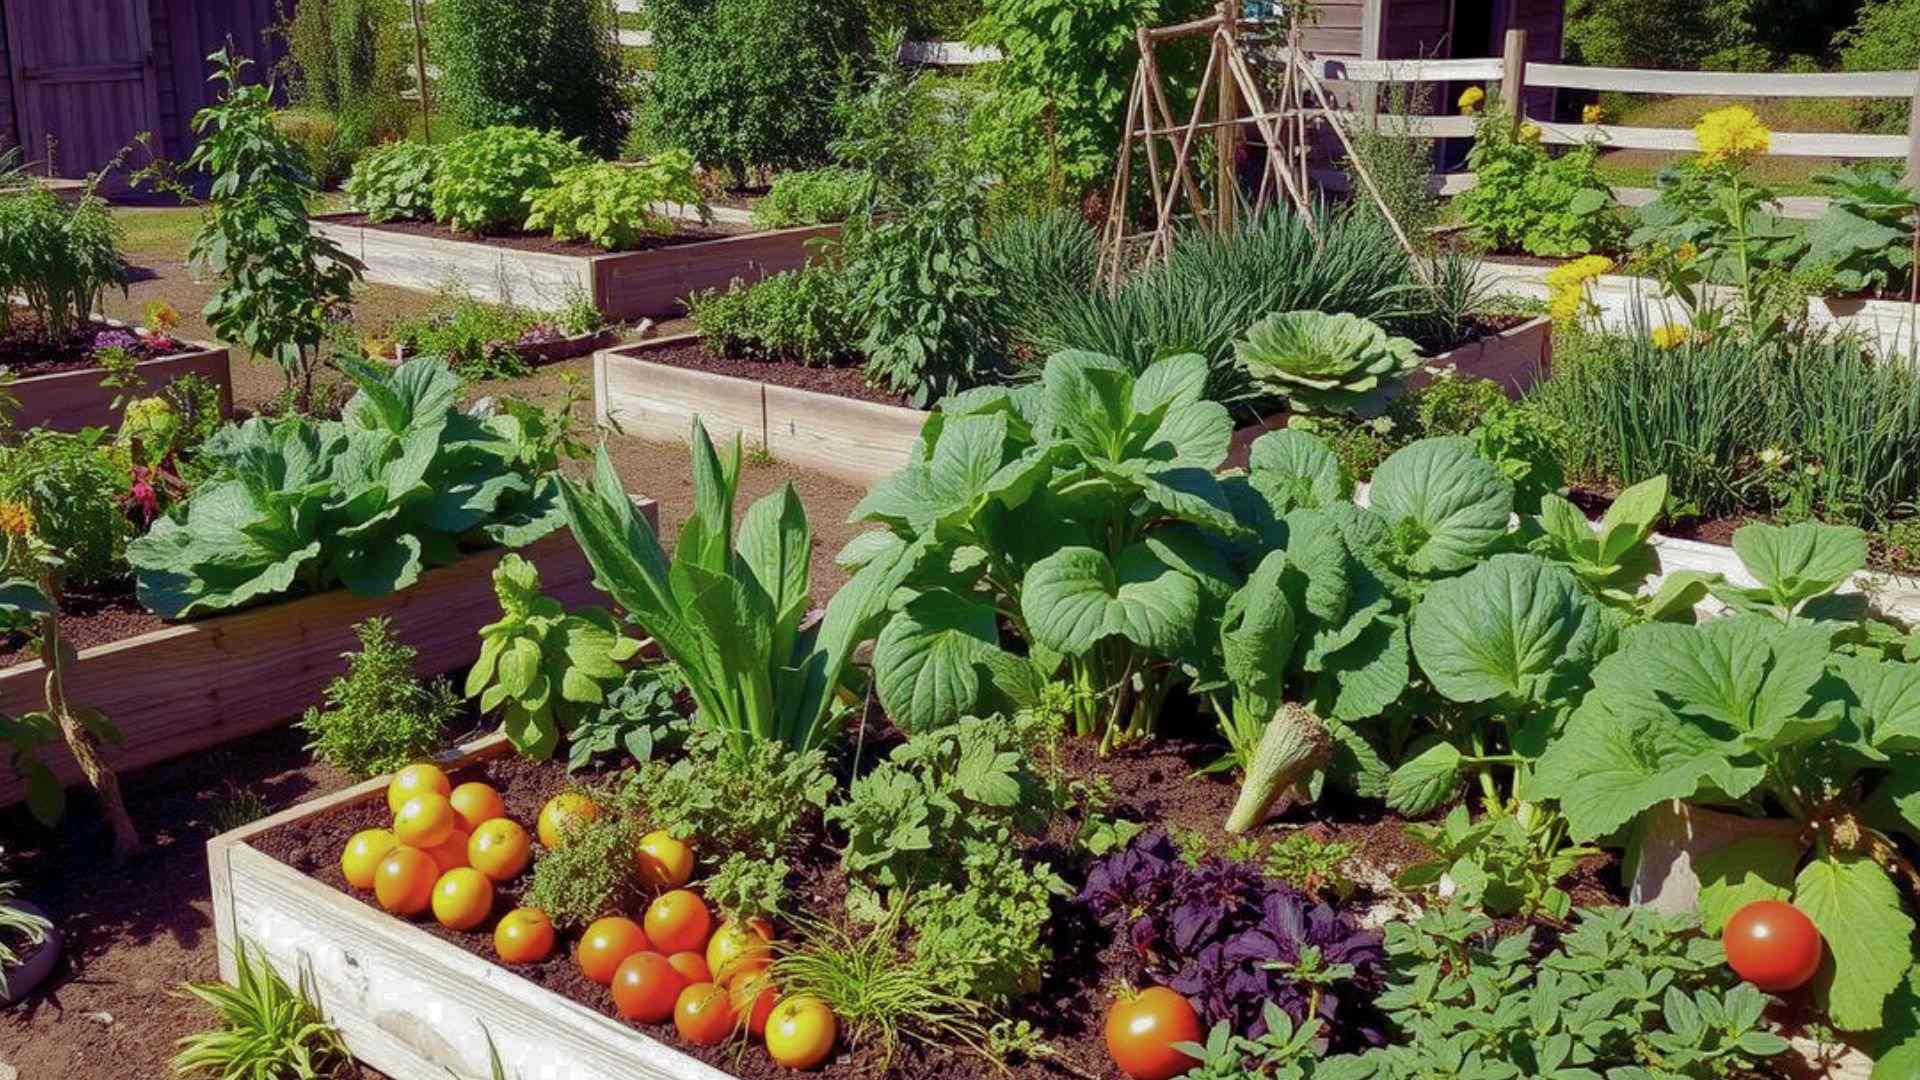
Raised beds warm up faster in spring, drain well, and are easier on your back. They are a practical option for a permaculture vegetable garden, especially if your native soil is poor. Before you build, compare the best material for raised garden beds.
If you want a bed that holds moisture for years, try hugelkultur. This method piles rotting wood and soil into a raised mound that slowly feeds your plants as the buried biomass breaks down underneath.
Compost Bin or Compost System
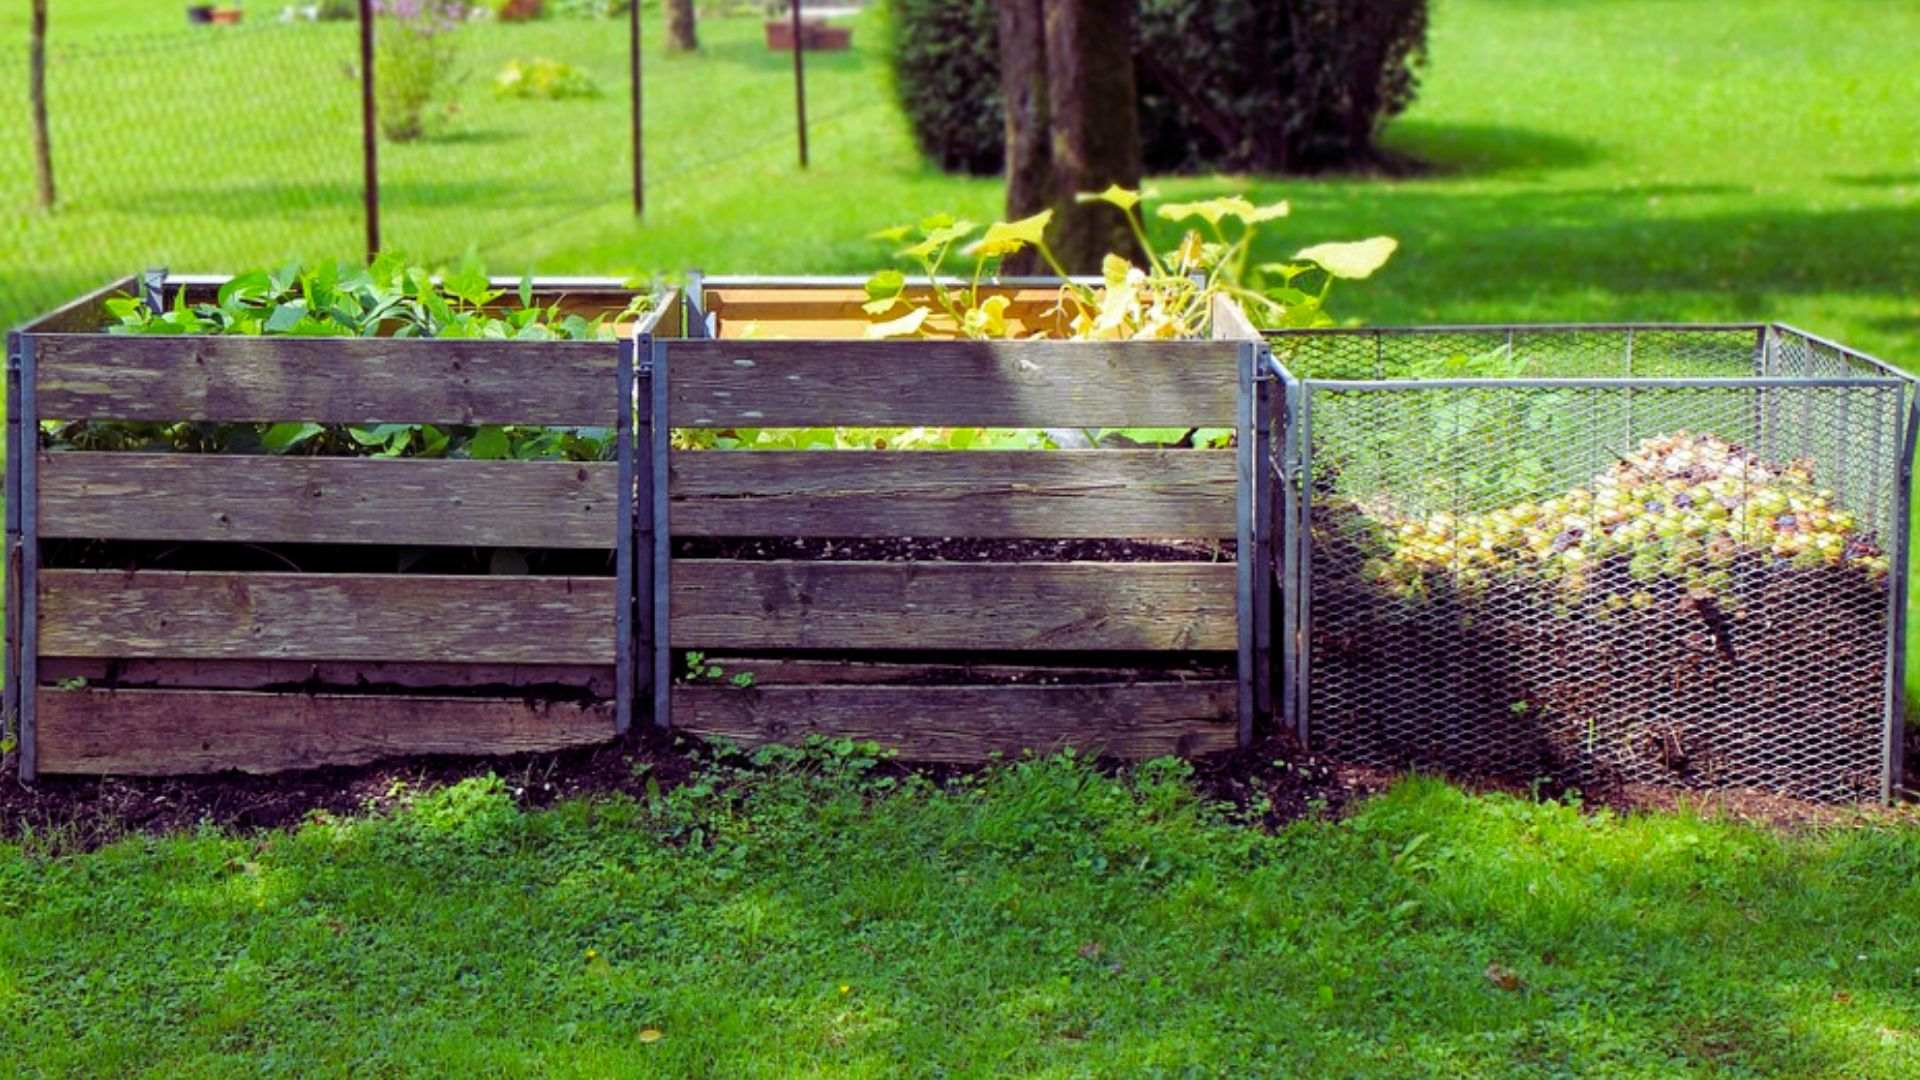
A compost bin turns kitchen scraps and yard waste into rich soil. Place it somewhere convenient but not directly under a window, since it can produce a smell while breaking down.
If space is tight, worm compost, also called vermicompost, is a good alternative. A worm bin fits under a sink or in a small shed and turns food scraps into rich, ready-to-use fertilizer.
Rainwater Harvesting Setup
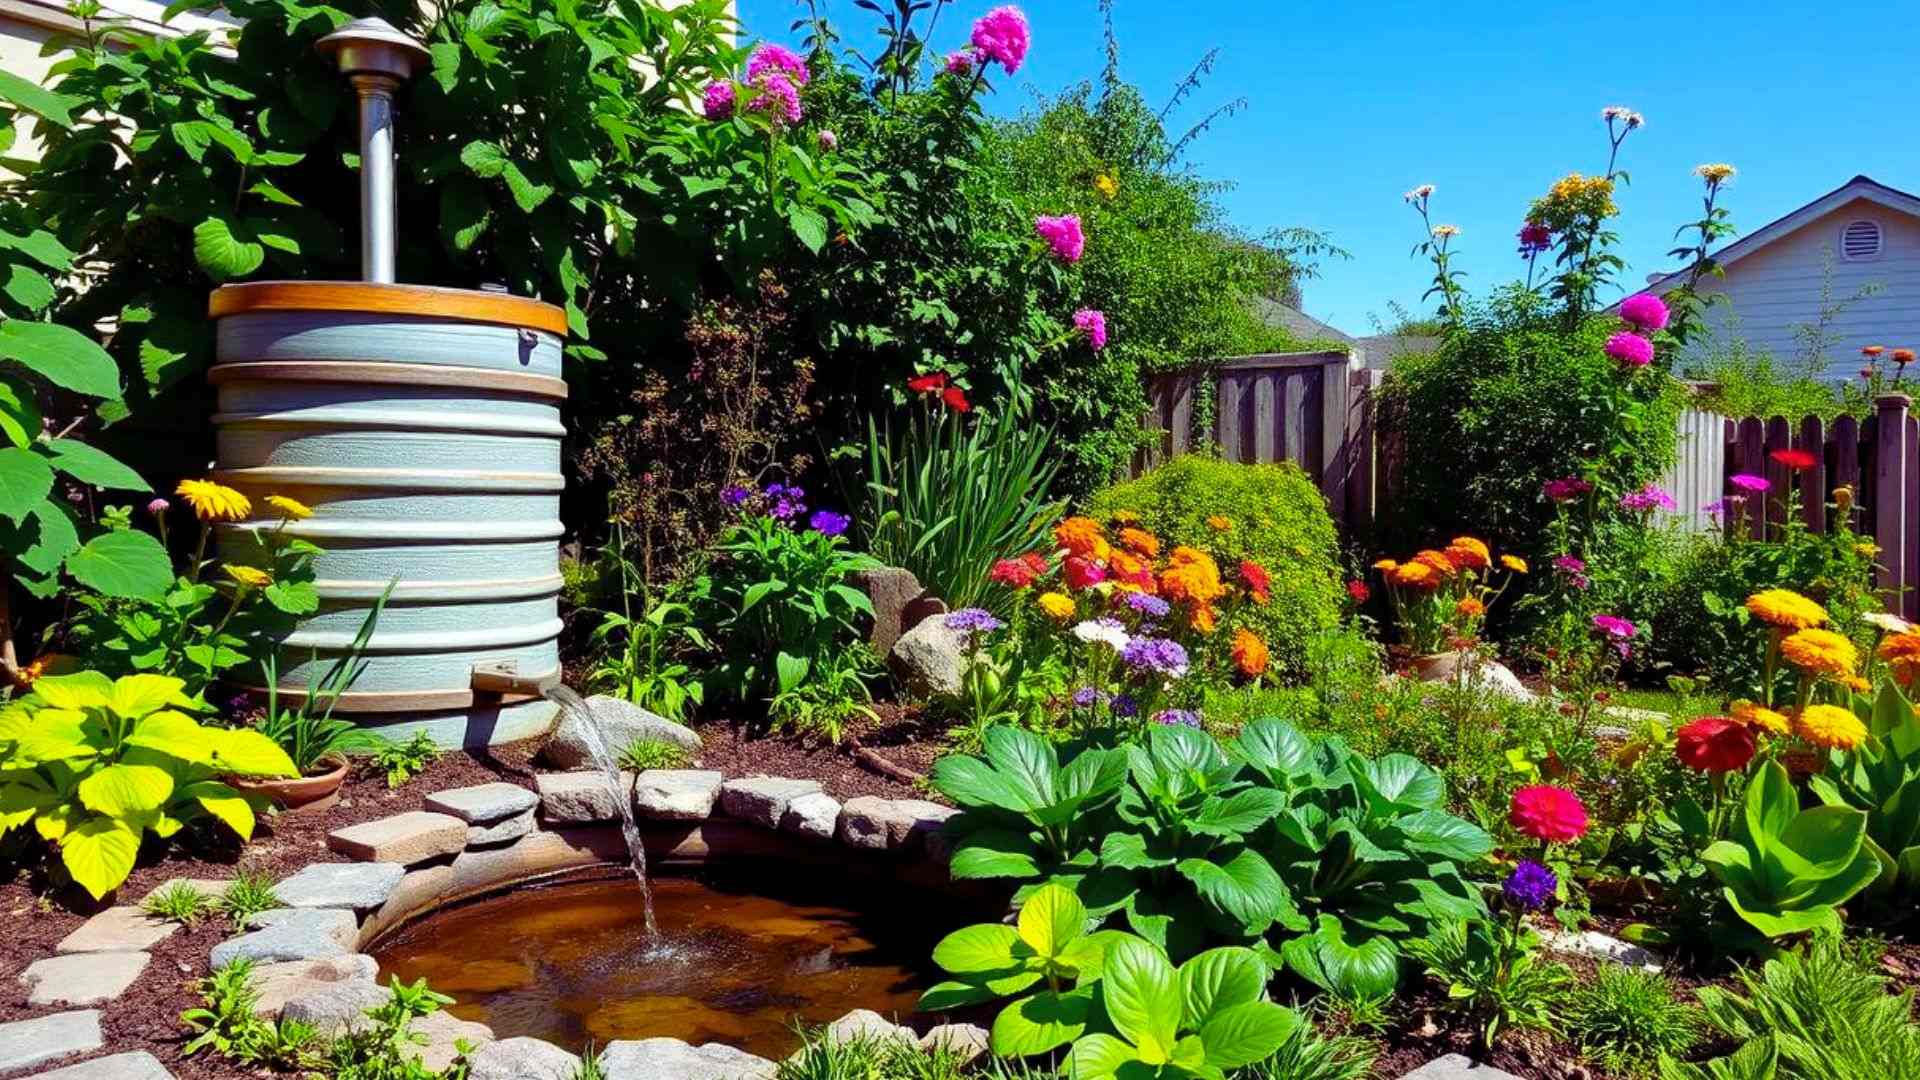
Rain barrels connected to your gutters collect free rainwater that can be used during dry periods. This reduces your water bill, conserves natural resources, and provides a reliable water supply for your garden when rainfall is limited.
Positioning the barrel near your growing beds also makes watering quicker and more convenient while reducing dependence on treated tap water.
Mulching Areas
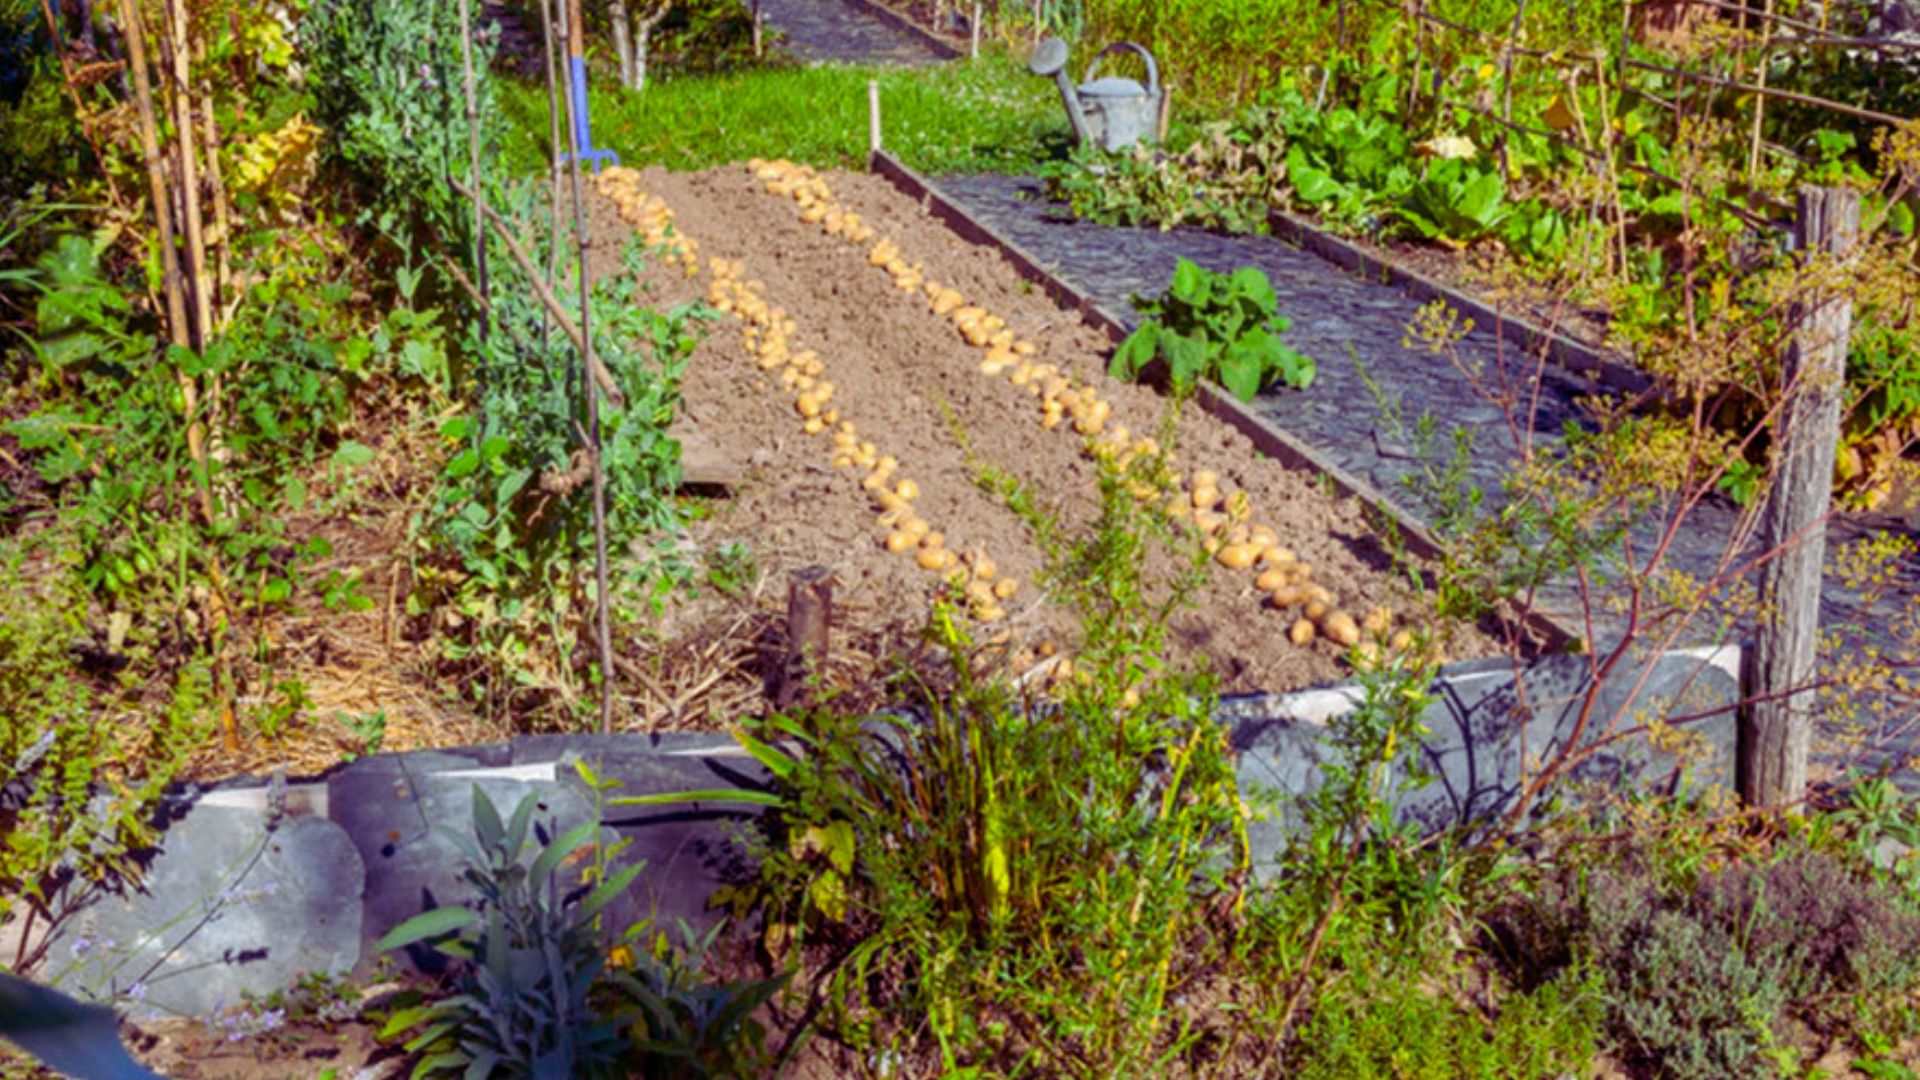
Mulch keeps soil moist, blocks weeds, and slowly feeds your plants as it breaks down. Straw, wood chips, and shredded leaves are all suitable for this job.
If an area is covered in grass or weeds, sheet mulching is a quick fix. Lay flattened cardboard or newspaper over the area, then cover it with compost and mulch.
This smothers what is underneath and builds soil at the same time.
Walking Paths and Access Routes
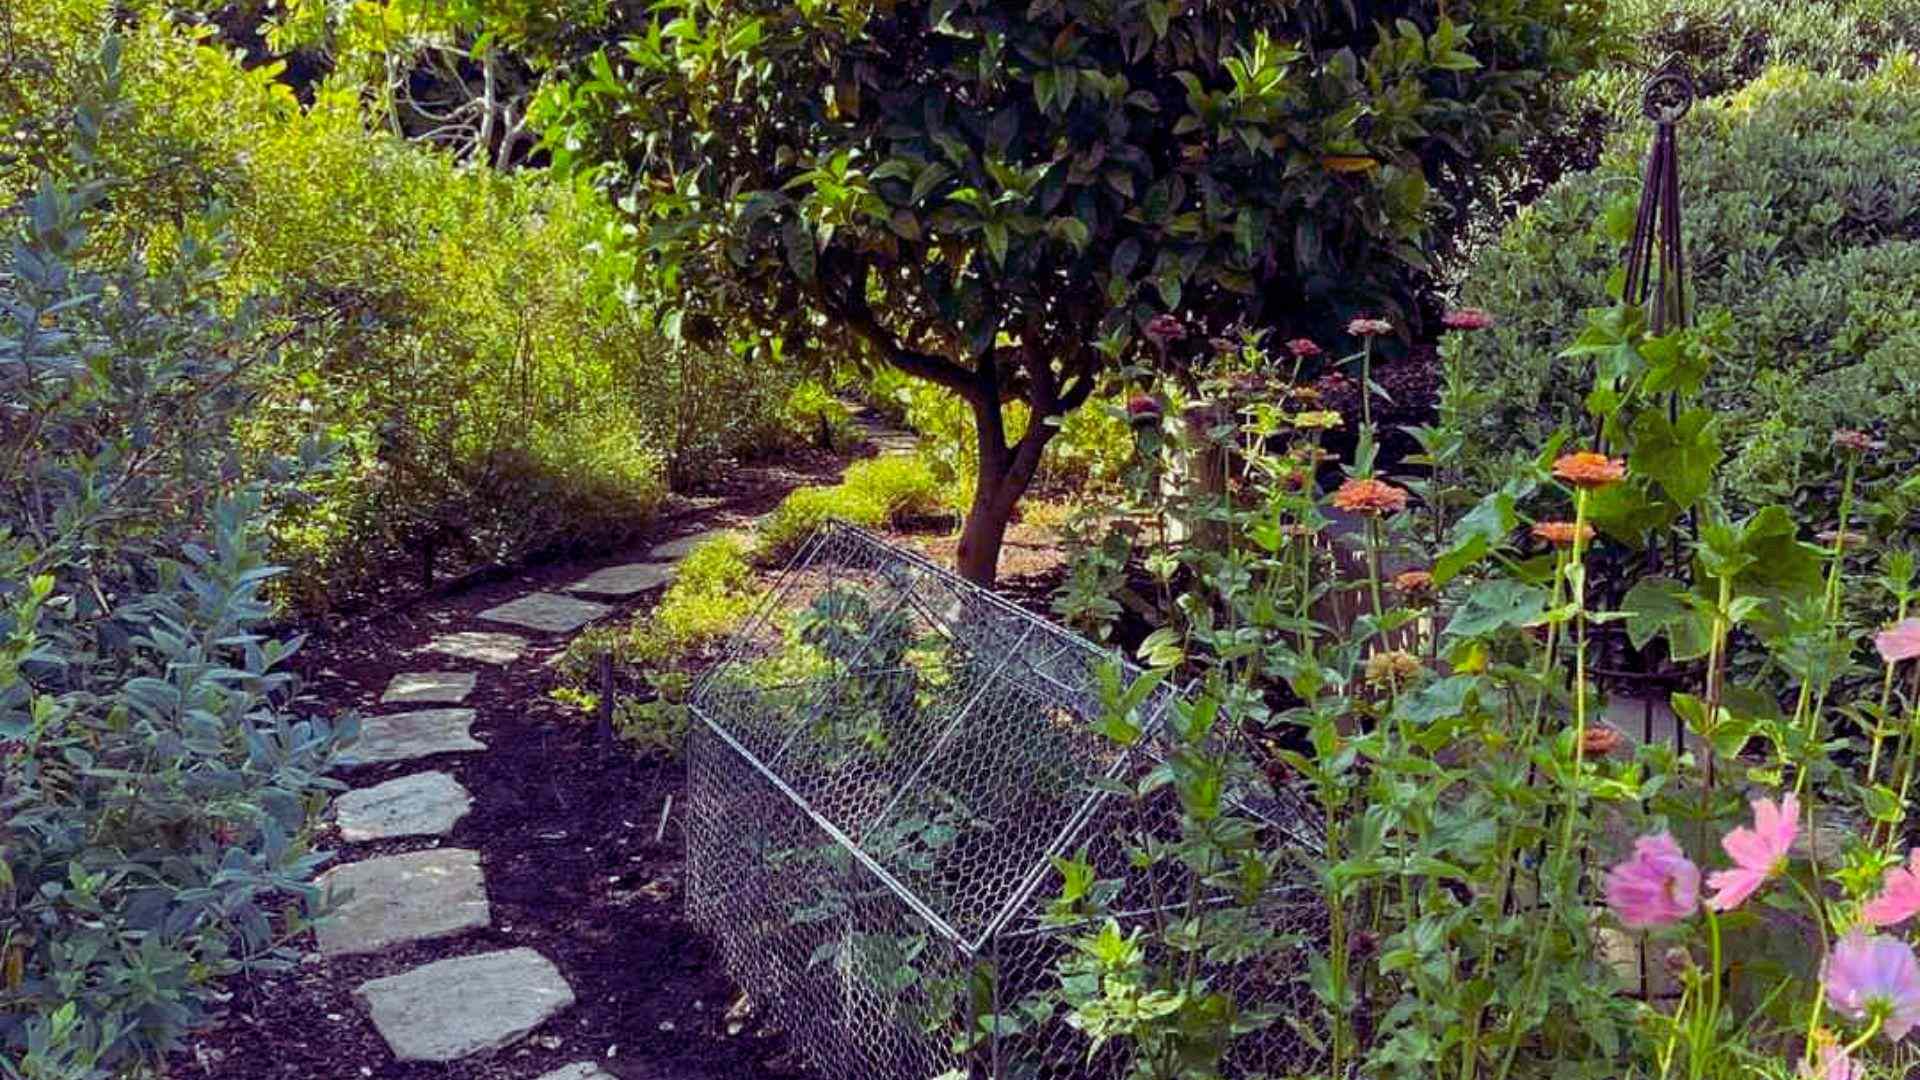
Keep paths at least two feet wide so you can move comfortably with tools, wheelbarrows, or watering equipment while maintaining easy access throughout the garden. If you want a seating area at the edge of your garden, these cabin deck ideas can help you plan one.
Keep paths at least two feet wide so you can move comfortably with tools, wheelbarrows, or watering equipment while maintaining easy access throughout the garden.
How to Arrange Plants in a Beginners Permaculture Garden Layout
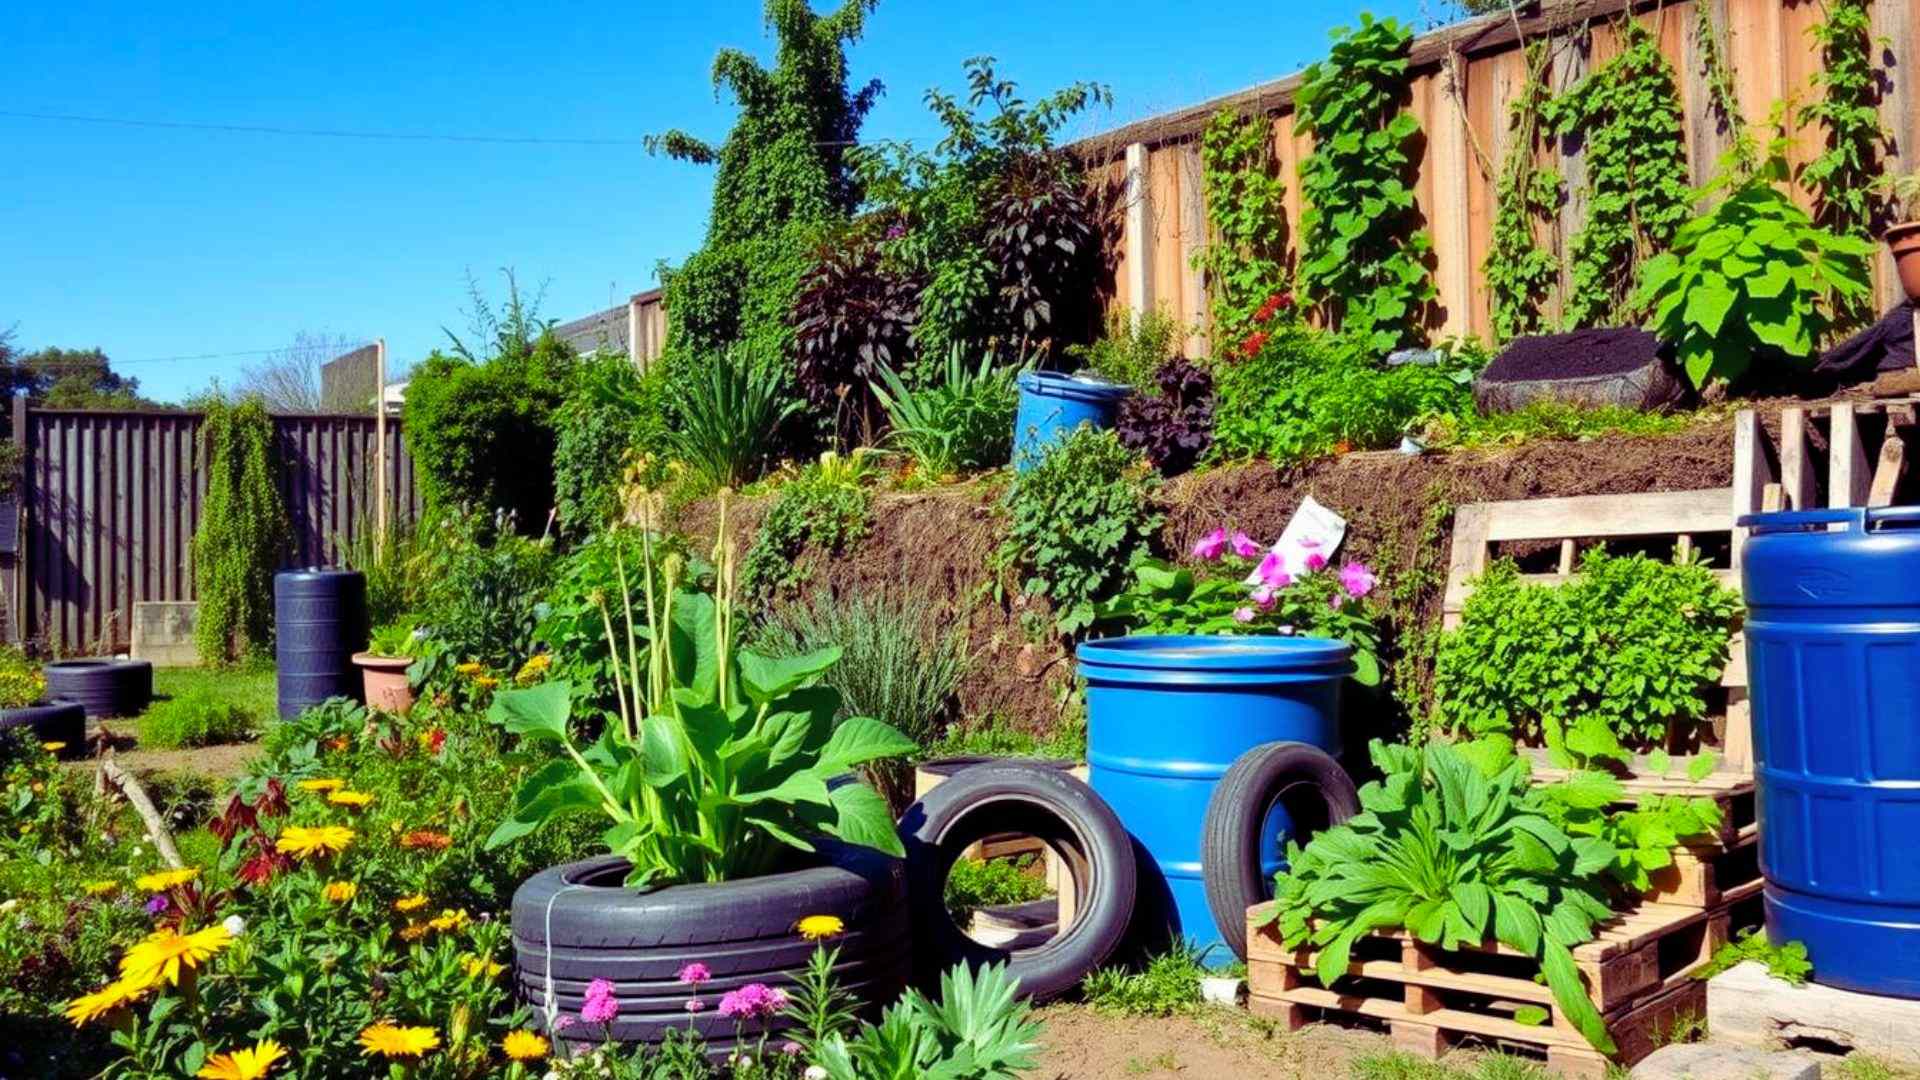
Once your zones and beds are mapped out, the next step is deciding what goes where.
Companion Planting Basics
Some plants grow better next to certain neighbors. Tomatoes do well with basil, and carrots pair nicely with onions. Research a few pairings before you plant so your beds support each other.
Permaculture calls these plant partnerships guilds, groups chosen to support each other by fixing nitrogen, repelling pests, or covering bare soil.
The classic guild is the Three Sisters: corn, beans, and squash planted together, where the corn gives the beans something to climb and the squash shades the soil below.
Position Tall and Short Crops Correctly
Place tall plants like corn or sunflowers on the north side of your garden so they do not block sun from shorter plants.
Running your rows north to south also helps, since it gives each side of the bed even sunlight through the day.
Group Plants by Water Needs
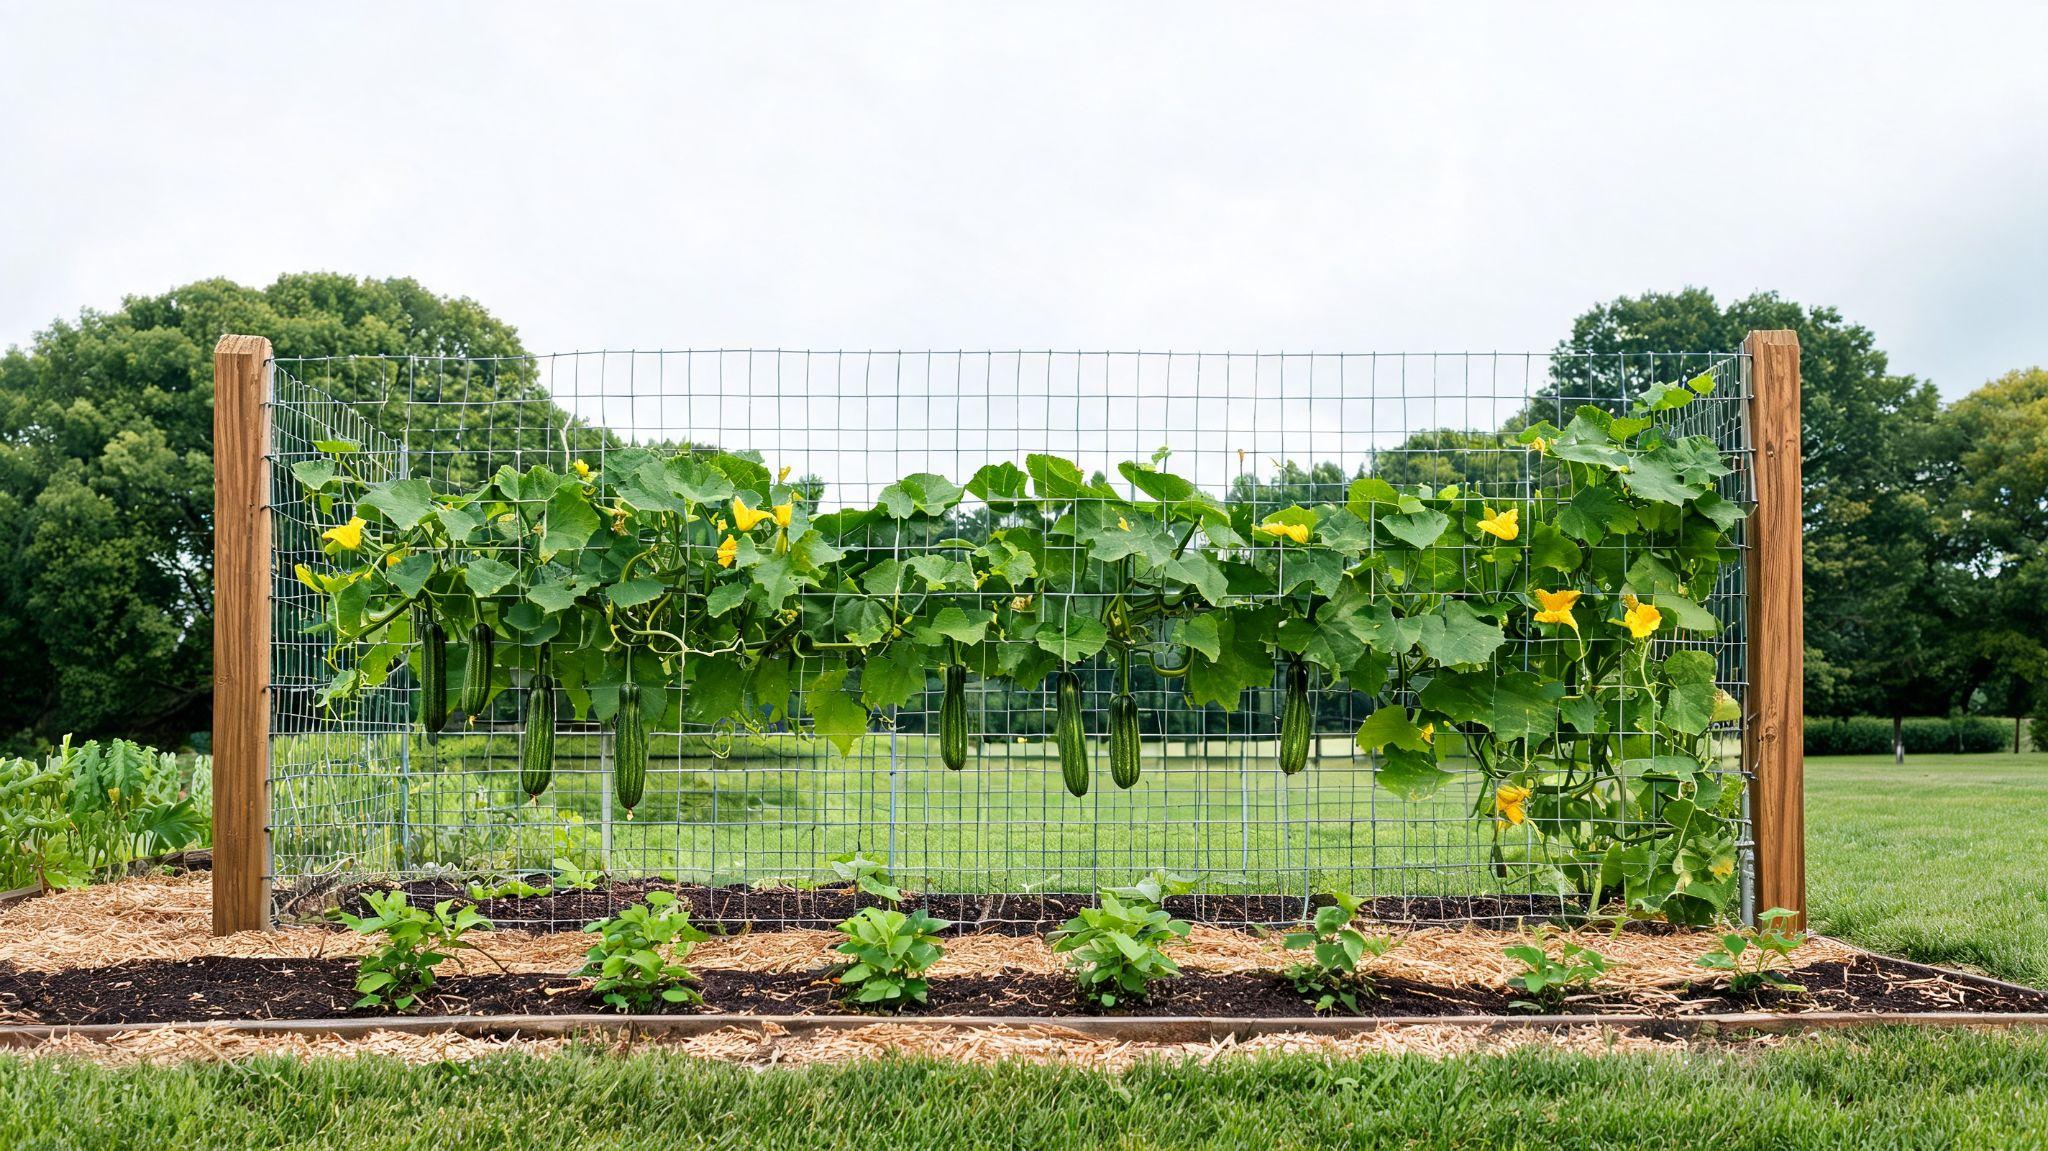
Keep thirsty plants like lettuce, cucumbers, and spinach together, while drought-tolerant plants such as rosemary, thyme, and lavender grow in a separate area.
Grouping plants with similar watering requirements makes irrigation more efficient, reduces water waste, and helps every plant receive the right amount of moisture for healthy growth.
Include Nitrogen-Fixing Plants
Beans, peas, and clover pull nitrogen from the air and add it to the soil. Planting them near heavy feeders like corn or squash helps keep your soil fertile without added fertilizer.
Deep-rooted plants like comfrey, known as dynamic accumulators, pull nutrients up from deeper soil layers and release them back to nearby crops as their leaves break down.
Best Plants for a Beginners Permaculture Garden Layout
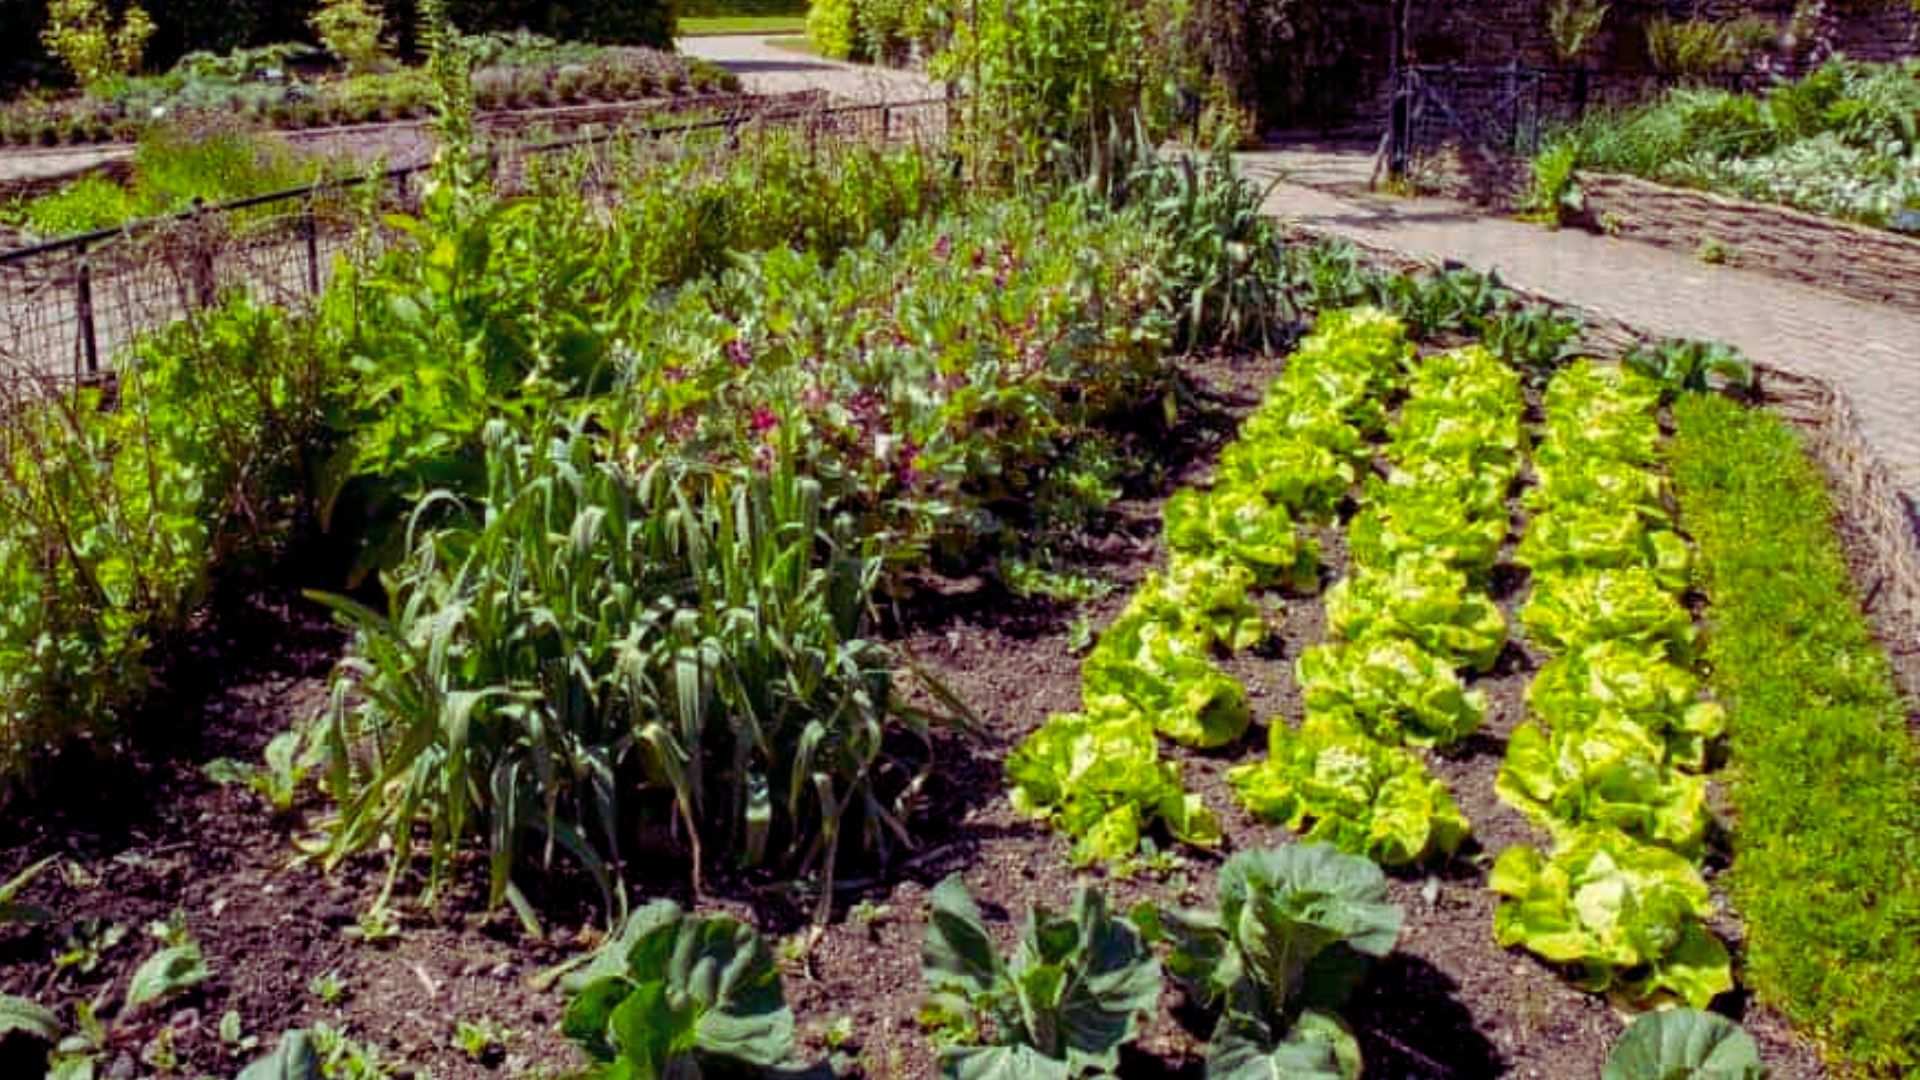
Picking forgiving plants early on builds your confidence and keeps your growing space productive. Permaculture leans heavily on perennials, plants that come back year after year with less replanting and less soil disturbance.
If you are in the United States, checking your USDA Hardiness Zone before buying perennials or fruit trees will save you from picking plants that cannot survive your winters.
Easy Vegetables:Lettuce, zucchini, green beans, and radishes grow quickly and tolerate small mistakes, making them great choices for new gardeners.
Beginner-Friendly Herbs:Mint, basil, chives, and oregano grow well in containers or beds and need very little care once established.
Fruit Trees and Berry Bushes:Apple trees, blueberry bushes, and raspberry canes are strong choices for an edible garden design and produce food for years once mature.
Pollinator-Friendly Flowers:Marigolds, sunflowers, and lavender attract bees and other helpful insects while adding color to your beds.
Ground Covers and Living Mulch:Clover and creeping thyme cover bare soil, reduce weeds, and add nutrients, working as a natural alternative to bark mulch.
Water Management in a Permaculture Garden
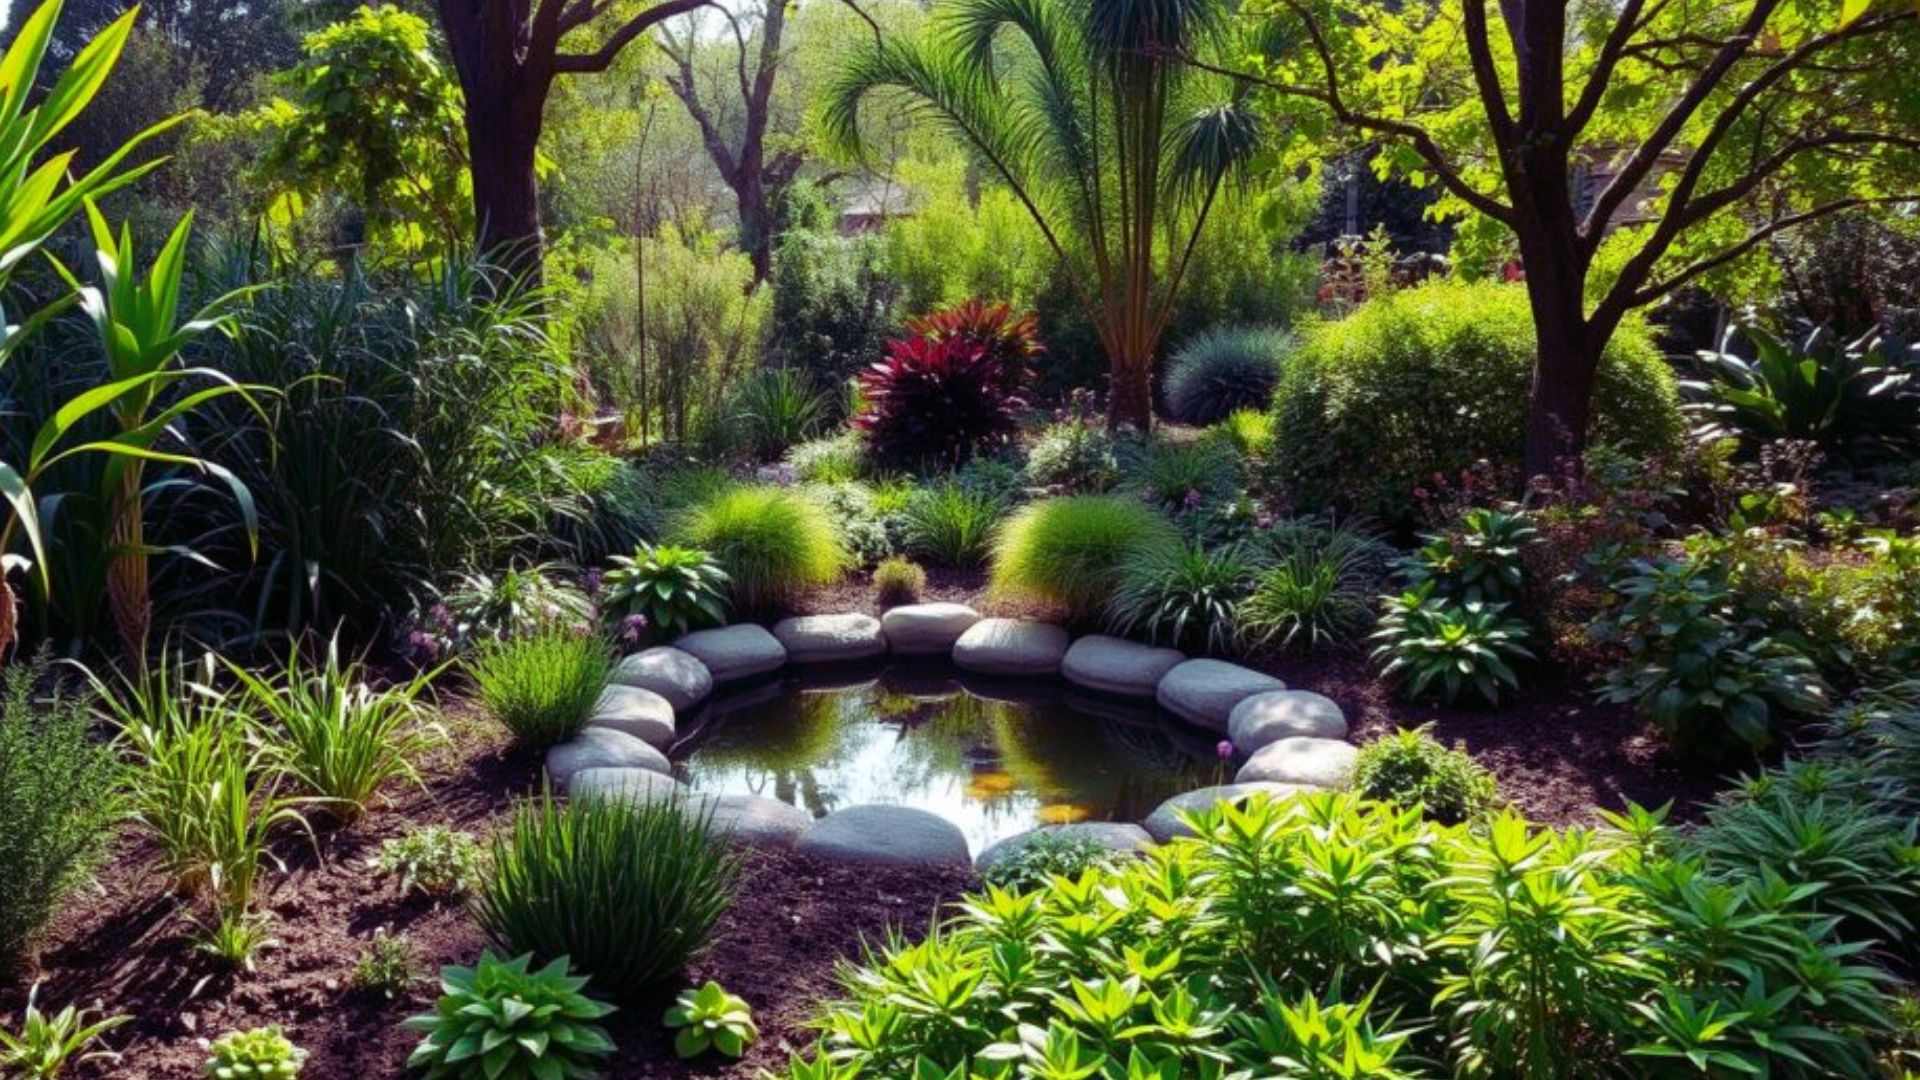
Design your garden to capture, store, and use water efficiently, reducing waste while keeping plants healthy throughout the growing season.
- Cover the soil with a thick layer of mulch to reduce evaporation and keep moisture available for longer. This helps cut down on watering while improving overall soil health.
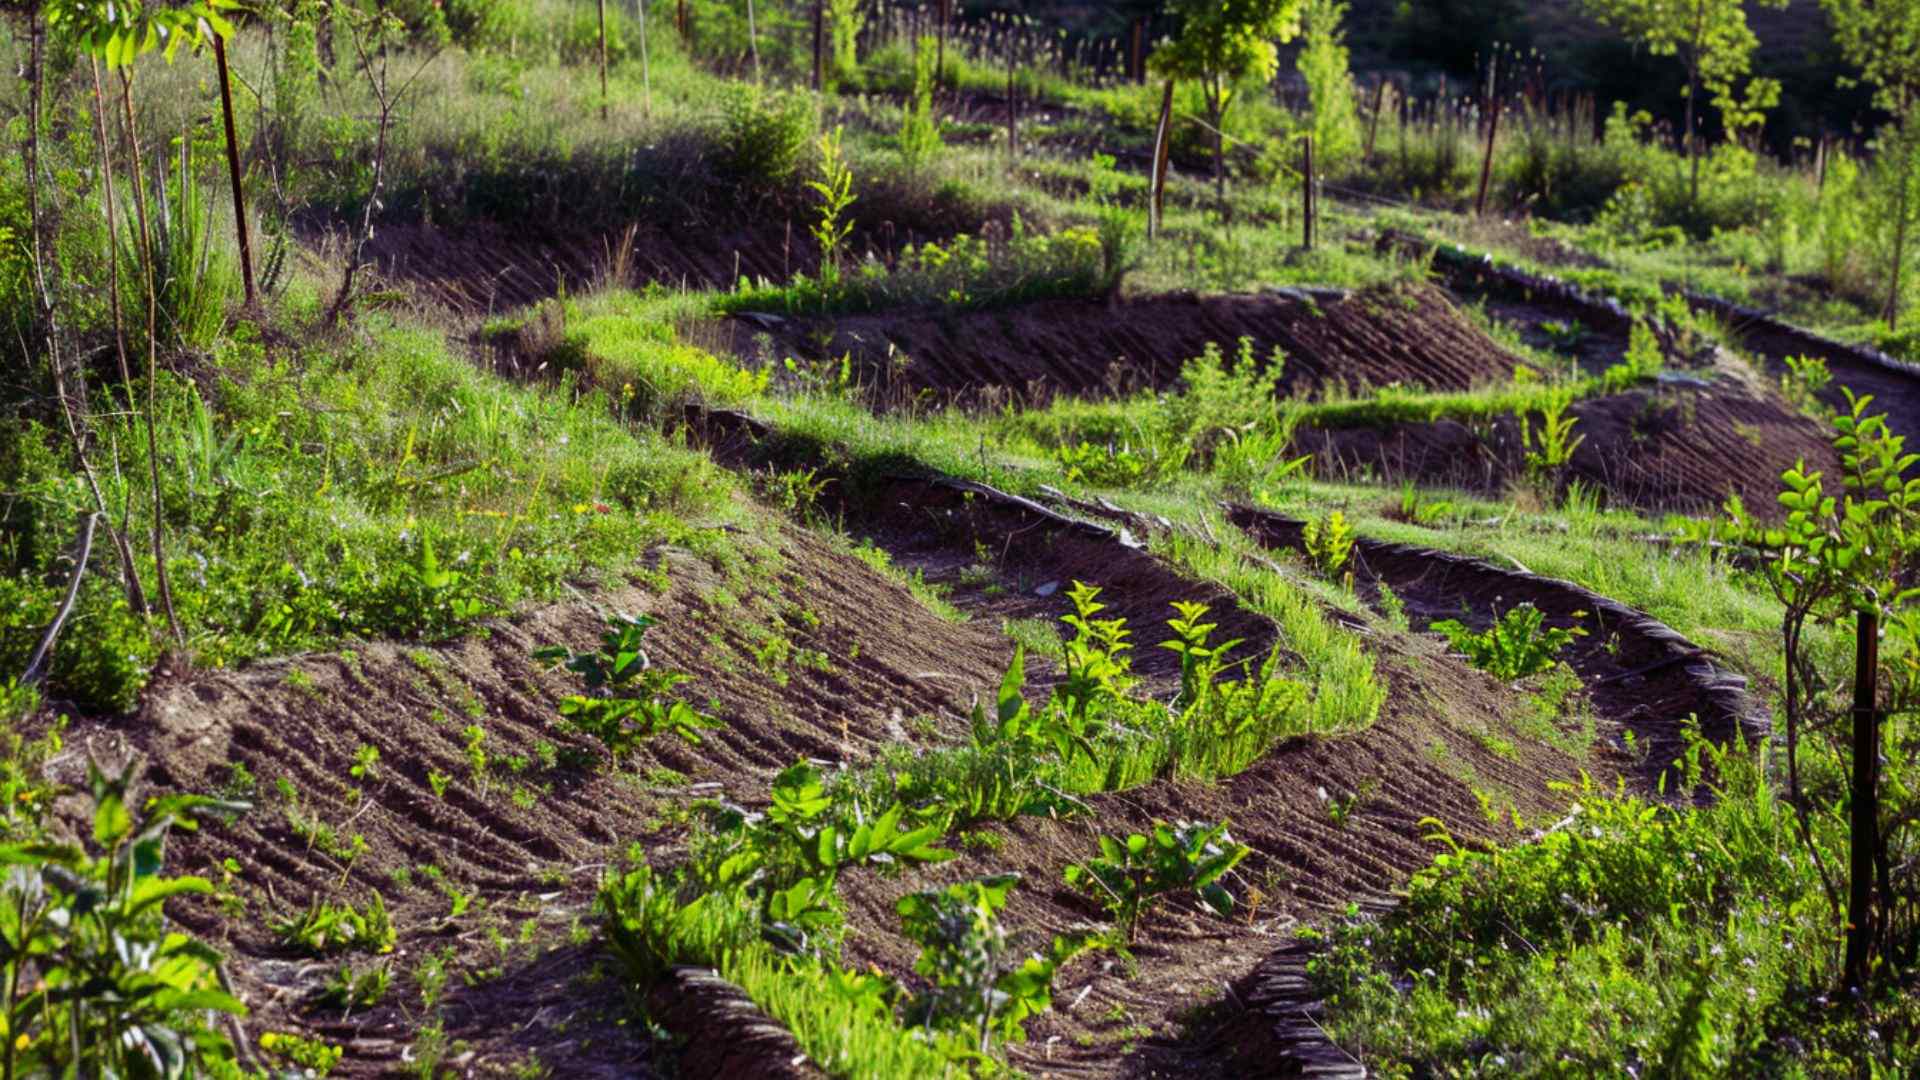
- Build shallow swales along slopes to catch rainwater and allow it to soak into the ground instead of running off. If your slope is steeper, a terraced garden is another way to slow water and create level planting space.
- Consider keyline design if you have a larger property with sloping land. It guides rainwater across the landscape so more of it reaches dry areas instead of being lost as runoff.
- Install a drip irrigation system to deliver water directly to plant roots with minimal waste. If allowed in your area, properly treated greywater can also be reused for watering ornamental plants.
- Shape garden beds with a gentle slope and include drainage channels in low areas to prevent standing water. This reduces soil erosion and protects plant roots during heavy rainfall.
Common Mistakes Beginners Make When Designing a Permaculture Garden
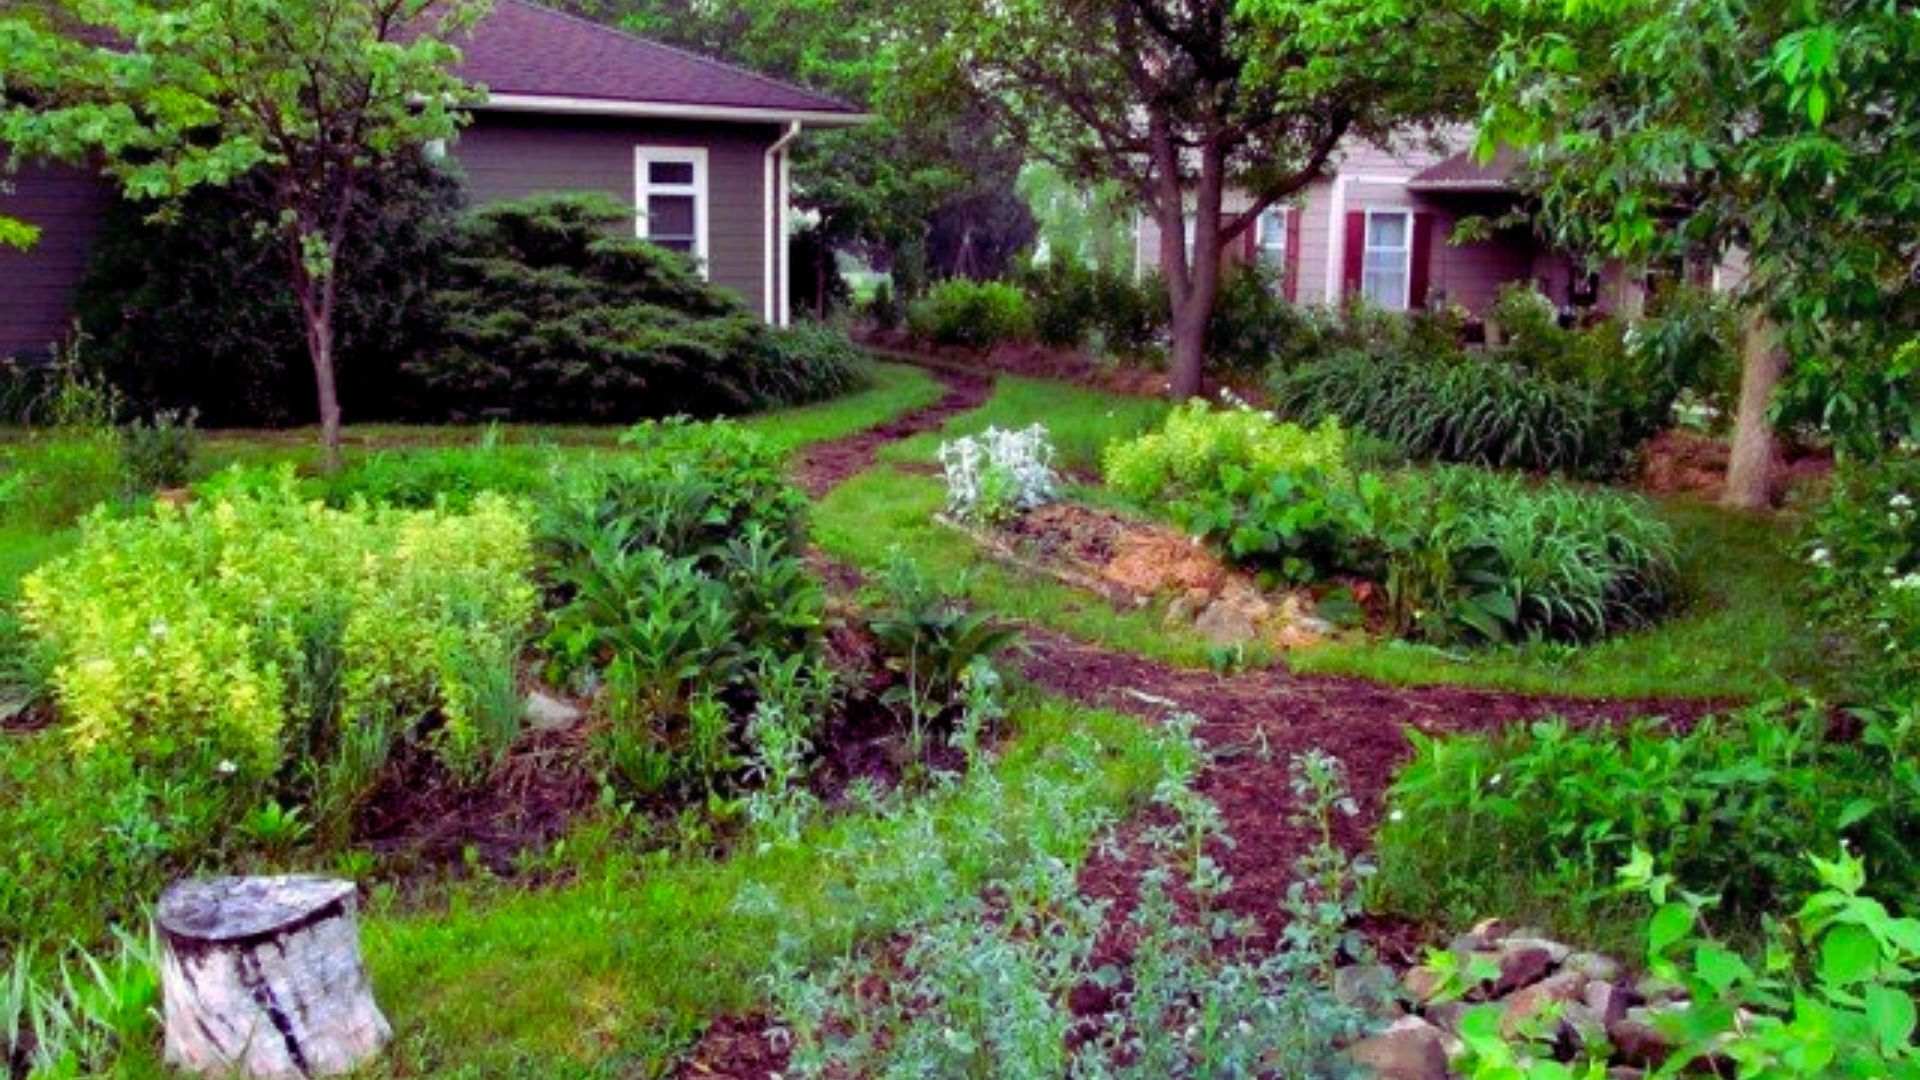
Learning from common mistakes can save you time, money, and an entire growing season of frustration.
Avoiding these common errors will help you build a healthier, more productive permaculture garden that is easier to maintain as it grows.
Skipping Observation Before Planting
Jumping straight into planting without first observing your yard's sunlight, wind direction, drainage, and soil conditions often leads to poor plant placement.
Spend a few weeks watching how your garden changes throughout the day before deciding where each plant should go.
Planting Too Much Too Soon
Many beginners try to fill every available space in their first season, making the garden difficult to manage.
Start with a few well-planned beds, learn what works in your climate, and gradually expand as your confidence and experience grow.
Ignoring Plant Spacing
Crowded plants compete for sunlight, water, and nutrients, reducing healthy growth and increasing the risk of pests and diseases.
Follow the recommended spacing on seed packets or plant labels to give each crop enough room to mature properly.
Poor Water Planning
Placing thirsty plants far from your main water source or forgetting to mulch can make watering more difficult and less efficient.
Group plants with similar water needs together and use mulch to reduce evaporation and conserve moisture.
Forgetting Seasonal Growth Changes
Trees, shrubs, and even perennial plants become much larger over time than they appear when first planted.
Plan your layout with mature plant sizes in mind so future shade, root growth, and spacing do not create unnecessary problems.
Expert Tips
These practical tips will help you avoid common setbacks while creating a garden that improves with each growing season.
- Start with one or two garden beds and a simple compost system instead of building everything at once. As you gain experience, gradually expand your layout by adding more planting zones, pathways, and useful features.
- Focus on improving your soil before planting a wide variety of crops. Adding compost, mulch, and organic matter creates a healthy foundation that supports stronger plant growth and better harvests.
- Observe how your garden changes throughout each growing season, including sunlight, drainage, and plant performance. Use what you learn to make small improvements that increase productivity over time.
- Keep a garden journal to record planting dates, weather conditions, harvests, and any challenges you encounter. These notes help you make better decisions and avoid repeating mistakes in future seasons.
- Be patient and let your garden develop naturally over time. Small, consistent improvements create a healthier, more productive permaculture garden that becomes easier to maintain each year.
How to Maintain Your Permaculture Garden Throughout the Year
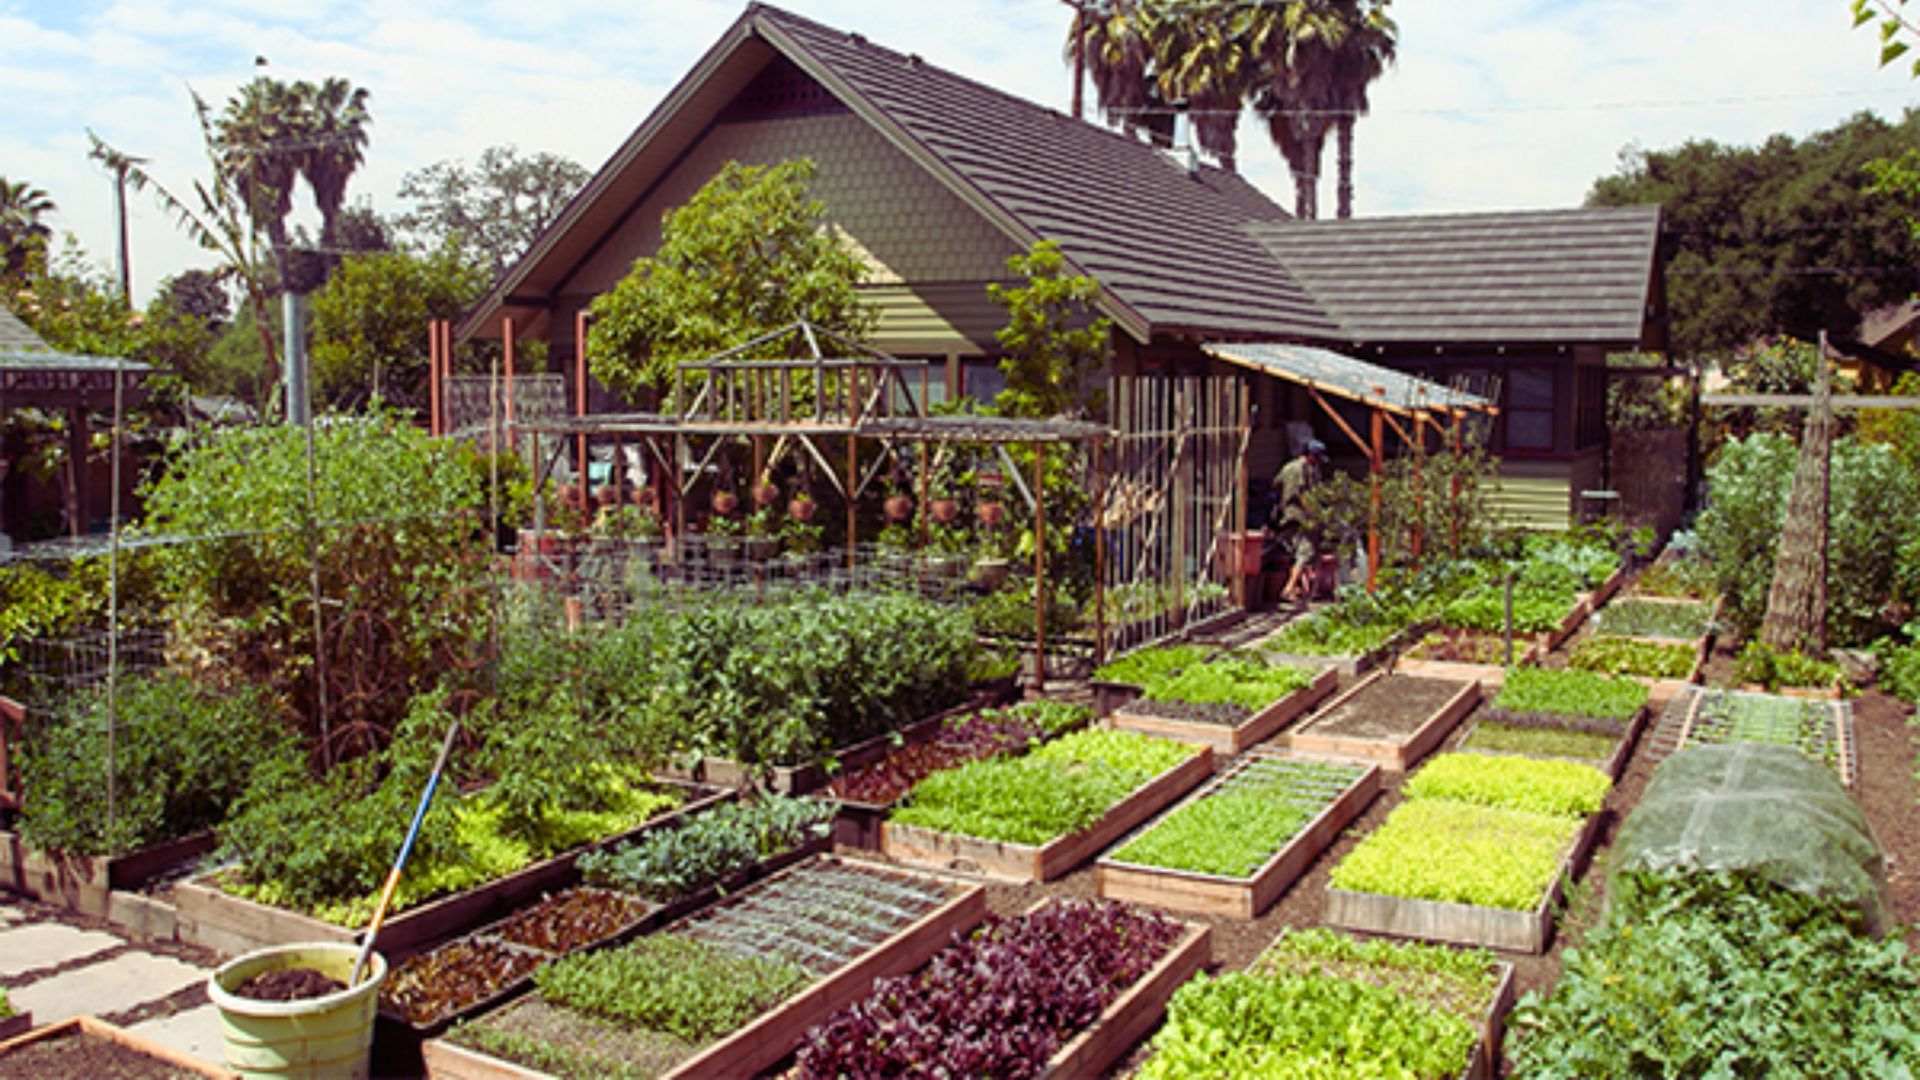
A permaculture garden usually requires less day-to-day work than a traditional garden, but regular seasonal care keeps it healthy, productive, and balanced.
A simple maintenance routine throughout the year helps improve soil, protect plants, and prepare the garden for future harvests.
Seasonal Maintenance Checklist
In spring, add compost, prepare garden beds, and start planting seedlings.
During summer, focus on watering, mulching, and harvesting crops as they mature. In fall, plants cover crops, collect fallen leaves for mulch, and tidy up garden beds.
Winter is the perfect time to repair paths, maintain structures, and plan improvements for the next growing season.
Compost and Soil Care
Turn your compost pile regularly to improve airflow and speed up decomposition.
Add kitchen scraps, garden waste, and dry materials throughout the year, then spread finished compost over your beds each spring to replenish nutrients and improve soil structure.
Pruning and Harvesting
Prune fruit trees, berry bushes, and other woody plants during their dormant season to encourage healthy growth.
Harvest vegetables, herbs, and fruits regularly to keep plants producing and reduce the chance of overripe crops attracting pests.
Preparing for the Next Growing Season
Remove spent plants, refresh mulch, and inspect beds, paths, and irrigation systems before the next planting season begins.
Make notes about what performed well and what could be improved so you can refine your garden layout year after year.
Conclusion
A well-planned beginners permaculture garden layout helps you create a productive, low-maintenance garden that grows stronger over time.
By observing your space, placing plants where they thrive, improving soil naturally, and managing water wisely, you build a garden that works with nature instead of against it. You do not need to finish everything at once.
Start with a small area, apply these core permaculture principles, and expand your garden as your confidence and experience grow.
If this guide helped, share it with another new gardener and leave a comment with your biggest permaculture question.
Frequently Asked Questions
How much space do I need to start a permaculture garden?
You can start with as little as one raised bed or a few containers. Permaculture works at any scale, from small balconies to full backyards.
Can permaculture gardens work in cold climates?
Yes. Choose cold-hardy plants, use mulch for insulation, and add cold frames or row covers to extend your growing season through colder months.
How long does it take to see results from a permaculture garden?
Vegetables and herbs can be produced within weeks, while fruit trees may take two to four years to bear a full harvest.
Meta Description- Plan a beginners permaculture garden layout with simple steps, zoning, plant placement, water-saving tips, and design ideas.
Beginners Permaculture Garden Layout: Complete Guide
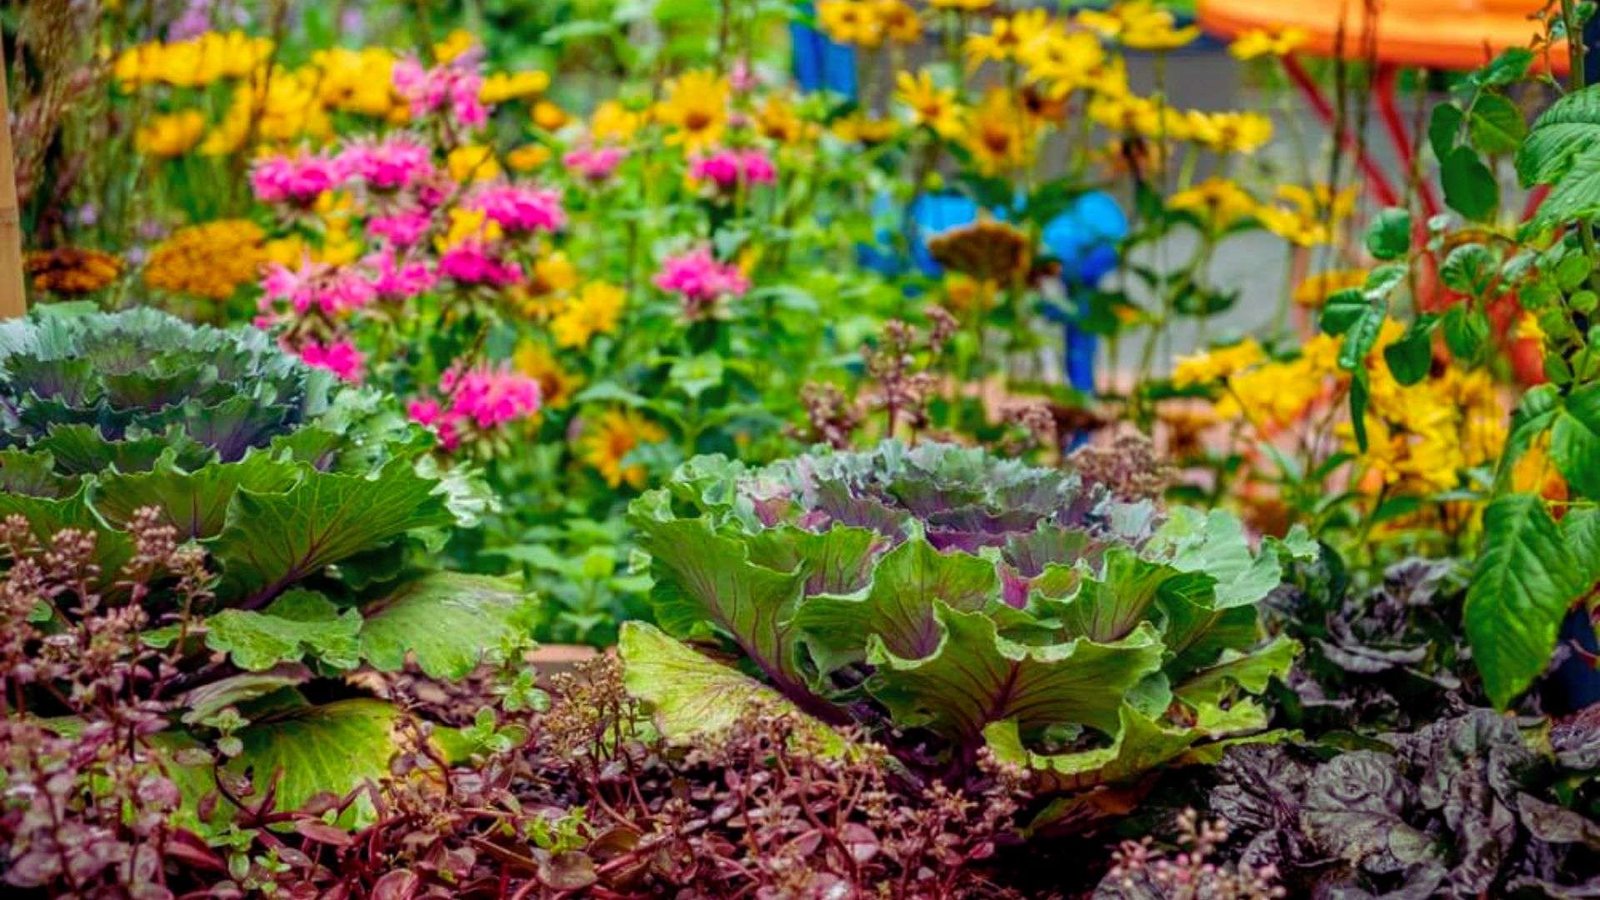
Starting a garden can feel overwhelming when you are not sure where to place your plants, beds, or pathways.
A well-planned beginners permaculture garden layout makes the process much easier by giving every part of your garden a purpose while working with nature instead of against it.
This guide covers the basic principles of permaculture, practical planning steps, and simple layout ideas for gardens of any size.
You will learn how to organize growing zones, choose companion plants, improve soil health, and manage water efficiently.
By the end, you will have a clear, practical plan to create a productive, low-maintenance, and sustainable permaculture garden that fits your available space.
What Is a Permaculture Garden Layout?
A permaculture garden layout is a plan that arranges plants, beds, water systems, and paths so they support one another.
Instead of planting in random rows, you group things by their needs and by how often you visit them.
Planning matters because a garden without a plan wastes water, soil, and effort. When you take time to design your space first, you save yourself from digging in the wrong spot or planting trees where they will block sunlight later.
It improves soil health by keeping beds undisturbed and covered. And it creates a garden that keeps producing food with less work each year.
Step by Step Guide
Follow these simple planning steps to create a permaculture garden layout that makes the best use of your space, improves growing conditions, and supports a healthy, low-maintenance garden for years to come.
Step 1: Work With Nature Instead of Against It
Permaculture is based on observing how nature already solves everyday challenges.
Rain naturally flows downhill, fallen leaves become nutrients for the soil, and different plants support one another as they grow.
Instead of forcing your garden into an artificial design, create a layout that works with these natural patterns.
This approach reduces maintenance, improves plant health, and helps build a more self-sustaining garden over time.
Step 2: Observe Your Garden Before Designing
Spend a few weeks watching your yard before you plant anything. Note where the sun lands in the morning and afternoon, where water pools after rain, and which spots stay dry.
This information will guide almost every choice you make later.
These small shifts create microclimates, pockets of sun, shade, or wind that affect which plants will do best in each corner of your yard.
Step 3: Maximize Every Element's Purpose
In a permaculture garden, every feature should perform more than one function whenever possible.
A fruit tree can provide food, shade, wildlife habitat, and organic matter for the soil, while a pond can store water, cool the surrounding area, and support beneficial insects or fish. Looking for multiple uses helps you make the most of every part of your garden.
Step 4: Assess Sunlight, Shade, and Wind Patterns
Walk your yard at different times of day and write down which areas get full sun, partial shade, and full shade. Most vegetables need six hours of direct sun.
Note which direction strong winds come from too, since this affects where you place taller plants or wind barriers.
Also watch for frost pockets, low spots where cold air settles and collects on chilly mornings. These areas often stay colder for longer, so they are worth avoiding for tender plants in early spring.
Step 5: Test Your Soil and Drainage
Dig a small hole and fill it with water to see how quickly it drains.
If the water disappears within a few hours, your soil has good drainage, while standing water for a day or more may indicate the need for raised beds or drainage improvements.
A basic soil test kit can also measure pH and nutrient levels, helping you choose the right plants and soil amendments.
Step 6: Identify Water Sources and Rainwater Flow
Locate your outdoor water sources and check how far a hose or irrigation system can comfortably reach.
During rainfall, observe where water naturally flows, pools, or drains across your property.
This information helps you decide the best locations for rain barrels, swales, or other water-harvesting features that keep your garden well supplied with moisture.
Step 7:Measure Your Available Growing Space
Get exact measurements of your yard so you can plan bed sizes and paths that actually fit.
This step also helps you decide how many beds you can realistically manage as a first-time gardener.
Sketch your growing space on graph paper before you dig. Seeing your beds, paths, and zones drawn to scale makes it much easier to spot problems before they become expensive mistakes.
Understand Permaculture Zones for Better Garden Planning
Permaculture zones organize your garden by how often you need to visit each area. This is one of the most useful ideas for permaculture garden planning.
Zone 0, Your Home:This is your house itself, where daily decisions about food and water use begin.
Zone 1, Daily-Use Crops and Herbs:Plant herbs, salad greens, and vegetables you pick often right outside your kitchen door. You will visit this zone daily, so keep it close and easy to reach.
Zone 2, Vegetables and Fruit Bushes: A bit further out, place vegetable beds and fruit bushes that need regular but not daily attention, such as watering every few days or weekly harvesting.
Zone 3, Staple Crops:This area holds larger crops like corn, beans, or squash that need less frequent care once established.
Zone 4, Managed Woodland:Here you might grow fruit or nut trees and collect firewood. This zone needs occasional visits, maybe once a month.
Zone 5, Natural Wildlife Area:Leave this space wild and untouched. It supports local wildlife and pollinators, which benefit the rest of your garden.
Important Elements to Include in a Beginners Permaculture Garden Layout
Certain features appear in almost every successful permaculture backyard garden because they improve efficiency, conserve resources, and make daily maintenance easier.
Adding these elements from the beginning creates a layout that is practical, productive, and easier to expand over time.
Raised Garden Beds
Raised beds warm up faster in spring, drain well, and are easier on your back. They are a practical option for a permaculture vegetable garden, especially if your native soil is poor. Before you build, compare the best material for raised garden beds.
If you want a bed that holds moisture for years, try hugelkultur. This method piles rotting wood and soil into a raised mound that slowly feeds your plants as the buried biomass breaks down underneath.
Compost Bin or Compost System
A compost bin turns kitchen scraps and yard waste into rich soil. Place it somewhere convenient but not directly under a window, since it can produce a smell while breaking down.
If space is tight, worm compost, also called vermicompost, is a good alternative. A worm bin fits under a sink or in a small shed and turns food scraps into rich, ready-to-use fertilizer.
Rainwater Harvesting Setup
Rain barrels connected to your gutters collect free rainwater that can be used during dry periods. This reduces your water bill, conserves natural resources, and provides a reliable water supply for your garden when rainfall is limited.
Positioning the barrel near your growing beds also makes watering quicker and more convenient while reducing dependence on treated tap water.
Mulching Areas
Mulch keeps soil moist, blocks weeds, and slowly feeds your plants as it breaks down. Straw, wood chips, and shredded leaves are all suitable for this job.
If an area is covered in grass or weeds, sheet mulching is a quick fix. Lay flattened cardboard or newspaper over the area, then cover it with compost and mulch.
This smothers what is underneath and builds soil at the same time.
Walking Paths and Access Routes
Keep paths at least two feet wide so you can move comfortably with tools, wheelbarrows, or watering equipment while maintaining easy access throughout the garden. If you want a seating area at the edge of your garden, these cabin deck ideas can help you plan one.
Keep paths at least two feet wide so you can move comfortably with tools, wheelbarrows, or watering equipment while maintaining easy access throughout the garden.
How to Arrange Plants in a Beginners Permaculture Garden Layout
Once your zones and beds are mapped out, the next step is deciding what goes where.
Companion Planting Basics
Some plants grow better next to certain neighbors. Tomatoes do well with basil, and carrots pair nicely with onions. Research a few pairings before you plant so your beds support each other.
Permaculture calls these plant partnerships guilds, groups chosen to support each other by fixing nitrogen, repelling pests, or covering bare soil.
The classic guild is the Three Sisters: corn, beans, and squash planted together, where the corn gives the beans something to climb and the squash shades the soil below.
Position Tall and Short Crops Correctly
Place tall plants like corn or sunflowers on the north side of your garden so they do not block sun from shorter plants.
Running your rows north to south also helps, since it gives each side of the bed even sunlight through the day.
Group Plants by Water Needs
Keep thirsty plants like lettuce, cucumbers, and spinach together, while drought-tolerant plants such as rosemary, thyme, and lavender grow in a separate area.
Grouping plants with similar watering requirements makes irrigation more efficient, reduces water waste, and helps every plant receive the right amount of moisture for healthy growth.
Include Nitrogen-Fixing Plants
Beans, peas, and clover pull nitrogen from the air and add it to the soil. Planting them near heavy feeders like corn or squash helps keep your soil fertile without added fertilizer.
Deep-rooted plants like comfrey, known as dynamic accumulators, pull nutrients up from deeper soil layers and release them back to nearby crops as their leaves break down.
Best Plants for a Beginners Permaculture Garden Layout
Picking forgiving plants early on builds your confidence and keeps your growing space productive. Permaculture leans heavily on perennials, plants that come back year after year with less replanting and less soil disturbance.
If you are in the United States, checking your USDA Hardiness Zone before buying perennials or fruit trees will save you from picking plants that cannot survive your winters.
Easy Vegetables:Lettuce, zucchini, green beans, and radishes grow quickly and tolerate small mistakes, making them great choices for new gardeners.
Beginner-Friendly Herbs:Mint, basil, chives, and oregano grow well in containers or beds and need very little care once established.
Fruit Trees and Berry Bushes:Apple trees, blueberry bushes, and raspberry canes are strong choices for an edible garden design and produce food for years once mature.
Pollinator-Friendly Flowers:Marigolds, sunflowers, and lavender attract bees and other helpful insects while adding color to your beds.
Ground Covers and Living Mulch:Clover and creeping thyme cover bare soil, reduce weeds, and add nutrients, working as a natural alternative to bark mulch.
Water Management in a Permaculture Garden
Design your garden to capture, store, and use water efficiently, reducing waste while keeping plants healthy throughout the growing season.
- Cover the soil with a thick layer of mulch to reduce evaporation and keep moisture available for longer. This helps cut down on watering while improving overall soil health.
- Build shallow swales along slopes to catch rainwater and allow it to soak into the ground instead of running off. If your slope is steeper, a terraced garden is another way to slow water and create level planting space.
- Consider keyline design if you have a larger property with sloping land. It guides rainwater across the landscape so more of it reaches dry areas instead of being lost as runoff.
- Install a drip irrigation system to deliver water directly to plant roots with minimal waste. If allowed in your area, properly treated greywater can also be reused for watering ornamental plants.
- Shape garden beds with a gentle slope and include drainage channels in low areas to prevent standing water. This reduces soil erosion and protects plant roots during heavy rainfall.
Common Mistakes Beginners Make When Designing a Permaculture Garden
Learning from common mistakes can save you time, money, and an entire growing season of frustration.
Avoiding these common errors will help you build a healthier, more productive permaculture garden that is easier to maintain as it grows.
Skipping Observation Before Planting
Jumping straight into planting without first observing your yard's sunlight, wind direction, drainage, and soil conditions often leads to poor plant placement.
Spend a few weeks watching how your garden changes throughout the day before deciding where each plant should go.
Planting Too Much Too Soon
Many beginners try to fill every available space in their first season, making the garden difficult to manage.
Start with a few well-planned beds, learn what works in your climate, and gradually expand as your confidence and experience grow.
Ignoring Plant Spacing
Crowded plants compete for sunlight, water, and nutrients, reducing healthy growth and increasing the risk of pests and diseases.
Follow the recommended spacing on seed packets or plant labels to give each crop enough room to mature properly.
Poor Water Planning
Placing thirsty plants far from your main water source or forgetting to mulch can make watering more difficult and less efficient.
Group plants with similar water needs together and use mulch to reduce evaporation and conserve moisture.
Forgetting Seasonal Growth Changes
Trees, shrubs, and even perennial plants become much larger over time than they appear when first planted.
Plan your layout with mature plant sizes in mind so future shade, root growth, and spacing do not create unnecessary problems.
Expert Tips
These practical tips will help you avoid common setbacks while creating a garden that improves with each growing season.
- Start with one or two garden beds and a simple compost system instead of building everything at once. As you gain experience, gradually expand your layout by adding more planting zones, pathways, and useful features.
- Focus on improving your soil before planting a wide variety of crops. Adding compost, mulch, and organic matter creates a healthy foundation that supports stronger plant growth and better harvests.
- Observe how your garden changes throughout each growing season, including sunlight, drainage, and plant performance. Use what you learn to make small improvements that increase productivity over time.
- Keep a garden journal to record planting dates, weather conditions, harvests, and any challenges you encounter. These notes help you make better decisions and avoid repeating mistakes in future seasons.
- Be patient and let your garden develop naturally over time. Small, consistent improvements create a healthier, more productive permaculture garden that becomes easier to maintain each year.
How to Maintain Your Permaculture Garden Throughout the Year
A permaculture garden usually requires less day-to-day work than a traditional garden, but regular seasonal care keeps it healthy, productive, and balanced.
A simple maintenance routine throughout the year helps improve soil, protect plants, and prepare the garden for future harvests.
Seasonal Maintenance Checklist
In spring, add compost, prepare garden beds, and start planting seedlings.
During summer, focus on watering, mulching, and harvesting crops as they mature. In fall, plants cover crops, collect fallen leaves for mulch, and tidy up garden beds.
Winter is the perfect time to repair paths, maintain structures, and plan improvements for the next growing season.
Compost and Soil Care
Turn your compost pile regularly to improve airflow and speed up decomposition.
Add kitchen scraps, garden waste, and dry materials throughout the year, then spread finished compost over your beds each spring to replenish nutrients and improve soil structure.
Pruning and Harvesting
Prune fruit trees, berry bushes, and other woody plants during their dormant season to encourage healthy growth.
Harvest vegetables, herbs, and fruits regularly to keep plants producing and reduce the chance of overripe crops attracting pests.
Preparing for the Next Growing Season
Remove spent plants, refresh mulch, and inspect beds, paths, and irrigation systems before the next planting season begins.
Make notes about what performed well and what could be improved so you can refine your garden layout year after year.
Conclusion
A well-planned beginners permaculture garden layout helps you create a productive, low-maintenance garden that grows stronger over time.
By observing your space, placing plants where they thrive, improving soil naturally, and managing water wisely, you build a garden that works with nature instead of against it. You do not need to finish everything at once.
Start with a small area, apply these core permaculture principles, and expand your garden as your confidence and experience grow.
If this guide helped, share it with another new gardener and leave a comment with your biggest permaculture question.
Frequently Asked Questions
How much space do I need to start a permaculture garden?
You can start with as little as one raised bed or a few containers. Permaculture works at any scale, from small balconies to full backyards.
Can I use permaculture zones in a small yard?
Yes. Zones are based on how often you visit each area, not on how much space you have. In a small yard, Zone 1 may cover most of it, with compost and a few fruiting shrubs standing in for the outer zones. Climbers and vertical layers help you fit more in.
How long does it take to see results from a permaculture garden?
Vegetables and herbs can be produced within weeks, while fruit trees may take two to four years to bear a full harvest.
Do I need special tools for permaculture gardening?
No. Basic tools like a shovel, hand trowel, watering can, and pruning shears cover most permaculture garden tasks for first-time gardeners.
Is permaculture gardening more expensive than regular gardening?
It can cost less over time since compost, mulch, and rainwater reduce the need for fertilizer, store-bought soil amendments, and city water.