A clear pond does not need a pump. It needs the right shape. Dig in tiers, line the hole, finish with stone and plants, and the water starts cleaning itself.
Most ponds go green because the plants sit at the wrong depth or cover too little water. The water itself is rarely the problem.
Before you dig, check your local rules. Permits can depend on pond depth, size, or distance from your boundary.
A call to your planning office takes ten minutes. Redoing a finished pond takes a weekend.
This guide shows how to build a natural pond with basic tools and one free weekend.
What Makes a Pond "Natural"?
A natural pond is a basin where plants, stones, and microorganisms keep the water balanced without a pump or chemicals.
That balance is what separates a wildlife pond from a decorative one. A decorative pond relies on filters. A natural pond cleans itself.
Plants take up the nutrients that would otherwise feed algae. Bacteria on stones and roots break down waste.
Shallow edges suit frogs and insects. Deeper water stays cooler in summer and warmer in winter.
Fish and heavy shade break this balance fast: fish stir up mud and add waste, while shade blocks the light plants need to grow.
Materials and Tools Needed to Build a Natural Pond
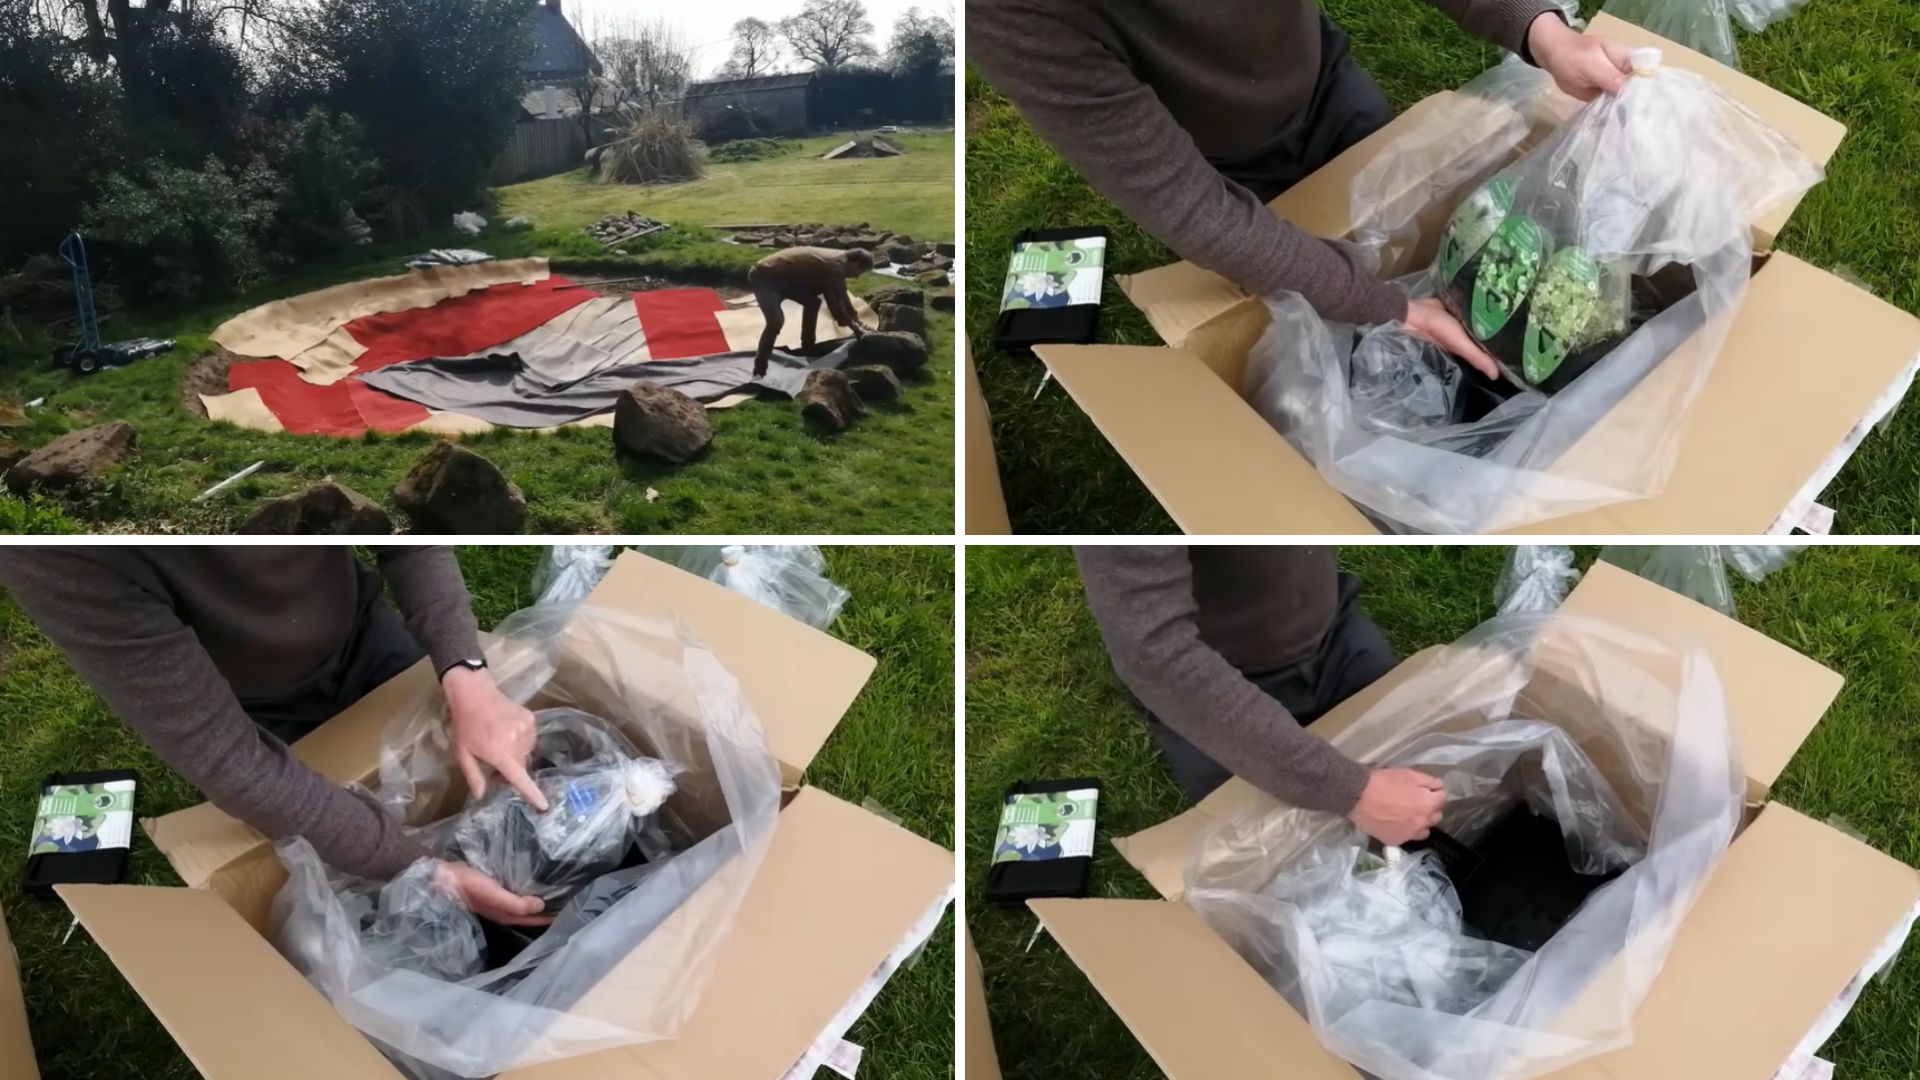
Gather everything before you dig. Nothing is worse than an open hole and a trip to the shop.
Materials
Here is what you need to line, hide, and plant the pond:
- Old carpet and underlay, to protect the liner
- EPDM liner, at least 1mm thick
- Pebbles and boulders
- Backfill soil and gravel
- Water lilies, marginal plants, and oxygenating plants
Most of this is cheap or easy to find secondhand. Carpet and underlay cost almost nothing, and they matter more than they look.
Tools
You need a long-handled spade, a garden fork, and a wheelbarrow. Add rope or a hose, a plank, and a spirit level.
How to Build a Natural Pond: Step by Step
Building a natural pond comes down to eight steps. Follow them in order, because each one sets up the next. Skipping ahead is where most people lose a weekend.
Step 1: Pick the Spot and Mark the Shape
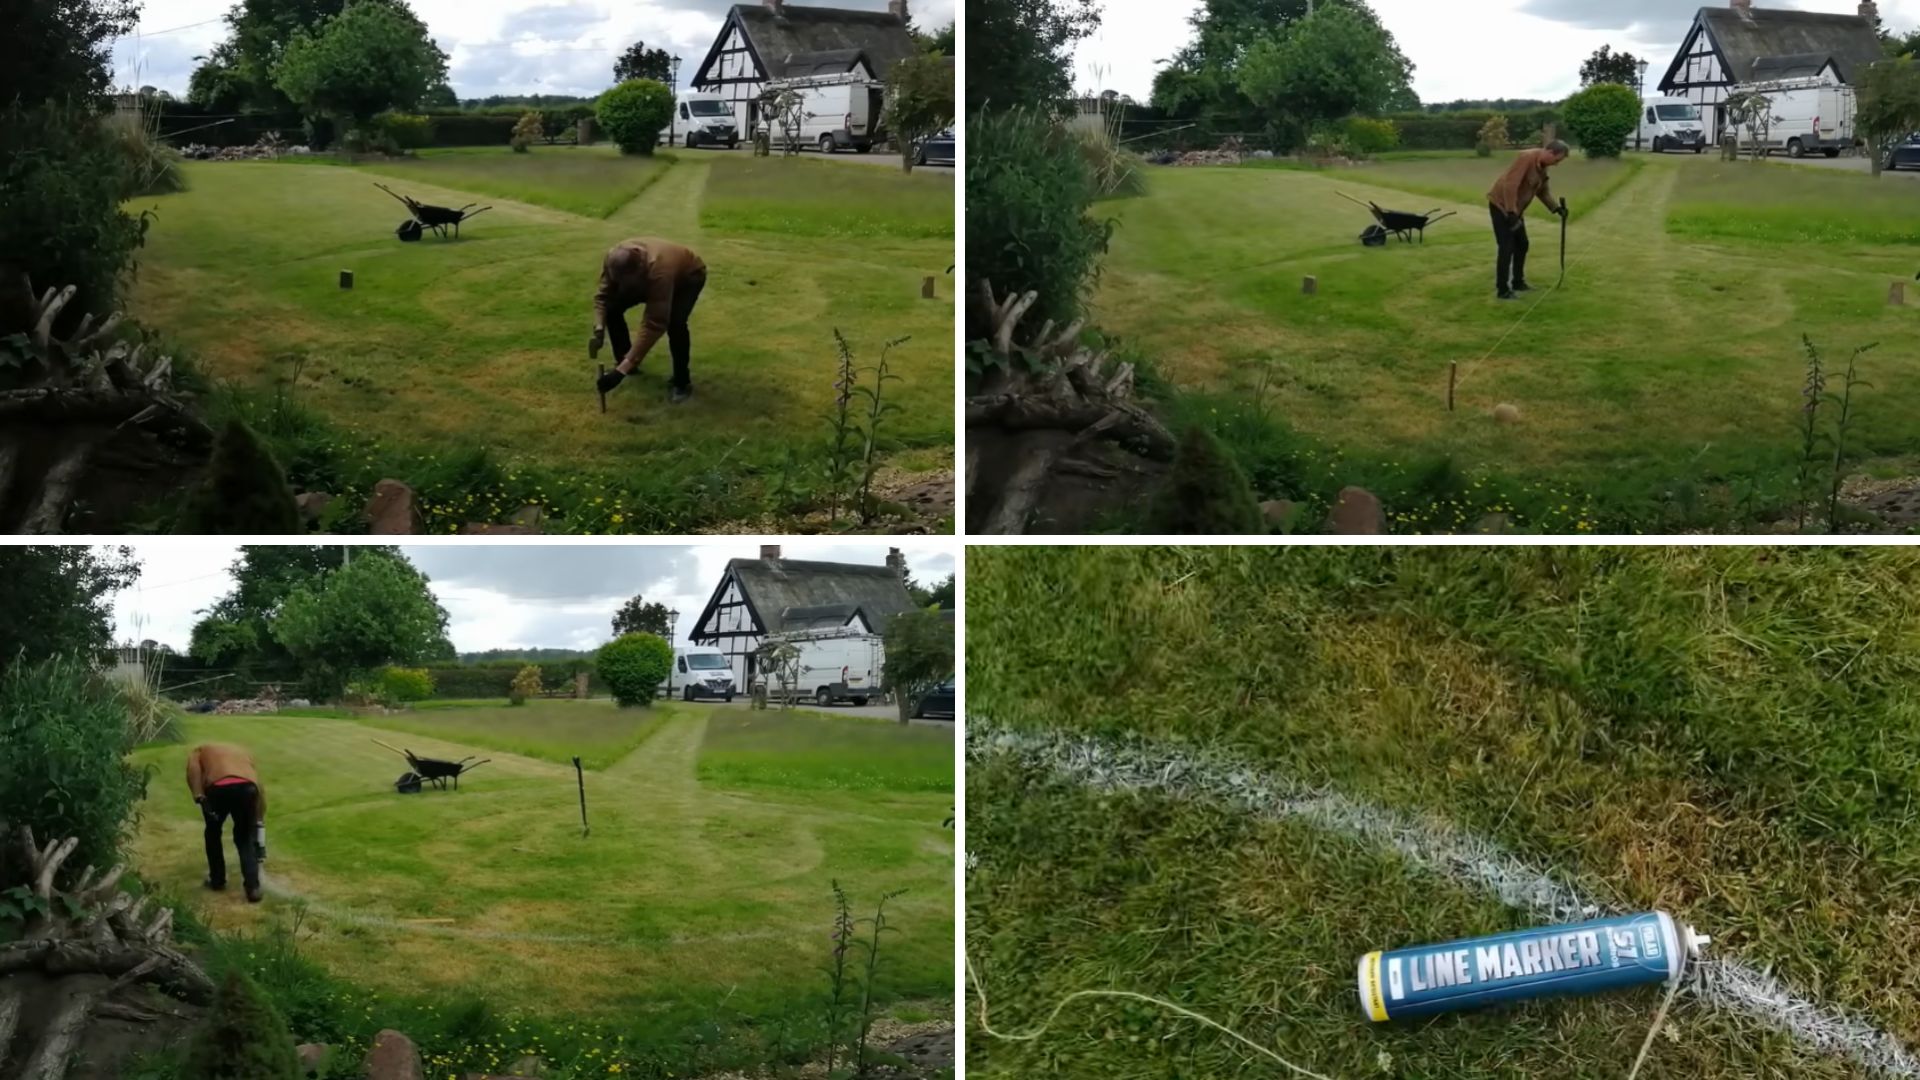
Pick a spot with sun for most of the day and shelter from wind. Keep clear of big trees, since their leaves and roots cause trouble.
Hammer a stake in the middle and tie a string to it. Walk a loose curve and spray the outline with line marker paint. Then drive stakes around the edge. Keep the curves soft, because sharp corners make the liner bunch up.
Step 2: Dig the Shallow Shelf and Check Your Levels
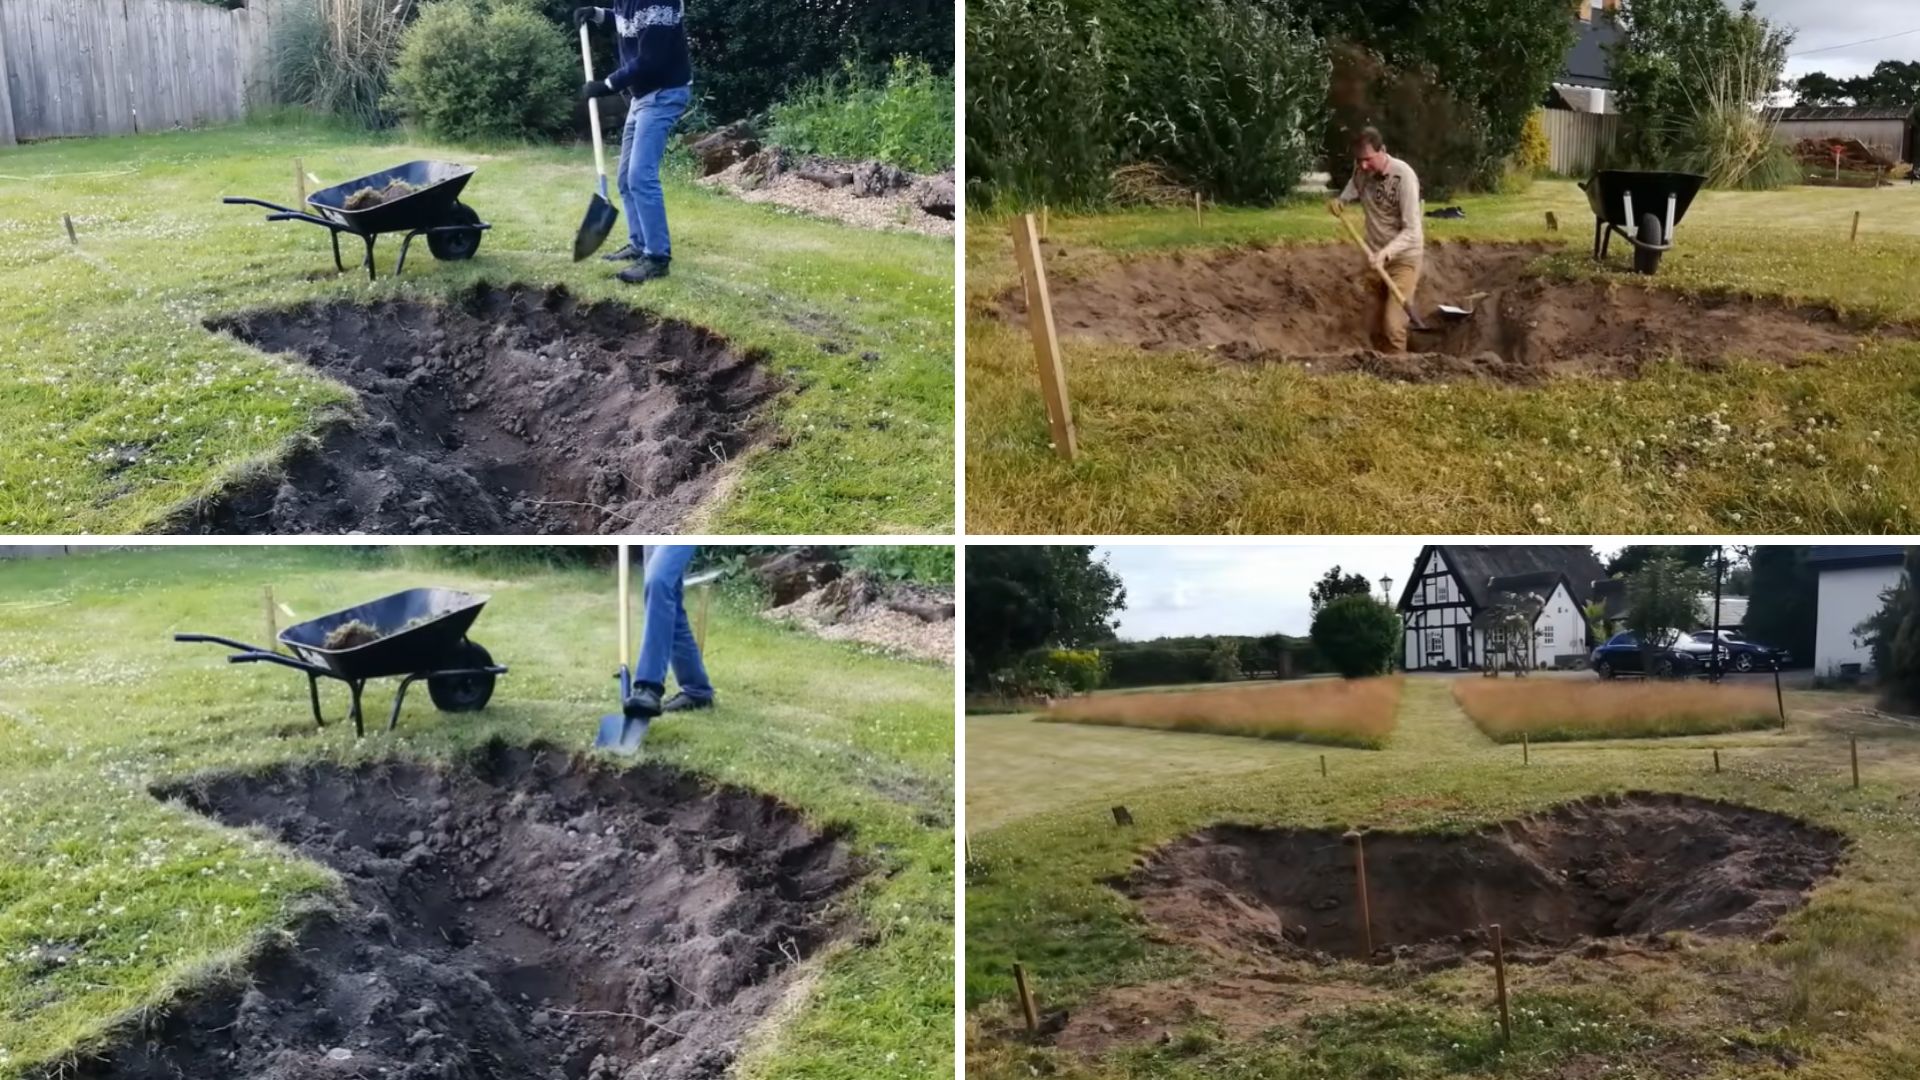
Start inside the stakes. Cut the turf and dig a shallow shelf, about 20 to 30 cm deep, around the whole outline. Wheel the soil away as you go.
Lay a plank across the hole and set a spirit level on it. If one side sits low, water will spill there. The high side shows bare liner, which fades in the sun.
Step 3: Dig the Deep Center and Check Your Soil
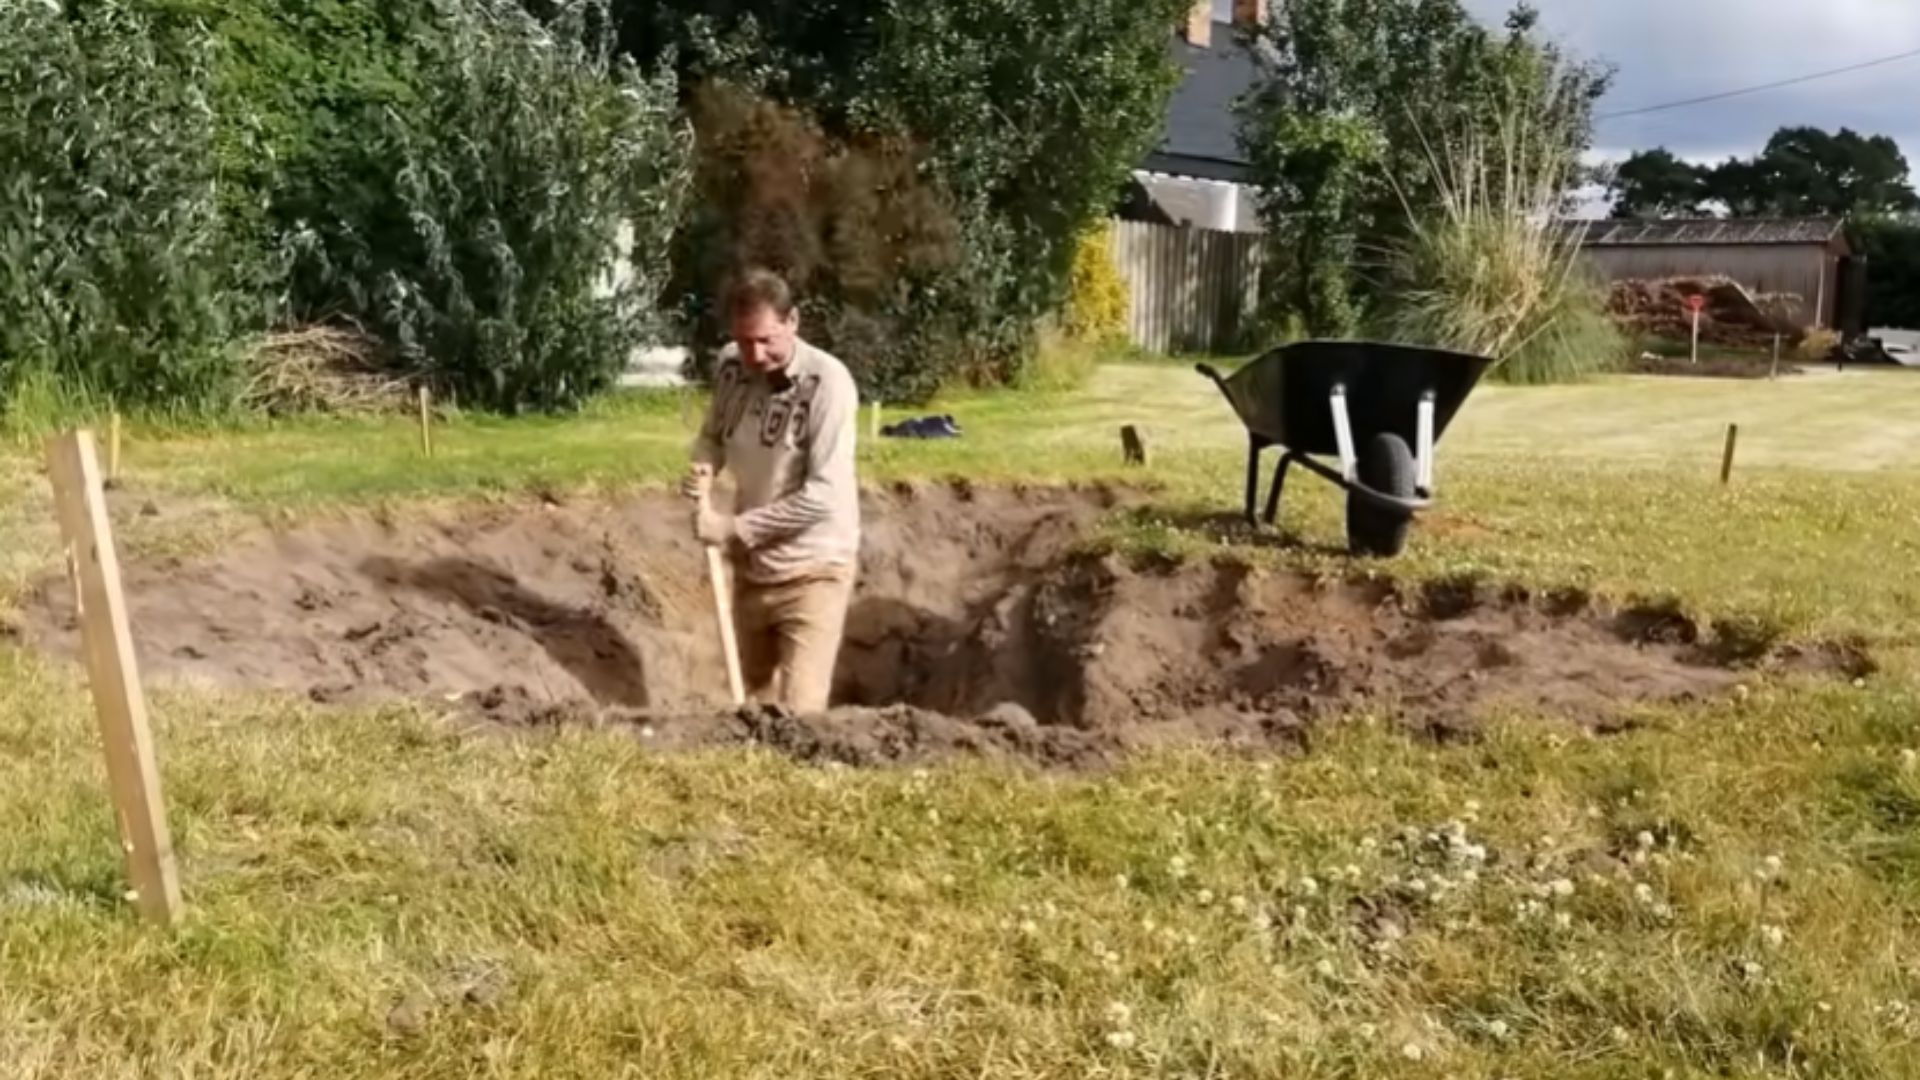
Slope the shelf down into a gentle beach. Then dig the deep center, at least 60 cm. Go deeper in cold regions so it is less likely to freeze solid.
Check the soil as you dig. Sandy, chalky, or stony ground drains fast and needs a liner. Only dense clay holds water alone. Unsure? Fill the hole and watch the level for a few days.
Step 4: Line the Hole with Carpet, Underlay and Liner
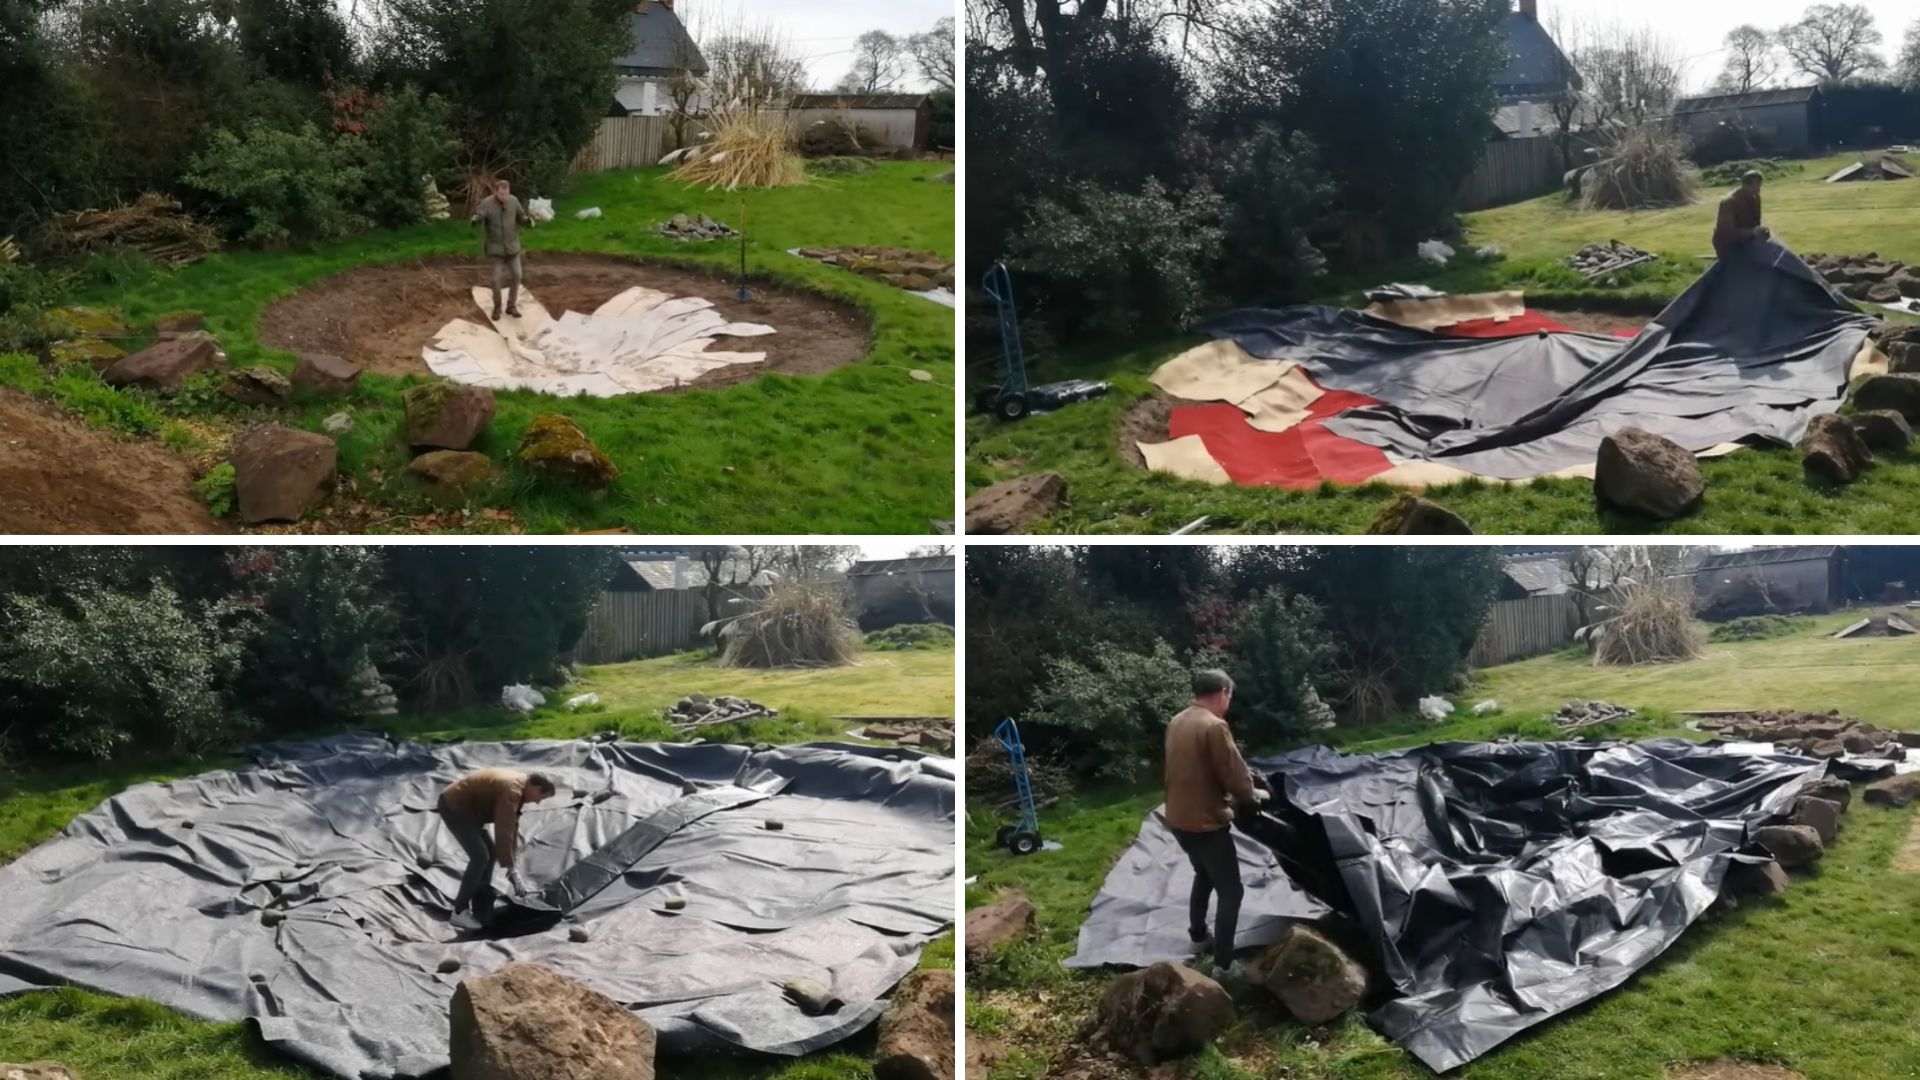
Clear the hole first. Pull out every sharp stone and root you find by hand. Even a small stone can wear through a liner.
Lay old carpet over the base and walls, then the underlay, then the liner on top. Fold extra liner neatly at the curves. Do not pull it tight, since it needs slack to settle. Set a few stones on top to hold it.
Step 5: Fill the Pond, Add Pebbles and Trim the Liner
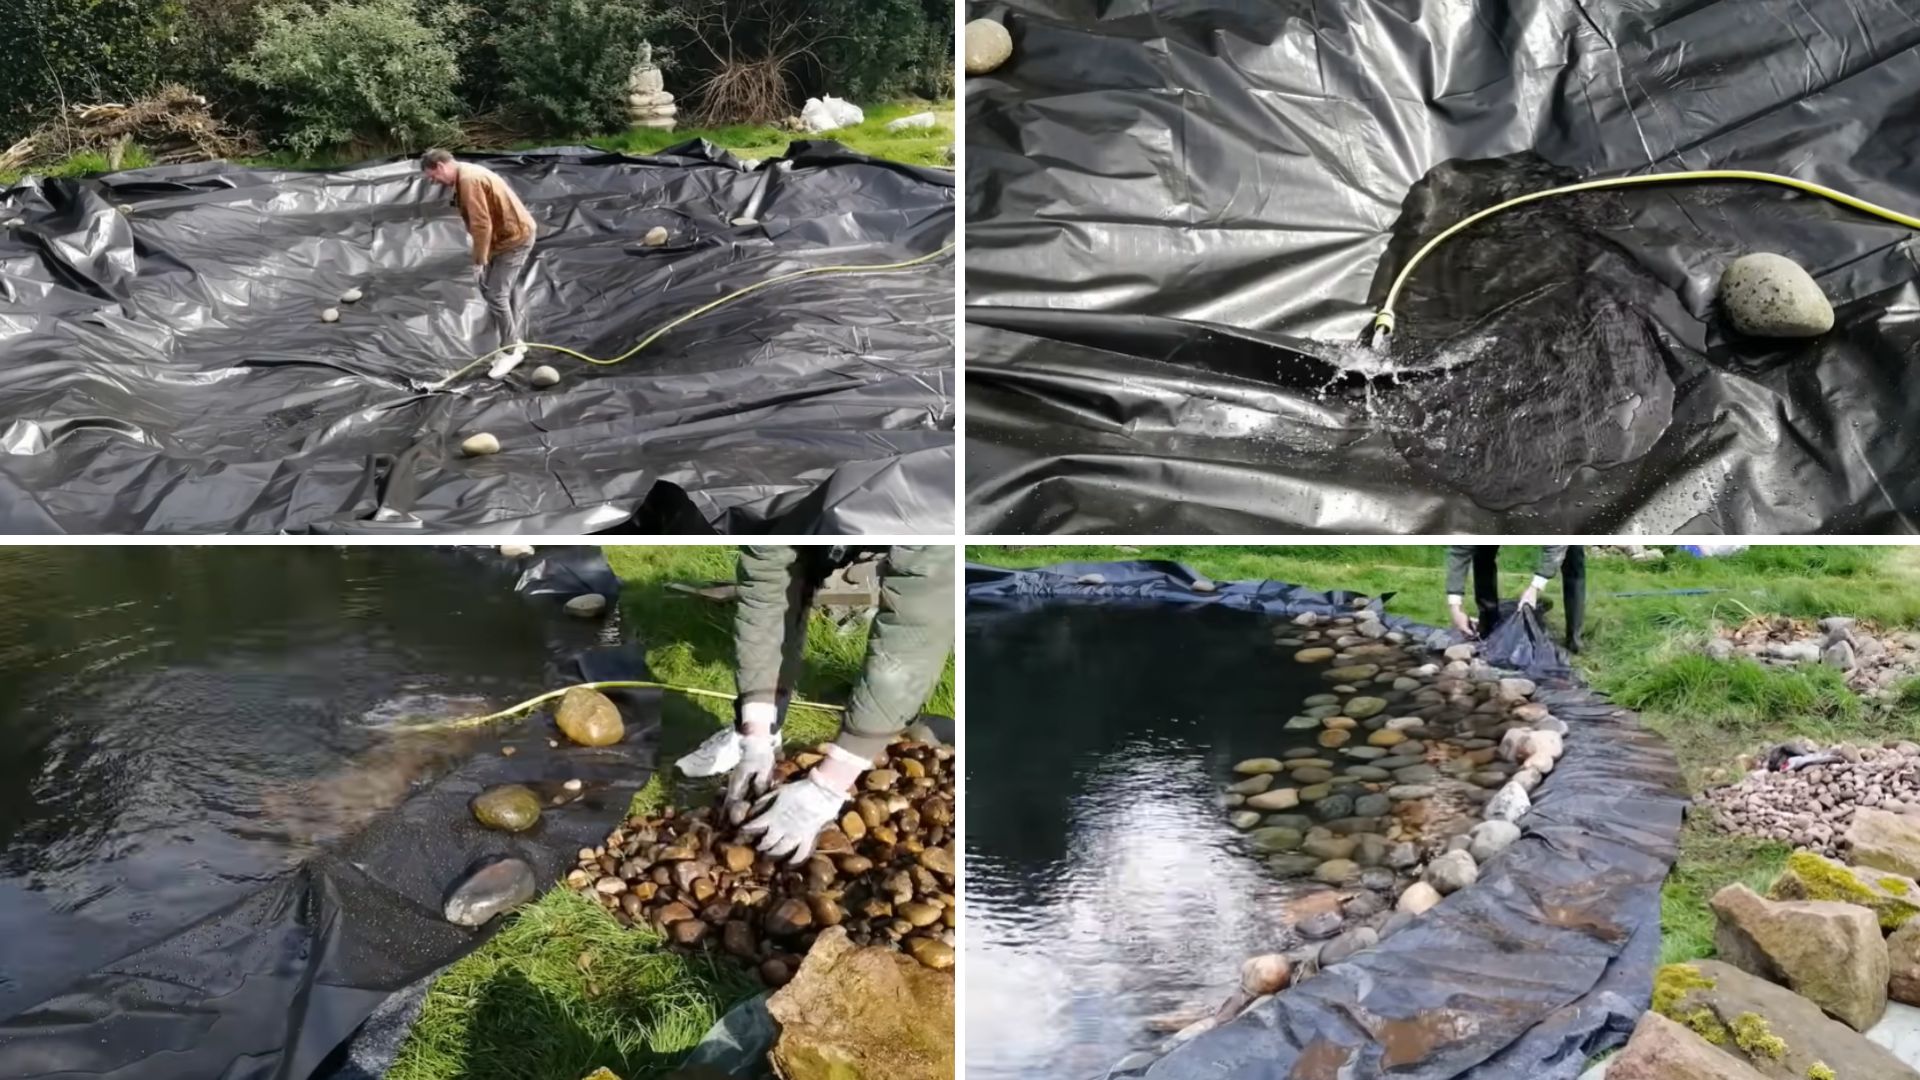
Fill the pond slowly with a hose. Use rainwater if you can. Tap water carries chlorine and extra nutrients that feed algae blooms before your plants have had time to establish.
As the water rises, place pebbles by hand on the shelf and beach. Tipping them in scuffs the liner.
Trim only after filling, since the liner pulls inward as it fills. Leave about 30 cm of extra liner around the edge.
Step 6: Set the Boulders Along the Edge
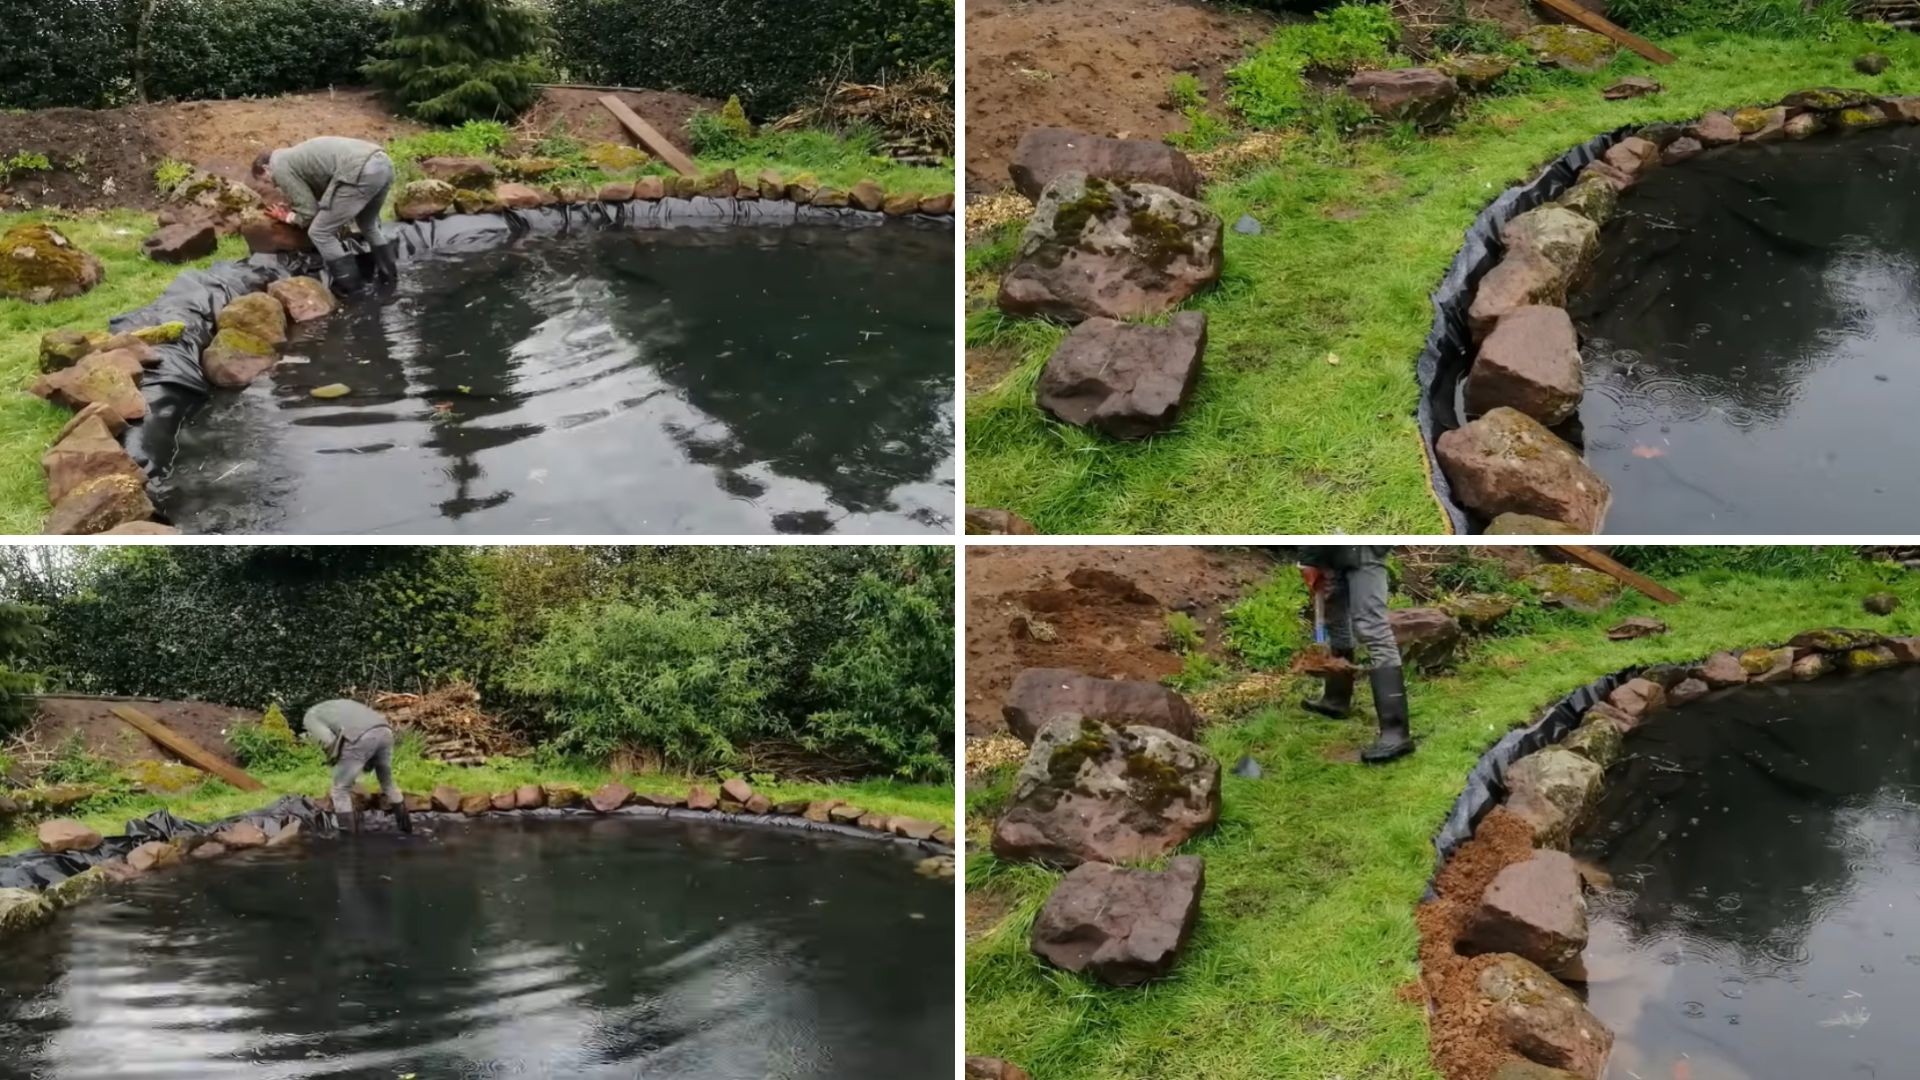
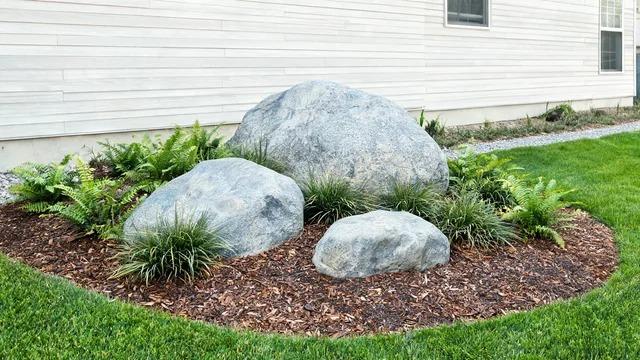
Set boulders along the pond rim to hide the liner. Sunlight fades and weakens exposed liner over the years.
Boulders are heavy, and one slip can tear the liner. Ask a friend, lift with your legs, and wear gloves.
Lower each boulder into place instead of dropping it. A few large stones look more natural than many small ones.
Step 7: Backfill with Soil for a Natural Edge
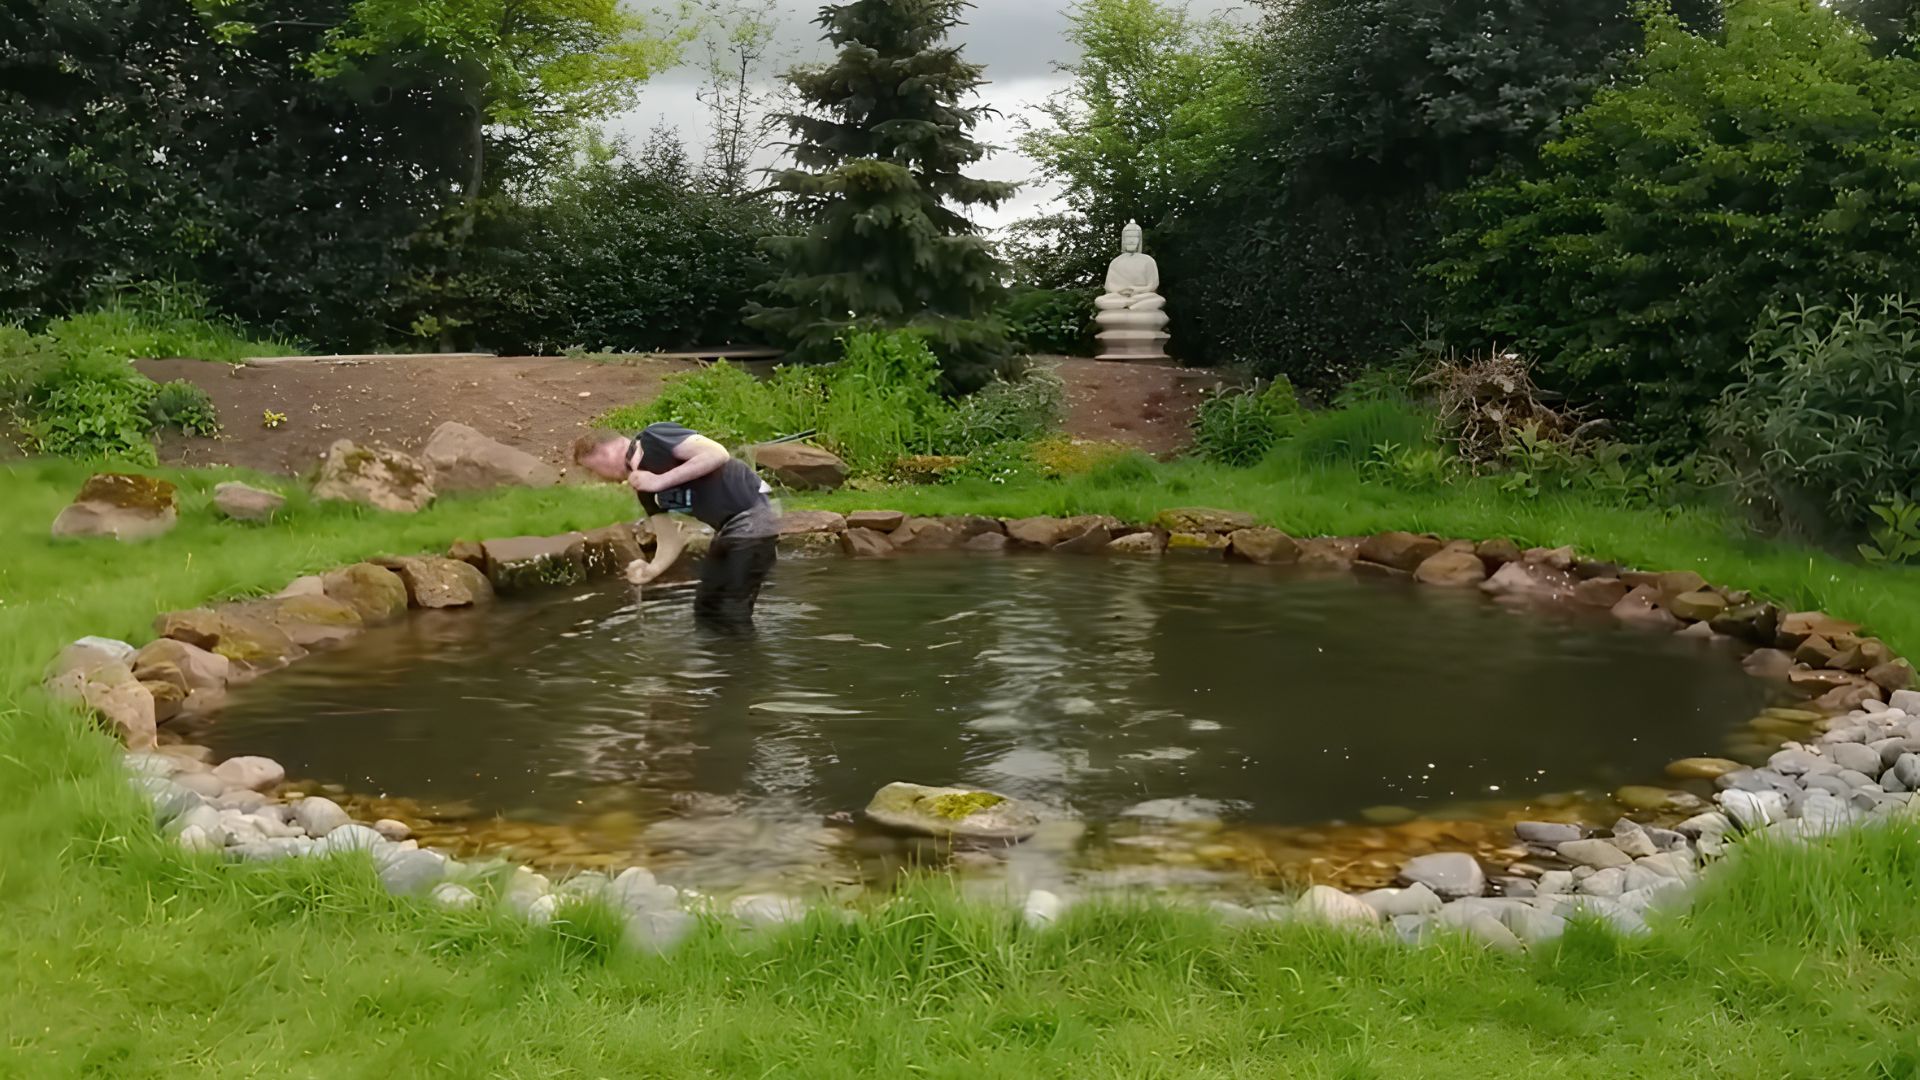
Shovel soil behind the boulders to cover the liner edge. This hides the plastic and blends the pond into the garden.
Keep the soil above the waterline and pack it gently. Loose soil washes in with the first rain.
Then step in and recheck your depths, because pebbles, boulders, and soil change each zone. Fix any shelf that is too deep now.
Step 8: Plant the Lilies and Marginals
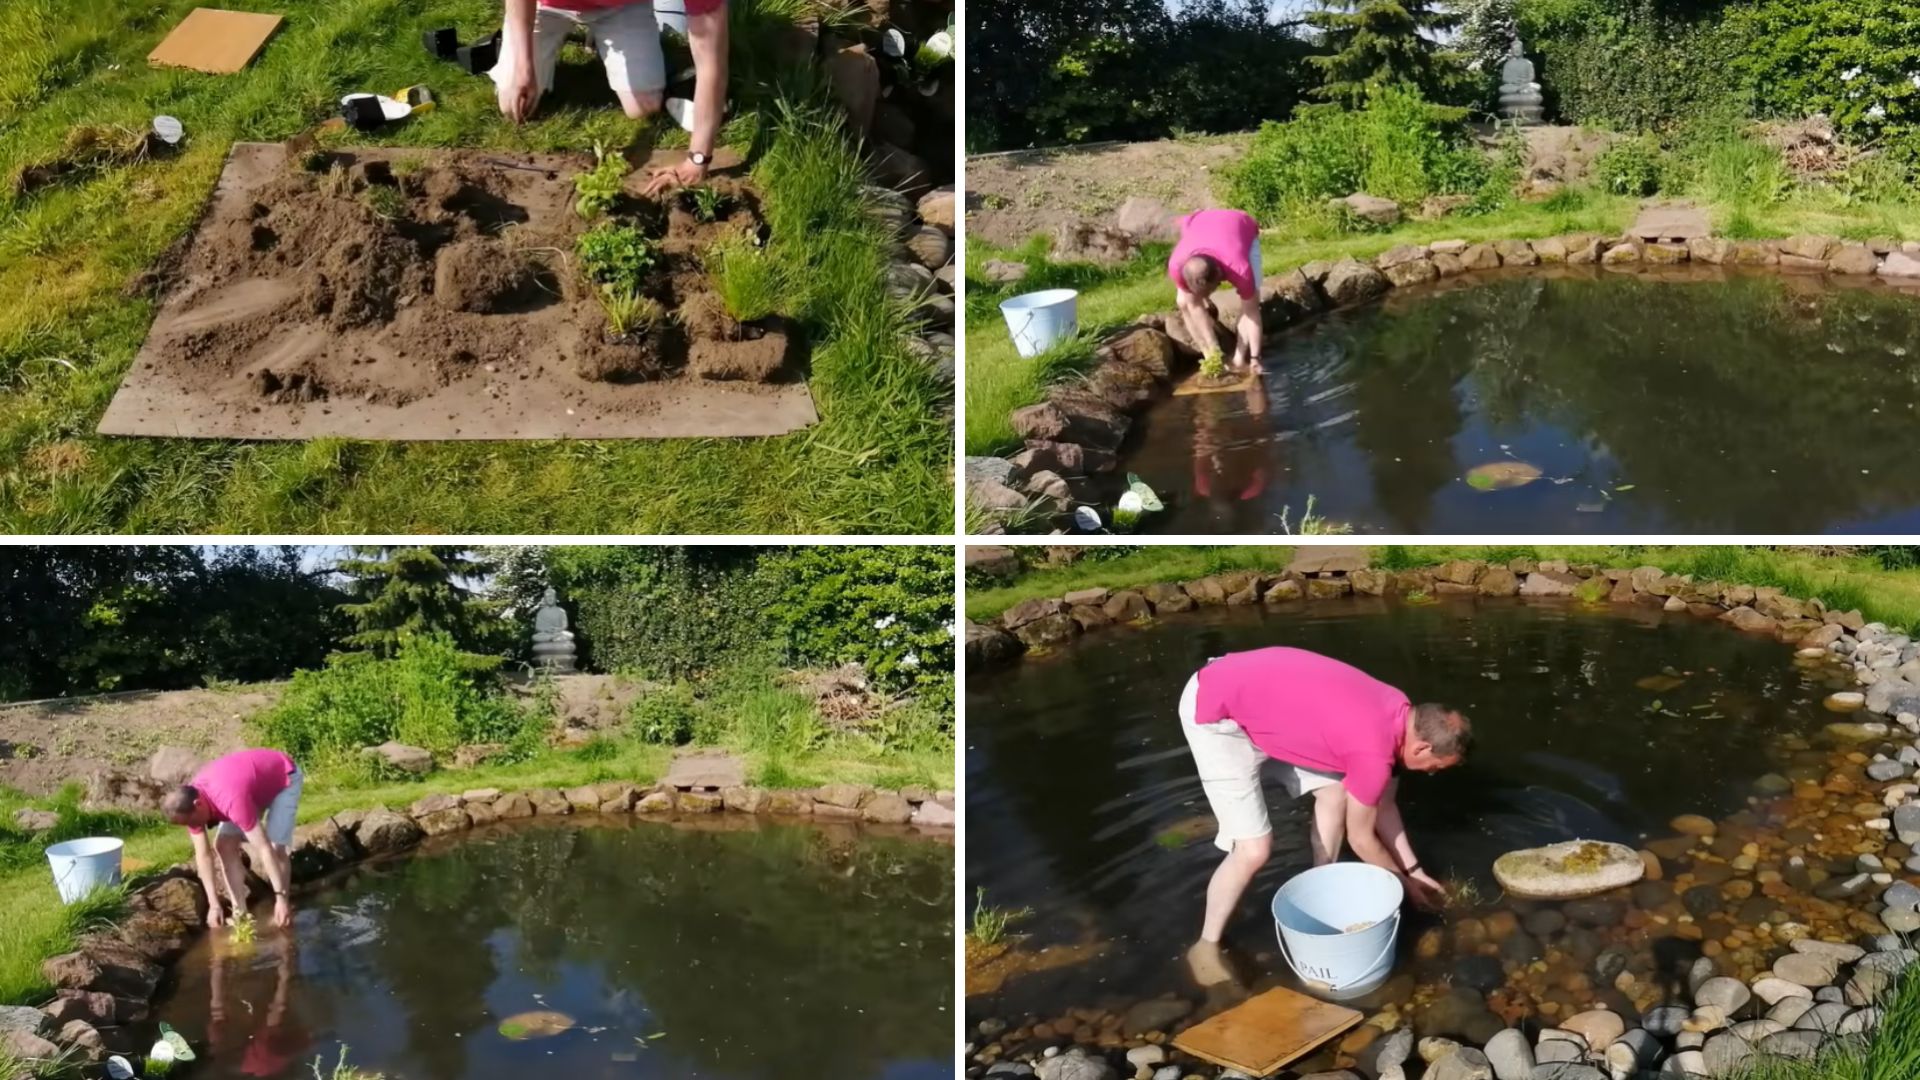
Place plants by depth. Water lilies go in the deeper water, where their floating leaves shade the surface and slow algae.
Set marginal plants on the shelves in gravel, not soil. Carry them in a bucket, and lay a board down to protect the liner as you work.
Add oxygenating plants like hornwort too. Go light at first, since most plants spread.
Confirming Your Pond Is Balanced
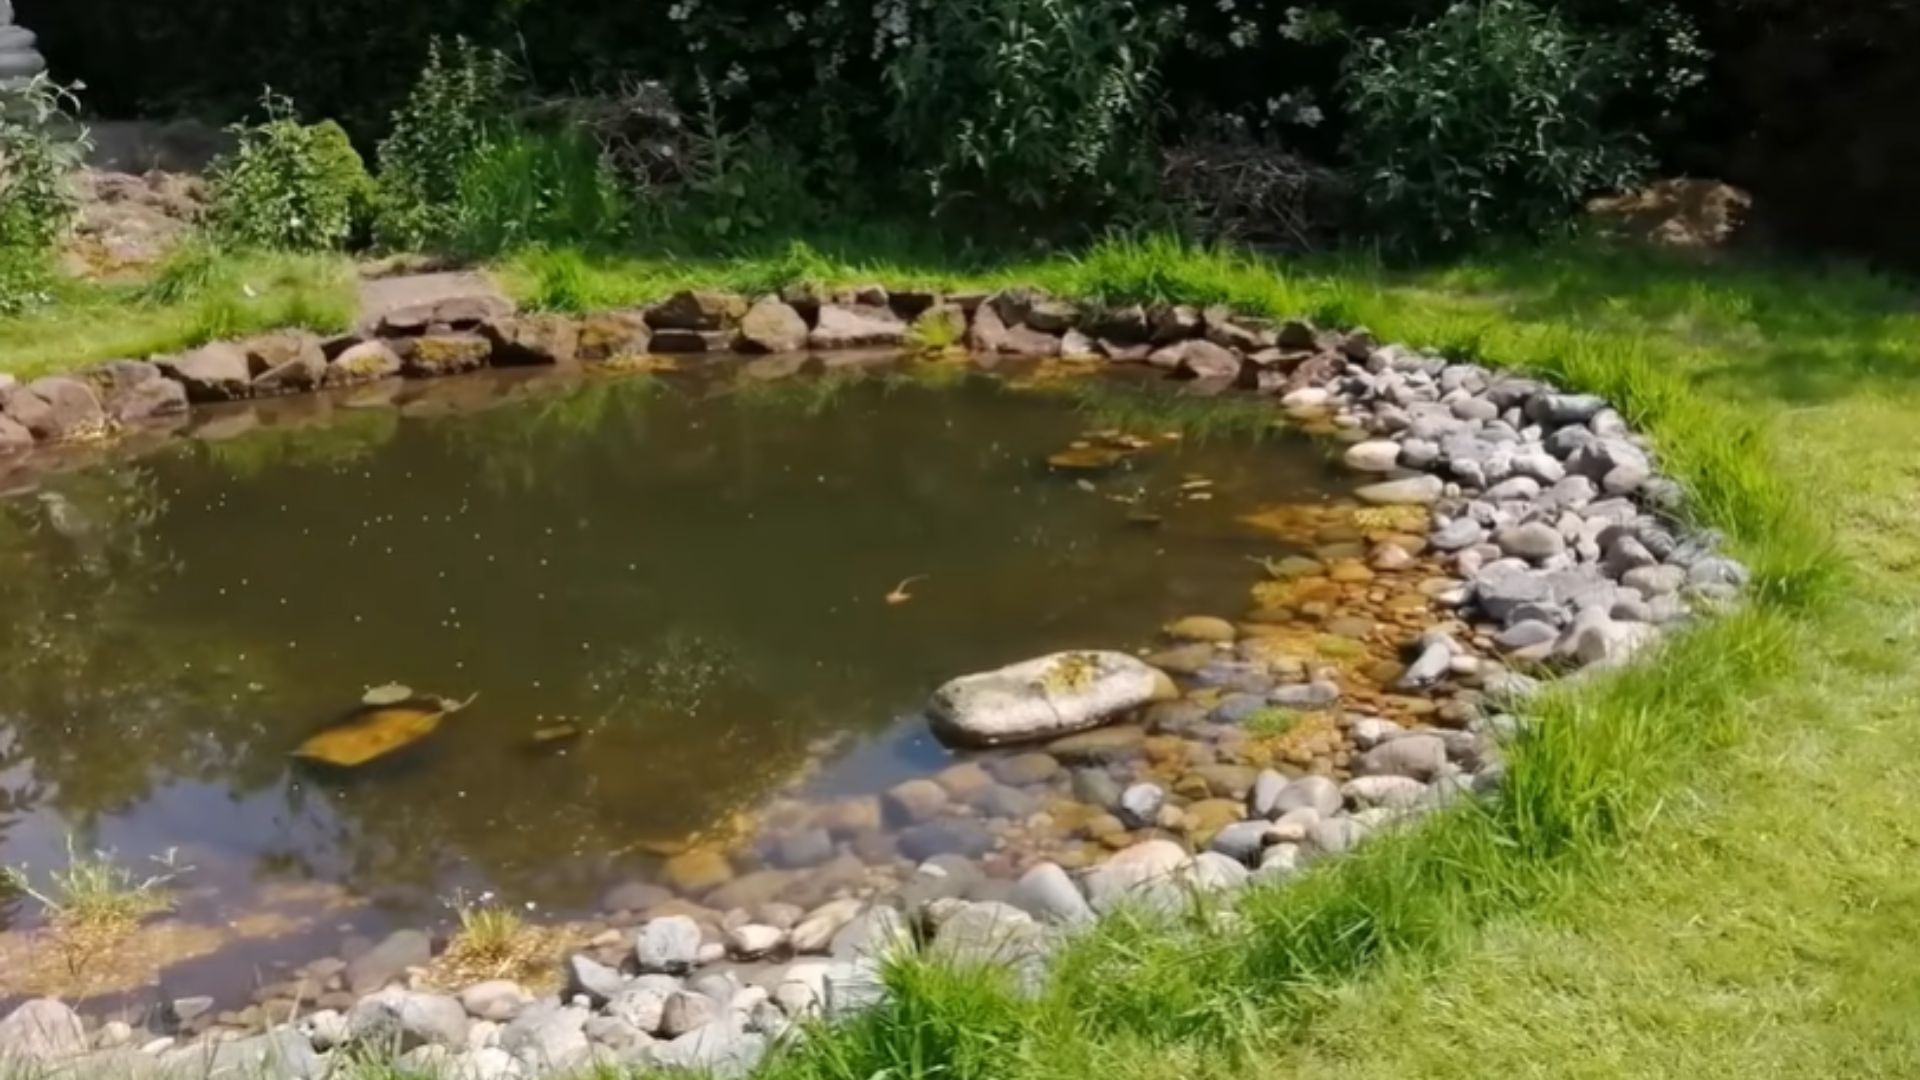
Give the pond a week or two. Mark the water level with a stake.
A small drop in hot weather is normal evaporation. A steady drop in cool weather means water is draining out.
Then check the water itself. Clear water with lily leaves on the surface is a good sign. So are frogs and insects arriving, and no thick green film.
Cloudy water in the first weeks is normal. It should settle as the plants take hold.
What Mistakes Should You Avoid When Building a Natural Pond?
Most pond problems come back to open water. Algae feed on light and nutrients there. Plants shade it and use those nutrients. Aim to cover about half the surface once grown.
These mistakes tip the balance toward algae:
- Too few plants, leaving open water for algae to take over
- Planting too deep or shallow, so the plants can’t spread
- Building under trees, where falling leaves feed algae
- Using tap water or keeping fish, both of which add nutrients
- Skipping the carpet or underlay, which leaves the liner exposed
Fix coverage first. The rest are easy to avoid while planning.
Final Takeaway
A pond that clears itself feels like a small win every time you look at it. That’s the real payoff of knowing how to build a natural pond.
You don’t need pumps or chemicals to keep it clear. You need the right tiers, a liner protected by carpet and underlay, enough plants spread across the shelves and deep water, and stone to hide the edges. Each layer does its own job, and skipping one is usually why a pond turns green.
Check local rules, pick a sunny, sheltered corner away from overhanging trees, and set aside one weekend. Mark your water level once it’s filled, and give the plants a few weeks to settle in before judging the results.
Frequently Asked Questions
Is It Legal to Build a Pond on Your Property?
It depends on your state and local rules. Permits can apply based on pond depth, size, or distance from property lines, so check with your local planning office first.
Will a Natural Pond Attract Mosquitoes?
Possibly, in the first few weeks. Mosquitoes lay eggs in still water, and the predators that eat the larvae haven’t arrived yet. A balanced pond soon draws dragonflies, beetles, and frogs, which keep numbers down.
Can a Natural Pond Be Small?
Yes. Keep the same shelf, beach, and deeper center, just scaled down. Small ponds heat up and cool down faster, so check the water level more often in hot weather.
Does a Natural Pond Need a Lot of Maintenance?
No. Net out fallen leaves in autumn, trim plants that crowd the open water, and top up with rainwater when the level drops. Don’t scrub the pebbles or liner. Bacteria live there and help keep the water clear.
Do Natural Ponds Smell?
A healthy one barely smells. A sour or rotten-egg smell means leaves or waste are rotting without enough oxygen. Net out the debris and add oxygenating plants like hornwort. The smell usually fades as the water settles.