Turning a bare shed into a usable room sounds simple. Then you start finishing a shed interior, and the questions pile up. What goes in first? Do you need a vapor barrier? When do you call an inspector?
Get the order wrong, and you may tear out new walls later.
This guide walks you through the job step by step. You will learn what to check before you start, the right order for wiring, insulation, walls, and floor, and how to avoid moisture problems. It also shows how to test your work when you finish.
The steps follow the order most builders use, so even beginners can work with confidence.
What should you settle before you start finishing a shed interior?
Finishing a shed interior starts with deciding how the space will be used and checking its climate, structure, moisture, and permit rules, because these determine every later material and step.
An office that will be heated and cooled needs different insulation and moisture control than a workshop used a few months a year, so settle the use and your local climate first.
Next, confirm the shell is sound and dry. Check that studs and rafters are spaced consistently enough to hold panels, that the floor is solid and level, and that nothing is leaking.
Once the walls are covered, you can't easily find or fix a leak, and a damp surface will keep causing problems behind the finish.
Finally, find out whether your area requires a permit and inspection for permanent wiring or a subpanel connection.
Requirements vary by location, so ask your local building department before you run any cable. Doing this now avoids opening finished walls later to satisfy an inspector.
In what order do you finish a shed interior?
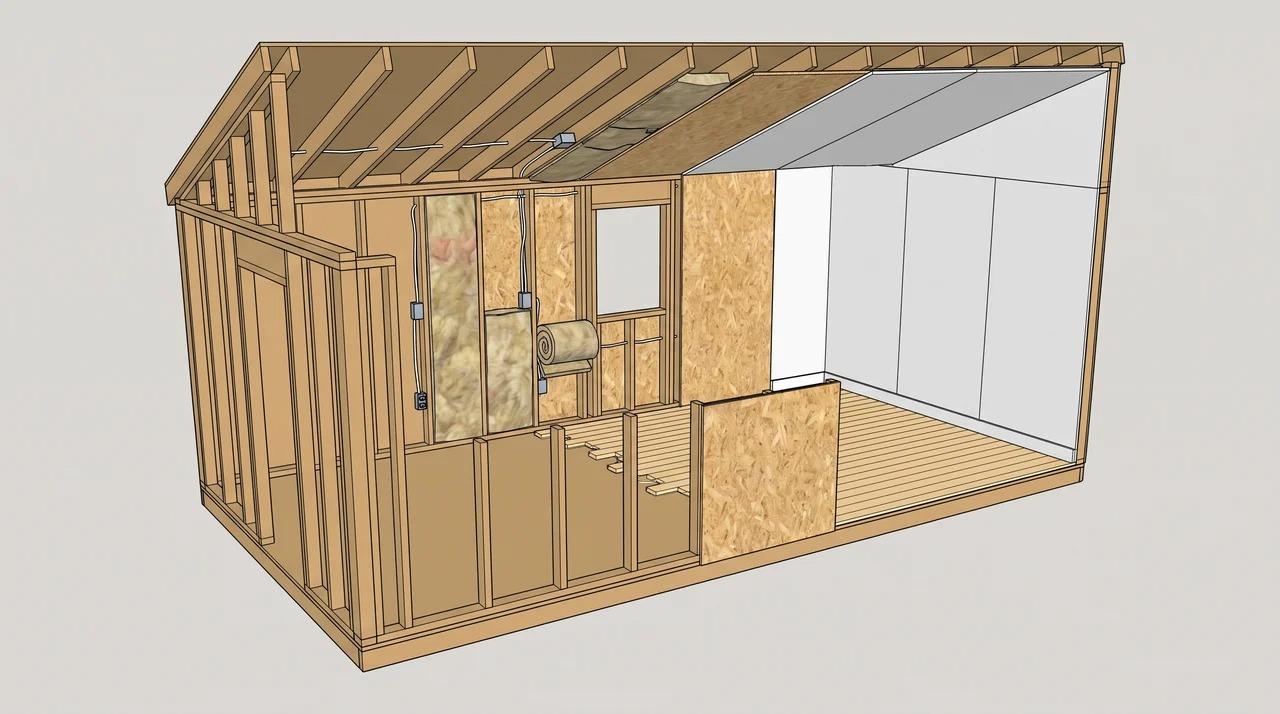
Finish a shed interior in five steps: frame and seal the shell, run the wiring, insulate and control moisture, cover the walls and ceiling, then install the floor and trim.
The order follows what becomes unreachable once the walls are covered, so anything done from inside the wall cavity comes first. The one exception: if you're replacing or raising the floor, do that before any wall work.
Frame, block, and seal the shell
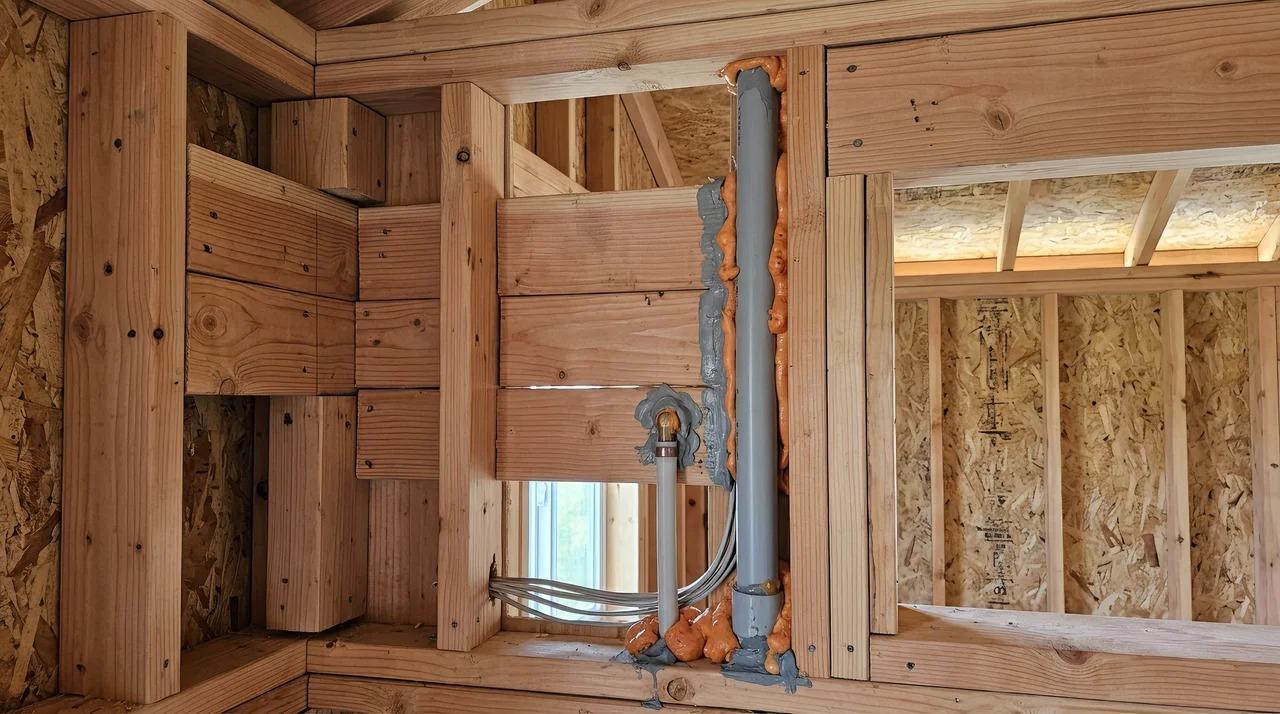
Check that studs and rafters give you solid backing at every panel edge, and add blocking or corner backing wherever a seam or corner would otherwise float.
Blocking also gives you something to screw into later for shelves or wall-mounted tools. Then seal gaps, cracks, and wire or pipe penetrations with expanding foam or caulk to stop drafts and pests. This is your last easy chance to reach them.
Run the wiring
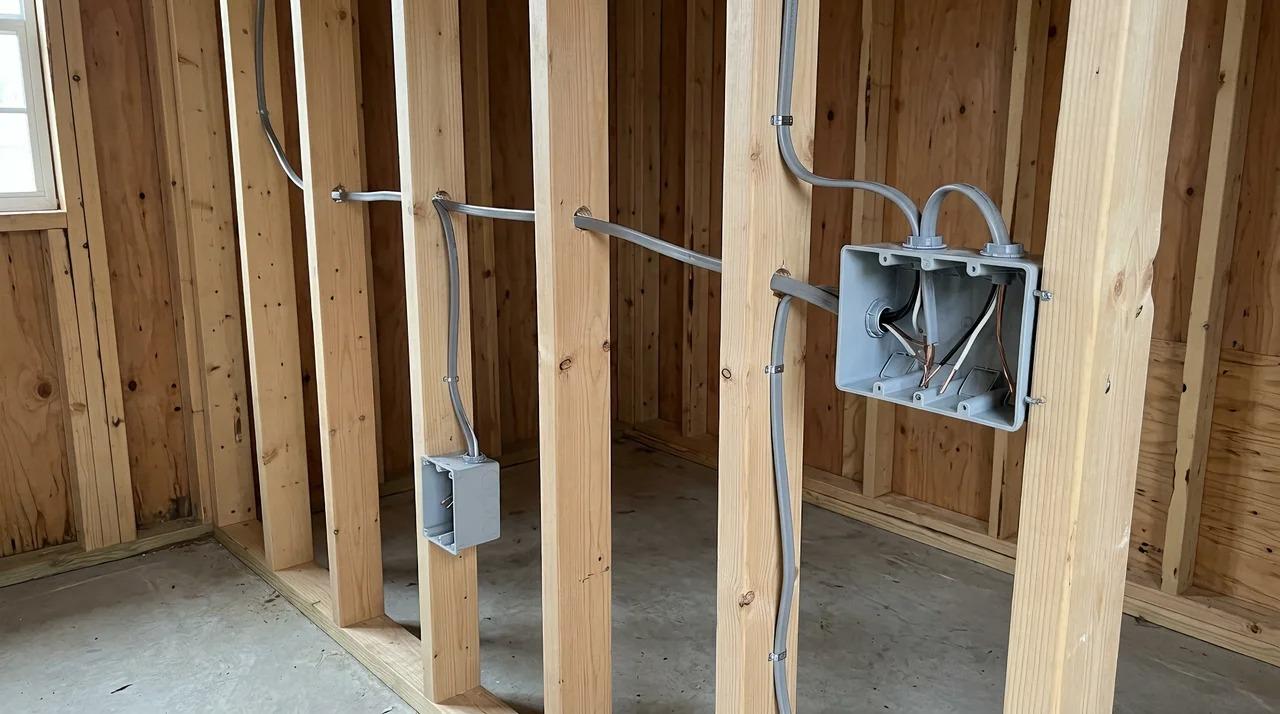
Plan outlet, switch, and light locations, then drill through the center of the studs so cable sits well back from screws and nails. Mount boxes at consistent heights, run the cable, and connect to your power source or subpanel.
If your area requires a permit and inspection, the inspector must see the wiring before insulation or wall coverings go over it, so confirm the requirement first and don't close anything in until it passes.
Insulate and decide on moisture control
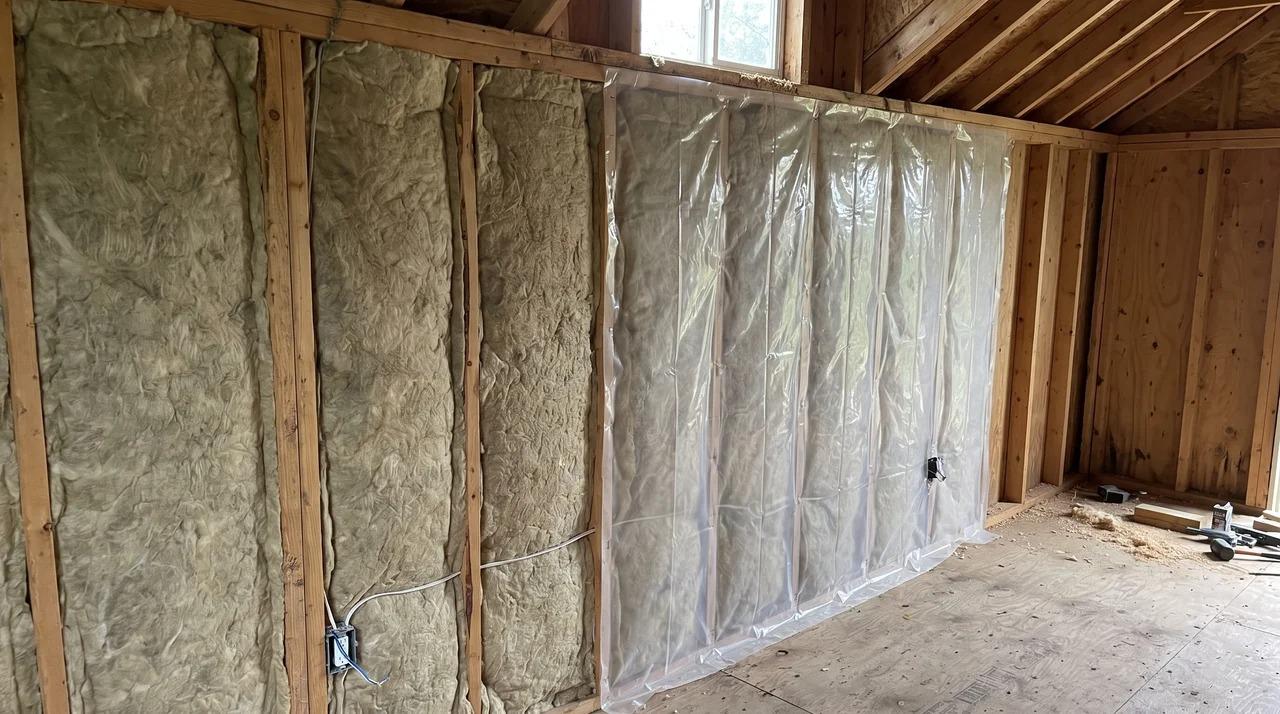
Condensation is the reason insulation goes wrong in sheds. A shed is a small enclosed space with large temperature swings, so warm, humid interior air regularly meets cold wall and roof surfaces and drops its water there. Inside a closed cavity, that moisture has nowhere to go, leading to damp insulation and mold.
Whether you need a vapor retarder depends on climate.In cold climates it generally goes on the warm, interior side of the insulation. In hot, humid climates an interior retarder can trap moisture, so check local building guidance.
Choose insulation that fits the stud depth without being compressed, and confirm recommended R-values for your climate zone. Make sure the framing is dry before you insulate.
Cover the walls and ceiling
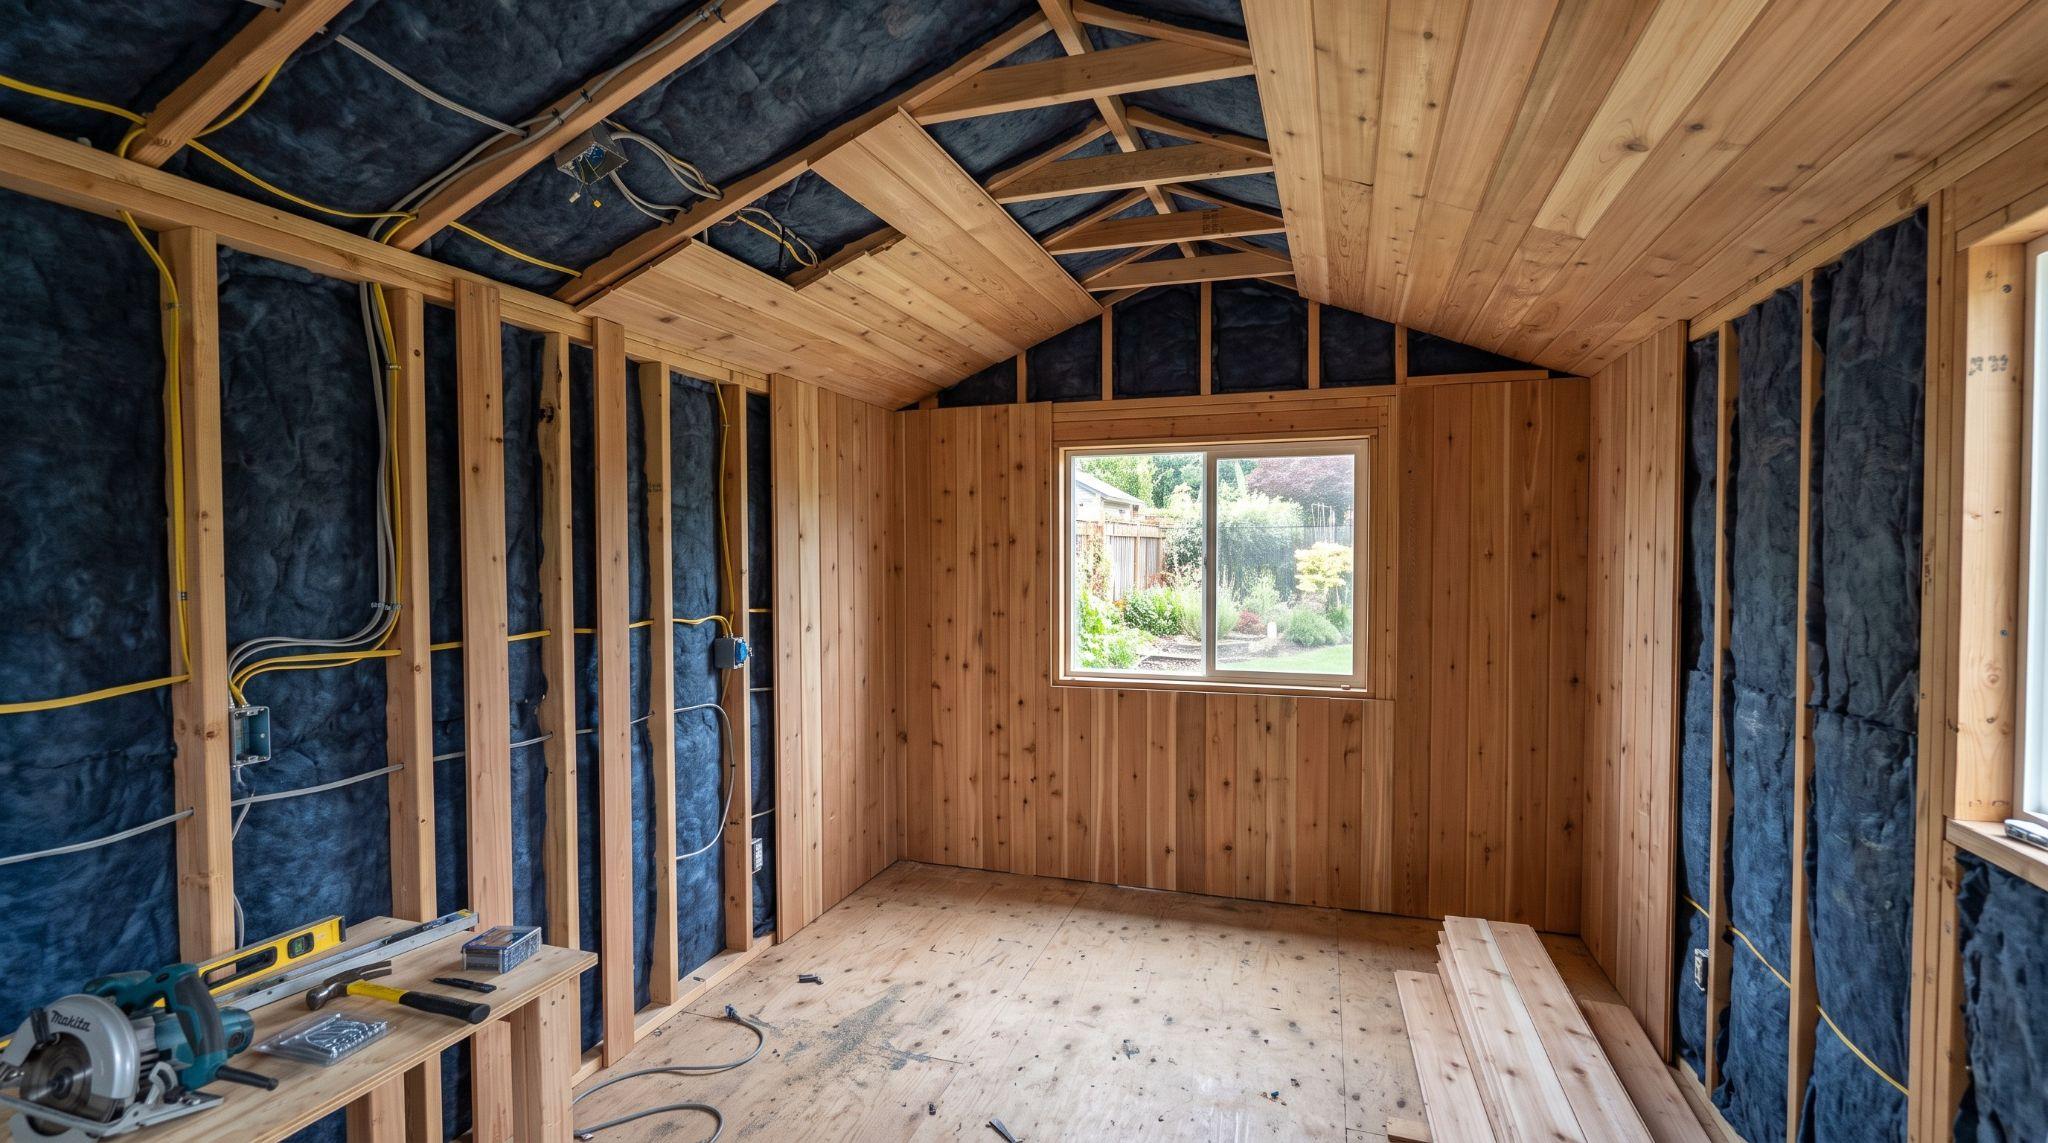
Once wiring is approved and insulation is in, work from the top down and keep panels slightly off the floor. Your options:
- Drywall: smooth and paintable, but needs taping and sanding and dislikes moisture and impact.
- Plywood or T1-11: quick, durable, and holds screws anywhere, which suits woodworking workshops.
- Tongue-and-groove boards: a warmer finished look and forgiving of uneven framing, but slower to install.
Floor and trim
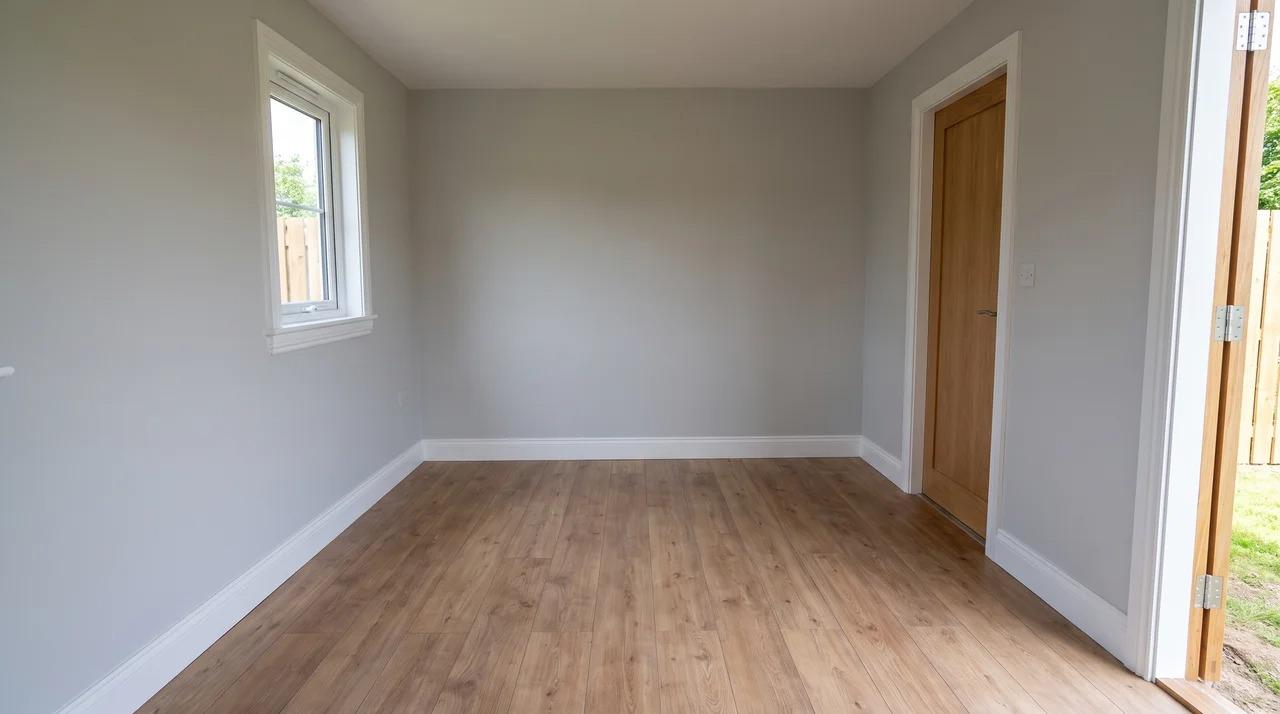
Lay laminate planks, vinyl tile, or rubber mats over a clean, dry subfloor. Finish with baseboards and trim around windows and doors to cover raw edges.
What goes wrong, and how do you check your work?
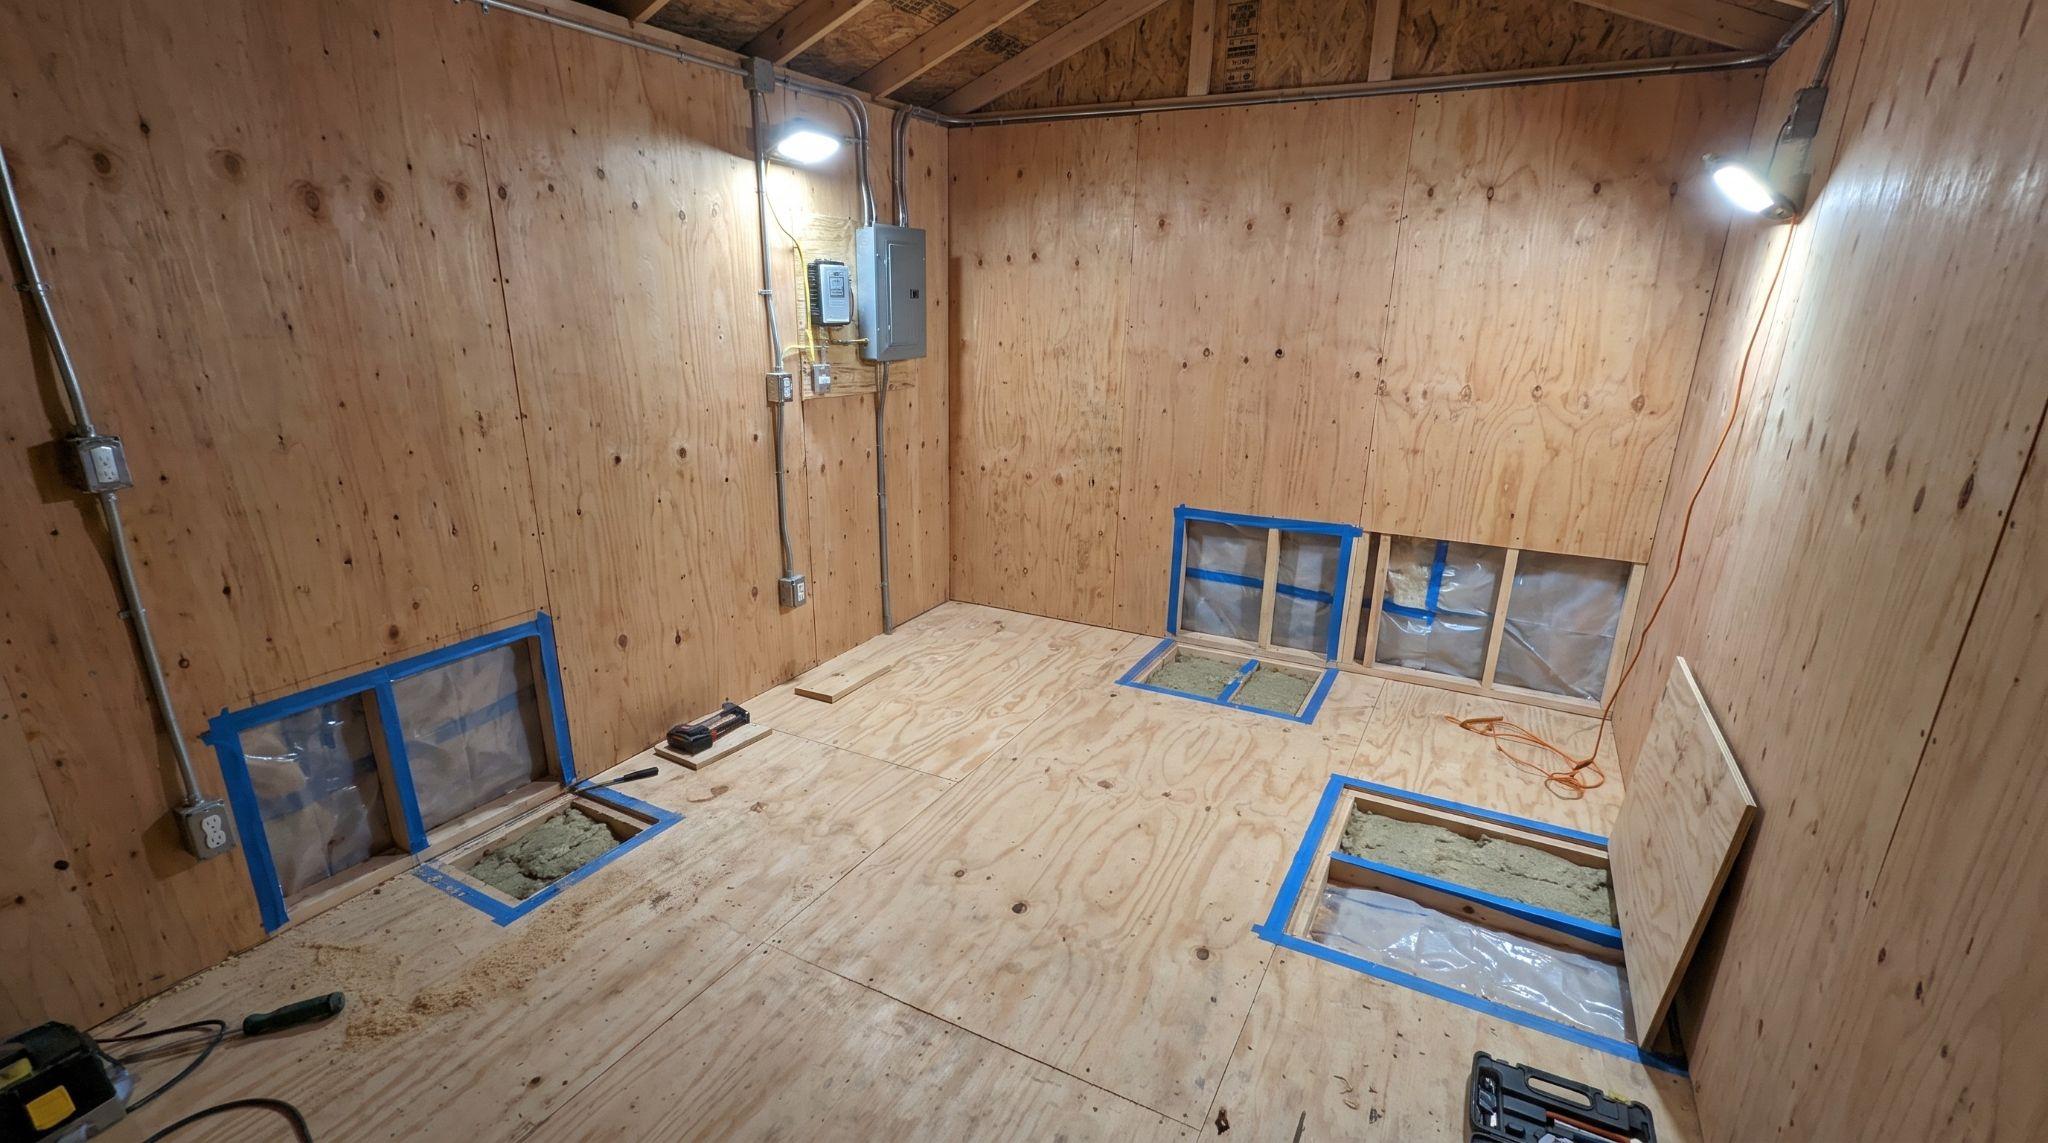
Most finished-shed failures trace back to hidden-layer mistakes in moisture, wiring, or missing backing, and they are best caught before the walls are closed and again after the first wet weather.
The common failures
- Wiring closed in before inspection. Covering cable and boxes before they pass inspection can mean tearing out finished walls later.
- Covering a damp surface. Panels or insulation over wet framing or a leaking wall keep the problem sealed in where you can't see it.
- Skipping blocking. Panel edges flex or crack, and shelves and wall-mounted items have nothing solid to hold them.
- A moisture strategy that doesn't match the climate. A vapor retarder or insulation choice that suits a different climate can trap water in your walls.
How to verify the job
Before closing the walls, confirm the wiring has passed any required inspection and that the framing is dry.
After finishing, test every outlet, switch, and light, then check the interior after the first heavy rain or sharp temperature swing.
Look for damp spots, staining, or musty smells along walls, corners, and the floor edge. Run a hand around sealed penetrations, window and door edges, and trim to feel for drafts.
Where to fix problems
If something shows up after finishing, trace it back to the earliest step in the sequence that was skipped or rushed. A missing seal, an unchecked leak, or absent backing is usually cheaper to correct at its source than by patching the surface finish over it.
Final Thoughts
Finishing a shed interior comes down to one simple idea: do the hidden work first, and check it before you close the walls. Get the wiring, insulation, and moisture plan right, and the rest falls into place.
You don't need to do it all in one weekend. While you plan your finishes, browse 12×16 shed interior ideas for layout inspiration.
Have a question about your own shed? Leave a comment below, and share this guide with a friend who has a project waiting.
Every good workspace starts as an empty box.
Frequently Asked Questions
Should you finish the inside of a shed?
It depends on how you use it. For an office, studio, or workshop, finishing the interior adds comfort, insulation, and a cleaner look. For basic storage, it is often unnecessary. Finishing also cuts drafts and dust, but only if you handle moisture properly first. If you're planning a studio-style retreat, see these small she shed interior ideas.
What can you line the inside of a shed with?
Common choices are drywall, plywood, grooved plywood such as T1-11, and tongue-and-groove boards. Drywall gives a smooth, paintable surface. Plywood and boards are more durable and easier to hang things on. Pick based on how you will use the shed and how much moisture it sees.
What should you paint the inside of a shed with?
Use a mildew-resistant primer, then a water-based latex paint in satin or semi-gloss, which wipes clean easily. Make sure the surface is dry and dust-free first. Painting over damp drywall or plywood leads to peeling, so fix any moisture problem before you paint.
Can you finish the inside of a shed later?
Yes. A shed can be finished at any time, and insulation, wiring, wall panels, and flooring can be added in stages. Work from the inside out, so anything behind the walls, like wiring and insulation, is done before the walls are covered. Doing cosmetic finishes first usually means tearing them out later.